DIY Scented Fire Starters: An Easy & Cozy Christmas Craft
Christmas is my favorite time to slow down, make something with my hands, and fill my home with little touches that feel warm and welcoming.
I especially love crafts that are not only pretty to look at but also useful, and these DIY scented fire starters are such a lovely example.
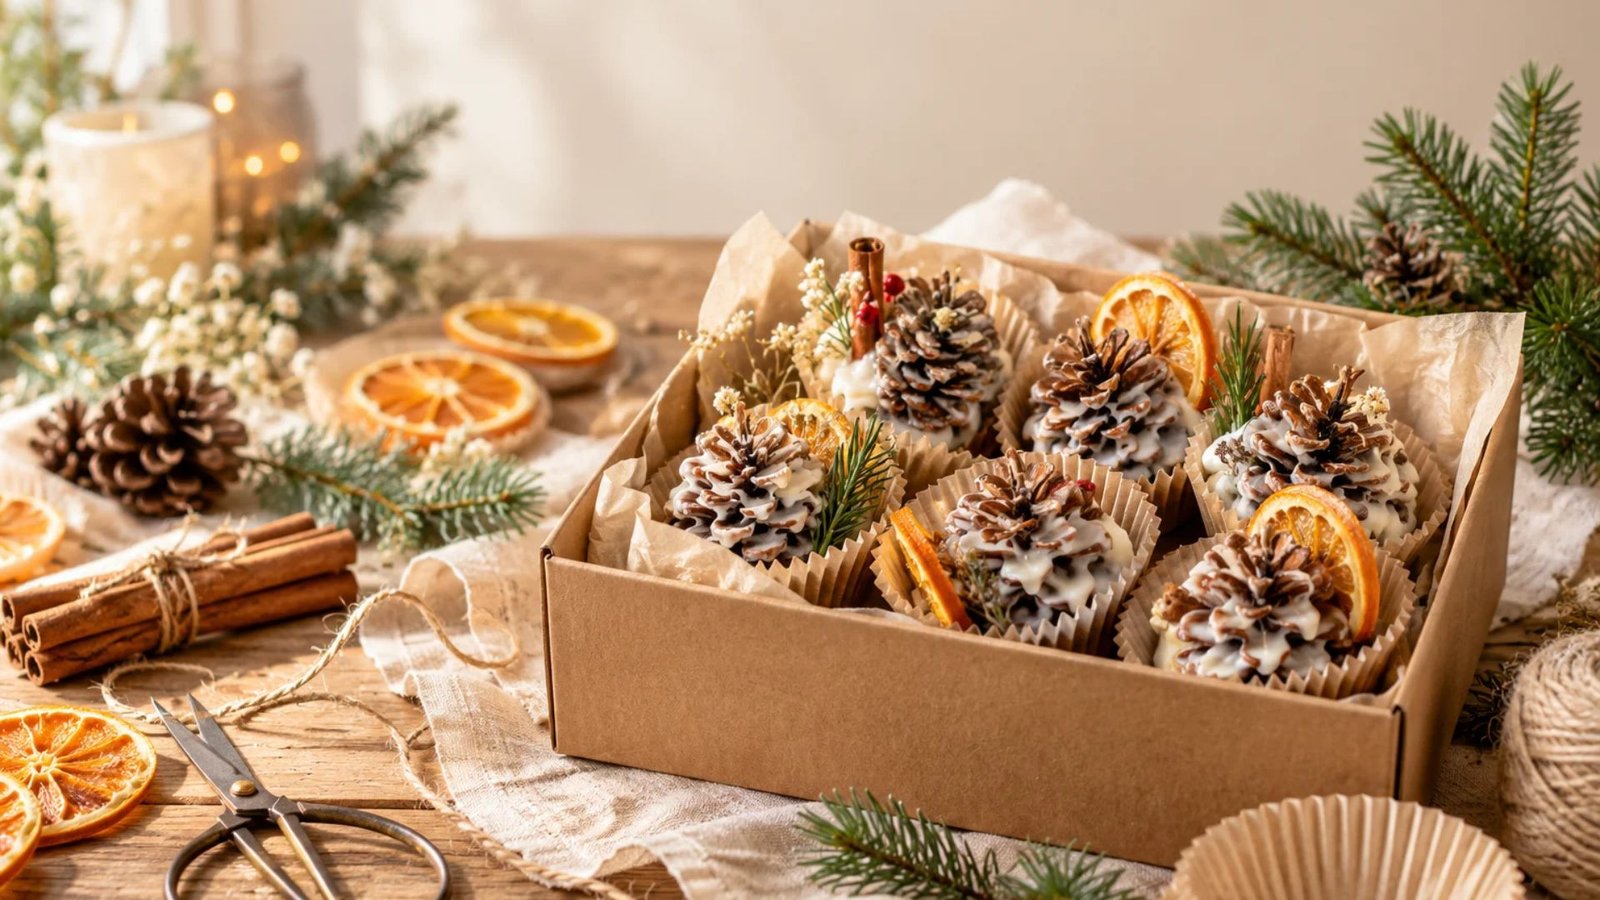
Made with wax, pinecones, and fragrant seasonal botanicals, they bring a rustic charm to Christmas crafting. I think they make thoughtful handmade gifts, too, especially for anyone who enjoys cozy evenings by the fire. If you love simple, beautiful projects, you will adore making these!
Why You’ll Love These DIY Scented Fire Starters

These homemade fire starters are a wonderful way to combine creativity with practicality. They are simple to customize, can make use of suitable leftover candle wax, and look beautiful when arranged in a festive gift basket.
Here are a few reasons to try them this Christmas:
- Beginner-friendly: You only need a handful of basic craft supplies.
- Beautifully seasonal: Dried orange slices, cinnamon sticks, and pinecones create a natural Christmas look.
- Lovely handmade gifts: They are thoughtful presents for friends, family, and anyone who enjoys using a wood-burning fireplace or outdoor fire pit.
- Easy to personalize: Experiment with different dried botanicals and seasonal decorations.
- A useful way to reuse materials: Suitable leftover candle wax and clean, dry natural materials can be put to good use.
The finished fire starters can look almost like tiny rustic Christmas arrangements. Just remember that they are designed to be used as fire-starting aids, not as scented decorations to burn indoors like candles.
What Are Scented Fire Starters?
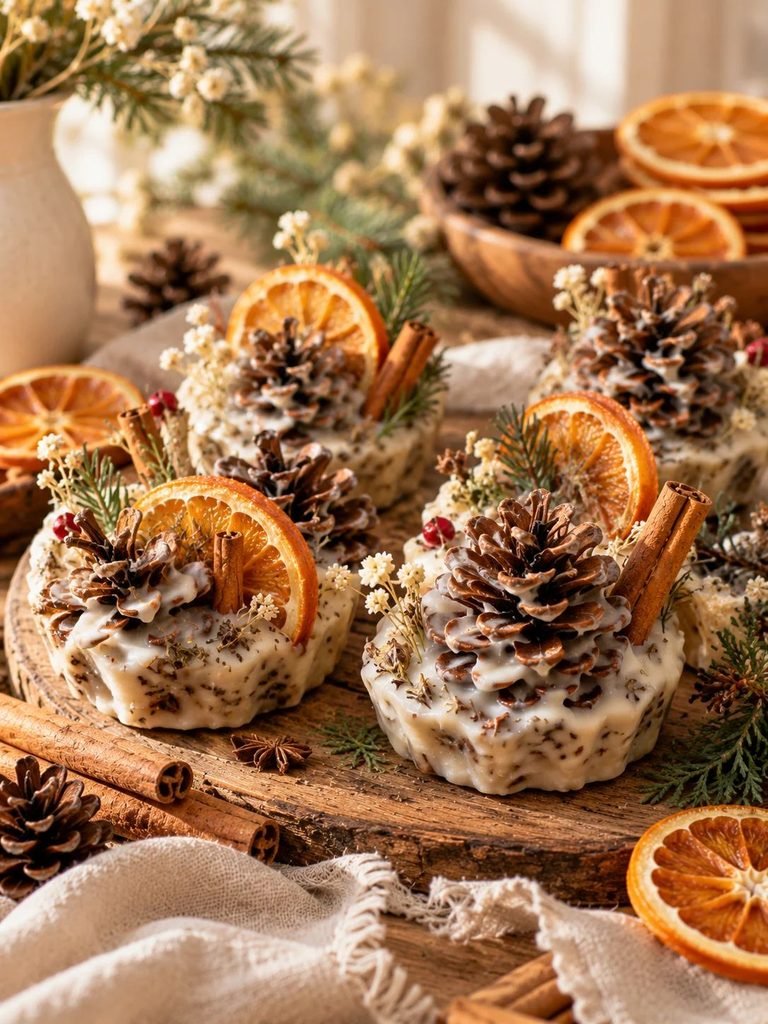
Scented fire starters are small bundles or molded pieces made from combustible materials held together with wax. When used correctly, they help kindling catch fire more easily.
For this Christmas craft, we will use wax, dry pinecones, and a few festive botanicals to create attractive, rustic fire starters.
The scent comes from the natural fragrance of ingredients such as cinnamon sticks and dried citrus. You can also leave out added fragrance altogether and enjoy the natural appearance of the materials.
Important: Burning botanicals and fragrance ingredients may produce smoke and irritating compounds. A pleasant smell before lighting does not guarantee a pleasant or safe smell when burned. Keep the recipe simple, use only in a suitable wood-burning appliance or outdoor fire pit, and follow the appliance manufacturer’s instructions.
Materials and Supplies You’ll Need

Gather your supplies before you begin. I recommend choosing a simple, natural color palette of cream, warm brown, and soft green for a cozy cottagecore Christmas finish.
Materials
- Wax: Soy wax, beeswax, or suitable leftover candle wax.
- Small pinecones: Clean, completely dry, untreated pinecones.
- Dried orange slices: Optional, for a festive decorative touch.
- Cinnamon sticks: Optional, for a classic Christmas look.
- Dried rosemary or other suitable dried botanicals: Use sparingly and avoid treated or contaminated plant material.
- Cotton wick: Optional, if you choose a design that uses a suitable wick.
- Paper cupcake liners: Unbleached paper liners make cleanup easier.
- Kraft paper tags: For gift labels and instructions.
- Natural twine or ribbon: For decorating the finished gift packaging.
Tools
- A double boiler or a heat-safe pouring container set over simmering water
- A saucepan
- Heat-resistant gloves or suitable protective equipment
- Tongs or a wooden skewer
- A heat-resistant work surface
- Parchment paper
- A spoon or small pouring jug designed for wax
Keep your regular cooking equipment separate from your craft materials whenever possible. Never heat wax directly over an open flame, and do not leave melting wax unattended.
How to Make DIY Scented Fire Starters
This project is straightforward, but it does involve hot wax, so take your time and keep children and pets away from the work area.
Step 1: Prepare Your Workspace
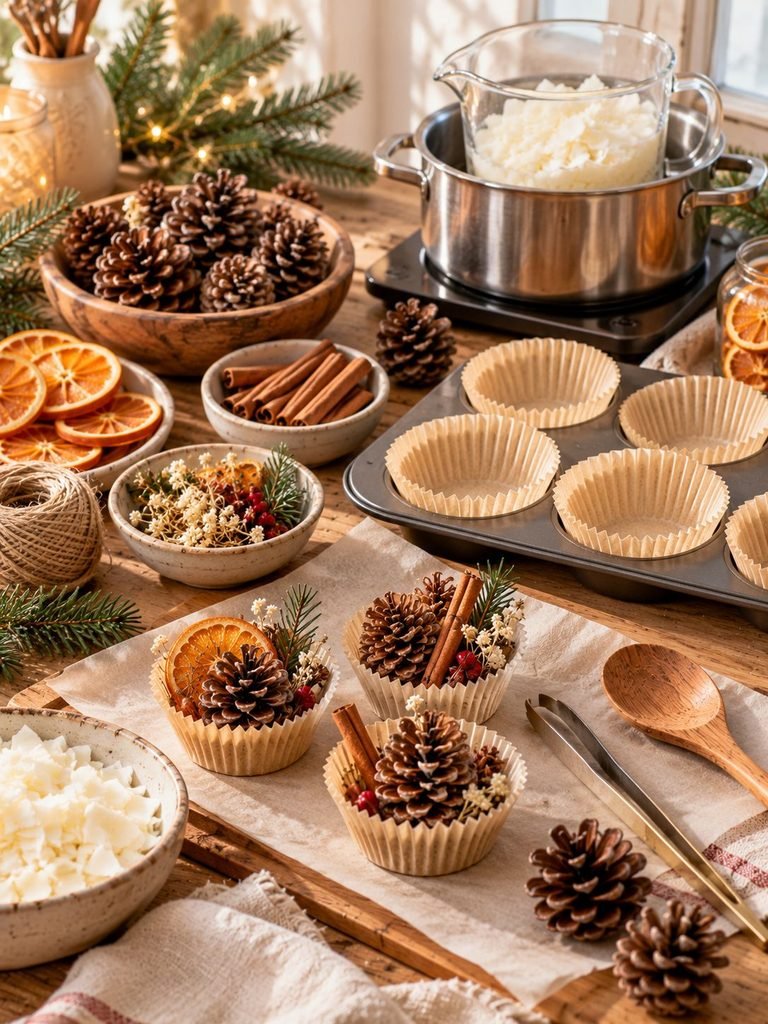
Cover a stable, heat-resistant surface with parchment paper and arrange your materials within easy reach.
Make sure the workspace is well ventilated and away from curtains, paper clutter, and other combustible materials. Keep a suitable fire extinguisher nearby, and never use water to extinguish a wax fire.
Line a muffin tin with paper cupcake liners if you are making molded fire starters. You can also use small, heat-resistant silicone molds intended for craft use.
Step 2: Prepare the Pinecones and Botanicals
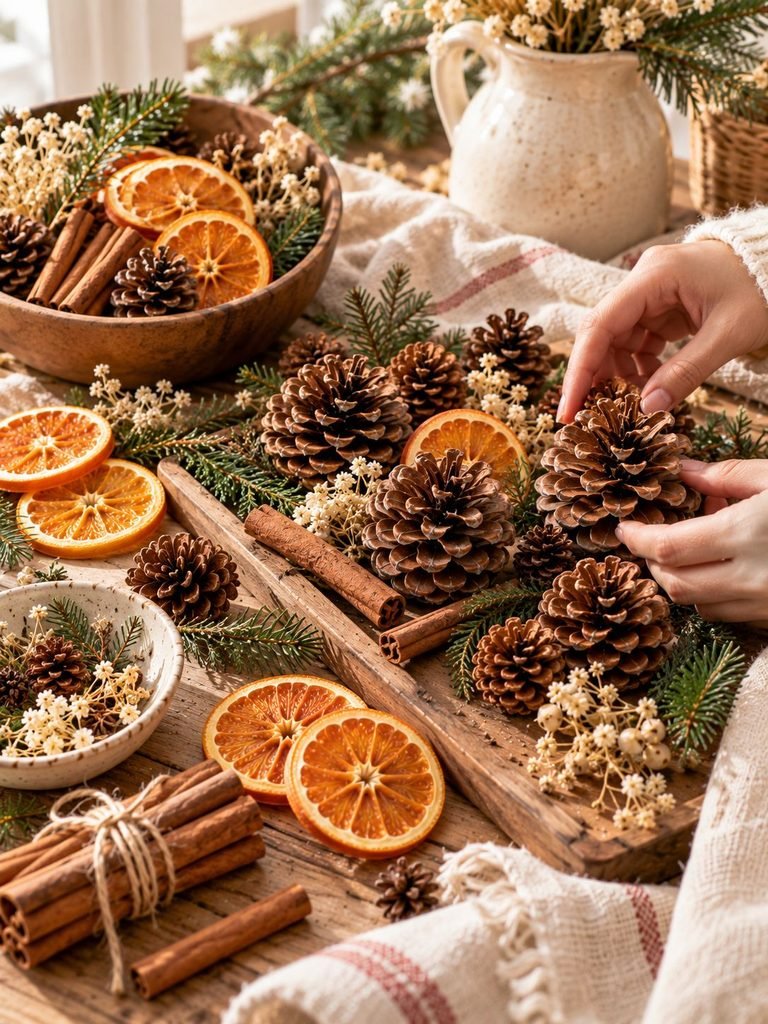
Choose small, clean pinecones that are completely dry. Remove loose dirt and debris, and discard any cones that are damp, moldy, or covered in unknown substances.
Prepare your dried orange slices, cinnamon sticks, and other decorative botanicals. Keep the pieces small enough to fit comfortably inside your chosen mold.
Avoid fresh greenery because moisture can interfere with the finished product. Also avoid painted, glittered, chemically treated, or artificially scented decorations.
My styling tip: A little goes a long way. One small pinecone and a few natural decorative pieces can create a lovely result without overcrowding the mold.
Step 3: Melt the Wax Carefully
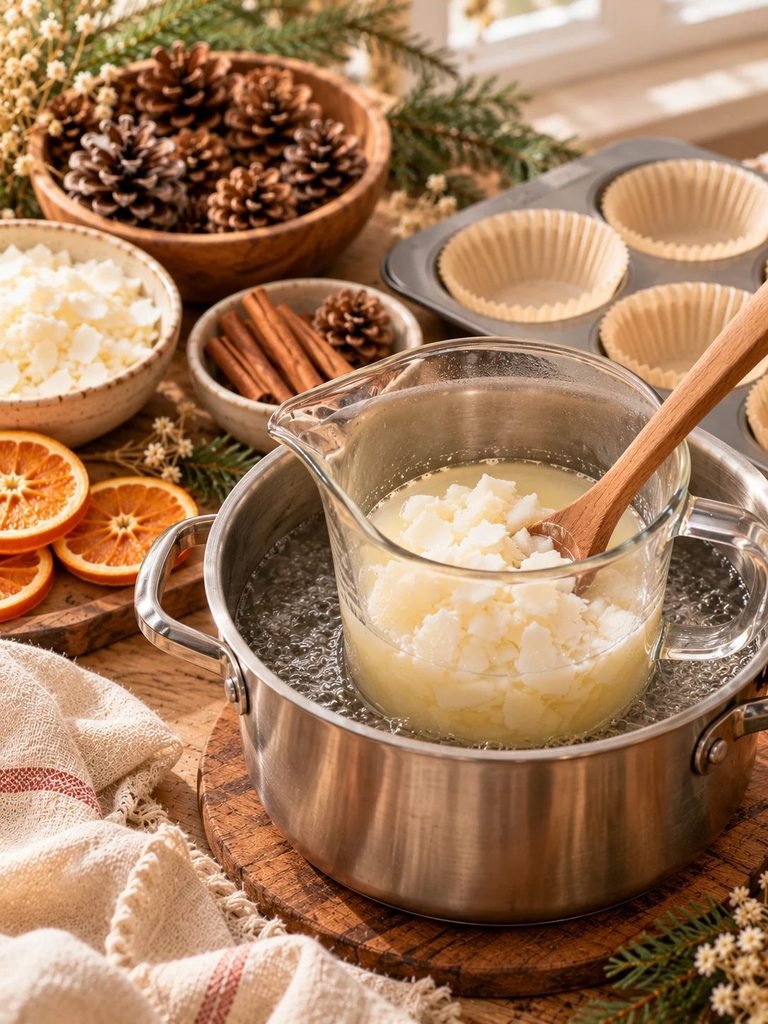
Place your chosen wax in a suitable heat-safe pouring container and set it over a saucepan of gently simmering water.
Allow the wax to melt gradually, stirring occasionally with a dedicated craft utensil. Follow the wax supplier’s recommended heating temperature, and keep water out of the melted wax.
Never leave the wax unattended. If it begins to smoke, turn off the heat if you can do so safely and move away from the area. Smoking wax may indicate dangerous overheating.
For this project, avoid adding essential oils or candle fragrance oils unless you have verified that the specific product is appropriate for this use. Oils that are suitable for a diffuser or candle are not automatically safe to burn in a fire starter.
Step 4: Arrange the Materials in the Molds
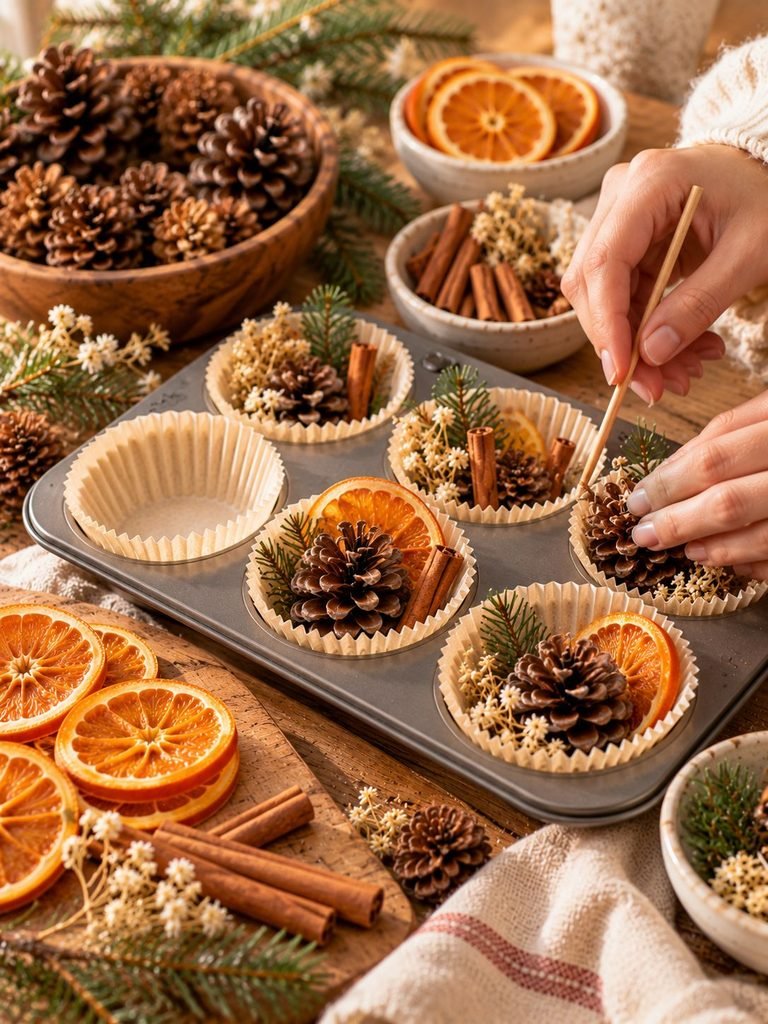
Place a small amount of your dry combustible material in each paper-lined mold. Add a small pinecone or a few pieces of suitable dried botanicals if desired.
Keep the arrangement loose enough for the materials to catch and sustain a flame. Avoid packing the molds too tightly or adding excessive amounts of decorative material.
If you are using a purpose-made fire-starter wick, position it according to the manufacturer’s instructions. Do not substitute plastic string, synthetic ribbon, or unknown fibers.
Step 5: Add the Melted Wax
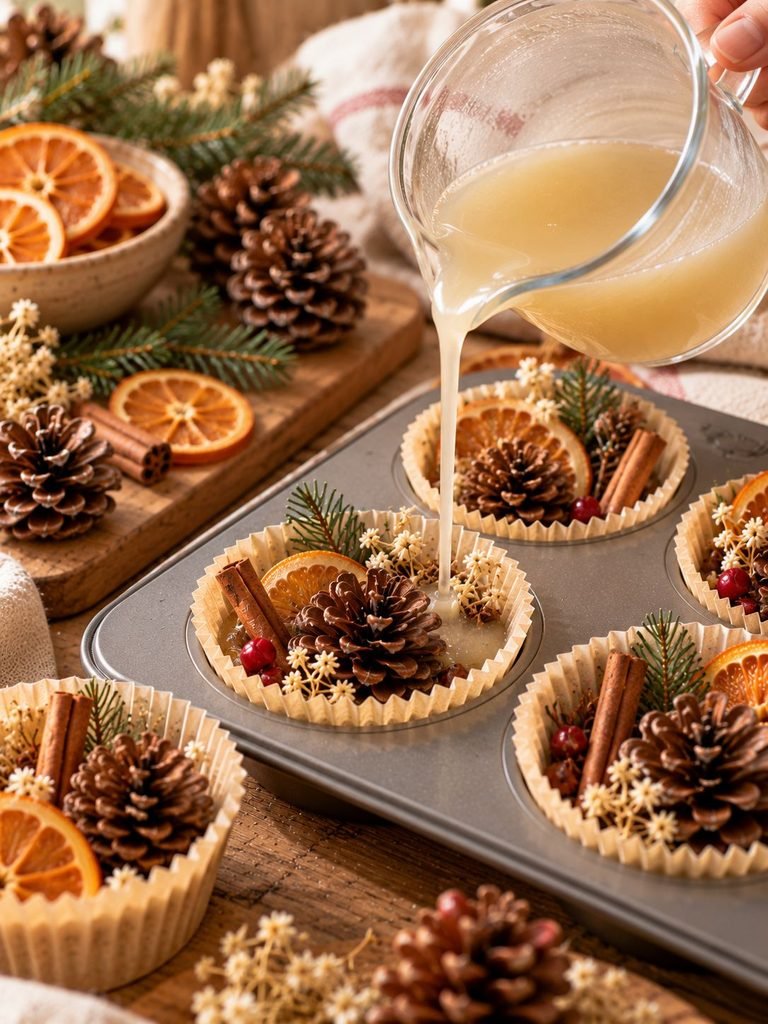
Carefully pour the melted wax over the dry materials, using a small pouring jug to control the flow.
Add enough wax to bind the contents together without completely flooding the mold. Work slowly to avoid splashes and spills.
If any wax spills, leave it to cool before attempting to remove it. Never wipe up hot wax with a paper towel or cloth.
Step 6: Let the Fire Starters Cool Completely
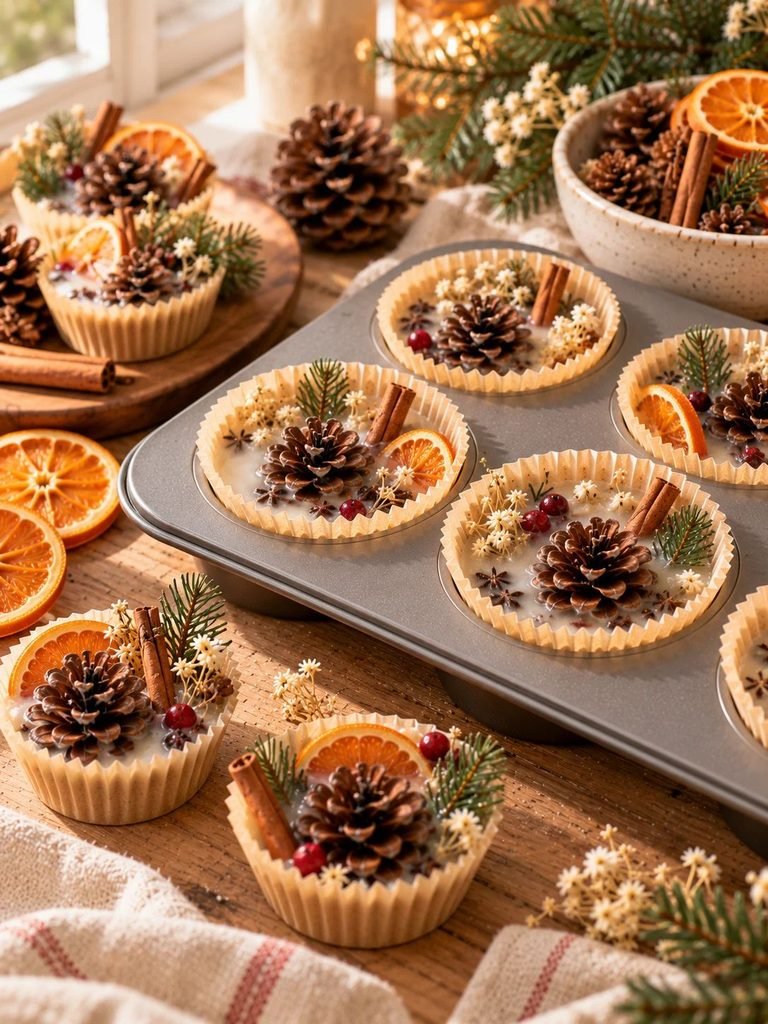
Leave the molds on a stable, heat-resistant surface until the wax has fully hardened.
Allow plenty of cooling time, following the wax supplier’s instructions. Do not handle the pieces while they are warm or try to speed up the process by placing hot wax in a refrigerator or freezer.
Once completely cool, remove the finished pieces from their molds if the design allows.
Check each one for loose decorations, cracks, or excessive amounts of exposed material. Set aside any piece that appears unsuitable for safe use.
Step 7: Package Your Finished Fire Starters
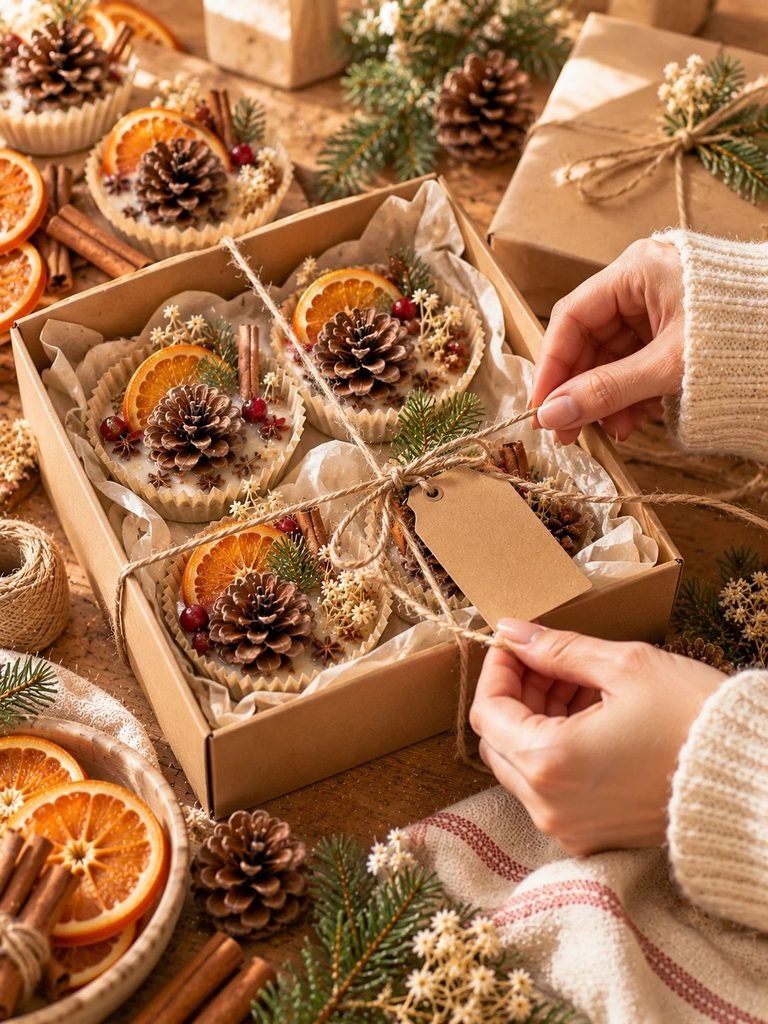
Now comes the fun part: creating a pretty Christmas gift presentation!
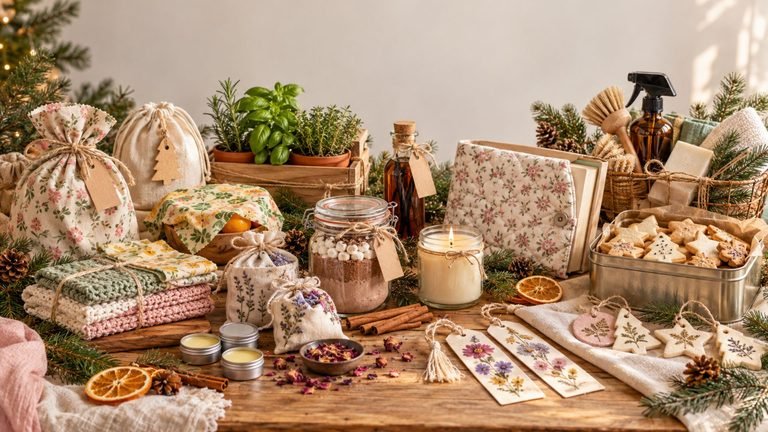
Arrange the cooled fire starters in a small cardboard gift box or another suitable container. Add a kraft paper tag, a simple twine bow, and a handwritten Christmas message.
You could also create a small gift set with a handmade card or a festive tea towel. Keep all packaging materials away from the fire starters during storage and remove them before use.
Remember that the fire starters themselves are combustible. Do not store them near candles, radiators, fireplaces, or other sources of heat.
Christmas Scent and Styling Ideas
One of my favorite things about seasonal crafts is how easily you can change the look to suit your own style. Here are a few combinations to inspire your Christmas batch.
1. Classic Christmas Spice
Use cinnamon sticks and a small amount of dried orange for a traditional Christmas color palette.
The warm brown tones and golden citrus make this combination particularly pretty in natural kraft packaging.
2. Woodland Christmas
Combine small pinecones with a restrained amount of suitable dried evergreen material.
This style looks lovely with kraft paper, natural twine, and simple handwritten labels.
3. Rustic Citrus
Use dried orange slices as a decorative feature, paired with a few small pinecones.
The orange and brown tones look beautiful against cream paper liners and neutral gift boxes.
4. Simple Natural Neutrals
Keep the design minimal with plain wax, small pinecones, and unbleached paper liners.
This is a lovely option if you prefer a softer, more understated cottagecore aesthetic.
A note about fragrance: These combinations are suggestions for appearance and material selection, not guarantees of a particular aroma during burning. Do not add extra oils or spices simply to make the fire starter smell stronger.
How to Use Your Homemade Fire Starters
Before using your finished project, confirm that homemade wax fire starters are permitted for your specific fireplace, wood stove, or outdoor fire pit.
For a suitable wood-burning fireplace or outdoor fire pit:
- Read and follow the appliance manufacturer’s instructions or the fire pit’s safety guidance.
- Place one fire starter beneath a small arrangement of dry kindling as directed.
- Make sure the area is clear of combustible packaging and that the fire is properly contained.
- Light the fire starter according to the product or appliance instructions.
- Add larger pieces of wood only as appropriate for the appliance and once the kindling has caught.
Never use homemade wax fire starters in gas fireplaces, gas stoves, or appliances that prohibit them. Do not use them in an enclosed wood stove unless its manufacturer explicitly permits this type of fire starter.
Never leave a fire unattended, and keep children, pets, and flammable materials at a safe distance. Ensure indoor fireplaces have appropriate ventilation and that smoke and carbon monoxide alarms are working.
Tips for the Best Results
A few simple precautions can make your crafting session easier and help you avoid common mistakes.
- Use completely dry materials. Moisture can make ignition unreliable and may cause unwanted popping.
- Keep your design simple. Too many decorative ingredients can make the fire starter difficult to light or burn unpredictably.
- Choose suitable wax. Follow the wax supplier’s instructions and avoid unknown mixtures that may contain unsuitable additives.
- Skip artificial decorations. Plastic glitter, synthetic ribbon, paint, and coated materials should never be included in something intended to burn.
- Test cautiously. If you decide to test a finished fire starter, do so only in a permitted, suitable fire-burning location, following all relevant safety instructions.
- Store them properly. Keep them cool, dry, and away from heat, sparks, children, and pets.
How to Store Your DIY Fire Starters
Once the wax has hardened completely, store your fire starters in a cool, dry place away from direct sunlight and heat sources.
A sturdy cardboard box can work well for organizing them, provided it is kept away from the fireplace or other ignition sources. A decorative basket may be attractive, but it should not be placed beside an active fire or used as a container for transporting burning materials.
If you are giving these as gifts, attach a label that explains what they are and includes basic usage and safety instructions. This is especially important if the recipient is unfamiliar with homemade fire starters.
Frequently Asked Questions
Can I use leftover candle wax?
Yes, suitable leftover candle wax may be used if you know what it contains and it is appropriate for this purpose. Avoid wax contaminated with unknown materials or decorative additives.
Do I need essential oils to make scented fire starters?
No. You can create a festive look with dried citrus, pinecones, and suitable dried botanicals without adding essential oils. Added fragrance is not necessary, and burning oils may create irritating smoke or other unwanted by-products.
How long do homemade fire starters take to harden?
Cooling time depends on the type and amount of wax, the mold size, and the room temperature. Allow them to cool completely and follow the wax supplier’s guidance before removing or packaging them.
Can I sell these at a Christmas craft fair?
You may be able to sell homemade fire starters, but check the relevant local product-safety, labeling, insurance, and fire-safety requirements first. Include clear usage instructions and warnings, and do not make unverified claims that the product is nontoxic or environmentally harmless.
Are these suitable for every fireplace?
No. Homemade wax fire starters are not suitable for every appliance. Check the manufacturer’s instructions, and never use them in gas-burning appliances or in any system that prohibits them.
Final Thoughts
Making DIY scented fire starters is a lovely way to bring a handmade touch to Christmas gifting. With simple materials, a little patience, and thoughtful packaging, you can create rustic pieces that look beautiful in a festive gift box.
I love the idea of pairing a small batch with a handwritten note for someone who enjoys cozy evenings by a suitable wood-burning fire. Just remember that these are functional fire-starting products, so careful preparation, appropriate storage, and clear safety instructions matter just as much as their appearance.
If you enjoy making useful, seasonal crafts, this is a wonderful project to add to your Christmas DIY list.
Happy crafting!