Knitted Pumpkin Free Pattern
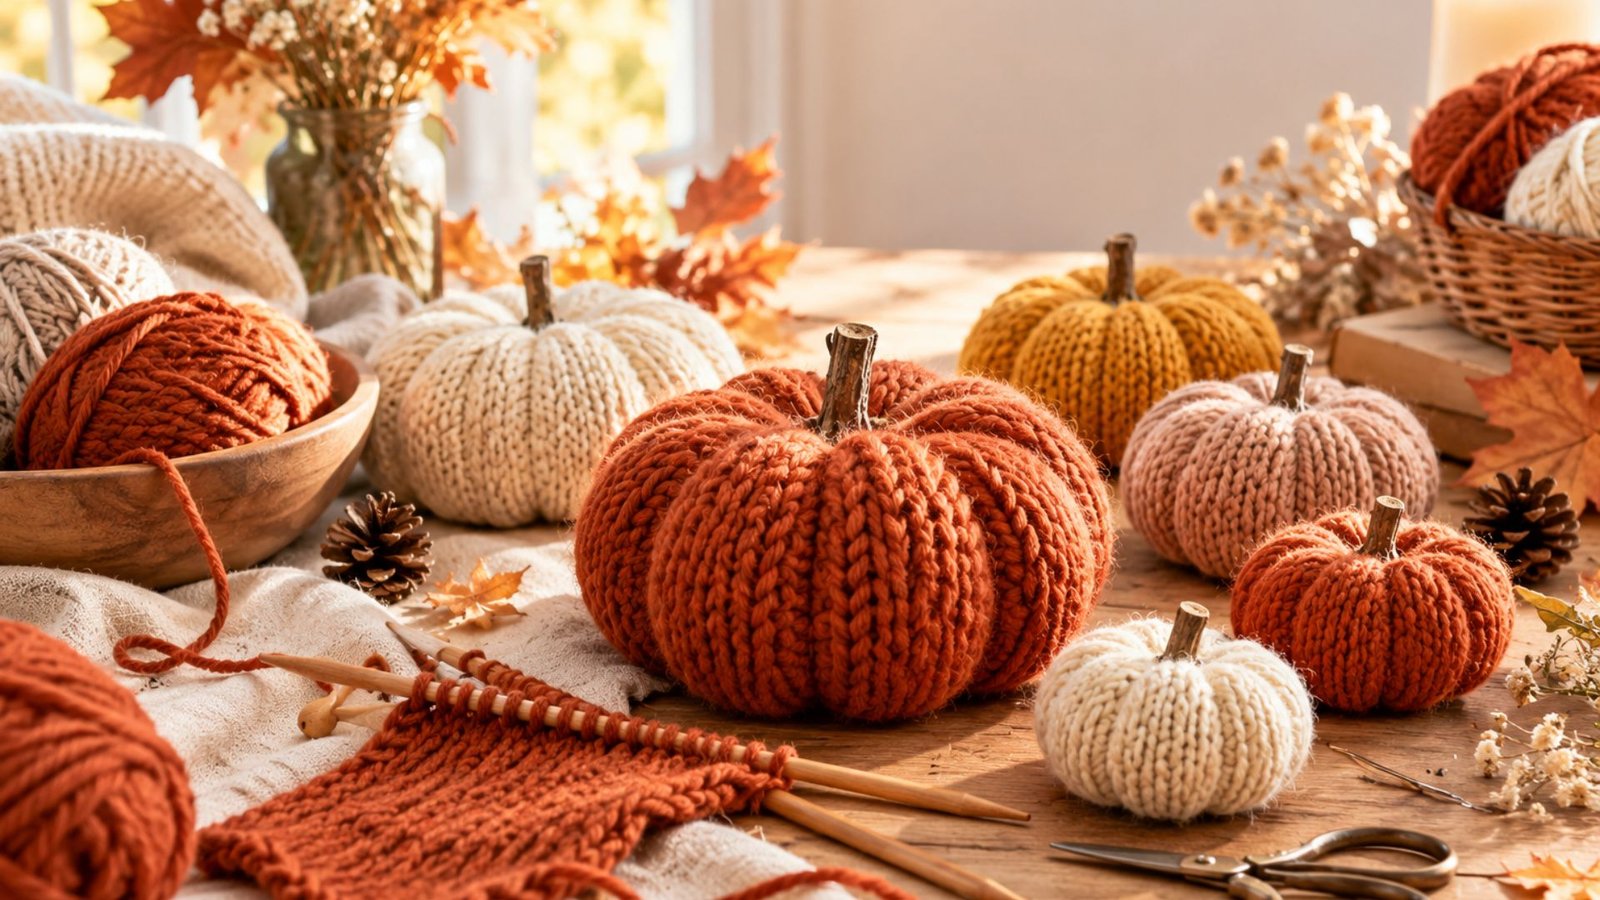
Every year when autumn starts to arrive, I find myself wanting to make my home feel a little warmer and cozier.
I love bringing out soft blankets, warm candles, dried flowers, and anything handmade that gives a room that comforting fall feeling. One of my favorite little projects to make this time of year is a knitted pumpkin.
They are simple, charming, and surprisingly quick to make, even if you are still getting comfortable with your knitting needles.
I especially love how a basic knitted tube can become a plump pumpkin with just a little stuffing and some simple shaping. If you love handmade fall décor as much as I do, this is such a sweet project to add to your autumn crafting list.
Why You’ll Love Making Knitted Pumpkins

Knitted pumpkins are one of those projects that look much more complicated than they actually are.
The knitting itself is wonderfully repetitive, which makes this a relaxing project to work on while watching a favorite movie, listening to music, or enjoying a quiet afternoon with a cup of coffee.
The original B.Hooked project is rated easy and creates a pumpkin approximately 5.5 inches in diameter and 2.5 inches tall. It uses simple knit and purl stitches, and the pumpkin’s distinctive shape is created afterward with stuffing and yarn shaping.
There are plenty of reasons to give this project a try:
- It is beginner-friendly.
- It doesn’t require complicated shaping while knitting.
- It uses a relatively small amount of yarn.
- You can make pumpkins in different colors.
- They make lovely seasonal decorations.
- They are wonderful handmade gifts.
- You can make several in an afternoon or over a weekend.
- They are easy to customize for your own decorating style.
I also love that knitted pumpkins don’t have to look perfectly identical. In fact, slight differences in size, shape, and texture are part of what makes handmade décor so beautiful.
Materials You’ll Need
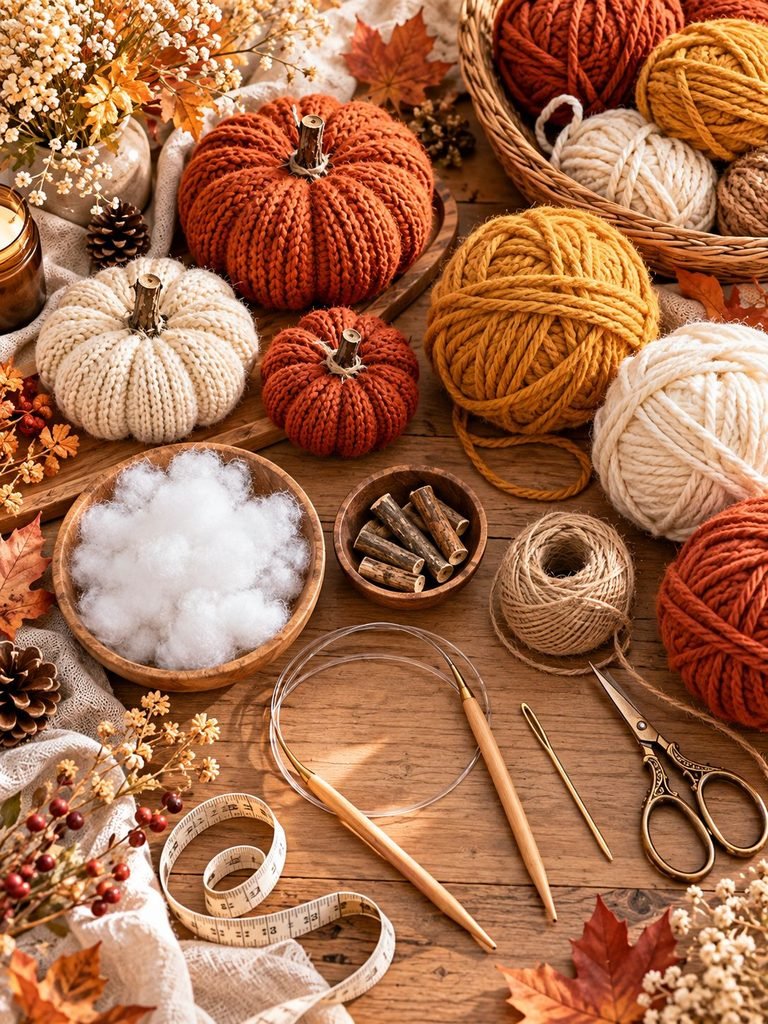
Before you begin, gather everything you need so you can sit down and enjoy the project without having to stop halfway through.
Yarn
You’ll need a medium-weight or similarly suitable yarn that will create a soft, slightly sturdy fabric.
The original B.Hooked version recommends approximately 55 yards of Lion Brand Scarfie and uses a cream/mustard colorway.
For your own pumpkins, you can experiment with colors such as:
- Burnt orange
- Pumpkin orange
- Cream
- Mustard yellow
- Rust
- Terracotta
- Sage green
- Dusty rose
- Chocolate brown
- Warm beige
If you’re making several pumpkins, choosing three or four coordinating colors can create a beautiful little fall display.
Knitting Needles
A 16-inch circular knitting needle in the appropriate size is recommended for the original project. Double-pointed needles can also be used if you prefer them.
Circular needles are particularly convenient because the pumpkin is knitted in the round.
Other Supplies
You’ll also need:
- Yarn needle
- Scissors
- Polyester fiberfill or another suitable stuffing
- Measuring tape
- Optional wooden twig or small stem
- Optional hot glue or craft glue for attaching a decorative stem
- Optional ribbon, twine, or raffia
Keep a generous length of yarn available when beginning and finishing the knitted piece. You’ll need those yarn tails later for closing, shaping, and creating the pumpkin sections.
Understanding the Knitted Pumpkin Construction

Before starting, it helps to understand how this little pumpkin actually comes together.
Instead of knitting a pumpkin shape with increases and decreases, the main knitted section is essentially a simple tube.
You’ll work the fabric in the round using a combination of knit and purl stitches. The repeated purl sections eventually become useful guides for creating the pumpkin’s ridges.
Once the knitted section is finished, the real transformation begins.
You’ll:
- Close one end.
- Add stuffing.
- Close the other end.
- Pull yarn through the center.
- Shape the sides into pumpkin segments.
- Secure the yarn.
- Add a stem if desired.
This is one of my favorite things about the project because you get to watch a simple knitted piece suddenly become recognizable as a pumpkin.
Basic Knitting Skills You’ll Need
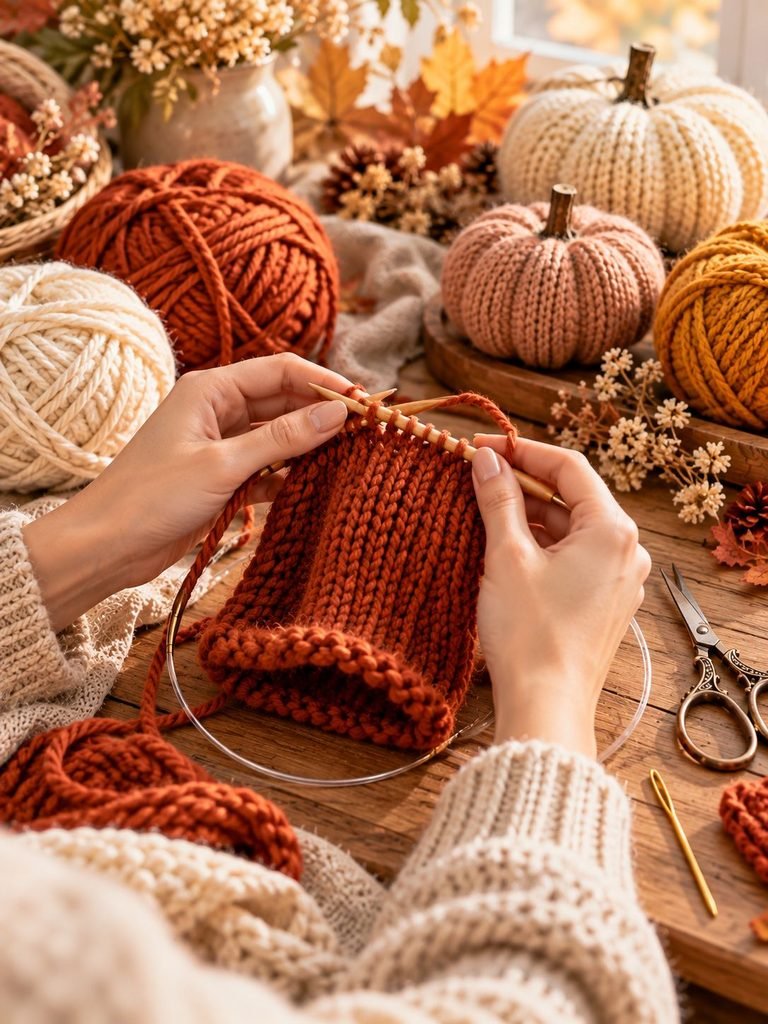
This project is a nice choice if you’re comfortable with a few basic knitting techniques.
You’ll want to know how to:
- Cast on
- Knit
- Purl
- Work in the round
- Bind off
- Thread yarn onto a yarn needle
- Weave in ends
The original pattern uses a repeating knit-and-purl texture and does not require increases or decreases.
If you’re completely new to knitting, don’t feel discouraged. The repetitive nature of this project makes it a nice opportunity to practice your stitches.
Step 1: Choose Your Yarn Color

Start by deciding what kind of mood you want your pumpkins to have.
For a traditional autumn look, choose a rich orange or rusty shade.
For something softer and more cottagecore, I would choose cream, oatmeal, muted mustard, or dusty peach.
You can also make neutral pumpkins in beige and ivory and add just one or two orange pumpkins for a subtle pop of color.
One of my favorite decorating tricks is to combine different textures rather than using lots of different colors. A chunky knitted pumpkin next to a smooth ceramic pumpkin and a few dried flowers can look incredibly cozy.
Step 2: Cast On and Begin Knitting

Cast on the required number of stitches from the original pattern and join your work carefully in the round.
Take a moment to make sure your stitches aren’t twisted before beginning.
The body of the pumpkin is worked using a repeating combination of knit stitches and purl stitches. The purl sections are important because they create subtle vertical grooves in the finished fabric.
Continue working the established stitch pattern until your knitted piece reaches the recommended length.
The original project uses a stockinette-based texture and specifies a gauge of 10 stitches by 14.5 rows over 2 inches.
A Helpful Tip
Don’t worry if your first pumpkin isn’t perfectly shaped.
Your tension can affect the finished size, and the amount of stuffing you use will also change the appearance.
For your first attempt, focus more on keeping your stitches consistent than achieving absolute perfection.
Step 3: Bind Off

Once the knitted piece has reached the desired length, bind off according to the original pattern instructions.
Leave a long yarn tail rather than cutting it very short.
This tail will be used during the assembly process, so having enough yarn to work with will make shaping much easier.
At this point, your project may not look much like a pumpkin yet.
It will probably look more like a knitted tube.
That’s completely normal!
The stuffing and shaping are what create the pumpkin’s final form.
Step 4: Close the First Opening
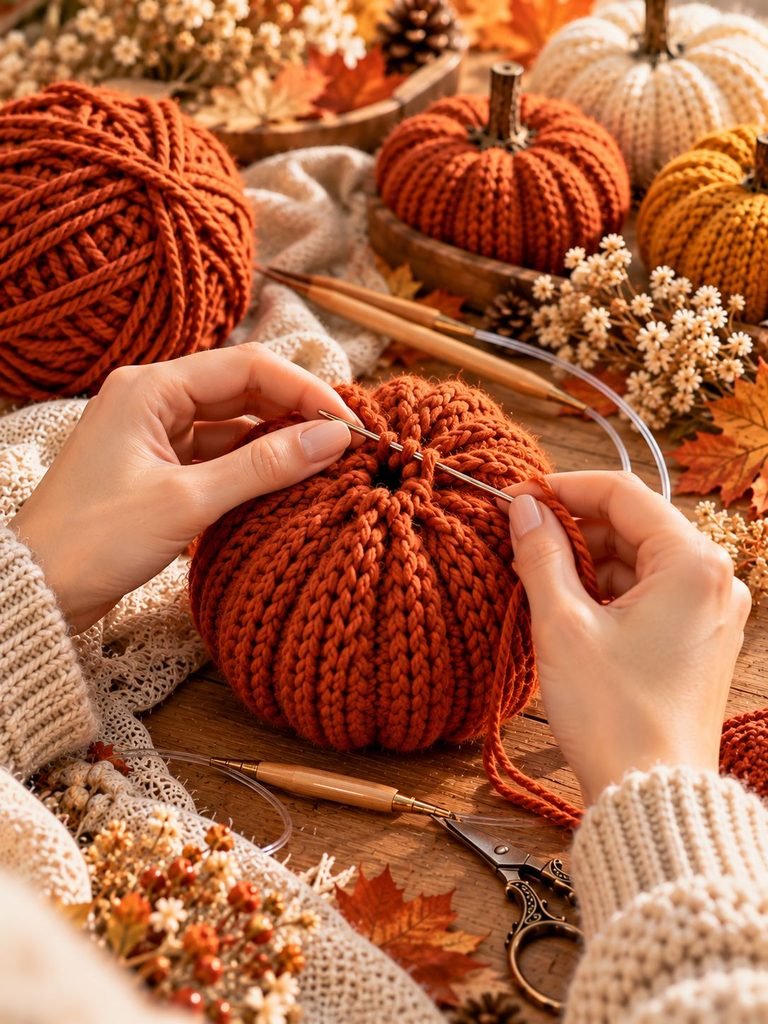
Thread one of your long yarn tails onto a yarn needle.
Rather than simply pulling the opening closed with one quick tug, carefully work the yarn around the opening so the stitches gather evenly.
Slowly pull the yarn to close the opening.
Take your time here because this becomes one of the ends of your finished pumpkin.
Once the opening is closed, secure the yarn firmly.
If you’re working with a loosely spun or roving-style yarn, be especially gentle while pulling because aggressive tension can cause the yarn to separate or break. The original tutorial specifically highlights this consideration during the drawstring closure.
Step 5: Stuff Your Pumpkin
Now comes the fun part!
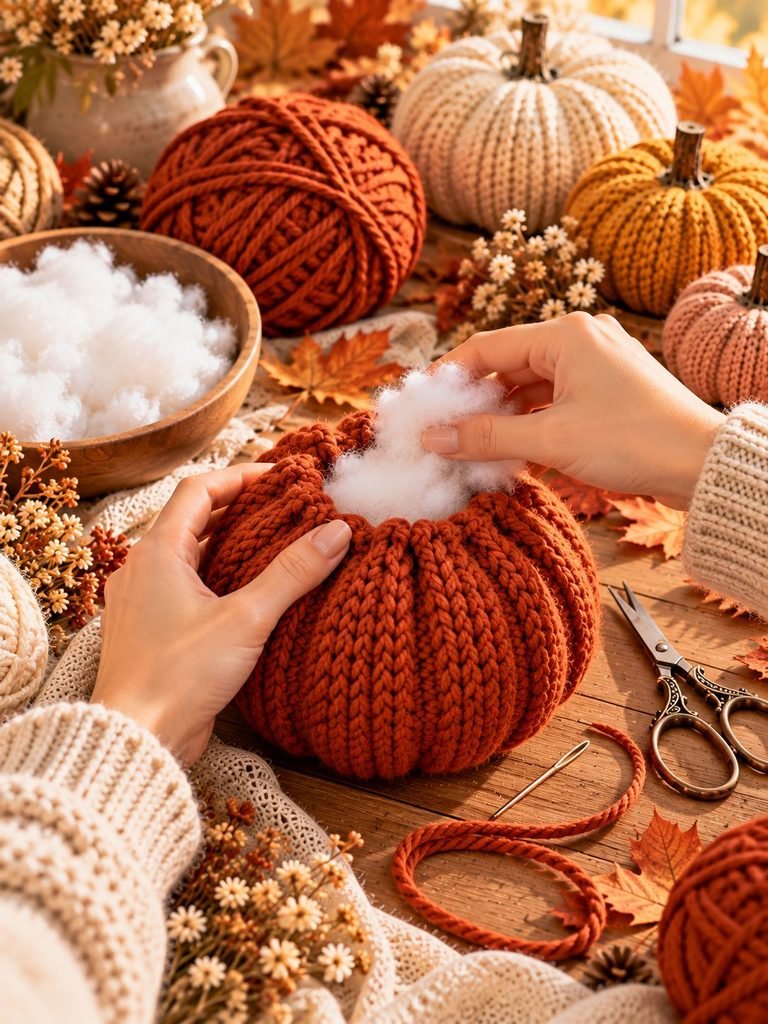
Begin filling the knitted pumpkin with polyester fiberfill.
Add a little stuffing at a time rather than putting everything in at once.
Use your fingers to push the filling toward the edges and corners of the pumpkin.
The goal is to create a firm but soft pumpkin.
Don’t Understuff It
This is one of the most important tips I can give you.
If the pumpkin is too lightly stuffed, it may look flat and won’t hold its shape well when you create the sections.
On the other hand, you don’t want to stretch the knitting so tightly that the stitches become distorted.
Add the stuffing gradually and turn the pumpkin around as you work.
Look at it from different angles to make sure the filling is evenly distributed.
Step 6: Close the Second Opening
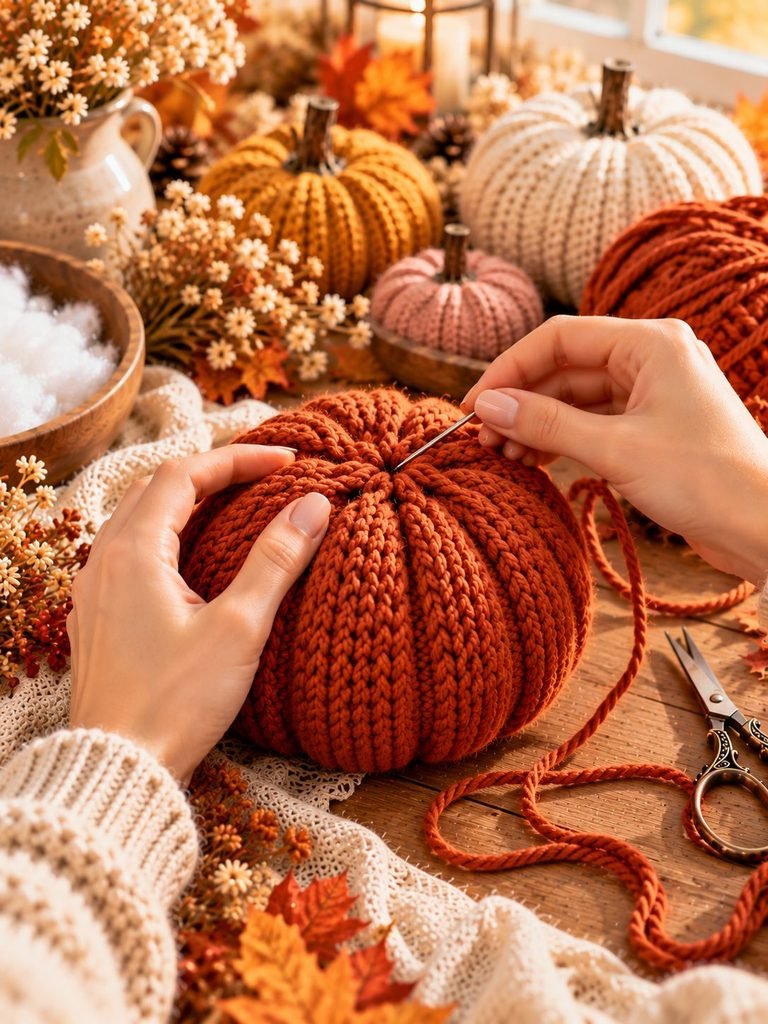
Once you’re happy with the fullness, use the remaining yarn tail to gather the second opening.
Pull it closed gradually.
Secure the opening just as you did with the first side.
At this stage, you should have a soft, stuffed knitted ball or slightly flattened pumpkin shape.
Now we’re ready for the part that really gives the pumpkin its character.
Step 7: Create the Pumpkin Sections
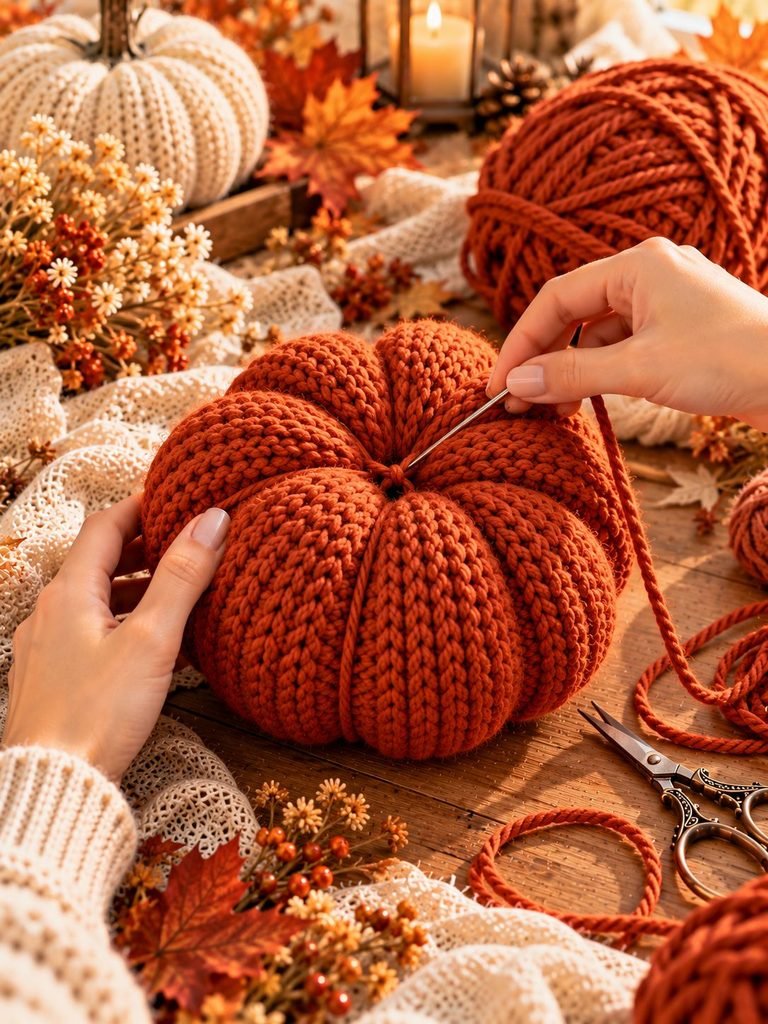
The pumpkin’s ridges are created by passing yarn through the center of the pumpkin and pulling it firmly enough to create indentations.
This shaping process divides the pumpkin into sections.
The textured purl grooves on the knitted fabric make helpful visual guides for where these sections should be created.
Work slowly and keep checking the pumpkin as you pull.
You want the indentations to be visible but not so tight that the yarn cuts deeply into the fabric.
The original design creates six pumpkin segments using this shaping technique.
My Best Shaping Tip
Don’t try to make every section perfectly identical on the first pull.
Instead, create each indentation gradually.
After you’ve made several sections, step back and look at the overall pumpkin.
If one section looks deeper than another, gently adjust the yarn tension.
This little bit of shaping can make a huge difference in the finished appearance.
Step 8: Add a Stem

Your knitted pumpkin is technically finished, but I think it looks even sweeter with a little stem.
There are several ways to make one.
Use a Small Twig
A small dry twig can create a beautiful rustic look.
Trim it to a suitable length and carefully secure it in the center of the pumpkin.
Use a Wooden Stem
Small wooden craft stems can give your pumpkins a polished handmade-shop appearance.
Make a Knitted Stem
For a completely knitted project, you can knit a tiny tube or simple strip and roll it into a stem.
Add Twine
Wrap a small amount of natural twine around the base of the stem for a rustic farmhouse or cottagecore finish.
Easy Ways to Customize Your Pumpkins
One of my favorite things about handmade pumpkins is how easy they are to personalize.
Make Mini Pumpkins
Use less yarn and create smaller knitted pieces for tiny pumpkins.
These are adorable scattered around a coffee table, bookshelf, or tiered tray.
Make Oversized Pumpkins
For a larger statement piece, experiment with thicker yarn and larger needles while adjusting your dimensions.
Remember that changing the yarn weight and needle size will affect your gauge and finished measurements.
Mix Colors
Try making a group using:
- Cream
- Rust
- Mustard
- Olive green
- Brown
This gives you a warm, natural autumn palette.
Add Embellishments
You can decorate finished pumpkins with:
- Small fabric leaves
- Raffia
- Twine
- Dried flowers
- Wooden beads
- Tiny bows
Keep embellishments secure if the pumpkins will be around young children or pets.
How to Get the Best Pumpkin Shape
If your pumpkin doesn’t look quite right at first, don’t worry.
Here are some simple things to check.
Use Enough Stuffing
A firm, evenly stuffed pumpkin generally holds its shape better.
Shape Slowly
Don’t pull the yarn as hard as possible immediately.
Gradual shaping gives you more control.
Keep the Sections Even
Use the existing textured grooves as visual guides.
Check Both Sides
The top and bottom should have a similar amount of shaping.
Don’t Overstretch the Knitting
If the stitches look extremely stretched, you may have added too much stuffing or pulled the shaping yarn too tightly.
Decorating Ideas for Knitted Pumpkins
Once you’ve made a few pumpkins, you’ll probably start finding little places to put them everywhere!
Try arranging them:
- On a fireplace mantel
- In a decorative bowl
- On a coffee table
- Beside a stack of books
- On a kitchen shelf
- In a woven basket
- Around a candle display
- On an entryway table
- Beside dried flowers
- On a fall-themed dining table
I especially love grouping pumpkins in different sizes rather than displaying just one.
A small collection instantly makes a space feel more seasonal without making the décor feel overwhelming.
Common Problems and Easy Fixes
My Pumpkin Looks Too Flat
Add more stuffing and reshape it.
My Pumpkin Has Lumpy Areas
Remove a little stuffing and redistribute it evenly with your fingers.
My Sections Don’t Look Even
Loosen the shaping slightly and reposition the yarn.
My Yarn Keeps Breaking
Avoid pulling too aggressively, especially with loosely spun yarn.
My Pumpkin Is a Different Size
Check your yarn weight, needle size, gauge, and knitting tension.
Remember that handmade projects naturally vary.
Can Beginners Make This Knitted Pumpkin?
Yes!
If you’ve learned how to knit and purl and are comfortable working in the round, this is a lovely project to try.
The original project is categorized as easy and specifically avoids complicated increase and decrease shaping.
If you’re brand new to knitting, I recommend practicing the knit and purl stitches separately before beginning the pumpkin.
Once those stitches feel comfortable, the repeated pattern becomes much easier to manage.
Final Thoughts
I absolutely love handmade seasonal decorations, and these little knitted pumpkins are such a sweet way to bring that handmade feeling into your home.
What makes this project especially enjoyable is that the knitting itself is simple, while the finishing process transforms the piece into something completely different. With a little stuffing, careful shaping, and a cute stem, a basic knitted tube becomes a cozy autumn pumpkin that you can bring out year after year.
You can stick with traditional orange, create a soft neutral collection, or experiment with your favorite fall colors. Make one for yourself, create a whole pumpkin patch for your mantel, or package a few together as handmade gifts.
If you’re following the original B.Hooked design, be sure to visit their tutorial for the complete pattern instructions and original designer’s terms of use.
And most importantly, don’t worry about making every pumpkin perfect. The little variations are what make handmade decorations so special.
So grab your favorite yarn, your knitting needles, and a cozy cup of something warm, and enjoy a relaxing afternoon making your own little knitted pumpkin collection.