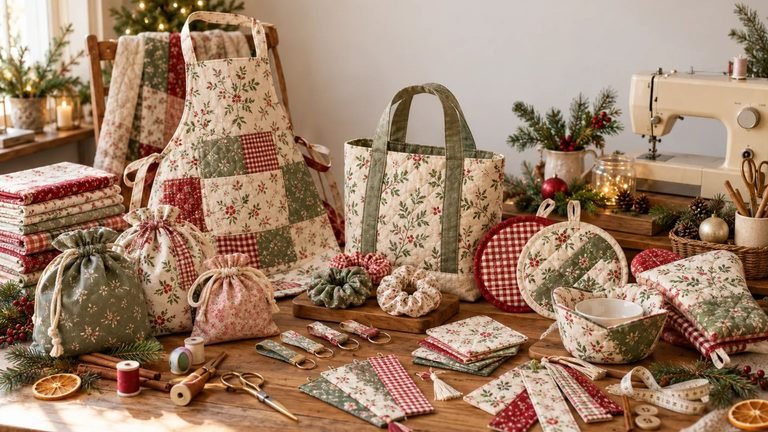
Fun Little Things You Can Sew Today: 15 Small and Quick Sewing Projects
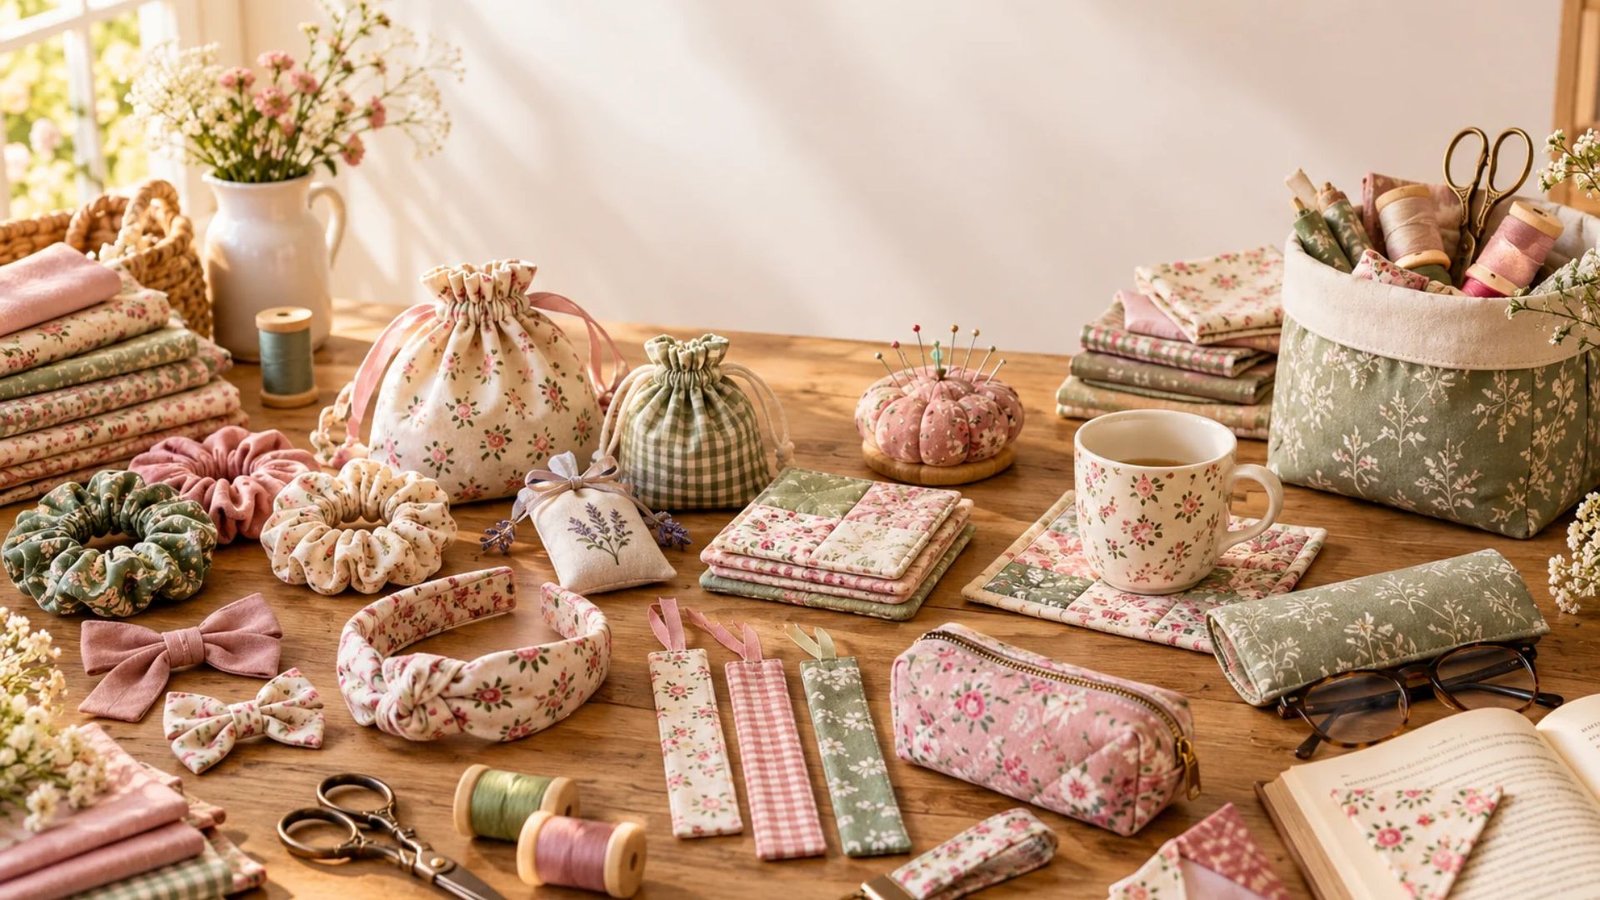
Some of my favorite DIY projects are the little things that make everyday life feel a bit more special.
I love the idea of taking a pretty piece of leftover fabric and turning it into something useful, whether it is a cute scrunchie, a charming fabric bookmark, or a tiny pouch for keeping everyday essentials organized.
The best part? You do not need an entire weekend or a cupboard full of supplies to get started. These fun little sewing projects are perfect for a quiet afternoon, a creative break, or whenever you feel like making something lovely with your own hands.
If you have been looking for fun little things you can sew today, you are in the right place! I have gathered 15 small sewing projects that are practical, beginner-friendly, and enjoyable to make. Many use fabric scraps, basic sewing supplies, and simple stitches, so you can start creating without spending a fortune.
Whether you are new to sewing or already have a collection of fabric waiting for its next purpose, there is something here for you.
Why You Will Love These Small Sewing Projects
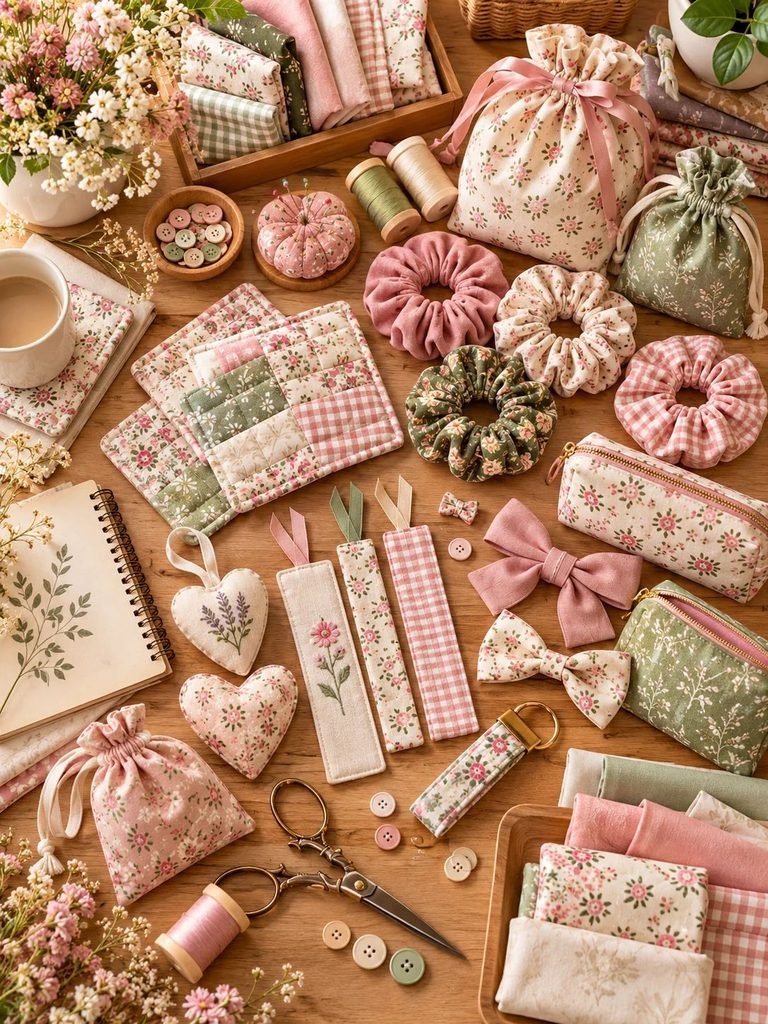
Small sewing projects are a wonderful way to enjoy a creative hobby without committing to something complicated. They are especially helpful when you want to practice your skills, use up leftover materials, or make thoughtful handmade gifts.
Here are a few reasons to give them a try:
- They are beginner-friendly: Many projects involve straight seams and simple shapes.
- They save fabric: Small pieces left over from other projects can become something beautiful.
- They make lovely gifts: Handmade accessories and practical household items are thoughtful gifts for friends and family.
- They are budget-friendly: You can often use supplies you already have at home.
- They build confidence: Finishing a small project can encourage you to try more challenging sewing ideas.
You can start with something as simple as a fabric bookmark and gradually work your way toward projects with elastic, linings, or zippers.
Basic Supplies You Will Need
Before choosing your first project, gather a few basic supplies. You do not need a professional sewing studio to make beautiful things.
Here is a simple list to get you started:
- Fabric scraps or fat quarters
- Matching sewing thread
- Fabric scissors
- Measuring tape or ruler
- Sewing pins or clips
- Hand-sewing needles or a sewing machine
- Fabric marking pencil or washable fabric marker
- Iron and ironing board
- Elastic, ribbon, buttons, or zippers for selected projects
- Seam ripper for correcting mistakes
My tip: If you are a beginner, start with lightweight cotton fabric. It is generally easy to cut, control, and press, making it a lovely choice for small sewing projects.
15 Fun Little Things You Can Sew Today
1. DIY Fabric Scrunchies
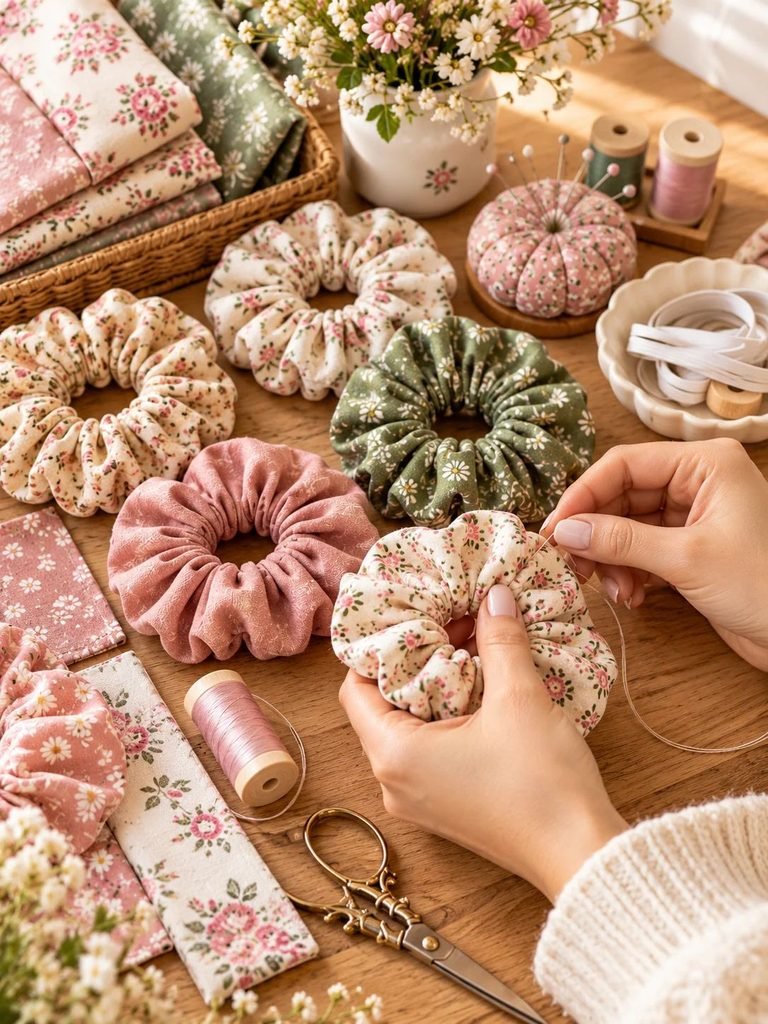
Scrunchies are one of the sweetest little accessories you can make at home. They are quick to sew, require very little fabric, and look adorable in floral cotton, satin, linen blends, or soft pastel prints.
You can make a matching set for yourself or create several in different colors for gifts.
What you will need:
- A fabric strip measuring approximately 20 × 4 inches
- A piece of elastic about 7–9 inches long, adjusted to your needs
- Matching thread
- A safety pin
How to make it:
- Fold the fabric lengthwise with the right sides facing each other.
- Sew along the long edge to create a tube.
- Turn the tube right side out.
- Attach a safety pin to one end of the elastic and guide it through the tube.
- Overlap the elastic ends securely and stitch them together.
- Fold one fabric opening inside the other and sew the opening closed.
You can experiment with longer fabric strips for fuller scrunchies or add a little bow for an extra-feminine touch.
Time: Approximately 20–30 minutes.
2. Cute Fabric Bookmarks
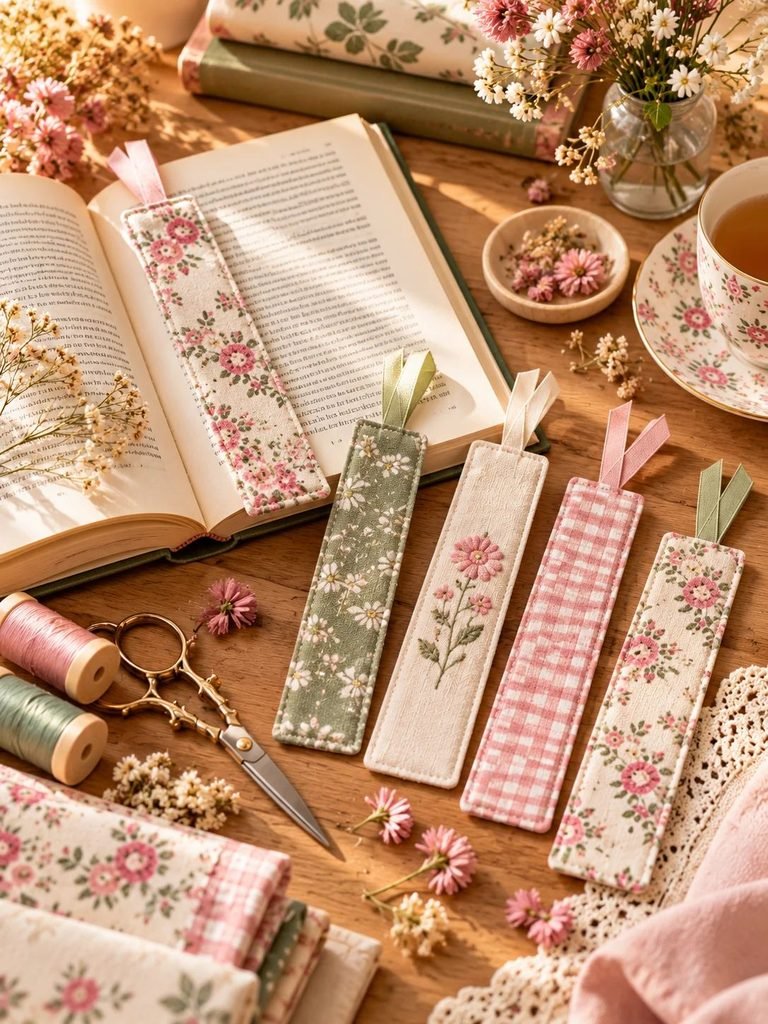
If you love reading, a handmade fabric bookmark is a lovely way to personalize your favorite books. These little accessories are also wonderful gifts for teachers, book lovers, and friends.
What you will need:
- Two fabric rectangles measuring approximately 2 × 7 inches
- Lightweight interfacing, optional
- Thread and scissors
How to make it:
- Cut two matching fabric rectangles.
- Add interfacing if you want a firmer bookmark.
- Place the fabric pieces right sides together.
- Sew around the edges, leaving a small opening.
- Trim the corners carefully and turn the bookmark right side out.
- Press it flat and stitch the opening closed.
- Topstitch around the edges for a neat finish.
For a pretty finishing touch, add a small ribbon loop at one end or use fabric with delicate flowers, tiny hearts, or your favorite colors.
Time: Approximately 15–25 minutes.
3. Mini Drawstring Bags
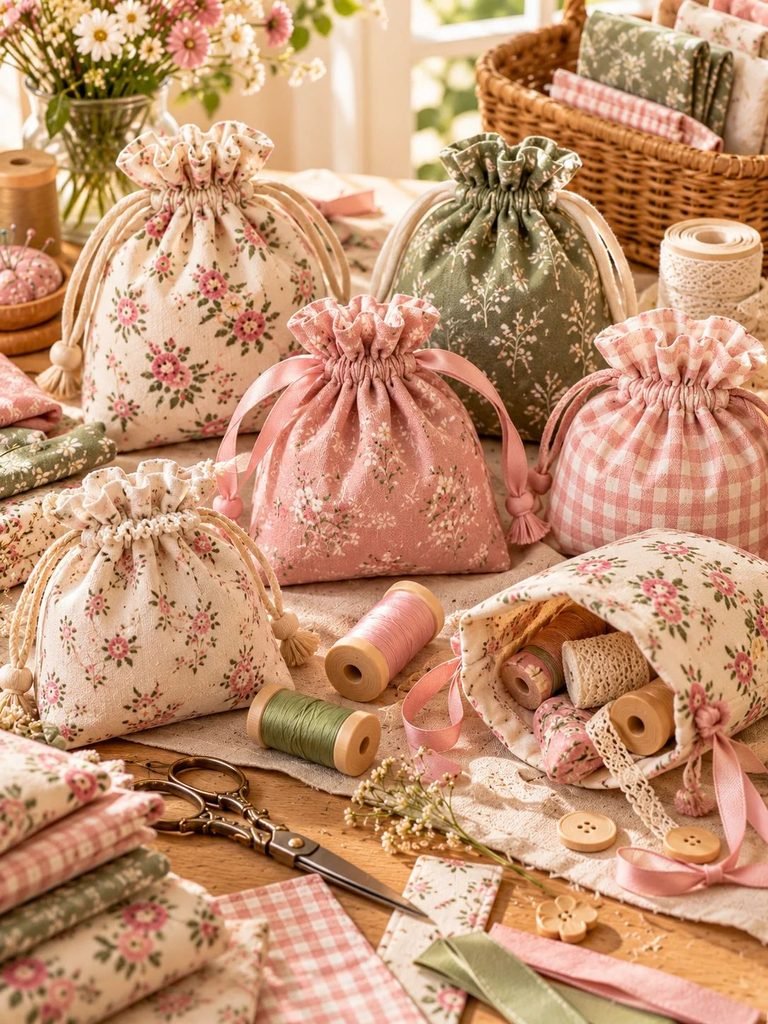
Mini drawstring bags are useful for storing jewelry, hair accessories, travel essentials, craft supplies, or small gifts. You can make them in different sizes depending on what you want to keep inside.
What you will need:
- Two matching fabric rectangles
- Ribbon or cotton cord
- Matching thread
- A safety pin
How to make it:
- Place the fabric rectangles right sides together.
- Sew along both sides and the bottom, leaving the upper edge open.
- Fold the top edge down to create a casing for the cord.
- Stitch the casing in place, leaving enough room for the cord to pass through.
- Turn the bag right side out.
- Thread the ribbon or cord through the casing.
- Tie the ends securely.
For a reversible version, use two coordinating fabrics and add a contrasting drawstring.
Time: Approximately 30–45 minutes.
Read The Cutest DIY Gift: Sew This Mini Trinket Folder in Minutes!
4. Handmade Fabric Coasters
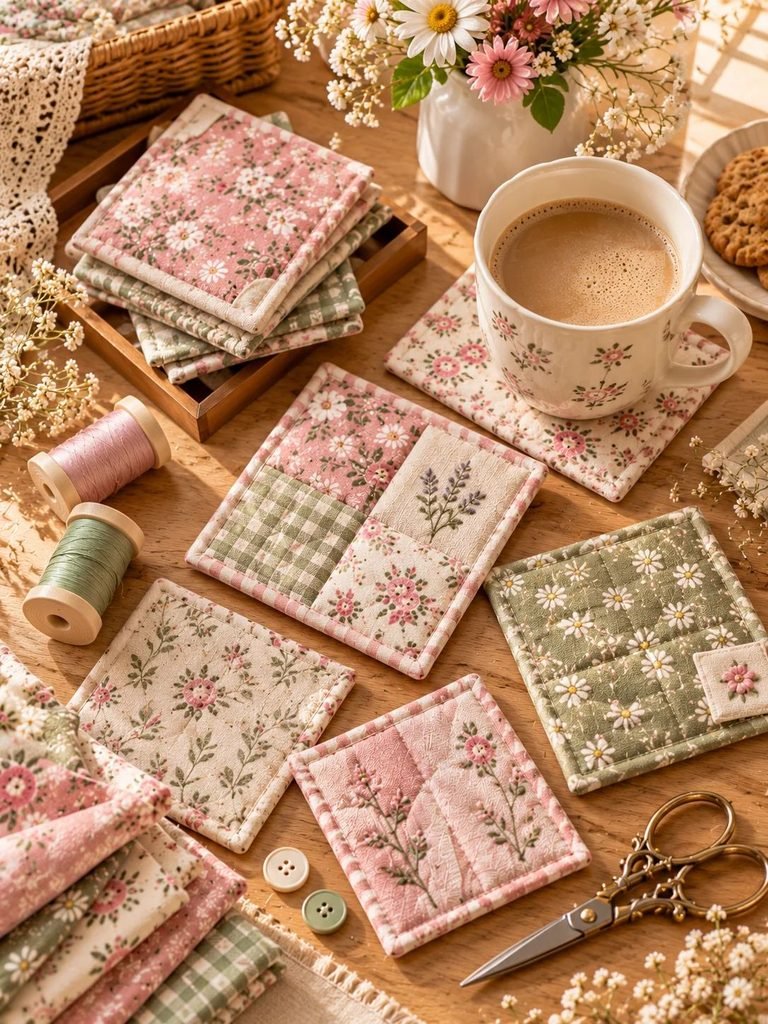
Fabric coasters are a practical way to use up cotton scraps while adding a handmade touch to your coffee table or desk. Make a matching set for your home or bundle a few together as a small housewarming gift.
What you will need:
- Four fabric squares for the tops
- Four matching fabric squares for the backs
- Lightweight cotton batting, optional
- Thread and scissors
How to make them:
- Cut your fabric into matching squares, around 5 × 5 inches each.
- Place one top square and one backing square right sides together, adding batting if desired.
- Sew around the edges, leaving a small opening.
- Trim the corners and turn the coaster right side out.
- Press it flat and close the opening.
- Topstitch around the edge.
You can also sew straight quilting lines across the coaster to give it a charming quilted appearance.
Time: Approximately 30–45 minutes for a set.
5. Simple Fabric Keychains
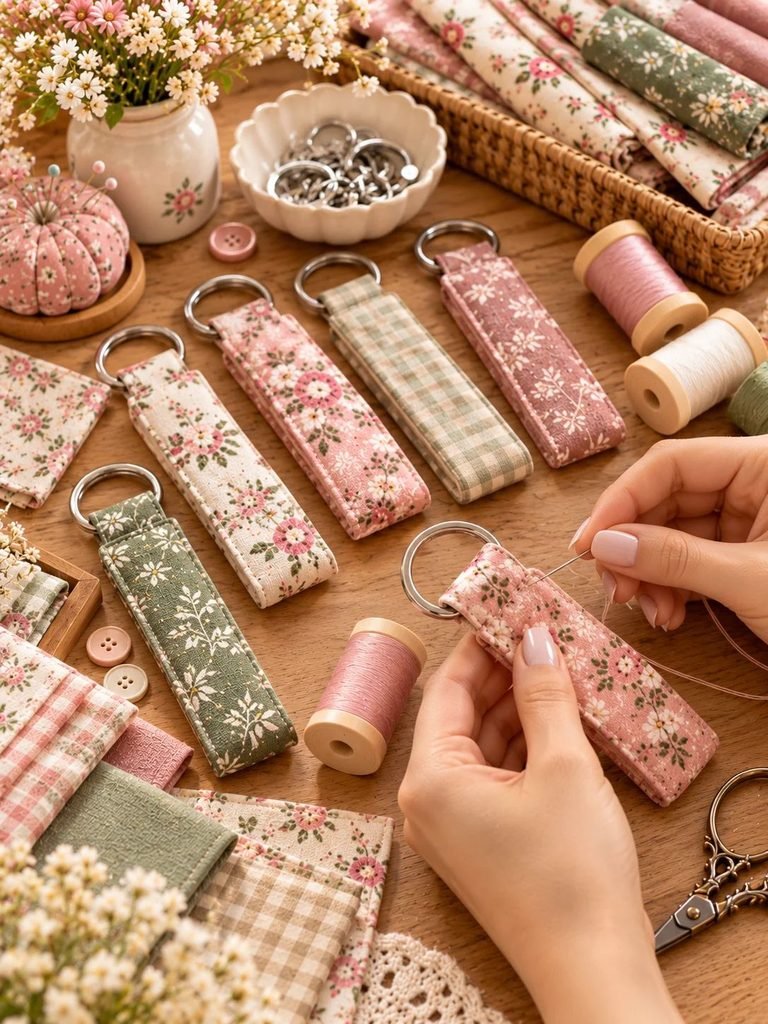
A fabric keychain is a tiny project that can turn even a narrow fabric offcut into something useful. Choose a cheerful print, add a metal key ring, and you have a cute accessory for your keys or bag.
What you will need:
- A fabric strip measuring approximately 10 × 4 inches
- Lightweight interfacing, optional
- A key ring or key fob hardware
- Matching thread
How to make it:
- Fold the long edges of the fabric strip toward the center.
- Fold the strip in half lengthwise and press.
- Stitch along both long edges.
- Fold the strip around the key ring.
- Secure the ends with several strong stitches.
You can personalize your keychains with embroidered initials, decorative stitching, or contrasting fabrics.
Time: Approximately 15–25 minutes.
6. A Pretty Fabric Headband
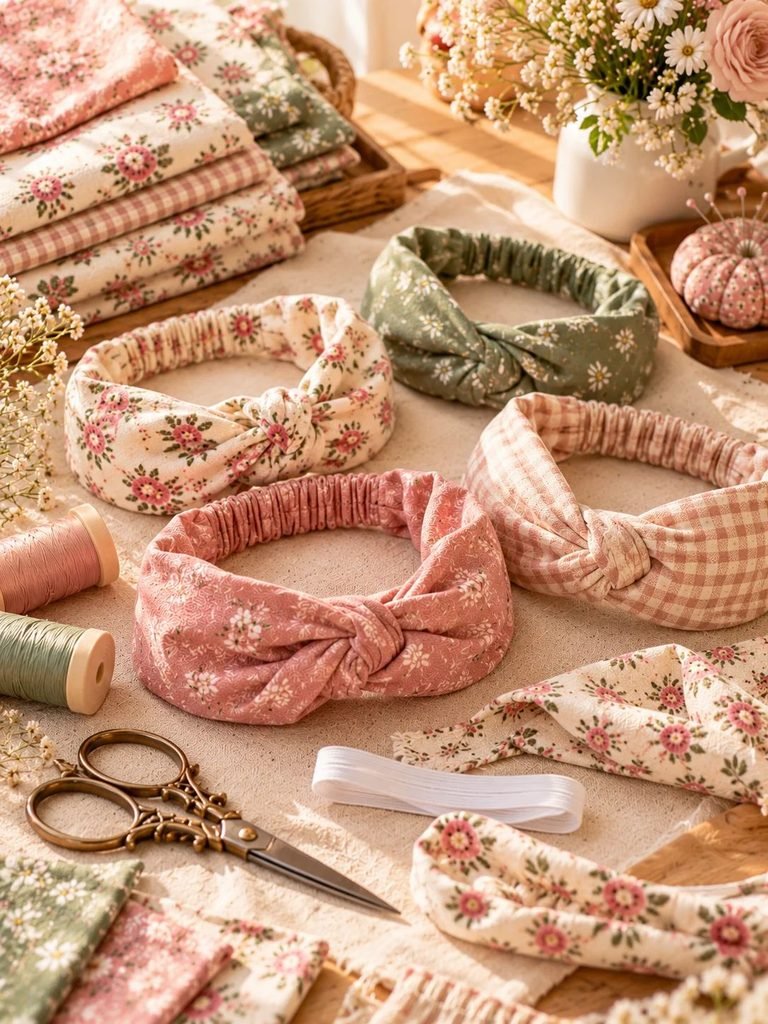
A fabric headband is a fun way to coordinate your accessories with your favorite outfits. It is also an excellent project for using floral cotton, gingham, or soft leftover fabric.
What you will need:
- Fabric measuring approximately 20 × 5 inches
- A short piece of elastic
- Matching thread
- Scissors and pins
How to make it:
- Fold the fabric lengthwise with the right sides together.
- Sew along the long edge to form a tube.
- Turn the tube right side out and press it flat.
- Cut a shorter piece of elastic to suit the fit you want.
- Attach the elastic to one end of the fabric tube.
- Fold the other end neatly over the elastic and stitch securely.
Adjust the measurements to create a wider headband, a narrow everyday style, or a twisted design.
Time: Approximately 25–40 minutes.
7. Reusable Fabric Gift Bags
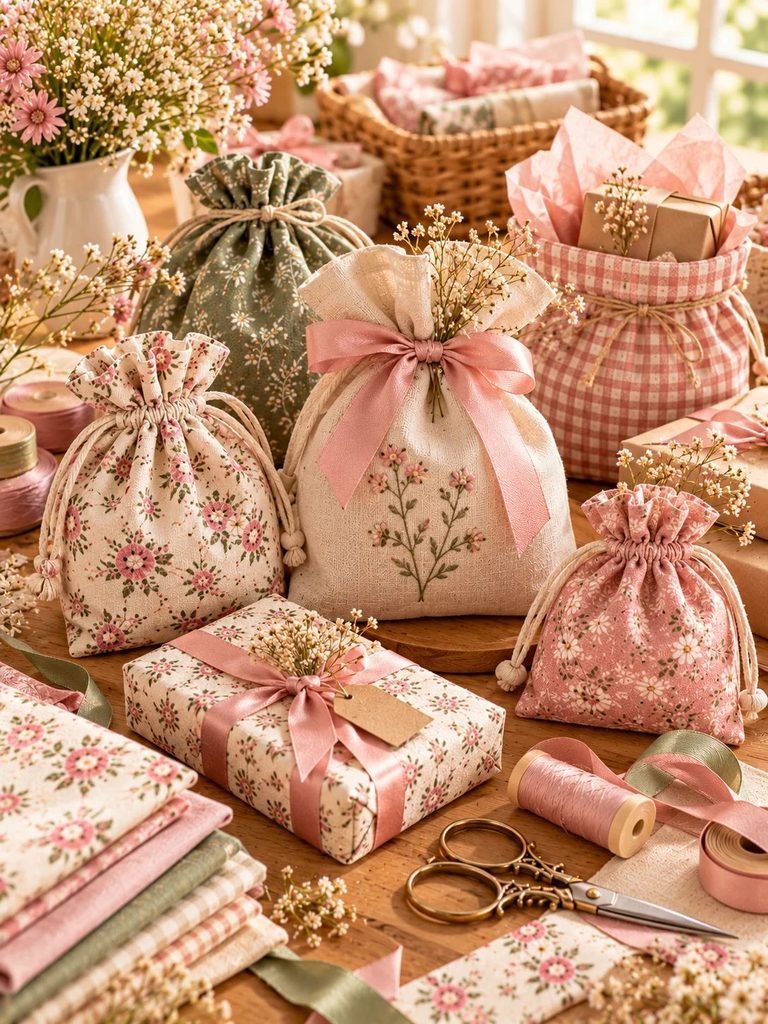
Reusable gift bags are a lovely alternative to disposable wrapping paper. They are easy to customize for birthdays, holidays, baby showers, and other special occasions.
What you will need:
- Two fabric rectangles
- Ribbon or cord, optional
- Matching thread
How to make it:
- Place the fabric pieces right sides together.
- Sew the side seams and bottom edge.
- Finish any raw edges that might fray.
- Fold the top edge over and stitch a neat hem.
- Add ribbon handles or a drawstring closure if desired.
- Turn the bag right side out and press it.
Use festive fabric for celebrations or neutral cotton for a simple, reusable gift bag that works throughout the year.
Time: Approximately 30–45 minutes.
8. A Little Pincushion
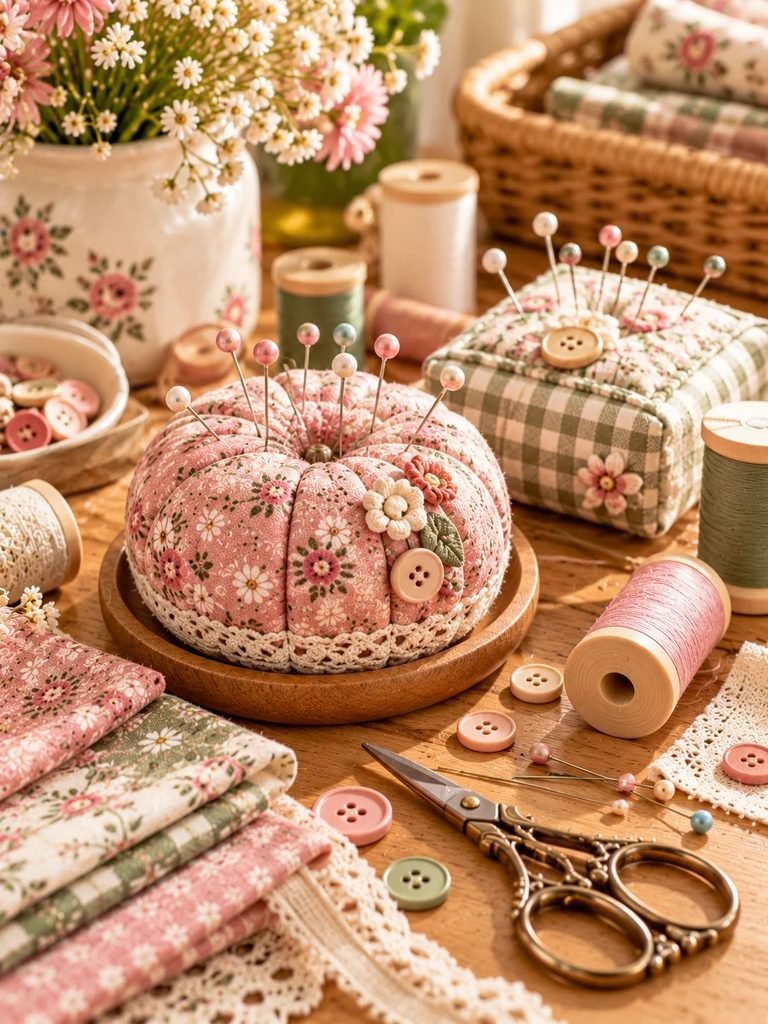
If you enjoy sewing, you will probably appreciate having a cute pincushion close by. This small project is practical, inexpensive, and perfect for using up leftover fabric.
What you will need:
- Two fabric squares measuring approximately 5 × 5 inches
- Polyester stuffing
- Matching thread
- Needle and scissors
How to make it:
- Place the fabric squares right sides together.
- Sew around the edges, leaving a small opening.
- Turn the fabric right side out.
- Fill it with stuffing until it feels comfortably firm.
- Fold the raw edges of the opening inward.
- Stitch the opening closed by hand.
For decoration, sew a few buttons onto the center of the finished pincushion, making sure they are securely attached.
Time: Approximately 20–30 minutes.
9. Fabric Lavender Sachets
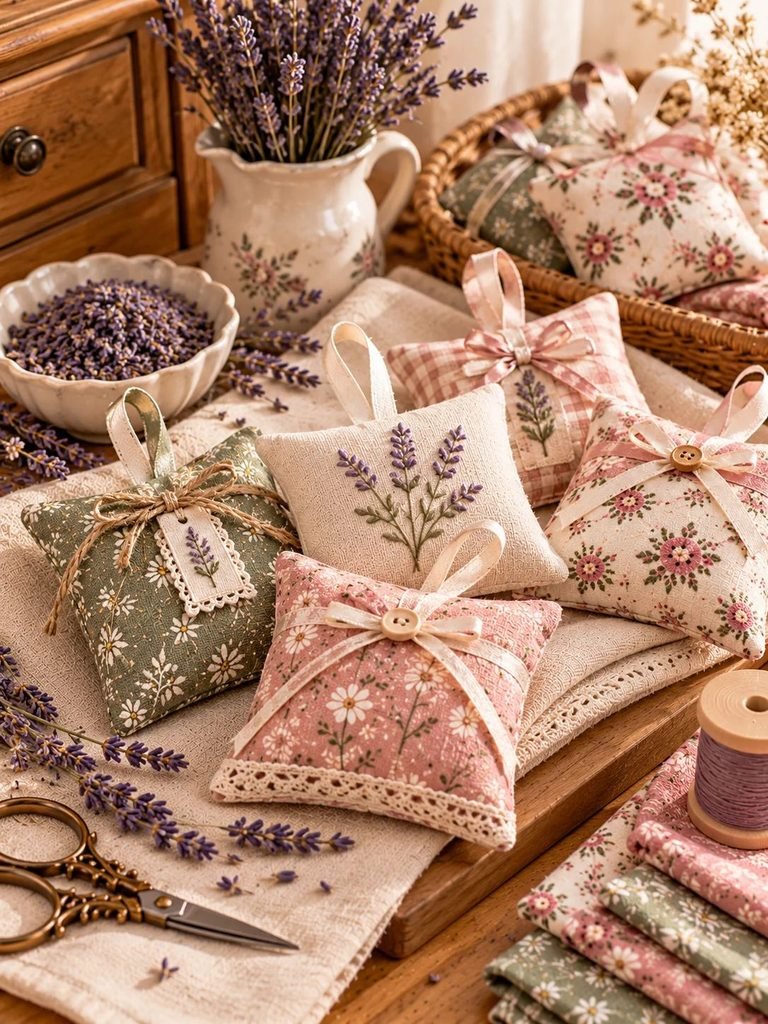
Fabric sachets are beautiful little additions to drawers, linen cupboards, and gift baskets. Fill them with dried lavender for a gentle floral fragrance, or use another suitable dried botanical filling.
What you will need:
- Two fabric squares measuring approximately 5 × 5 inches
- Dried lavender
- Matching thread
- A small funnel or spoon
How to make it:
- Place the fabric squares right sides together.
- Sew around the edges, leaving a small opening.
- Turn the sachet right side out.
- Add the dried lavender through the opening.
- Avoid overfilling so the sachet remains soft and flexible.
- Fold the raw edges inward and stitch the opening closed.
Choose breathable cotton or linen and add a small ribbon loop if you want to hang the sachet in a wardrobe.
Keep sachets away from pets and children who might open or swallow the contents.
Time: Approximately 15–25 minutes.
10. A Simple Fabric Glasses Case
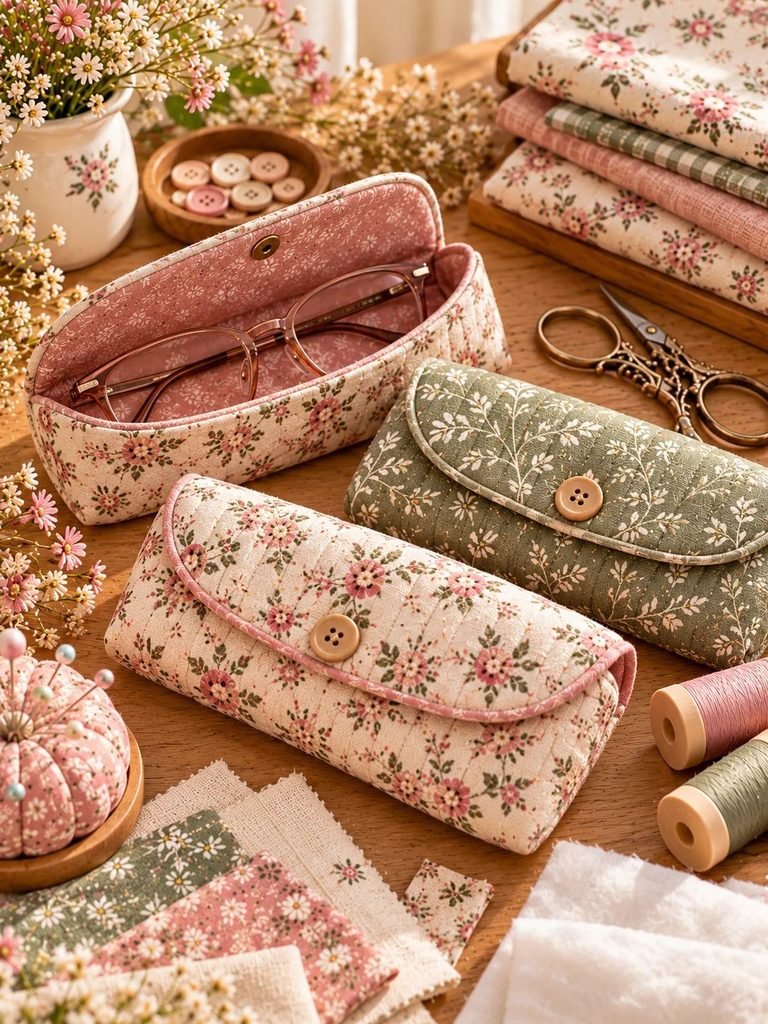
A soft fabric glasses case is a handy project for keeping reading glasses or sunglasses protected from scratches. Adding a padded layer makes it even more useful.
What you will need:
- Two outer fabric rectangles
- Two lining rectangles
- Lightweight batting, optional
- Matching thread
How to make it:
- Measure your glasses and add enough room for a comfortable fit.
- Cut matching outer and lining pieces.
- Sew the outer pieces together along the sides and bottom.
- Repeat with the lining, leaving a small opening at the bottom.
- Place the outer case inside the lining with right sides together.
- Sew around the top edge.
- Turn the case through the lining opening, close the opening, and tuck the lining inside.
- Press the top edge neatly.
Choose a soft cotton print for the outside and a coordinating lining for a polished look.
Time: Approximately 35–50 minutes.
11. A Handmade Mug Rug
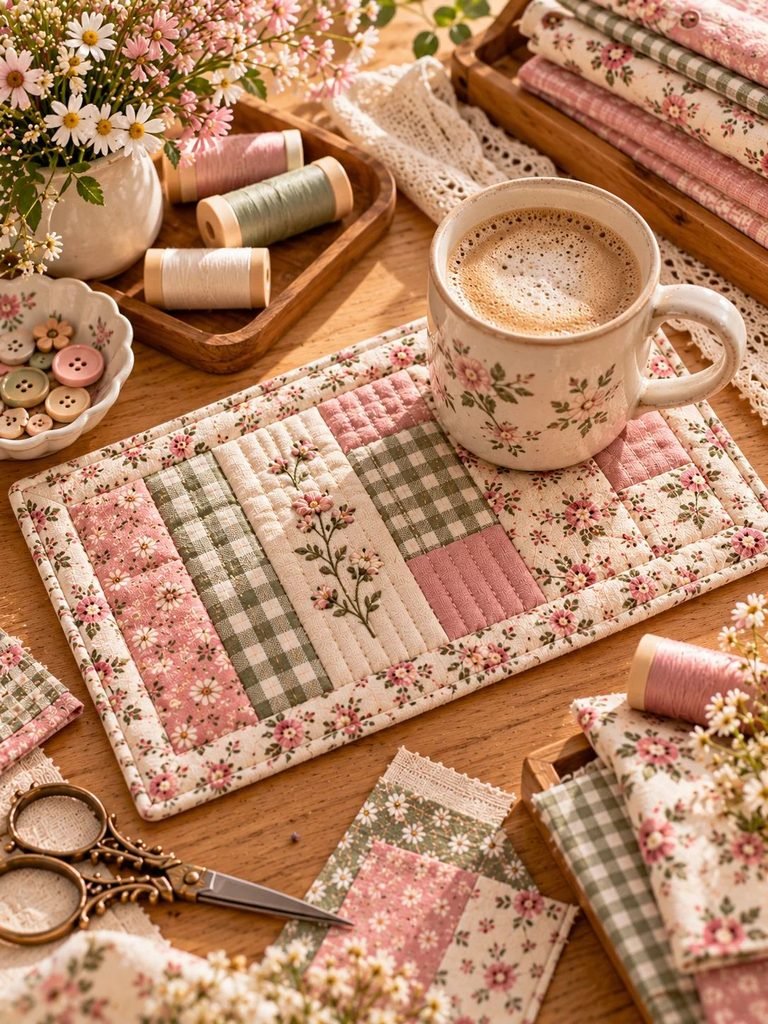
A mug rug is a small fabric mat designed to hold a mug and perhaps a biscuit or small snack. It is slightly larger than a coaster and gives you an opportunity to practice quilting.
What you will need:
- Two fabric rectangles measuring approximately 8 × 10 inches
- A piece of cotton batting
- Matching thread
How to make it:
- Layer the backing fabric, batting, and top fabric.
- Pin or clip the layers together.
- Sew straight lines across the layers to quilt them.
- Trim the edges evenly.
- Finish the edges with binding or use a turned-edge method.
- Press the finished mug rug.
Use coordinating prints to create a set for your home office, reading corner, or kitchen.
Time: Approximately 35–50 minutes.
12. A Cute Fabric Bow
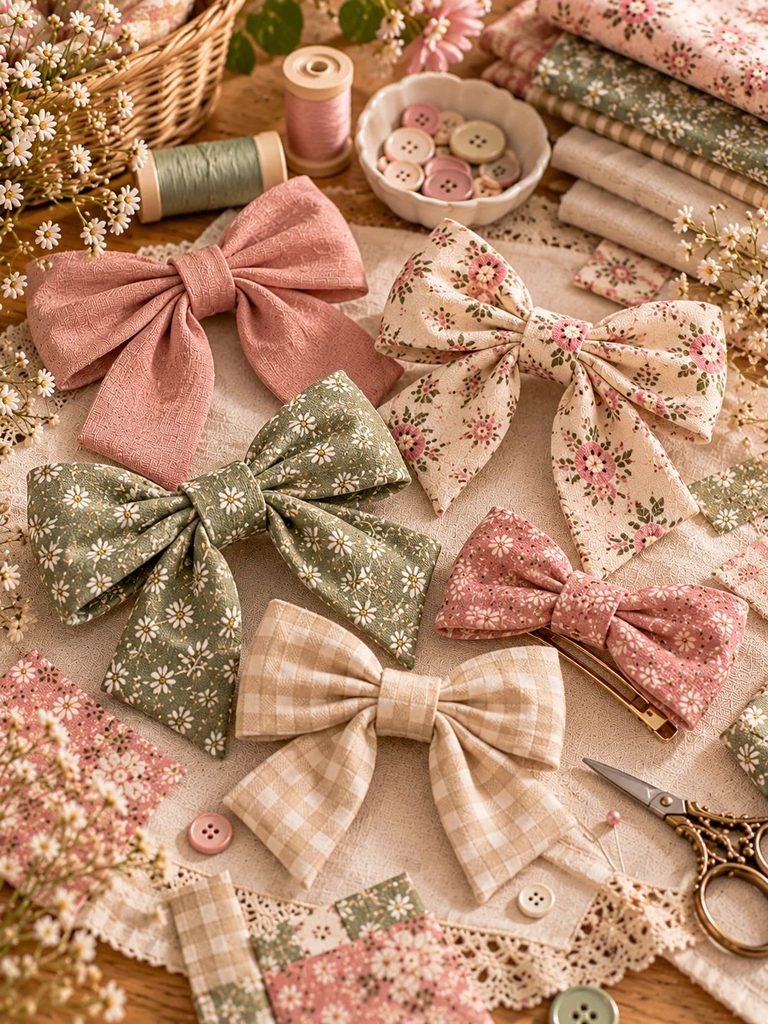
Fabric bows can decorate hair clips, gift packages, bags, and handmade accessories. They are also a wonderful way to use narrow fabric scraps that might otherwise go to waste.
What you will need:
- One fabric rectangle for the bow
- One small fabric strip for the center
- Matching thread
- A hair clip, optional
How to make it:
- Fold the main rectangle in half lengthwise, right sides together.
- Sew along the long edge and one short edge, leaving an opening if needed.
- Turn the fabric right side out and press it flat.
- Fold the raw edges inward and close the opening.
- Pinch the center of the rectangle to form a bow shape.
- Wrap the smaller fabric strip around the center and stitch it securely at the back.
- Attach the bow to a hair clip if desired.
Try velvet, cotton, gingham, or floral prints for different looks.
Time: Approximately 15–25 minutes.
13. A Mini Zipper Pouch
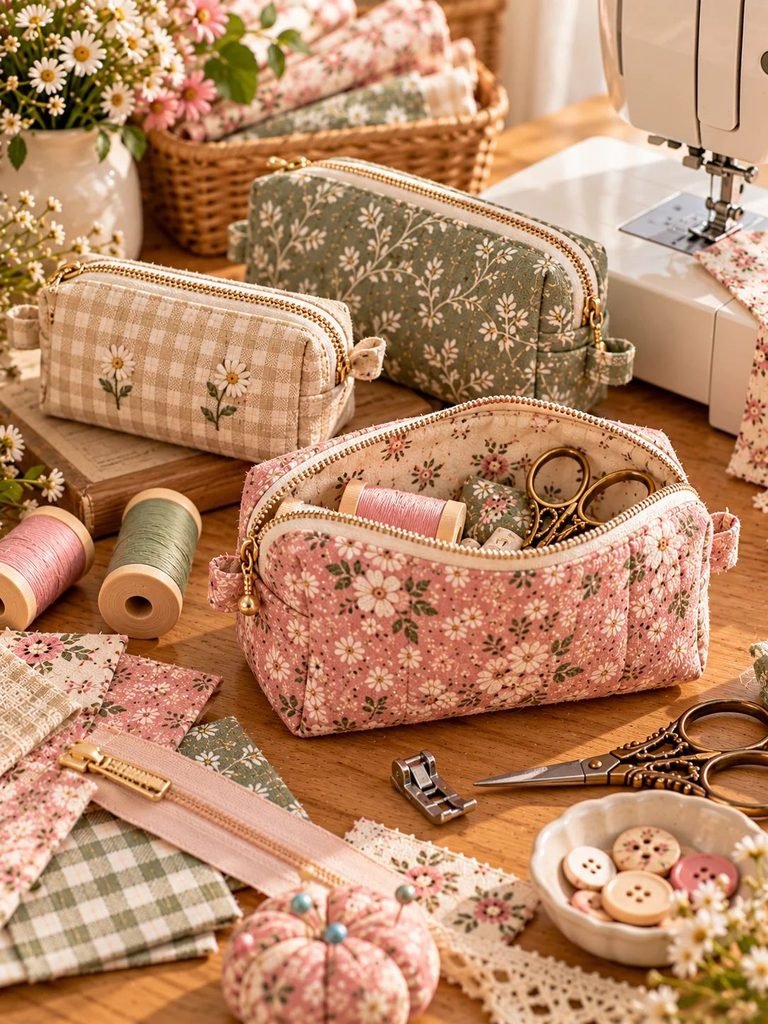
A zipper pouch is a useful little bag for makeup, coins, earbuds, stationery, or other small essentials. It is a slightly more advanced project, but the small size makes it a manageable way to learn zipper sewing.
What you will need:
- Two outer fabric rectangles
- Two lining rectangles
- One zipper suitable for the pouch
- Matching thread
- A zipper foot, if available
How to make it:
- Cut matching outer and lining pieces.
- Place one outer piece and one lining piece on opposite sides of the zipper, with the fabric right sides facing the zipper.
- Stitch along the zipper edge.
- Repeat with the remaining outer and lining pieces on the other side.
- Open the fabric pieces and topstitch along both sides of the zipper.
- Open the zipper halfway before assembling the pouch.
- Place the outer pieces right sides together and the lining pieces right sides together.
- Sew around the edges, leaving an opening in the lining.
- Turn the pouch right side out through the opening.
- Close the lining opening and tuck the lining inside.
Always keep the zipper partly open before sewing the final seams so you can turn the pouch right side out.
Time: Approximately 45–60 minutes.
14. A Fabric Corner Bookmark
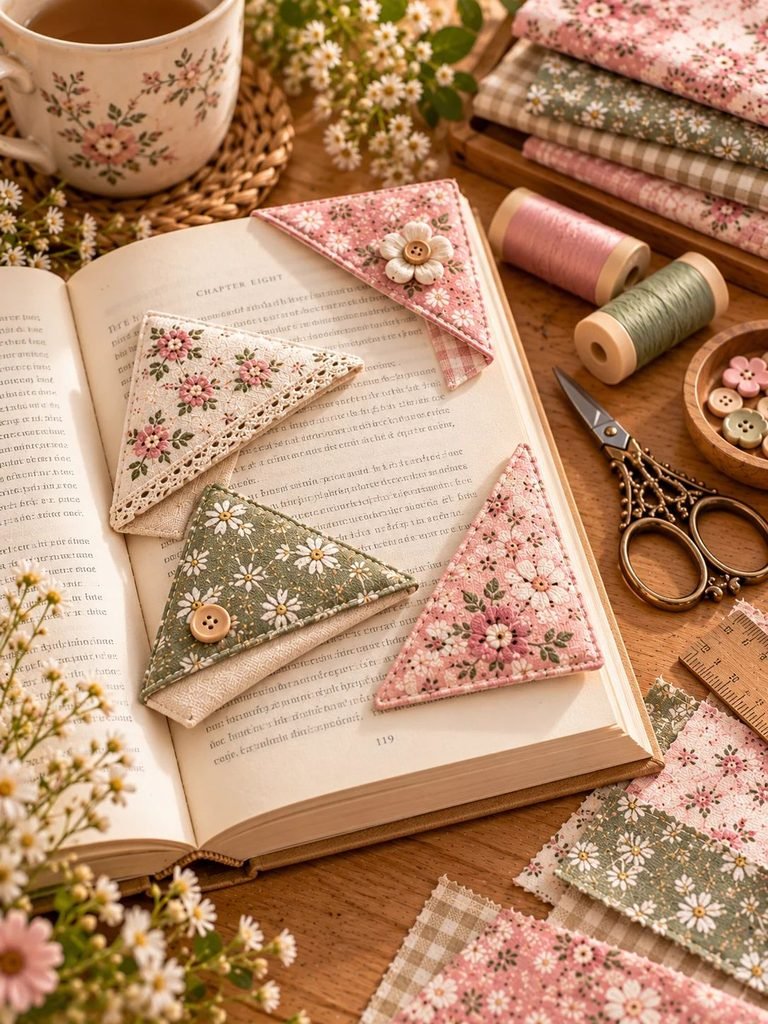
A corner bookmark slips over the corner of a book page, making it a sweet alternative to a traditional flat bookmark. It is small, useful, and easy to personalize.
What you will need:
- Two small fabric squares
- One small fabric triangle or coordinating piece
- Lightweight interfacing, optional
- Matching thread
How to make it:
- Cut two matching squares and a smaller triangle for the decorative front.
- Finish the triangle’s exposed edge with a narrow hem if necessary.
- Place the triangle on the right side of one square, aligning the bottom edges.
- Place the second square on top, right sides together.
- Sew around the outer edges, leaving a small opening.
- Trim the corners, turn the bookmark right side out, and press it flat.
- Close the opening with neat stitches.
You can use tiny floral prints, contrasting colors, or embroidered initials to make each bookmark unique.
Time: Approximately 20–30 minutes.
15. A Small Fabric Storage Basket
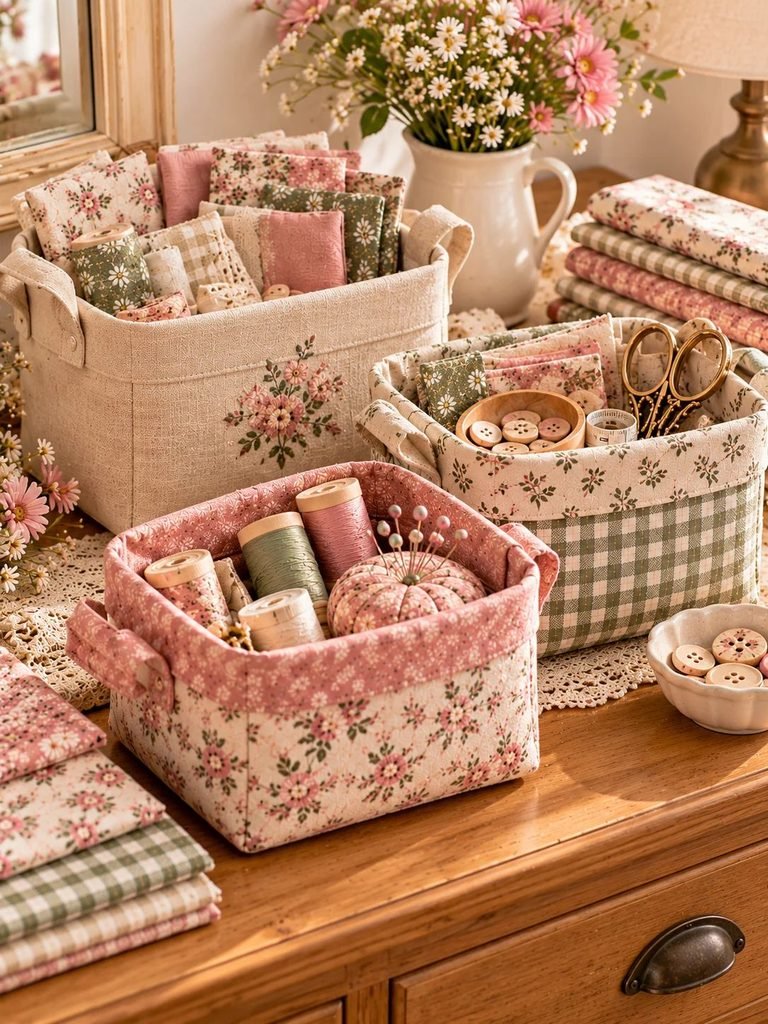
A little fabric basket is perfect for organizing hair accessories, sewing supplies, craft tools, or small items on a dressing table. It also makes a lovely addition to a handmade gift set.
What you will need:
- Two outer fabric squares or rectangles
- Two lining pieces
- Lightweight fusible interfacing
- Matching thread
How to make it:
- Cut the outer and lining fabric to your preferred size.
- Apply interfacing to the outer pieces to help the basket hold its shape.
- Sew the side and bottom seams of the outer fabric.
- Repeat with the lining, leaving a small opening in the bottom.
- Create boxed corners by flattening each corner so the side and bottom seams align, then stitch across the measured corner.
- Place the outer basket inside the lining with right sides together.
- Sew around the top edge.
- Turn the basket right side out through the lining opening.
- Close the lining opening and tuck the lining inside.
- Fold the top edge down slightly to reveal the lining.
Start with a small basket and experiment with firmer interfacing if you want it to stand upright.
Time: Approximately 45–60 minutes.
Tips for Making Small Sewing Projects Look Beautiful
You do not need complicated patterns or expensive materials to create lovely handmade items. A few simple habits can make a noticeable difference to the finished result.
Choose fabrics that work well together
Look for colors and patterns that complement one another. Soft florals, gingham, stripes, and neutral cottons are especially pretty when combined thoughtfully.
If you are unsure which prints to use, choose one patterned fabric and one plain fabric in a coordinating color.
Press your fabric as you sew
Pressing helps seams lie flat and gives small projects a cleaner, more professional appearance. Press each seam after sewing when the fabric and its care instructions allow it.
Measure before cutting
Even small projects benefit from accurate measurements. Use a ruler or measuring tape and mark your cutting lines before reaching for your scissors.
Secure the beginning and end of your seams
Backstitch at the beginning and end of machine-sewn seams where appropriate. For hand sewing, use secure stitches that suit the project.
Do not worry about tiny imperfections
Your first scrunchie or pouch might not look exactly like something from a shop, and that is perfectly fine. Each project gives you another chance to practice and improve.
Use fabric scraps creatively
Keep a small box for leftover fabric sorted by color or size. You may be surprised by how many useful accessories you can create from pieces that initially seem too small to use.
What Can You Sew in 30 Minutes?
If you have only a little time available, choose a project with simple shapes, minimal cutting, and straight seams.
| Sewing project | Approximate time | Best for |
|---|---|---|
| Fabric bow | 15–25 minutes | Accessories and gifts |
| Fabric keychain | 15–25 minutes | Using narrow scraps |
| Fabric bookmark | 15–25 minutes | Readers and beginners |
| Lavender sachet | 15–25 minutes | Drawers and gift baskets |
| Scrunchie | 20–30 minutes | Hair accessories |
| Pincushion | 20–30 minutes | Sewing-room organization |
| Corner bookmark | 20–30 minutes | Handmade gifts |
These are estimates rather than guarantees. Your sewing speed, finishing method, and experience will affect how long each project takes.
Frequently Asked Questions
What is the easiest thing to sew for a beginner?
A fabric bookmark, scrunchie, or simple pincushion is a wonderful first project. Each uses a small amount of fabric and introduces basic sewing skills without requiring complicated construction.
What can I sew with leftover fabric?
You can make scrunchies, fabric bows, keychains, bookmarks, sachets, coasters, and small pouches. The best project depends on the size and shape of your fabric scraps.
Can I make these sewing projects without a sewing machine?
Yes! Several projects, including fabric bows, simple sachets, pincushions, and felt decorations, can be made by hand. Use a backstitch for seams that need strength and neat, small stitches when closing openings.
A sewing machine will make some projects faster, but it is not essential for getting started.
What fabric is best for quick sewing projects?
Lightweight woven cotton is a great starting point because it is easy to handle and presses well. Felt is another useful choice for small decorations because its edges generally do not fray.
Slippery satin and stretchy knits can be more challenging for beginners, so save them for when you feel more confident.
Are small sewing projects good for handmade gifts?
Absolutely! Scrunchies, zipper pouches, fabric bookmarks, drawstring bags, and sachets are thoughtful handmade gifts. You can personalize them with a recipient’s favorite colors, patterns, or initials.
How can I make a small sewing project look more professional?
Measure carefully, use matching thread, press your seams, keep your stitching consistent, and finish raw edges neatly. Taking your time with these small details can make a simple project look much more polished.
Final Thoughts
One of the loveliest things about sewing is that you can create something useful and beautiful without needing lots of fabric, expensive equipment, or hours of free time. A small project can be just as satisfying as a much bigger one, especially when you get to choose the colors, patterns, and little details yourself.
If you are ready to start sewing today, choose one idea from this list that makes you smile. Perhaps it is a pretty scrunchie, a handmade bookmark, or a little pouch for keeping your essentials together. Gather your supplies, take your time, and enjoy the process.
And remember, you do not have to make everything perfectly on your first try. The more you sew, the more confident you will become.
Which of these fun little sewing projects would you love to try first? Pick your favorite, find a fabric you adore, and give yourself a little time to make something special.