How to Crochet a Double-Thick Potholder – Thermal Stitch Single Crochet, Free Pattern
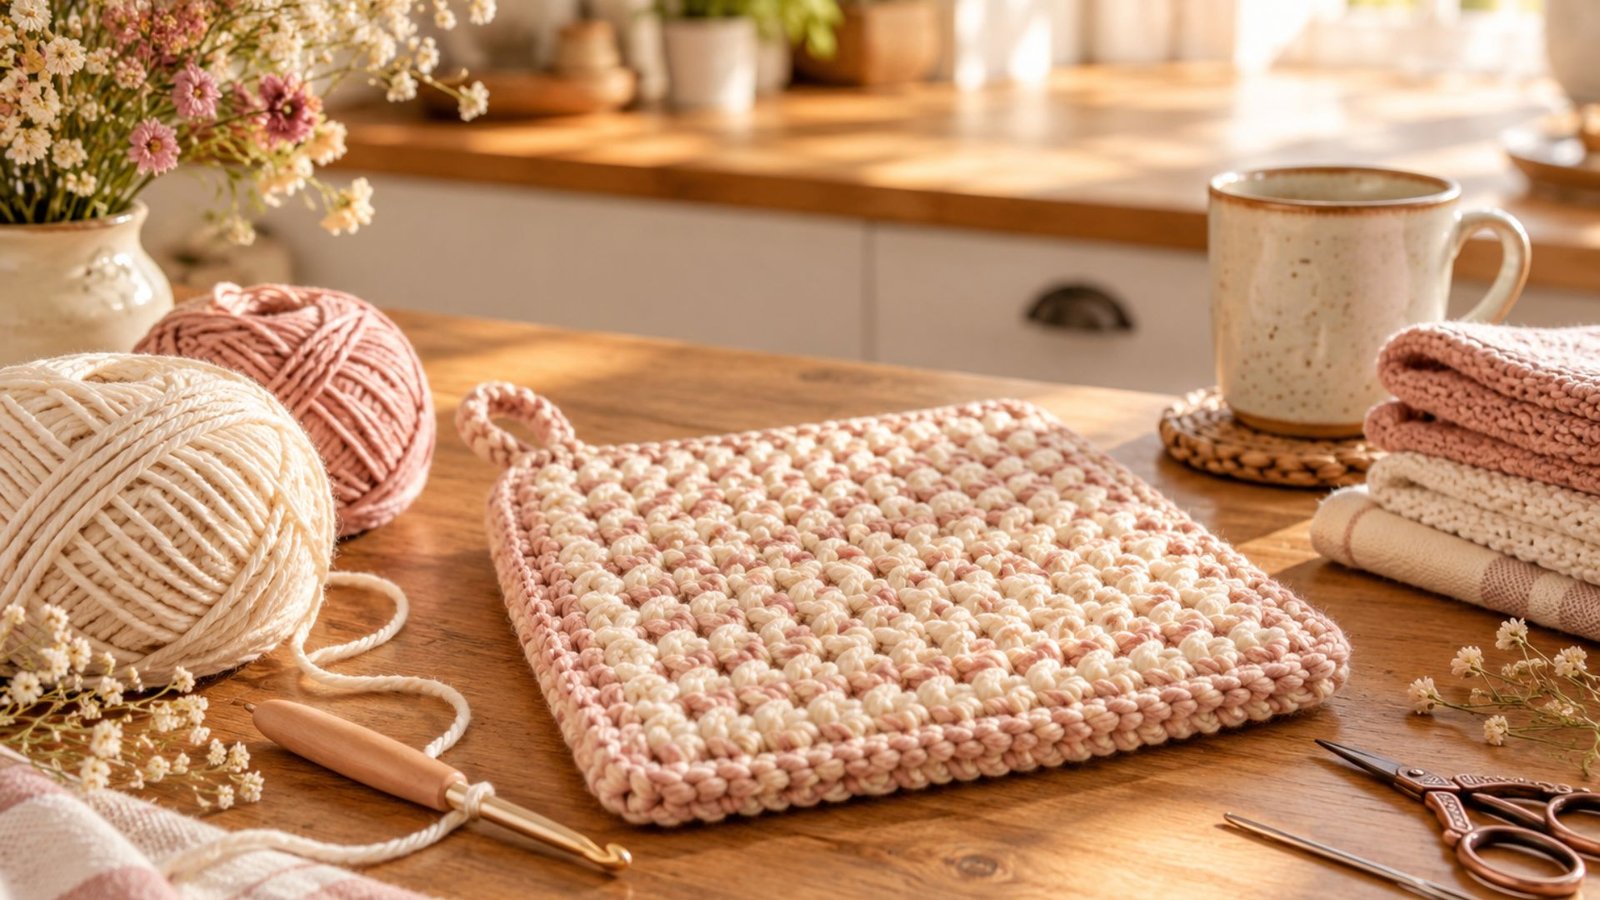
I’ve always loved crochet projects that are both pretty and practical, and a handmade potholder is one of my favorites. There’s something so satisfying about turning a simple ball of yarn into something you can actually use every day.
This double-thick potholder is especially lovely because the thermal stitch creates a dense, cushioned fabric that feels sturdy in your hands.
It’s also a wonderful project when you want to practice your single crochet skills while making something useful for your kitchen.
Whether you’re crocheting one for yourself or making a few as thoughtful handmade gifts, this pattern is simple, relaxing, and surprisingly quick to finish.
Why You’ll Love This Double-Thick Potholder
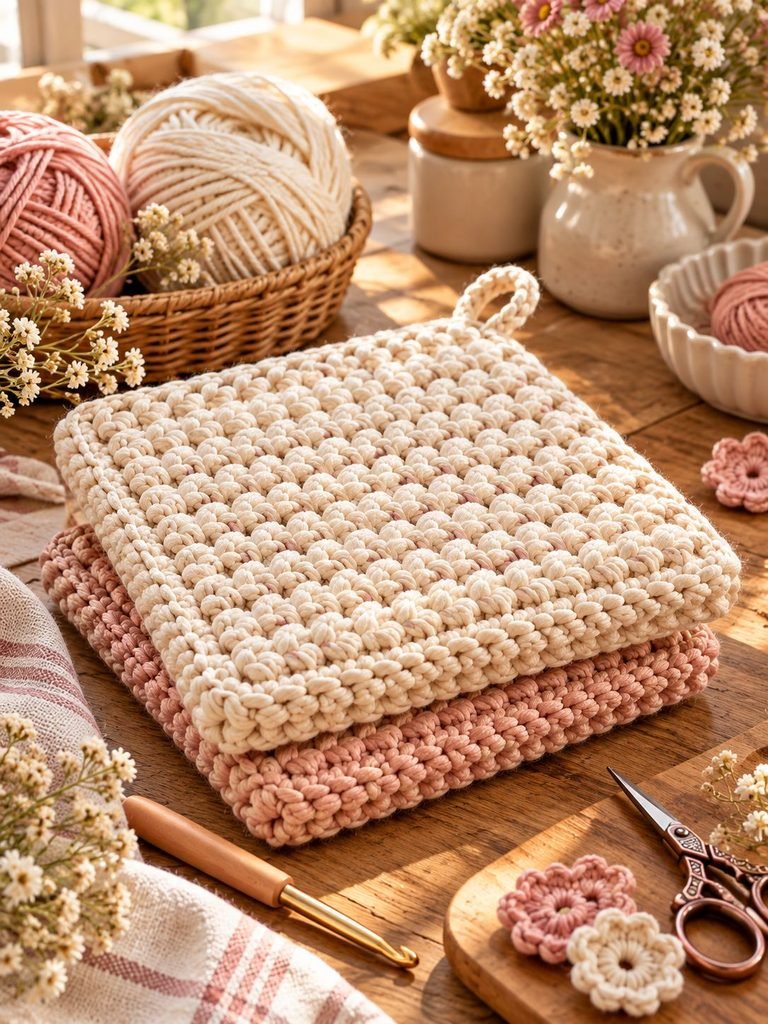
A good potholder needs to do more than simply look cute hanging beside the oven. It should feel substantial, stay comfortable in your hands, and provide a reliable layer between you and warm cookware.
That’s where the thermal stitch really shines.
Unlike ordinary single crochet, thermal stitch creates a thicker fabric by working into loops from the current row and the corresponding loops from the previous row. The result is a beautifully dense, almost quilted-looking fabric.
Here are a few reasons I especially love this pattern:
- It creates a naturally double-thick fabric.
- The potholder has a sturdy, cushioned feel.
- It uses basic crochet techniques.
- It’s a great project for practicing tension.
- You can make one in a relatively short amount of time.
- It works beautifully with simple, solid colors.
- It makes a thoughtful handmade housewarming gift.
- You can easily make several to match your kitchen.
- The finished texture looks more intricate than the technique actually is.
If you have never tried thermal stitch before, don’t worry. Once you understand where your hook needs to go, the pattern becomes wonderfully repetitive.
What Is the Thermal Stitch?
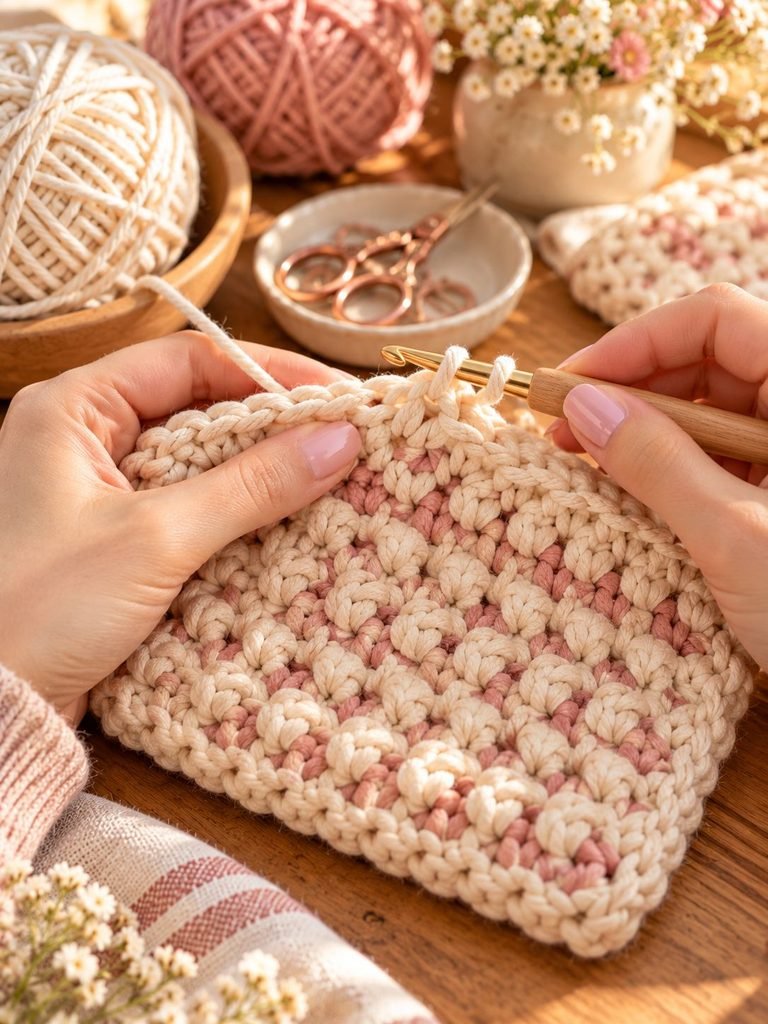
The thermal stitch is a crochet technique that produces a thick, insulated fabric by working through specific loops from two rows at once.
For this potholder, we’ll be using thermal single crochet.
The important thing to remember is that you aren’t simply inserting your hook into the normal top loops of the stitch. Instead, you work through the back loop of the current row and the corresponding loop from the previous row.
This pulls the rows together and creates the distinctive thick structure.
The first few stitches may feel slightly awkward because the fabric is thicker than regular crochet. Once you get into the rhythm, though, it becomes much easier.
I recommend working slowly at first rather than worrying about speed. Good stitch placement matters much more than how quickly you finish.
Materials You’ll Need
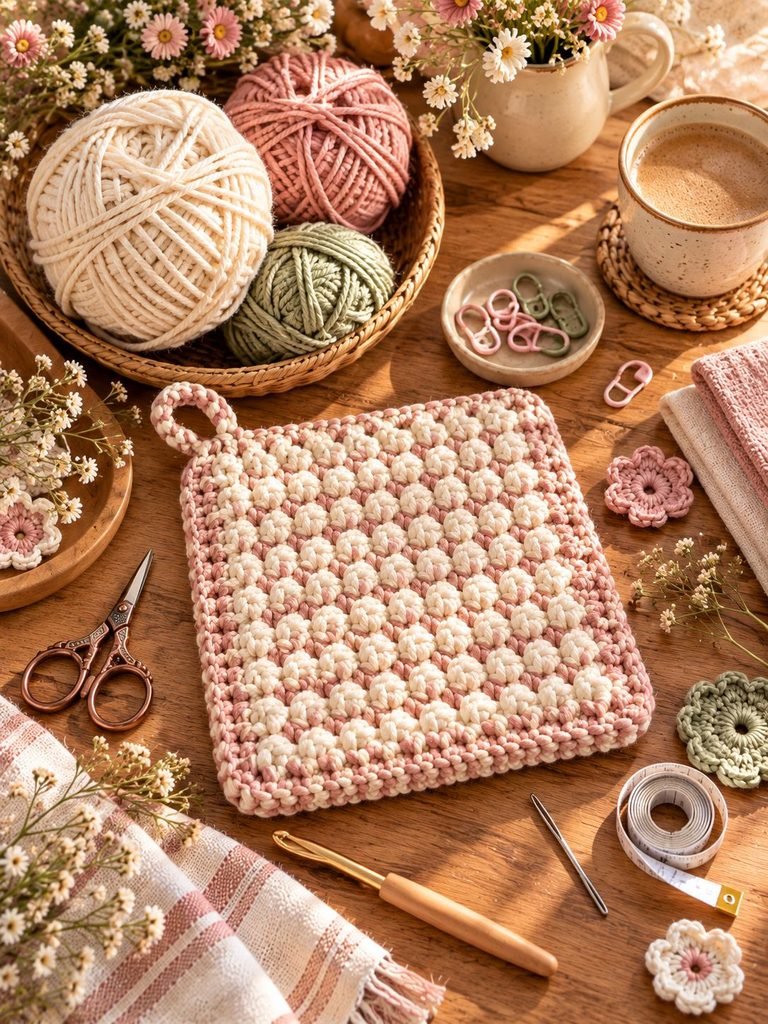
You only need a few supplies for this project.
Yarn
Choose a sturdy cotton yarn for your potholder. Cotton is generally a great choice for kitchen projects because it is durable and handles everyday use well.
I recommend:
- Worsted-weight cotton yarn
- Approximately 60–100 yards, depending on the finished size
- A color you enjoy working with
Cotton also gives the finished potholder a lovely stitch definition, which makes the thermal texture easy to see.
Crochet Hook
Use a crochet hook that works well with your chosen yarn. For worsted-weight cotton, a hook around 4 mm to 5 mm is a good starting point.
Because thermal stitch creates a dense fabric, you may find that using a slightly smaller hook gives you a firmer potholder.
Other Supplies
You’ll also need:
- Yarn needle
- Scissors
- Stitch marker, optional
- Measuring tape, optional
That’s it! One of the things I like most about this project is that you can start it without needing a huge collection of supplies.
Crochet Abbreviations
Here are the basic abbreviations used in this pattern:
| Abbreviation | Meaning |
|---|---|
| ch | Chain |
| sc | Single crochet |
| st | Stitch |
| sl st | Slip stitch |
| BLO | Back loop only |
The thermal stitch itself is simply a variation of single crochet, so you don’t need to learn an entirely new crochet stitch.
Before You Begin
Because the thermal stitch creates such a dense fabric, I recommend taking a moment to check your foundation chain before beginning.
Your chain should be loose enough that you can comfortably work into it without fighting your hook.
Try not to pull each chain extremely tight. A very tight foundation can make the first row frustrating to crochet.
Another little tip I’ve learned from making dense crochet projects is to keep your hands relaxed. If you grip your hook tightly, your stitches can become smaller and harder to work into.
Take a breath, loosen your shoulders, and let your hands find their rhythm.
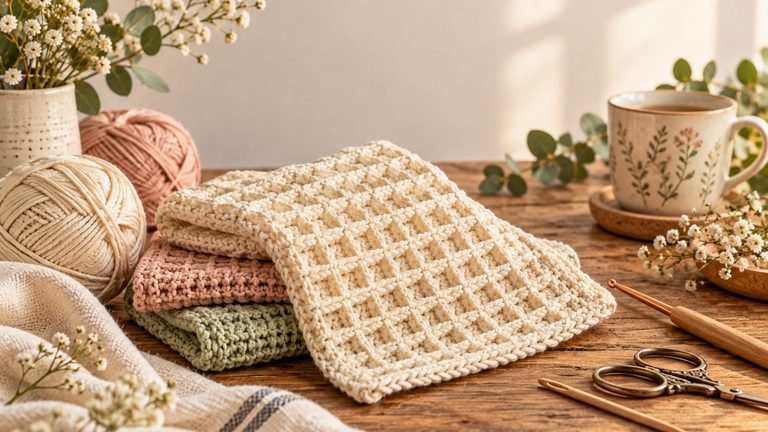
Read The All-Purpose Waffle Stitch Crochet Dishcloth Pattern
How to Crochet the Double-Thick Potholder
Step 1: Make Your Foundation Chain
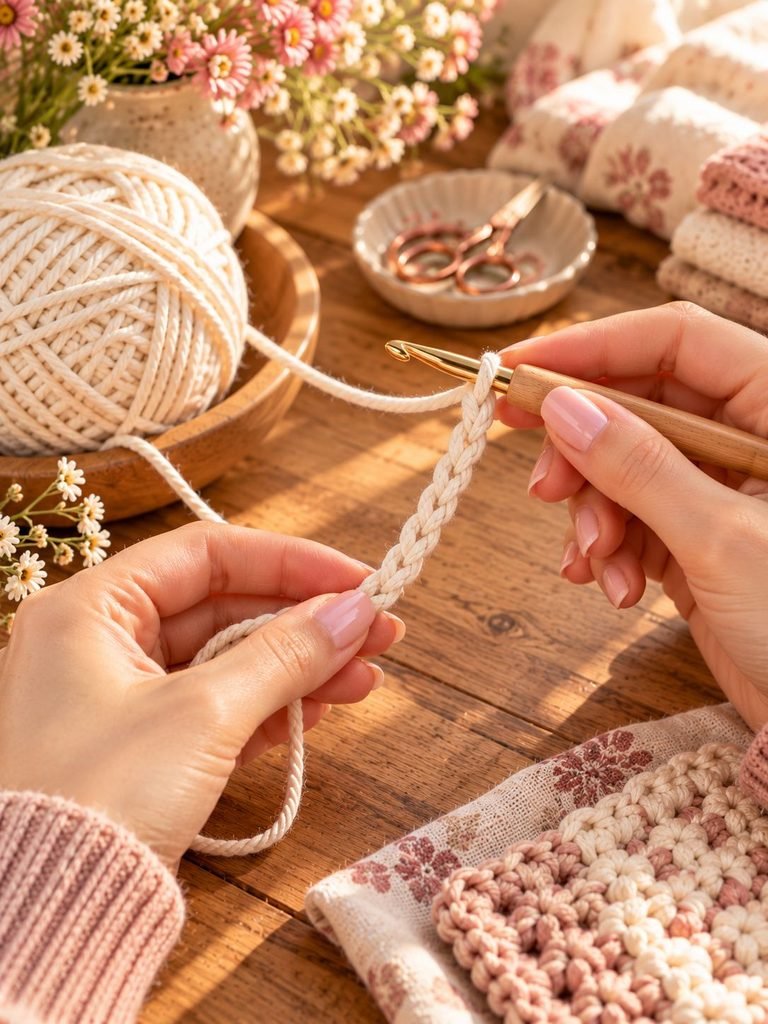
Start by making a foundation chain.
For a square potholder, choose a chain length that gives you the width you want. A foundation of around 25–30 chains works well for a medium-sized potholder, depending on your yarn and hook.
Remember that your finished size will depend on your yarn weight, hook size, and tension.
For your first attempt, I recommend making a potholder around 7–8 inches square.
You can make it smaller or larger once you’re comfortable with the stitch.
Step 2: Crochet the First Row
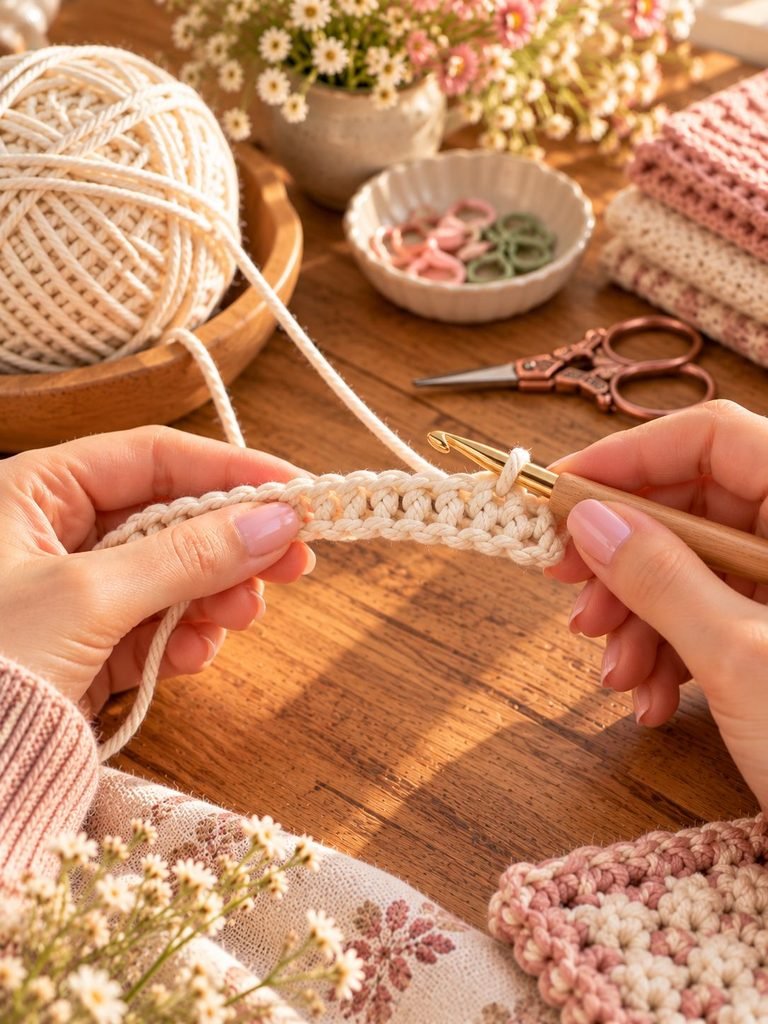
Work single crochet stitches across the foundation chain.
Insert your hook into the appropriate chain, yarn over, and pull up a loop.
Yarn over again and pull through both loops on your hook.
Continue working single crochet across the entire foundation chain.
When you reach the end, chain 1 and turn your work.
Take your time with this first row. It creates the foundation that you’ll use to establish the thermal stitch.
Step 3: Begin the Thermal Stitch
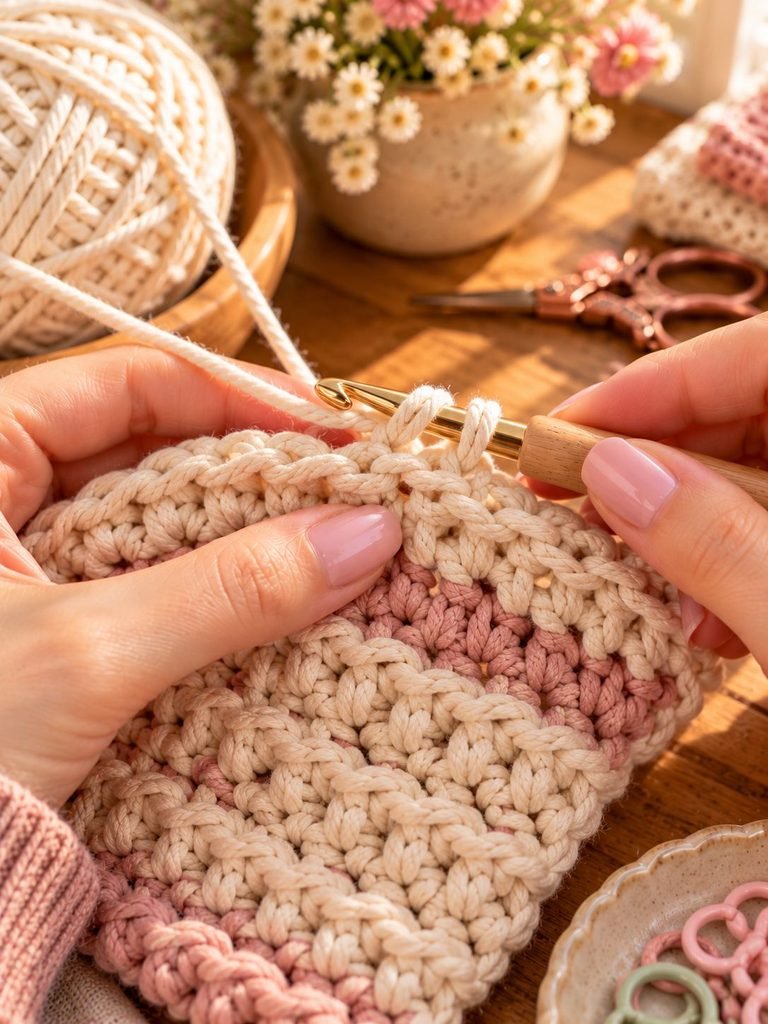
This is the most important part of the pattern.
For the thermal stitch, you’ll work into the back loop of the current row as well as the corresponding loop from the previous row.
Insert your hook through the back loop of the stitch on your current row.
Then angle your hook slightly downward and find the corresponding loop from the previous row.
Insert your hook through that loop as well.
You should now have your hook passing through two loops.
Yarn over and pull through both loops.
You’ll have two loops remaining on your hook.
Yarn over once more and pull through both loops.
That completes one thermal single crochet.
Continue across the row.
Don’t worry if this feels strange at first.
The fabric will become thicker as you work, and the previous-row loops can be a little difficult to identify during your first few rows.
I find it helpful to gently stretch the fabric with my fingers so I can see the loops more clearly.
Step 4: Continue Working the Thermal Stitch
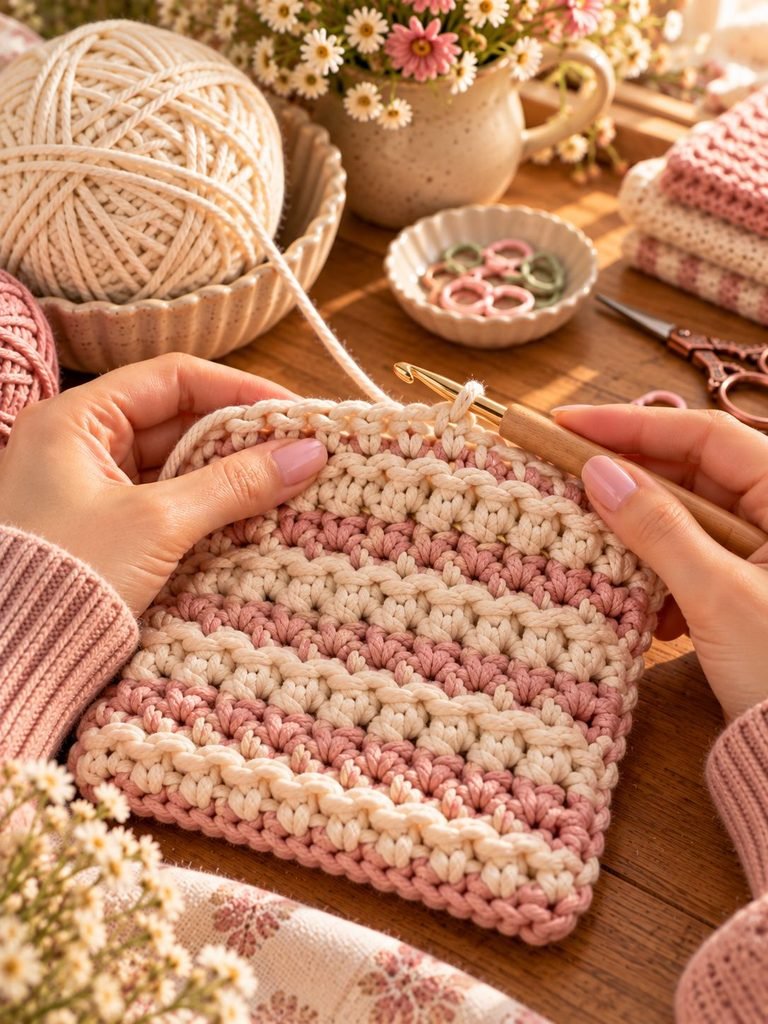
After completing the row, chain 1 and turn.
Continue working thermal single crochet across the next row.
Again, you’ll be picking up:
- The back loop of the current row.
- The corresponding loop from the previous row.
Then complete your single crochet.
Repeat this process across the entire row.
As you continue, you’ll notice something really satisfying happening.
The fabric begins to become noticeably thicker.
It almost feels as though you’re crocheting two layers at once, which is why this technique works so beautifully for potholders.
Step 5: Keep Building Your Square
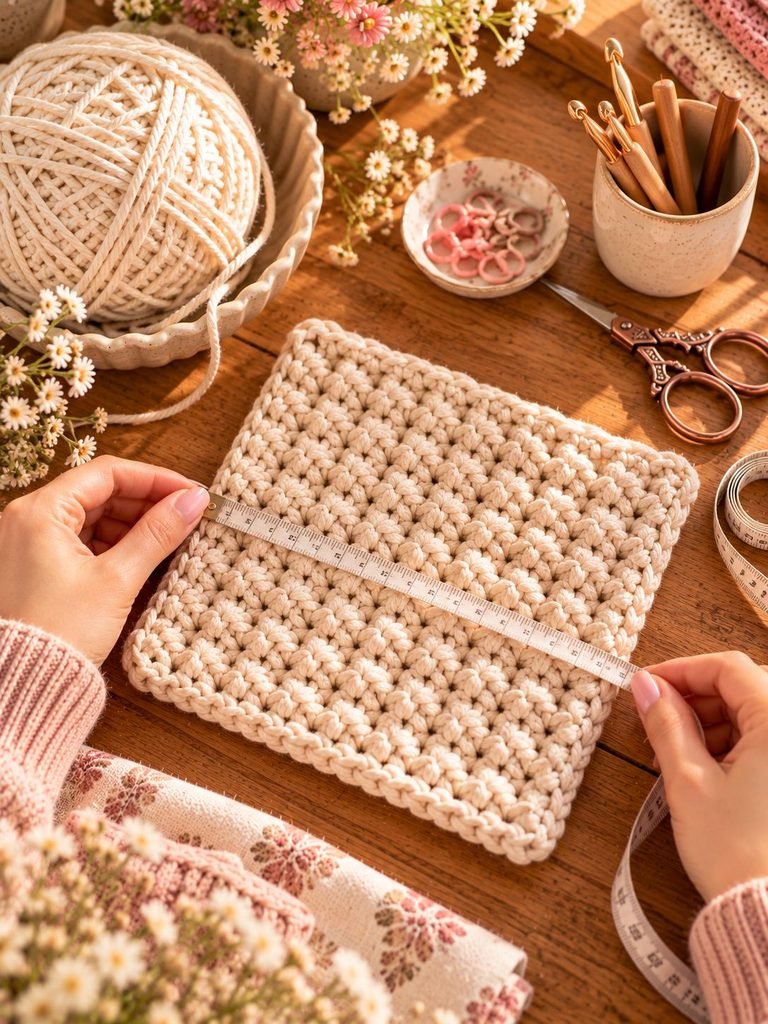
Continue repeating the thermal stitch rows until your potholder reaches the desired size.
For a balanced square, measure the width and height occasionally.
You don’t necessarily need to count every row if you’re comfortable measuring your project as you go.
For example, if your potholder measures approximately 7 inches wide, continue until it measures approximately 7 inches tall.
The important thing is to keep your edges as straight as possible.
If your potholder starts becoming wider or narrower, check your stitch count.
It’s very easy to accidentally skip a stitch when working into a dense fabric.
Step 6: Keep Your Edges Neat
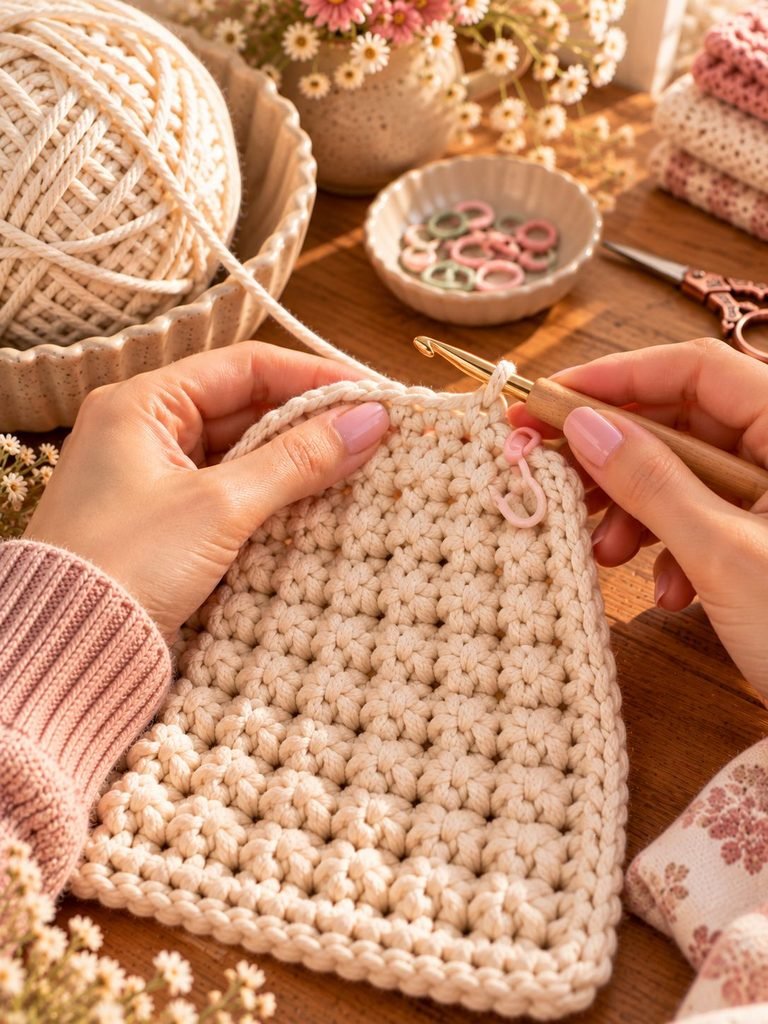
One thing I pay extra attention to with thermal stitch is the edge.
Because you’re working through multiple loops, it can sometimes be difficult to see the final stitch of the row.
If you consistently miss that last stitch, your potholder will gradually become narrower.
A simple stitch marker can help.
You can place a marker into the first or last stitch of each row to remind yourself where the row begins or ends.
This little step can save you from having to unravel several rows later.
Step 7: Finish the Potholder
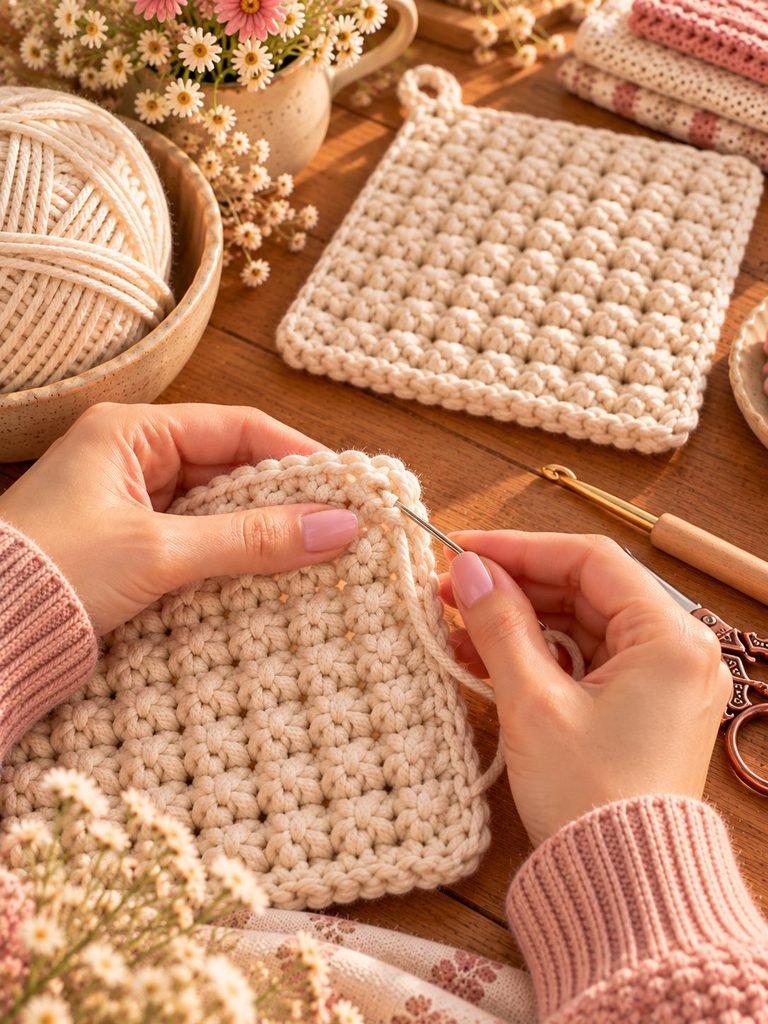
Once your potholder has reached your desired size, finish your final thermal stitch.
Cut the yarn, leaving a tail of several inches.
Pull the yarn through the final loop to secure it.
Then use your yarn needle to weave the remaining end through the stitches on the back of the potholder.
Move the needle in several directions through the dense fabric so the yarn stays secure.
Trim away any excess yarn.
Repeat the process with the starting yarn tail.
Adding a Hanging Loop
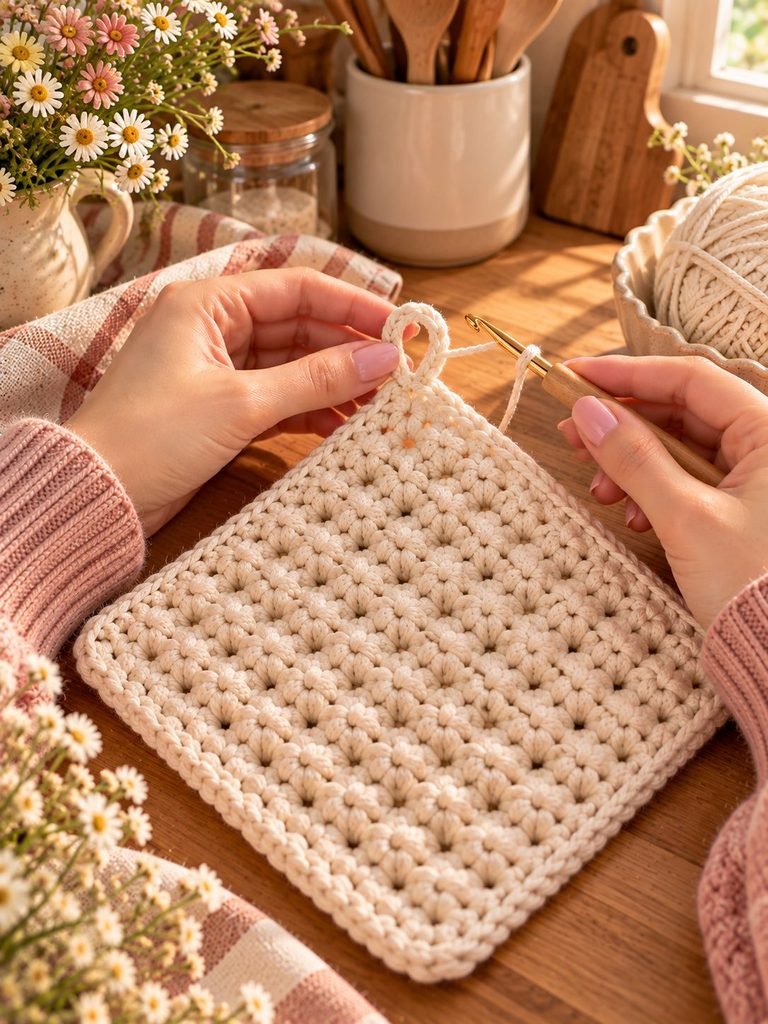
A hanging loop is optional, but I absolutely recommend adding one.
It makes your potholder much easier to store and gives it that finished, handmade look.
To make a simple loop, attach yarn to one corner of the potholder.
Chain approximately 10–15 stitches, depending on how large you want the loop.
Slip stitch back into the corner to secure it.
Fasten off and weave in your ends.
Now you can hang your potholder from a kitchen hook or peg.
I love this little detail because it turns the potholder into part of the kitchen décor rather than something that simply gets tucked away in a drawer.
How to Make the Potholder Extra Sturdy
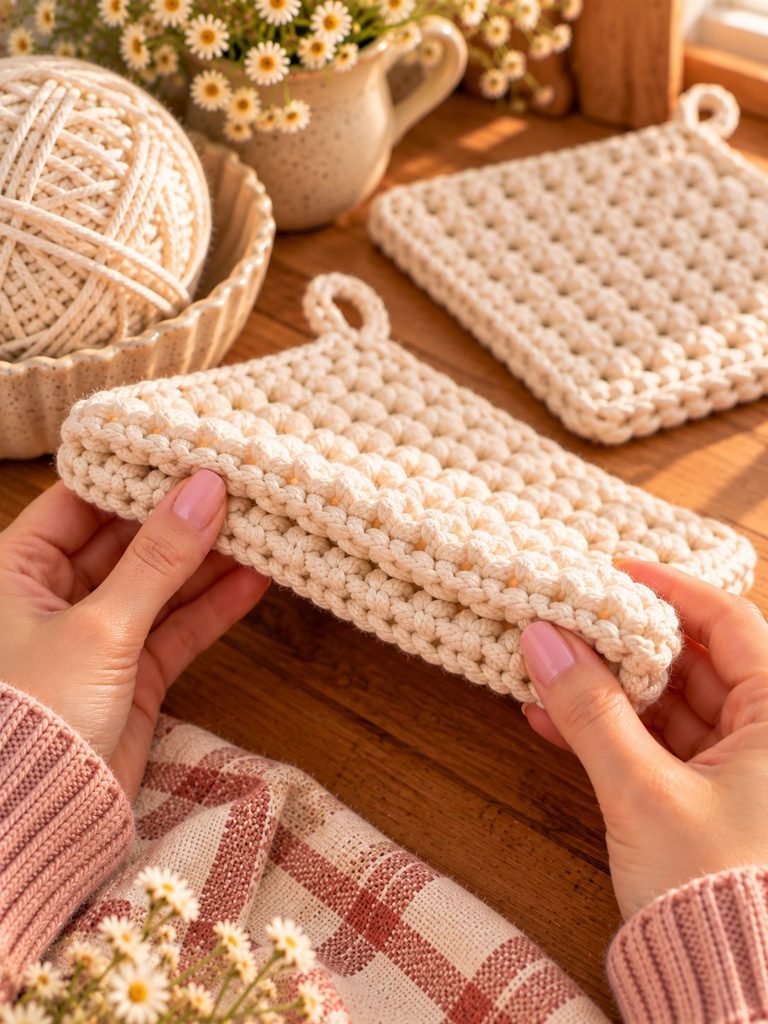
The beauty of thermal stitch is that it already produces a thick fabric, but there are a few things you can do to make your potholder especially sturdy.
Use Cotton Yarn
Cotton is my first choice for this project because it creates a durable fabric and has excellent stitch definition.
Keep Your Tension Even
Try to maintain consistent tension throughout the project.
If some stitches are extremely tight and others are loose, the potholder may become uneven.
Choose a Suitable Hook
A smaller hook generally produces a tighter fabric.
However, don’t go so small that your stitches become painful or impossible to work.
Your hook should allow you to work comfortably while still creating a dense fabric.
Make It Thick Enough
Don’t stop too early simply because the potholder has reached the width you want.
The thermal stitch should create a substantial, cushioned fabric.
Common Thermal Stitch Problems
My Potholder Is Getting Smaller
If your potholder is gradually narrowing, you’re probably accidentally skipping stitches at the ends of your rows.
Count your stitches regularly.
The stitch count should remain consistent.
I Can’t Find the Previous-Row Loop
This is one of the most common problems when you’re learning thermal stitch.
The previous-row loop can hide inside the thick fabric.
Try gently stretching the fabric sideways with your fingers.
You can also use the tip of your crochet hook to carefully separate the loops.
Don’t rush this part.
Once you recognize the structure of the stitch, finding the correct loop becomes much easier.
My Fabric Looks Too Loose
If your potholder doesn’t feel dense enough, your hook may be too large or your tension may be too loose.
Try going down one hook size.
Remember that the goal is a thick, sturdy fabric.
My Potholder Is Curling
A little curling during the early rows isn’t unusual with dense crochet stitches.
Continue working for several rows and see whether it settles.
If the finished potholder is still curling, blocking it lightly may help.
Can You Wash a Crochet Potholder?
Yes, cotton crochet potholders can generally be washed, but always check the care instructions for your particular yarn.
For everyday kitchen use, I prefer simple care.
Wash gently when needed and allow the potholder to dry thoroughly before storing it.
Avoid using a handmade potholder if it becomes excessively worn, thin, or damaged.
A potholder should provide a reliable barrier when handling warm cookware, so replace it when the fabric no longer feels sufficiently thick.
Beautiful Color Ideas
One of the easiest ways to personalize this project is by changing the yarn color.
For a soft feminine kitchen, try:
- Cream
- Blush pink
- Dusty rose
- Sage green
- Warm beige
- Soft lavender
- Terracotta
- Muted mustard
You could also crochet several potholders in coordinating colors.
A set of cream, blush, and sage would look especially pretty together.
For a more traditional kitchen, charcoal, navy, forest green, or warm brown would also work beautifully.
How to Use Your Handmade Potholder
A thermal-stitch potholder can be useful in several ways around the kitchen.
Use it to:
- Hold warm baking dishes
- Protect your countertop from warm cookware
- Move a warm casserole dish
- Place underneath a warm serving dish
- Add a handmade touch to your kitchen
- Give as a housewarming gift
You can even crochet several and tie them together with a simple ribbon for a sweet handmade gift set.
Handmade Gift Idea
If you’re looking for a small crochet project to give as a gift, this one is perfect.
Crochet two or three potholders in coordinating colors and bundle them together with a pretty ribbon.
You could pair them with:
- A wooden spoon
- A handmade kitchen towel
- A small recipe card
- A wooden spatula
- A homemade candle
- A cute mug
It makes such a thoughtful gift because it is both handmade and genuinely useful.
Tips for Your First Thermal Stitch Potholder
If this is your first time trying the thermal stitch, keep these tips nearby:
1. Count your stitches.
This will help you maintain straight edges.
2. Don’t rush the first few rows.
The stitch becomes much easier once you understand its structure.
3. Use a stitch marker if necessary.
It can help you identify the beginning or end of each row.
4. Choose cotton yarn.
It works beautifully for a dense kitchen project.
5. Keep your tension consistent.
Even tension will give you a much neater finished square.
6. Stretch the fabric gently when locating loops.
This makes the previous-row loop easier to see.
7. Measure as you go.
Don’t rely solely on row counts because everyone’s crochet tension is different.
Frequently Asked Questions
Is thermal stitch difficult?
Not at all! It can feel unusual during the first few rows because you’re working into loops from two rows, but once you understand where your hook belongs, the stitch becomes repetitive and relaxing.
Is thermal stitch good for potholders?
Yes. The dense construction makes thermal stitch particularly useful for projects where you want a thick fabric.
What yarn is best?
Cotton yarn is a great option for crochet potholders because it is durable and gives the stitches excellent definition.
Can I make the potholder larger?
Absolutely. Simply continue working rows until you reach the size you want.
Can beginners make this pattern?
Yes. If you’re comfortable with single crochet, this is a wonderful project for learning a new variation of the stitch.
Do I need to use a thermal stitch?
You can make potholders using other crochet stitches, but thermal stitch is especially nice when you want a thick, structured fabric.
Final Thoughts
I love projects like this because they remind me that crochet doesn’t always have to be complicated to be beautiful.
A simple ball of cotton yarn and a crochet hook can become something useful, cozy, and completely handmade. Once you get comfortable with the thermal stitch, you may find yourself making these little potholders in all your favorite colors.
They’re perfect for brightening up your own kitchen, using up leftover cotton yarn, or creating thoughtful handmade gifts. Take your time with the first few rows, keep your stitch count steady, and most importantly, enjoy the process. Before long, you’ll have a thick, practical potholder you can be proud to use every day.