How to Make Wax Melts Smell Stronger: Easy Tips for a Stronger Scent
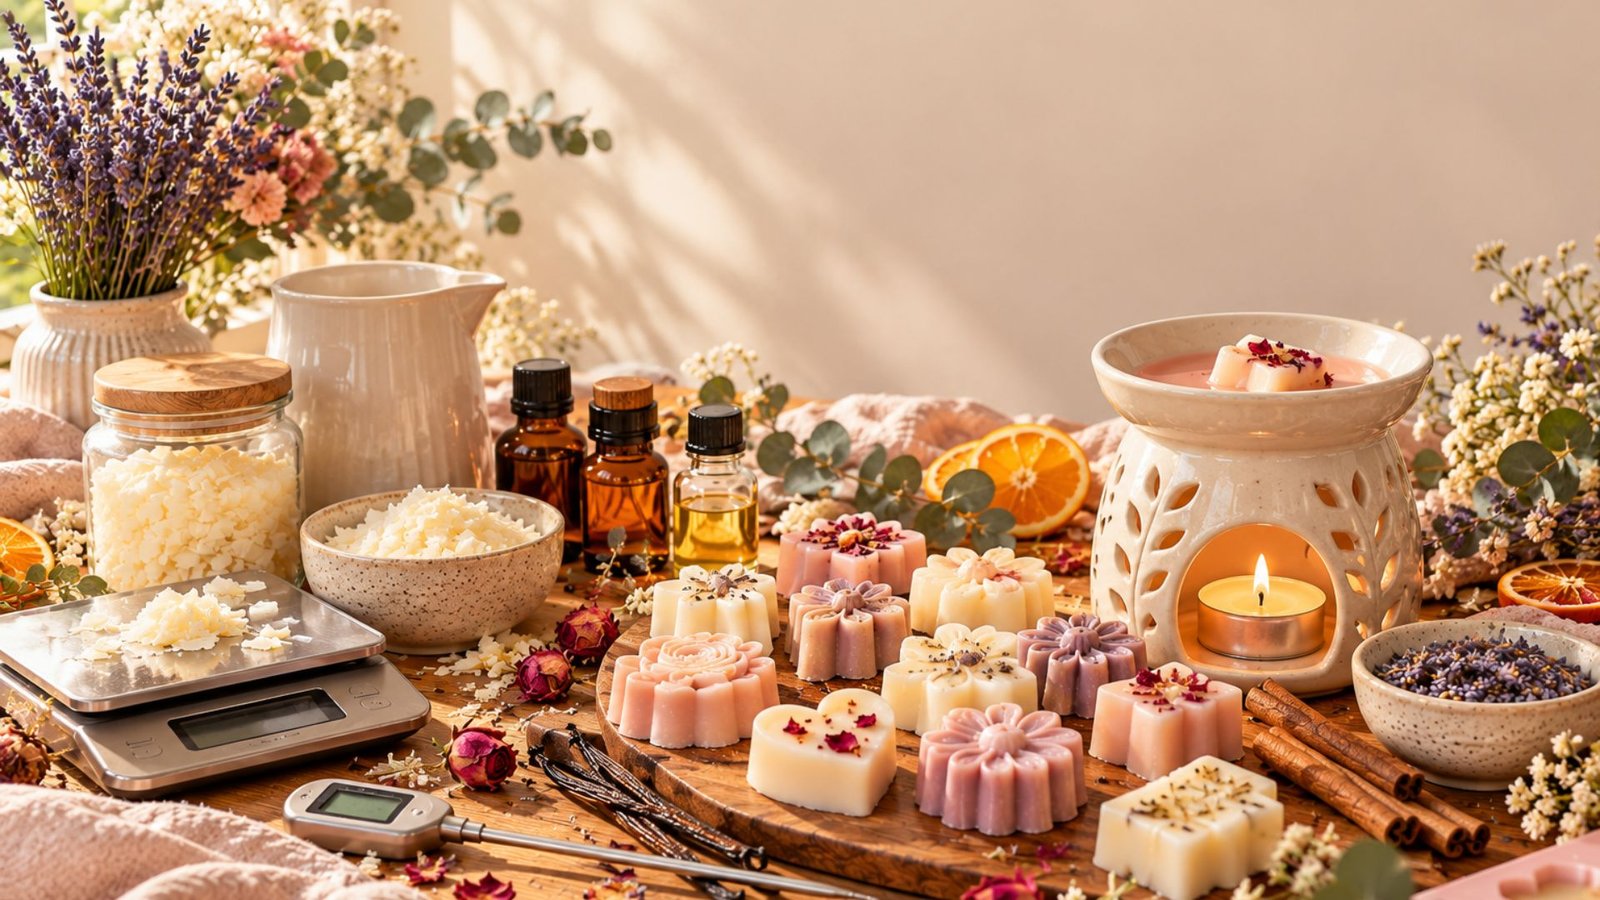
I love the moment a wax melt starts warming and the whole room slowly fills with a beautiful fragrance.
But if you have ever made your own wax melts and thought, “Why can’t I smell anything?” you are definitely not alone.
I have learned that getting a strong, long-lasting scent is less about simply adding more fragrance oil and more about getting a few little details right.
From choosing the right wax and fragrance oil to using the correct temperature and giving your melts enough time to cure, every step can make a difference. In this guide, I’ll show you simple ways to make your wax melts smell stronger and more fragrant.
Why Do My Wax Melts Smell Weak?
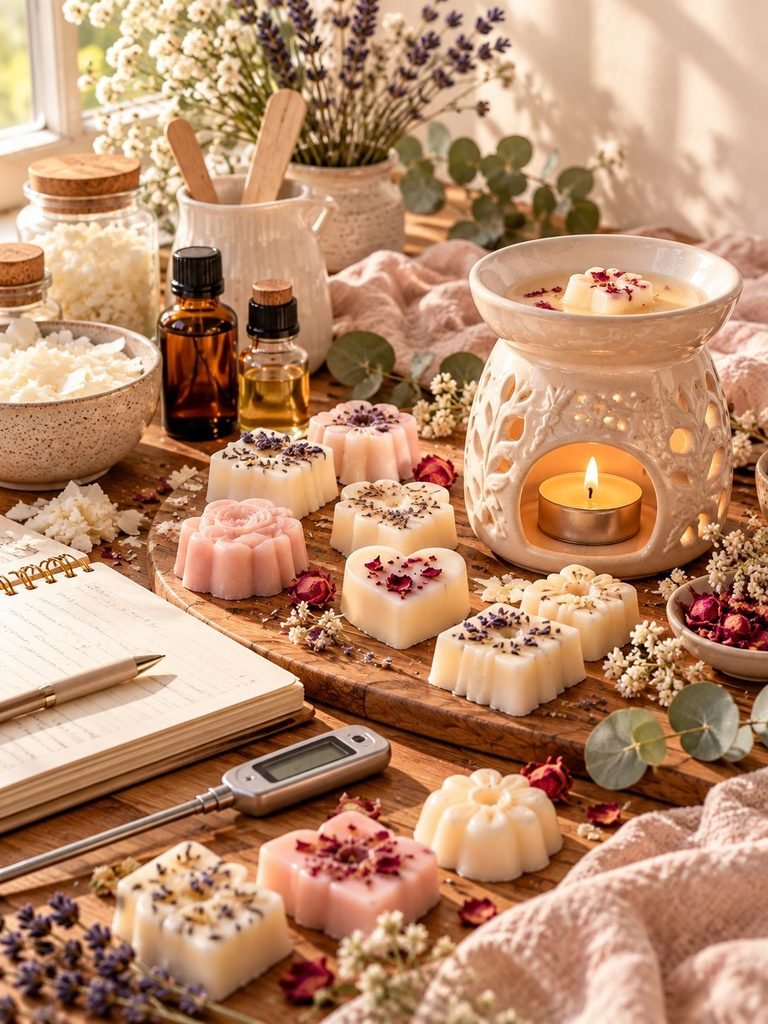
Before changing your recipe, it helps to understand why your wax melts may not have the strong scent you were hoping for.
A weak-smelling wax melt can happen for several reasons. You might be using too little fragrance oil, but that is only one possibility. The type of wax, fragrance oil, pouring temperature, curing time, warmer, room size, and even the fragrance itself can affect the final scent.
Some fragrance oils naturally smell stronger than others. Light scents such as certain floral, citrus, or fresh fragrances may feel more delicate, while vanilla, cinnamon, bakery, amber, and some woody fragrances can have a much stronger presence.
The good news is that you usually don’t need to completely change your recipe. A few adjustments can make a noticeable difference.
1. Use a Wax That Works Well for Wax Melts
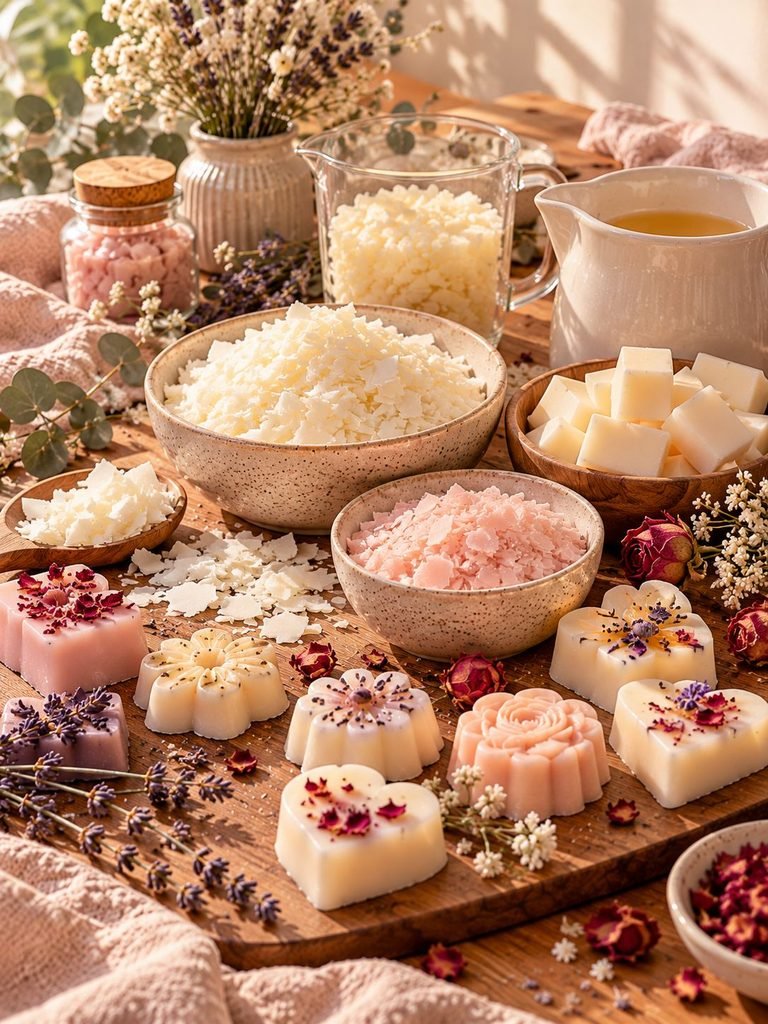
The wax you choose has a huge influence on fragrance performance.
Different waxes hold and release fragrance differently, so a recipe that works beautifully with one wax may not perform the same way with another.
For homemade wax melts, popular choices include:
- Soy wax
- Paraffin wax
- Soy-paraffin blends
- Coconut wax blends
- Specialty waxes specifically formulated for melts and tarts
Soy wax is popular among DIY makers because it is plant-based and gives a beautiful creamy appearance. However, some soy waxes can require more experimentation to achieve excellent hot throw.
Paraffin wax is often known for providing strong scent throw, while blended waxes can offer a balance between appearance, fragrance performance, and ease of use.
If your melts consistently smell weak even after you have checked your fragrance percentage, temperatures, and curing time, your wax may simply not be the best match for the fragrance you are using.
My tip
If you are experimenting with wax melts for the first time, don’t buy a large quantity of wax before testing it.
Make a few small batches and compare how they perform after curing. This can save you money and a lot of frustration.
2. Choose a High-Quality Fragrance Oil
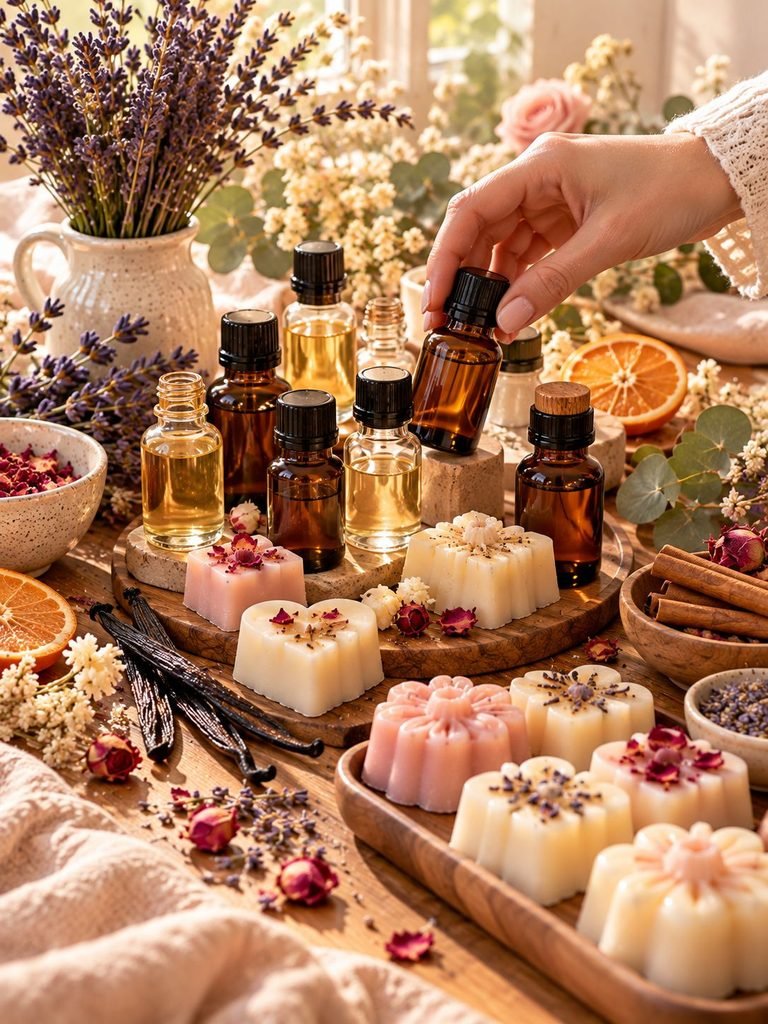
One of the biggest mistakes beginners make is assuming that all fragrance oils are equally strong.
They aren’t.
A fragrance oil can smell incredibly strong in the bottle but perform very differently once it is mixed into wax and warmed.
When buying fragrance oil, look for oils specifically designed and tested for candle and wax melt making.
A good fragrance oil should provide information such as:
- Recommended usage rate
- Candle compatibility
- Wax melt compatibility
- Safety information
- Suitable applications
- Manufacturer’s recommended temperatures
Don’t judge an oil only by how powerful it smells straight from the bottle.
The real test is how it performs after being blended into your wax, allowed to cure, and warmed in a wax warmer.
3. Don’t Simply Add More Fragrance Oil

This is one of the most important things to understand if you want stronger wax melts.
Adding more fragrance oil does not automatically mean stronger wax melts.
Every wax has a maximum fragrance load recommended by its manufacturer. Adding more than the wax can properly hold may actually cause problems instead of improving your melts.
Too much fragrance oil can result in:
- Oily or greasy wax melts
- Sweating
- Poor wax texture
- Separation
- Poor burning or warming performance
- Fragrance oil pooling around the melt
- Reduced stability
- Safety concerns
Instead of guessing, check the technical information provided by your wax supplier.
For example, if your wax manufacturer recommends a fragrance load range, stay within that range and test different percentages within the recommended limit.
A simple example
If you are making 500 g of wax and your chosen wax allows a 10% fragrance load, you would use:
500 g wax × 10% = 50 g fragrance oil
Your exact calculation should always follow the manufacturer’s recommended fragrance-load method, because some suppliers define their percentage based on wax weight while others may provide different instructions.
4. Measure Your Ingredients With a Digital Scale
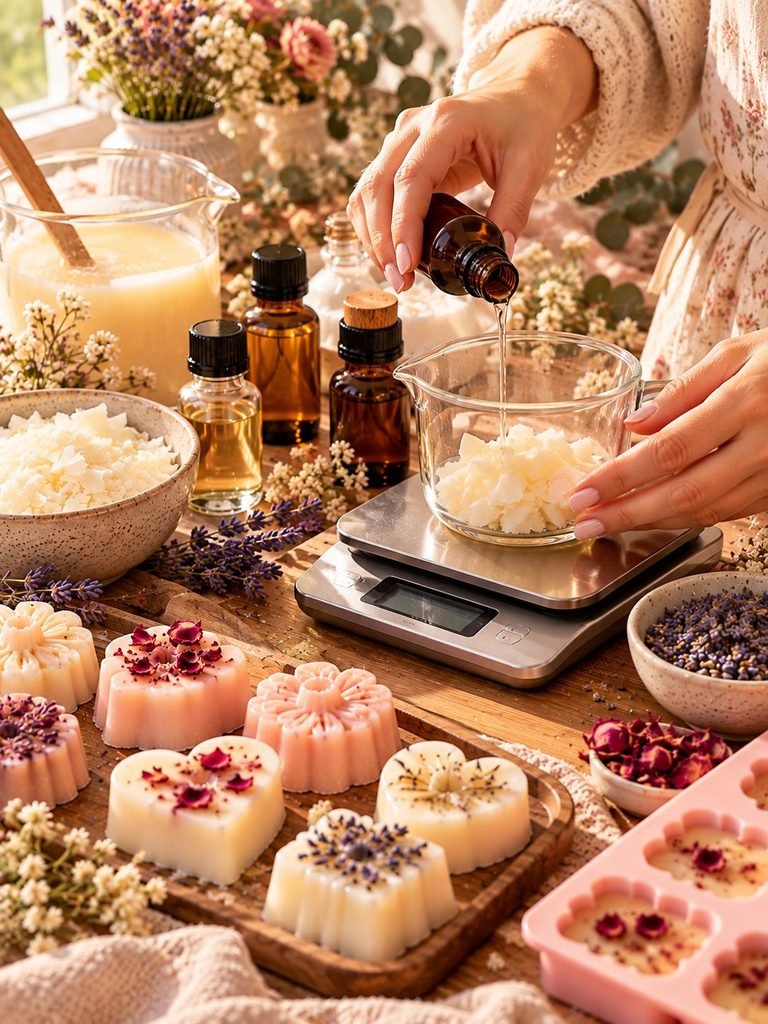
If you are measuring fragrance oil with spoons or cups, it is much harder to get consistent results.
A digital scale is one of the simplest tools you can add to your wax-melt-making supplies.
Weighing your ingredients allows you to:
- Repeat successful recipes
- Keep your fragrance percentage consistent
- Compare different batches
- Reduce waste
- Make troubleshooting easier
If one batch smells amazing and another smells weak, accurate measurements help you figure out what changed.
For the most consistent results, weigh your wax and fragrance oil rather than relying on volume measurements.
5. Add Fragrance Oil at the Correct Temperature
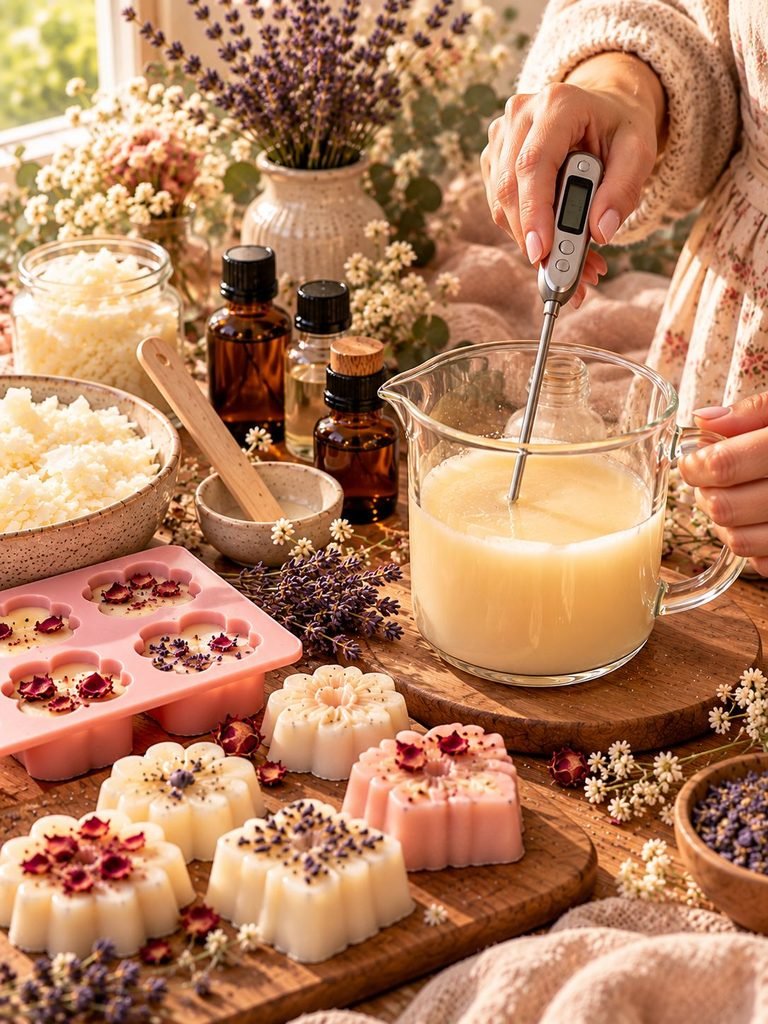
Temperature matters more than many beginners realize.
When wax is too hot, fragrance can potentially be affected by excessive heat. When it is too cool, the fragrance may not blend properly with the wax.
The correct temperature depends on the wax you are using, so always follow the wax manufacturer’s instructions rather than relying on one universal temperature.
A good general process looks like this:
- Melt your wax according to the manufacturer’s instructions.
- Monitor the temperature with a reliable thermometer.
- Allow the wax to reach the recommended fragrance-addition temperature.
- Add your measured fragrance oil.
- Stir slowly and thoroughly.
- Pour at the recommended temperature for your wax.
The goal is to create a smooth, well-blended mixture where the fragrance oil is properly incorporated throughout the wax.
6. Stir Your Fragrance Oil Properly

Once you add your fragrance oil, don’t give it a quick stir and immediately pour.
Take your time.
Stir gently but thoroughly so the fragrance becomes evenly distributed throughout the melted wax.
Follow your wax supplier’s recommended mixing time. Different waxes have different requirements, so there isn’t one perfect stirring time for every recipe.
Avoid aggressive stirring that introduces lots of air bubbles.
I like to think of this step as giving the fragrance oil a chance to become completely comfortable in its new little wax home. A slow, steady stir is usually much better than rushing through it.
7. Give Your Wax Melts Enough Time to Cure
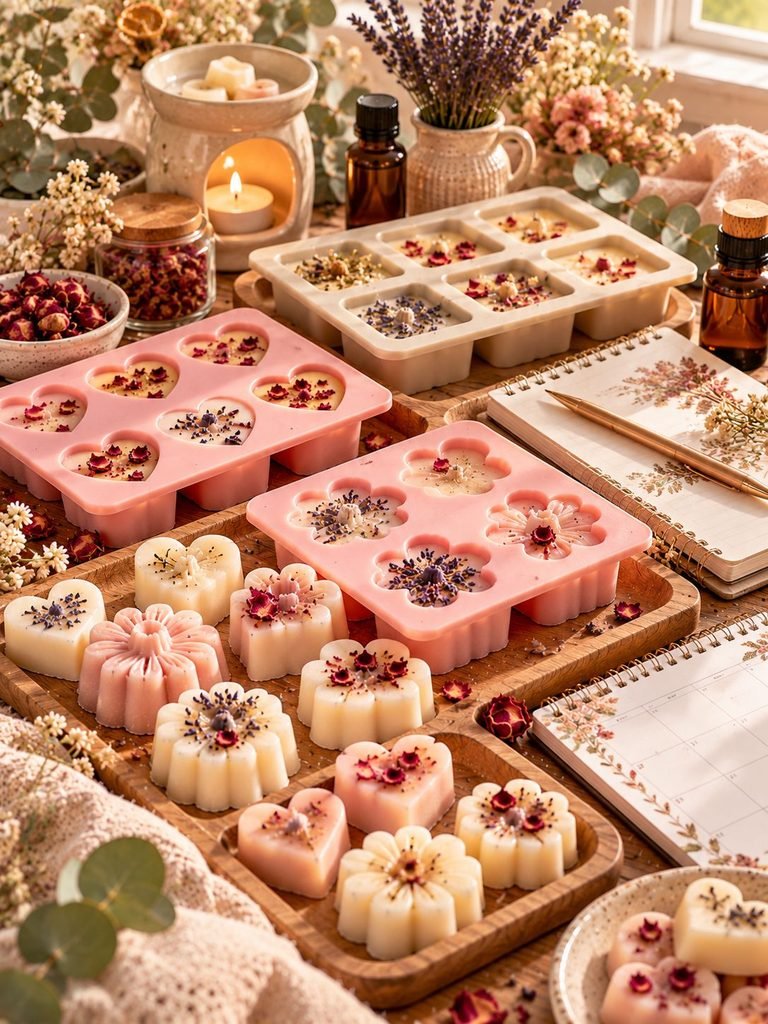
This is probably one of the easiest things to overlook.
Your wax melts may smell lovely immediately after making them, but their scent can develop and improve as they cure.
Curing gives the wax and fragrance time to settle together.
The required curing period depends on the wax and fragrance combination. Some waxes may perform reasonably well after a shorter period, while others benefit from longer curing.
If you are using soy wax, for example, many makers find that allowing the melts to cure for several days can improve fragrance performance.
Instead of testing a new batch immediately, make a few melts and test them at different stages.
For example:
- Test one after a day or two.
- Test another after several days.
- Test another after a week or according to your wax supplier’s recommendation.
Keep notes about the results.
You may discover that your particular wax and fragrance combination becomes noticeably stronger with additional curing time.
8. Choose Strong Fragrance Notes
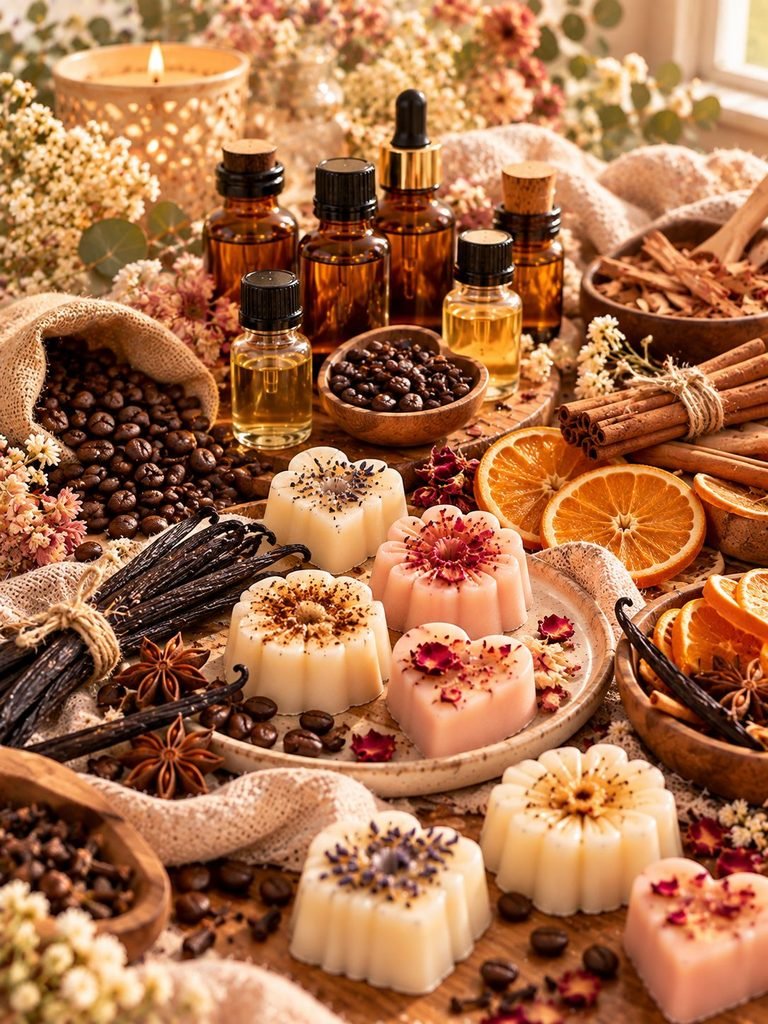
Not every fragrance is going to fill your home with the same intensity.
If you want a powerful scent, pay attention to the fragrance notes you choose.
Some fragrance families that are often perceived as rich or powerful include:
- Vanilla
- Cinnamon
- Clove
- Coffee
- Caramel
- Amber
- Musk
- Sandalwood
- Cedarwood
- Some fruity bakery fragrances
Lighter fragrances such as delicate florals or fresh linen-style scents can still be beautiful, but they may naturally produce a softer fragrance experience.
This doesn’t mean you should avoid lighter scents. Instead, understand that fragrance strength is partly a characteristic of the fragrance itself.
9. Try Blending Complementary Fragrances
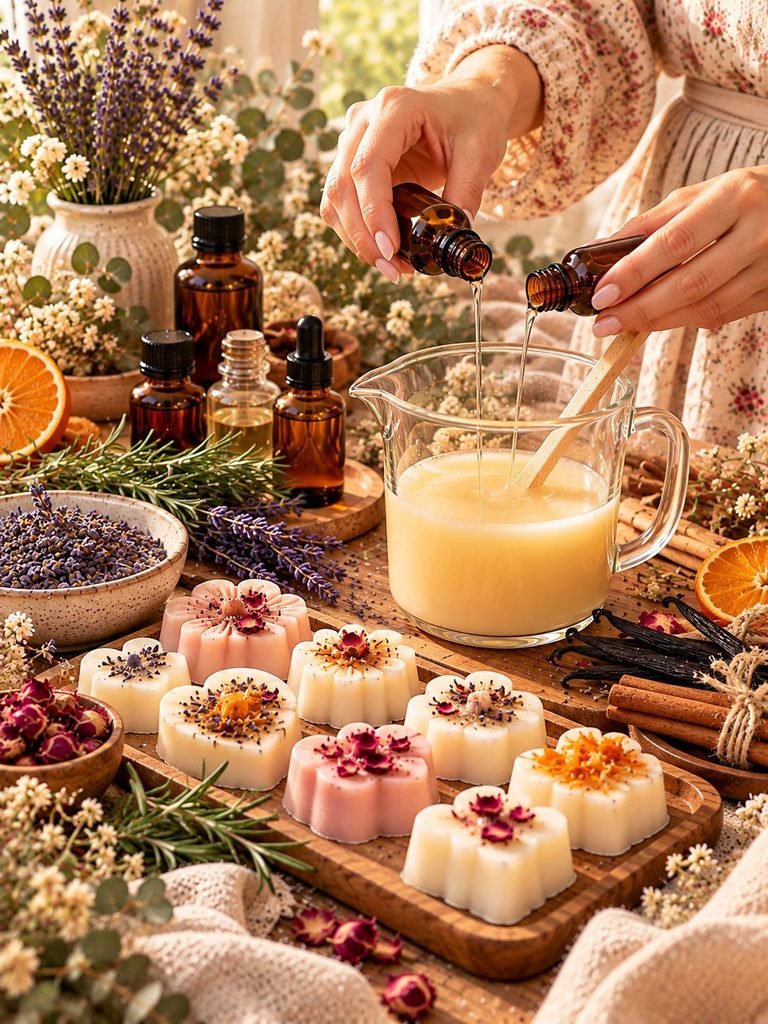
Creating your own fragrance blends can be a fun way to make your wax melts smell more noticeable and unique.
For example, you could experiment with combinations such as:
Lavender + Vanilla
A soft, comforting combination that works beautifully for bedrooms and relaxing spaces.
Orange + Cinnamon
A warm, cozy combination that is especially lovely during autumn and winter.
Vanilla + Coffee
Perfect for anyone who loves rich bakery and coffee-shop-inspired scents.
Lemon + Rosemary
Fresh, clean, and uplifting.
Peppermint + Vanilla
Cool peppermint balanced with creamy sweetness.
When creating blends, start with small test batches.
You don’t want to make 2 kg of wax only to discover that your fragrance combination doesn’t smell the way you imagined!
10. Make Sure Your Wax Warmer Is Producing Enough Heat

Sometimes the wax melt isn’t the problem at all.
Your warmer may simply not be heating the wax enough to release the fragrance effectively.
Different warmers produce different amounts of heat.
If you are using an electric warmer, check that it is functioning correctly. If you are using a tealight-style warmer, make sure it is designed for wax melts and is being used according to the manufacturer’s instructions.
A warmer that doesn’t get hot enough may leave you with a beautiful-looking pool of wax that has very little fragrance in the room.
However, hotter isn’t always better.
Excessive heat can cause fragrance to evaporate more quickly and can create safety issues depending on the warmer.
The goal is appropriate, consistent heat, not maximum heat.
11. Use the Right Amount of Wax in Your Warmer
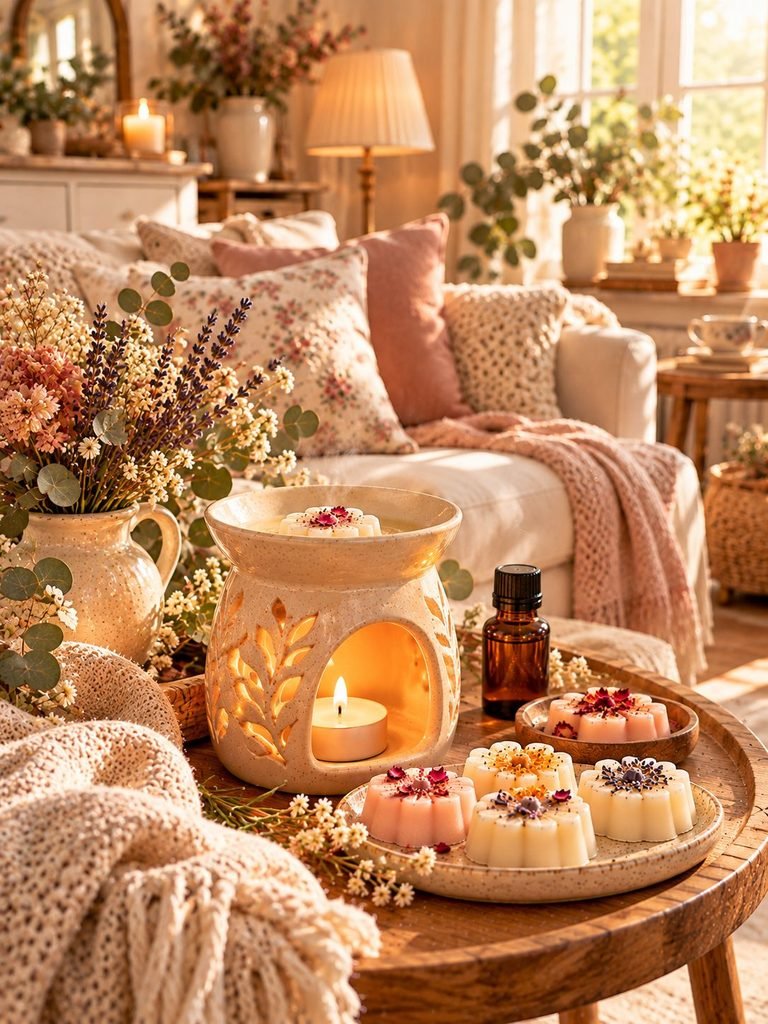
You don’t need to fill your wax warmer with a huge amount of wax.
Using too much wax can sometimes make it harder for the fragrance to become noticeable, particularly if the wax is spread across a large surface area.
Follow the warmer manufacturer’s instructions and use an appropriate amount of wax.
If you’re testing your homemade melts, keep the amount consistent every time.
That way, you can compare different fragrances fairly.
12. Consider the Size of Your Room
Room size makes a surprisingly big difference.
A wax melt that fills a small bedroom with fragrance may feel much weaker in a large open-plan living room.
Other factors can also affect scent perception, including:
- Ceiling height
- Air circulation
- Open windows
- Fans
- Air conditioning
- Doors between rooms
- The number of people in the room
- Other competing smells
If your wax melt smells strong in a small room but weaker in a large room, your recipe may not actually be the problem.
Try testing the same melt in a smaller enclosed room before changing your formula.
13. Give Your Nose a Break

This is one of my favorite little tips because it is so easy to forget.
Your nose can become accustomed to a fragrance after you have been exposed to it for a while.
You may think your wax melt has stopped smelling when, in reality, your sense of smell has simply adjusted to it.
If you have been sitting beside your wax warmer for an hour, step into another room for a while.
Come back later and see whether you can smell the fragrance again.
This is especially useful when testing strong fragrances.
Sometimes the problem isn’t the wax melt at all it’s your nose getting used to the scent.
14. Store Your Wax Melts Properly

Even a beautifully scented wax melt can lose fragrance quality if it isn’t stored properly.
Keep finished wax melts:
- In a cool place
- Away from direct sunlight
- Away from excessive heat
- In suitable airtight packaging
- Away from strong competing odors
Heat can affect wax and fragrance over time, while exposure to air can also affect fragrance quality.
If you’re making wax melts as gifts or selling them, proper packaging becomes even more important.
15. Don’t Mix Too Many Fragrances at Once
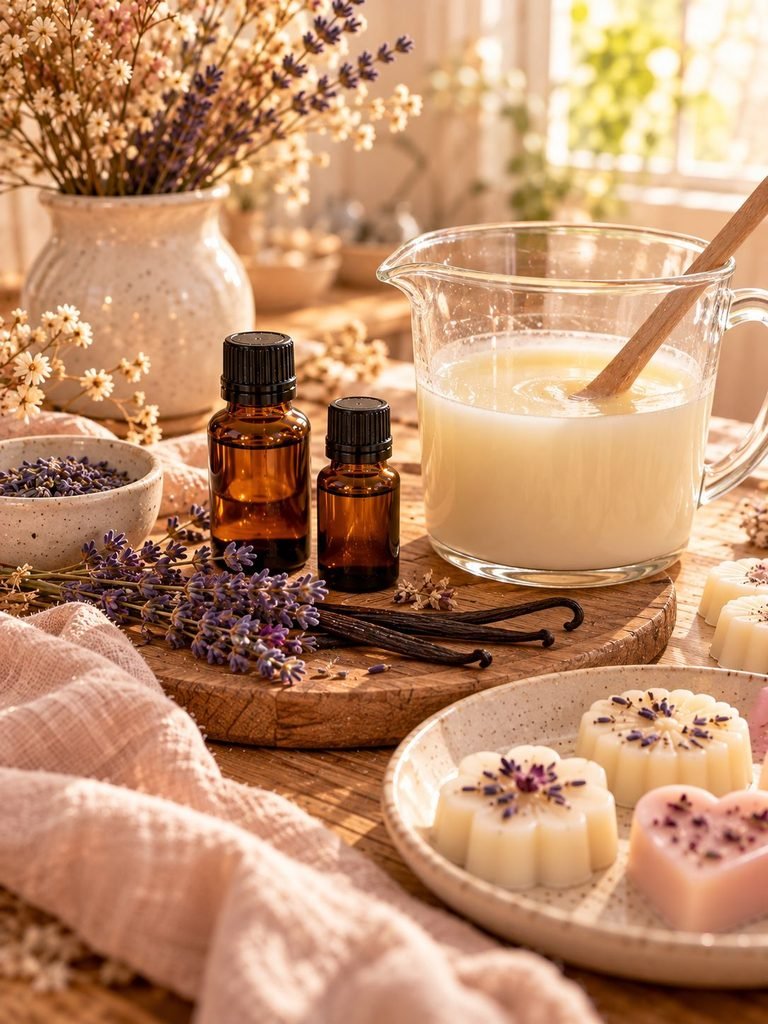
When you’re experimenting, it can be tempting to throw several beautiful fragrance oils together.
But more isn’t always better.
If you combine too many scents, you can end up with a confusing fragrance that doesn’t smell particularly strong or pleasant.
Instead, keep your blends simple.
Try combining two complementary fragrances first.
Once you understand how those two work together, you can experiment with a third note if necessary.
Keeping your recipes simple also makes them much easier to reproduce.
16. Keep a Wax Melt Testing Journal
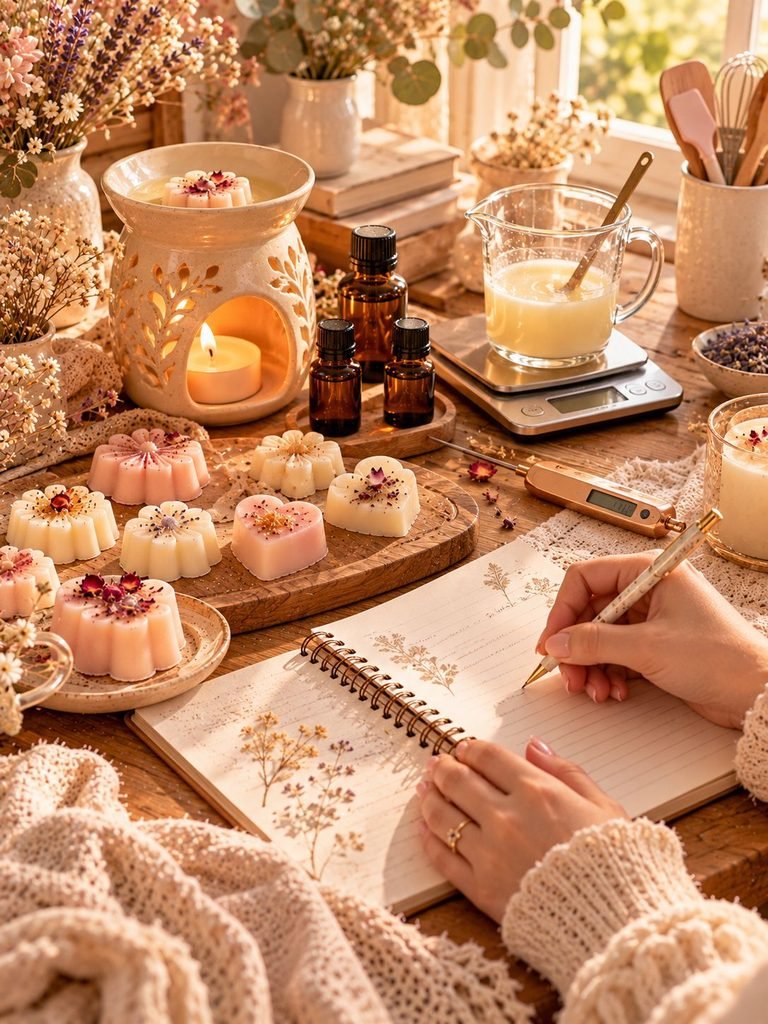
If you’re serious about improving your wax melts, I highly recommend keeping notes.
You don’t need anything fancy. A small notebook or spreadsheet is enough.
For every batch, write down:
Wax:
What type and brand of wax did you use?
Fragrance:
Which fragrance oil did you use?
Fragrance percentage:
How much fragrance oil did you add?
Wax temperature:
At what temperature did you add the fragrance?
Mixing:
How long did you stir?
Pouring temperature:
At what temperature did you pour?
Cure time:
How long did you wait before testing?
Warmer:
Which warmer did you use?
Room size:
Where did you test it?
Scent strength:
How strong did it smell?
Scent longevity:
How long did the fragrance remain noticeable?
This may sound like a lot at first, but it becomes incredibly useful.
After a few batches, you’ll start noticing patterns.
Why Your Wax Melts Smell Strong in the Package but Weak When Heated
This happens quite often.
The scent you smell from a finished wax melt sitting in its packaging is called the cold throw.
The fragrance you experience when the wax is heated is the hot throw.
A wax melt can have an amazing cold throw but a disappointing hot throw.
That doesn’t necessarily mean you did anything wrong.
The fragrance has to behave differently once it is heated, so a fragrance that smells powerful at room temperature may not perform as strongly when warmed.
This is why you should always test both.
Cold Throw vs. Hot Throw
Cold Throw
This is the fragrance you smell when the wax is not being heated.
For example, you open your wax melt packaging and immediately smell vanilla, lavender, or cinnamon.
Hot Throw
This is the fragrance released when the wax is warmed.
Hot throw is usually the more important measurement if your goal is to make a wax melt that scents a room.
When testing a new recipe, don’t judge it solely by how strong it smells straight from the package.
Warm it properly and give it enough time to reach its intended performance.
Common Mistakes That Make Wax Melts Smell Weak
Here are some of the most common mistakes to watch for:
Adding too much fragrance oil
More fragrance does not automatically equal more scent. Follow the wax manufacturer’s maximum fragrance-load recommendation.
Using poor-quality fragrance oil
A fragrance oil that isn’t designed for wax may not perform properly.
Not allowing enough cure time
Some waxes need additional time before they reach their best fragrance performance.
Using the wrong wax
Some waxes simply perform better with certain fragrance oils.
Adding fragrance at the wrong temperature
Follow your wax supplier’s recommended temperature range.
Not mixing thoroughly
Poorly incorporated fragrance can lead to inconsistent results.
Testing in a huge room
A fragrance that works beautifully in a small room may feel subtle in a large space.
Using an unsuitable warmer
Your warmer plays an important role in fragrance release.
My Simple Wax Melt Testing Method
If you’re trying to improve a recipe, don’t change five things at once.
Instead, change one thing at a time.
For example, make three small batches using the same wax and fragrance.
Keep everything identical except the fragrance percentage, staying within the manufacturer’s recommended range.
Then test each batch after the same curing period using the same warmer and approximately the same amount of wax.
This gives you much more useful information than randomly changing your recipe every time.
You can then repeat the experiment with another variable, such as curing time or fragrance oil.
It might take a little patience, but this is how you eventually create a recipe you can confidently repeat.
Quick Checklist for Stronger-Smelling Wax Melts
Before making another batch, run through this checklist:
☐ Am I using a wax suitable for wax melts?
☐ Is my fragrance oil designed for wax applications?
☐ Am I following the manufacturer’s fragrance-load recommendation?
☐ Am I measuring ingredients by weight?
☐ Am I adding fragrance at the recommended temperature?
☐ Am I mixing thoroughly?
☐ Am I pouring at the recommended temperature?
☐ Have I allowed enough time for the melts to cure?
☐ Am I testing with a suitable warmer?
☐ Am I using an appropriate amount of wax?
☐ Am I testing in a room that isn’t too large?
☐ Have I given my nose a break before judging the scent?
☐ Am I storing my finished melts properly?
☐ Am I changing only one variable at a time when testing?
Final Thoughts
Getting your wax melts to smell stronger doesn’t have to mean adding more and more fragrance oil. In fact, some of the biggest improvements can come from simple things like choosing the right wax, using a quality fragrance oil, measuring accurately, mixing properly, following recommended temperatures, and allowing enough curing time.
I especially recommend keeping notes while you’re experimenting. Your perfect recipe may take a little trial and error, but once you discover the wax, fragrance, percentage, temperature, and curing time that work beautifully together, you’ll be able to recreate those gorgeous, room-filling melts again and again.
And remember, fragrance strength is personal. What feels wonderfully strong to one person may feel subtle to another. Instead of chasing the strongest possible scent, aim for a wax melt that smells balanced, pleasant, consistent, and performs well within the manufacturer’s recommended guidelines.
Once you understand how all the little pieces work together, making beautifully scented wax melts becomes much easier — and honestly, much more fun.