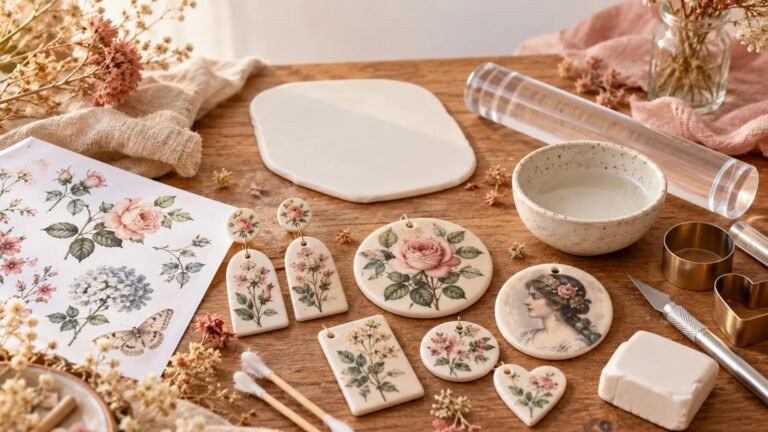
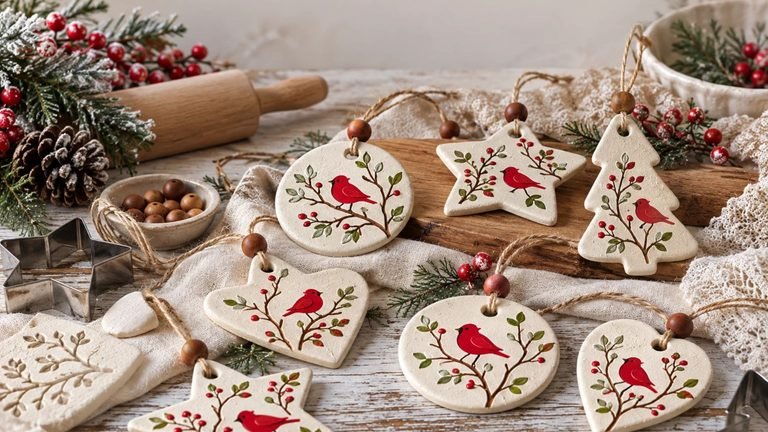
How to Make Clay Essential Oil Diffuser Charms
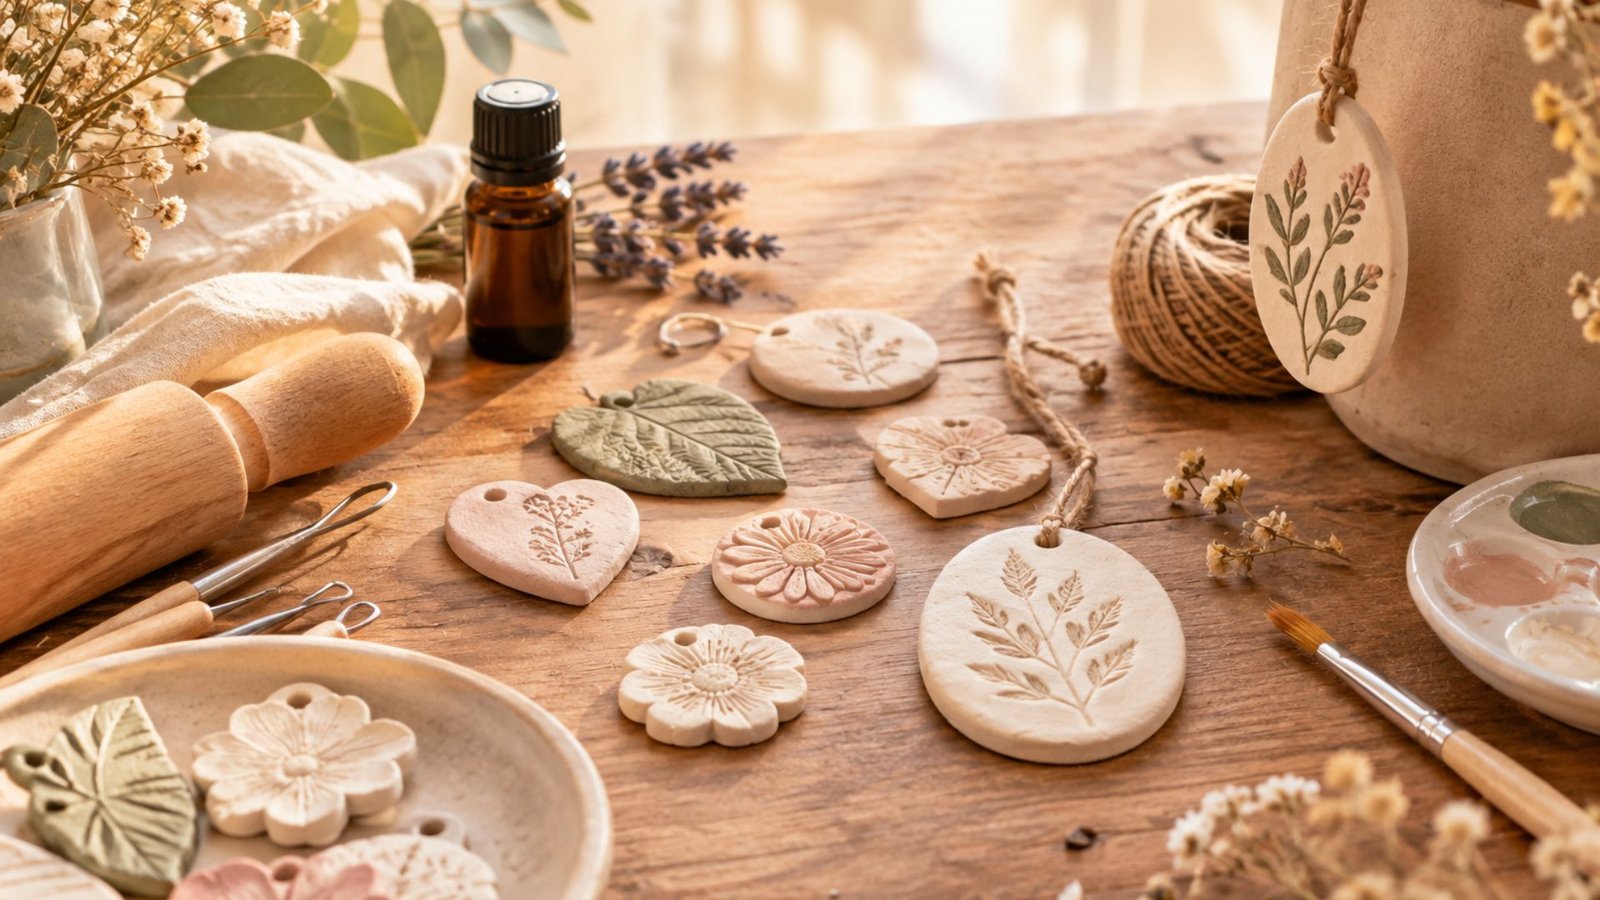
The first time I made a little clay diffuser charm, I was surprised by how such a simple craft could make my space feel more personal.
I loved choosing the shape, pressing a delicate texture into the clay, and adding just enough color to make it feel handmade rather than store-bought. Once the charm dried, I added a little essential oil to the unpainted back and hung it nearby.
The gentle fragrance made the whole project feel worth it. Since then, these charms have become one of my favorite small DIYs for my home, car, gifts, and cozy corners too.
What Are Clay Essential Oil Diffuser Charms?
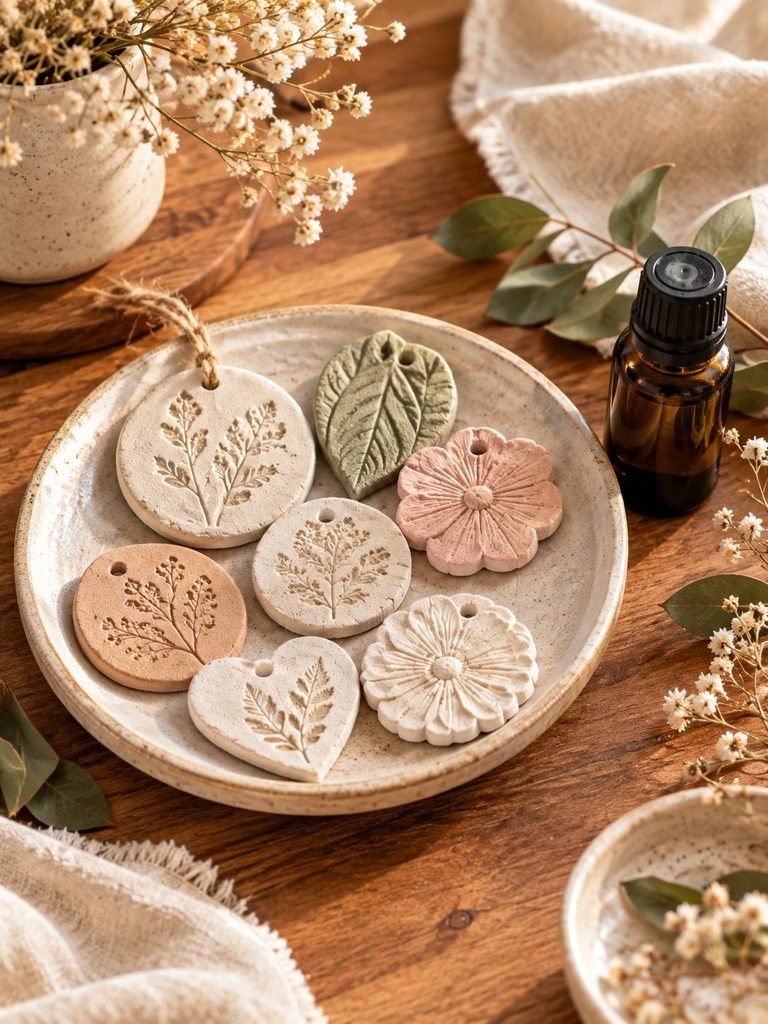
Clay essential oil diffuser charms are small decorative pieces made from porous, self-hardening clay. After the clay dries completely, it can absorb a small amount of essential oil and gradually release the fragrance into the surrounding air.
Unlike an electric diffuser, these little charms don’t need water, electricity, batteries, or heat. They can be hung from a hook, placed in a small dish, kept in a closet, or used as a decorative scent accent in another suitable space.
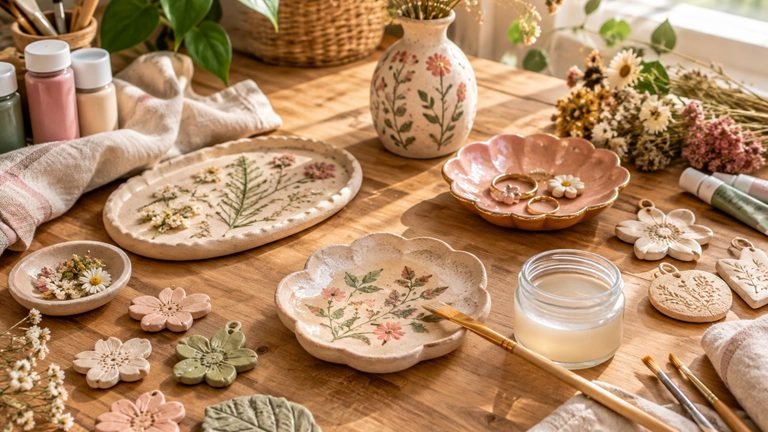
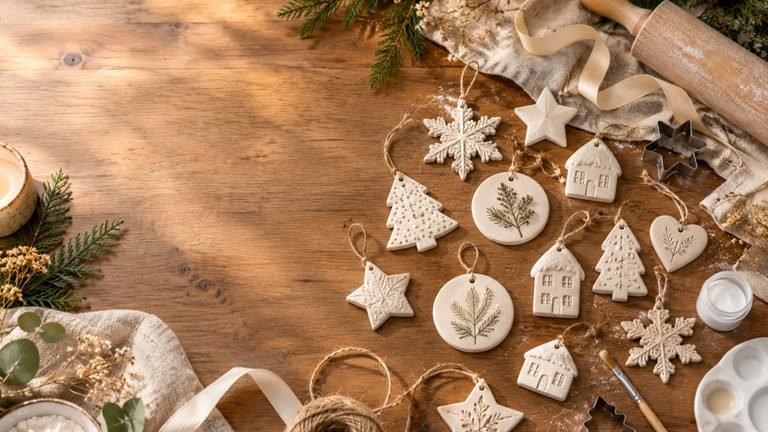
The beauty of this DIY is that you can make the charms almost any shape you like. Leaves, flowers, hearts, circles, stars, moons, arches, and simple botanical shapes all work beautifully.
I especially love making botanical designs because the natural texture looks beautiful even before you add paint.
Why You’ll Love This DIY
There are so many reasons to try these little diffuser charms.
They’re:
- Easy enough for beginners
- Inexpensive to make
- Customizable
- Reusable
- Beautiful enough for handmade gifts
- Free from flames and electricity
- Easy to make in batches
- Suitable for different decorating styles
You can also create an entire collection with different shapes and essential oil combinations. Make a calming lavender charm for a bedroom, a fresh citrus-inspired charm for a workspace, or a seasonal blend for a guest area.
Just remember that essential oils should be used thoughtfully, especially around children and pets. Some oils can be irritating or unsafe for certain animals, and concentrated oils shouldn’t be applied directly to skin unless properly formulated for that purpose.
Shop My Amazon Essentials
- Self-Hardening Air-Dry Clay
- Rolling Pin
- Cookie Cutters
- Clay Carving or Sculpting Tools
- Texture or Botanical Mold
- Acrylic Paint
- Small Paintbrush or Paint Sponge
- Jute, Hemp Twine, or Cord
- Essential Oil (Lavender, Sweet orange, Lemon, Peppermint, Eucalyptus, Cedarwood, Frankincense).
- Parchment or Wax Paper
Materials You’ll Need
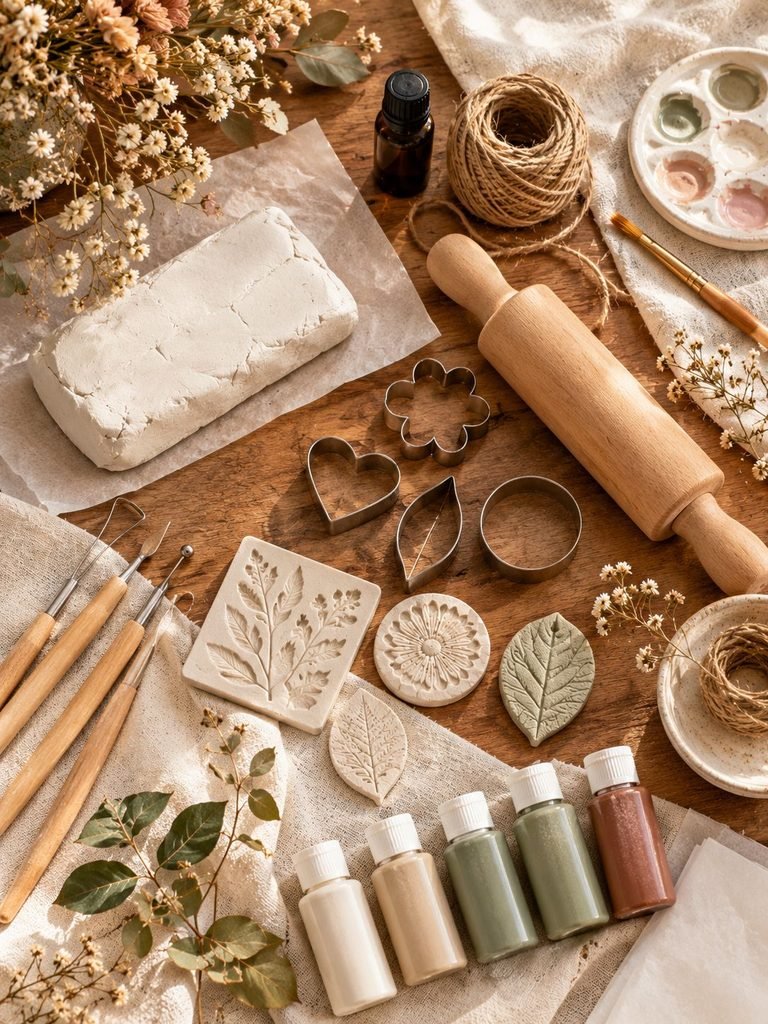
Here’s everything I recommend gathering before you start.
1. Self-Hardening Air-Dry Clay
Choose a self-hardening or air-dry clay that dries without being baked.
White clay gives you a clean, soft look, while terracotta-colored clay creates a warmer, more rustic appearance.
The most important thing is that the clay remains porous enough to absorb a small amount of essential oil after drying.
2. Rolling Pin
A small craft rolling pin works perfectly.
You can also use another smooth cylindrical object if you don’t have a craft rolling pin.
3. Cookie Cutters or Shape Templates
Use cookie cutters to create consistent shapes.
For a more organic look, you can also cut your shapes freehand with a clay knife.
4. Clay Carving or Sculpting Tools
These are useful for trimming edges, creating details, and cleaning up your designs.
A needle tool or awl is especially useful for making the hanging hole.
5. Texture or Botanical Mold
This is optional but makes the charms much more interesting.
You can use:
- Leaf molds
- Flower molds
- Rubber stamps
- Lace
- Small textured objects
- Artificial botanical leaves
- Embossing tools
Floranella’s original version uses a sprig mold to create a botanical leaf design.
6. Acrylic Paint
Paint is optional.
If you want colorful charms, acrylic paint works well for decorating the front surface.
I personally prefer soft neutrals such as cream, beige, dusty pink, muted green, and warm brown because they keep the finished pieces looking natural.
7. Small Paintbrush or Paint Sponge
A small brush works for detailed designs, while a sponge can create a softer layered effect.
8. Jute, Hemp Twine, or Cord
You’ll need something to hang your finished charm.
Thin natural twine gives the project a lovely handmade appearance. Floranella also mentions jute, hemp twine, and copper wire as hanging options, while noting that thin twine is gentler on the clay.
9. Essential Oil
Choose a pure essential oil or an appropriate essential-oil blend.
Some popular fragrance choices include:
- Lavender
- Sweet orange
- Lemon
- Peppermint
- Eucalyptus
- Cedarwood
- Frankincense
If you’re using a blend, make sure you understand the safety considerations of each oil in it.
10. Parchment or Wax Paper
Use this underneath your clay while you’re working and drying the finished charms.
It helps keep the clay from sticking to your work surface.
How to Make Clay Essential Oil Diffuser Charms
Step 1: Prepare Your Clay
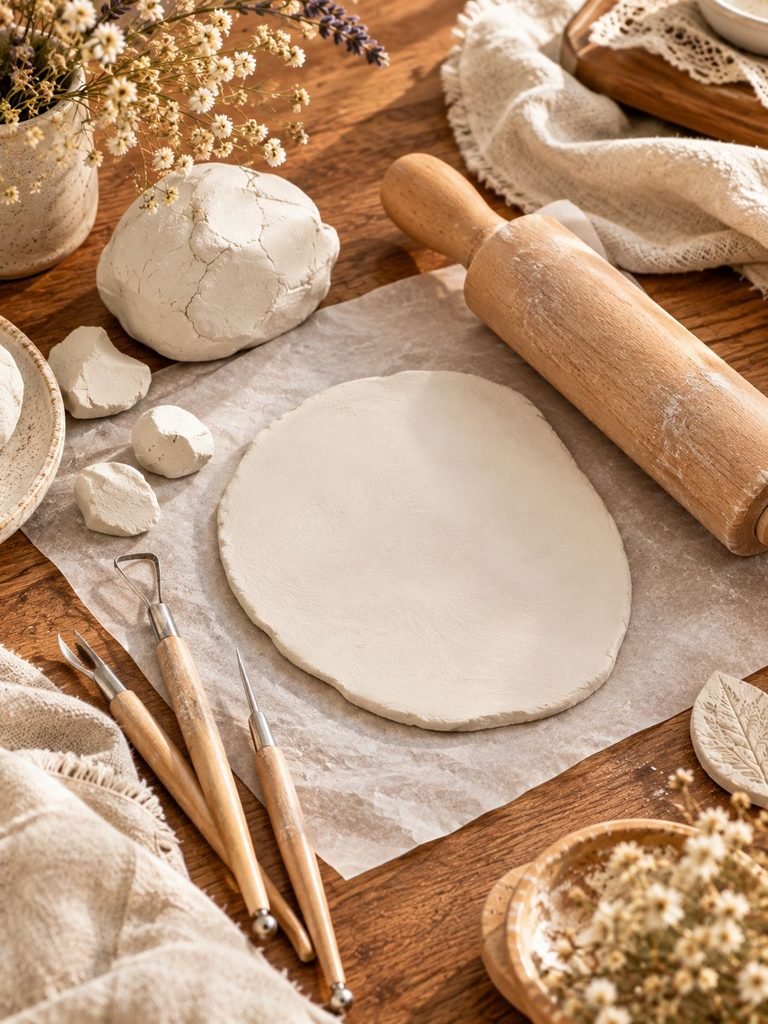
Start by cutting or pinching off a small piece of air-dry clay.
Knead it gently between your hands for about a minute.
This makes the clay softer and easier to work with.
If the clay feels dry or begins cracking immediately, don’t force it. Depending on the manufacturer’s instructions, you may need to work it more gently or use a fresh piece.
I like to condition the clay until it feels smooth and flexible before moving on.
Step 2: Roll the Clay Flat
Place the clay on parchment paper or another suitable nonstick work surface.
Use your rolling pin to flatten it evenly.
Aim for a thickness of roughly 1/4 inch, adjusting slightly depending on the clay you’re using and the size of your charm.
Try not to make the piece extremely thin because delicate edges can break after drying.
At the same time, avoid making it excessively thick because it will take longer to dry.
An even thickness is one of the easiest ways to get a neat finished result.
Step 3: Add Your Texture
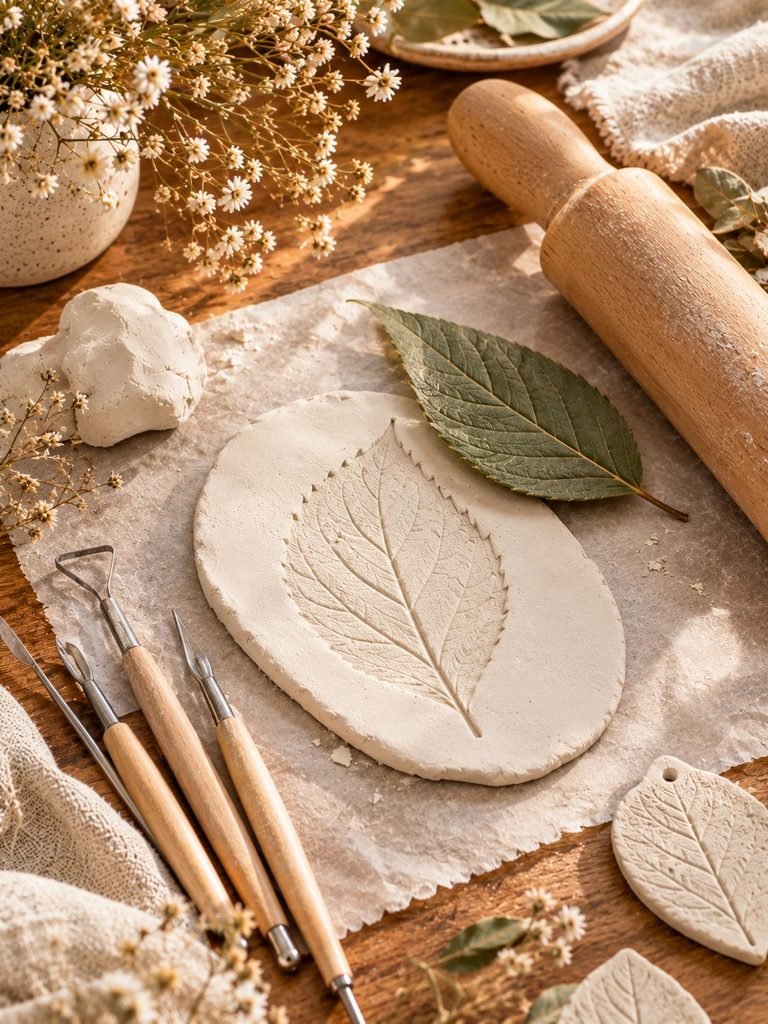
This is my favorite part.
Before cutting the final shape, press a texture into the surface of the clay.
You can place a small leaf, lace, stamp, or textured mold over the clay and gently roll across it.
Don’t press so aggressively that you completely flatten the clay.
You only need enough pressure to leave a visible impression.
For a botanical charm, try pressing a leaf or floral pattern into the surface. The resulting veins and details can look beautiful once the clay dries.
Step 4: Cut Out Your Shape
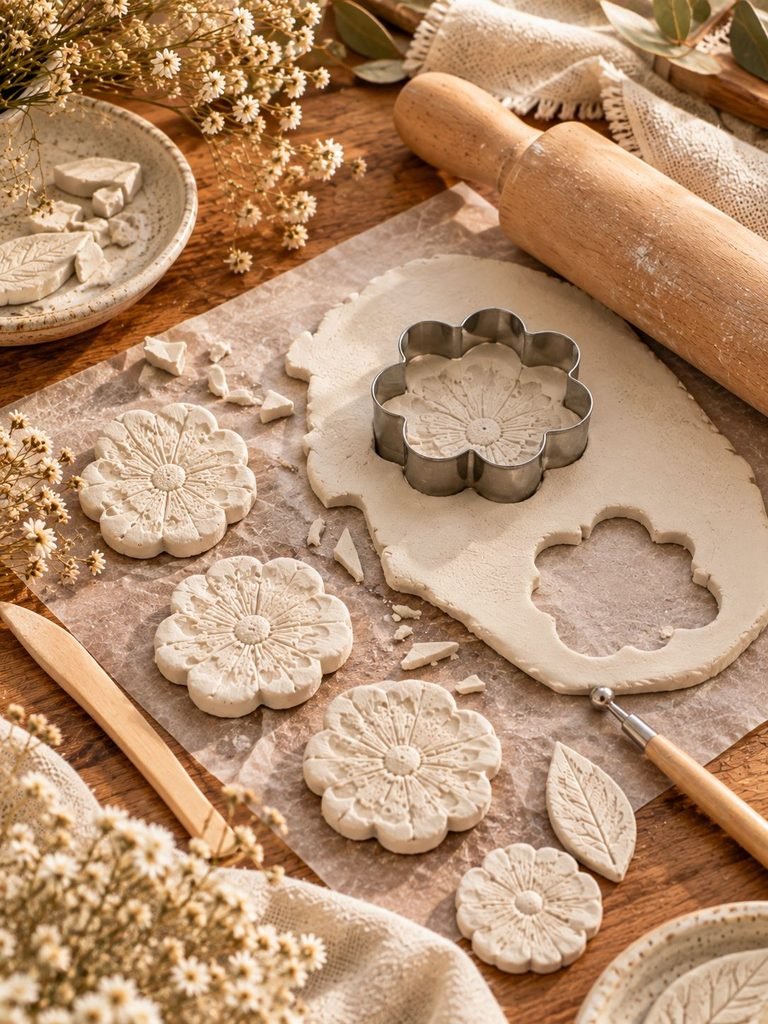
Place your cookie cutter or template over the textured clay.
Press down firmly and evenly.
Remove the excess clay around your shape.
If you’re making several charms, gather the leftover clay and knead it together to make additional pieces.
After cutting, gently smooth the edges with your finger.
This small step makes a big difference because it gives the charm a cleaner, more finished appearance.
Read How to Glaze Air Dry Clay: A Beginner’s Guide to a Smooth, Beautiful Finish
Step 5: Make the Hanging Hole
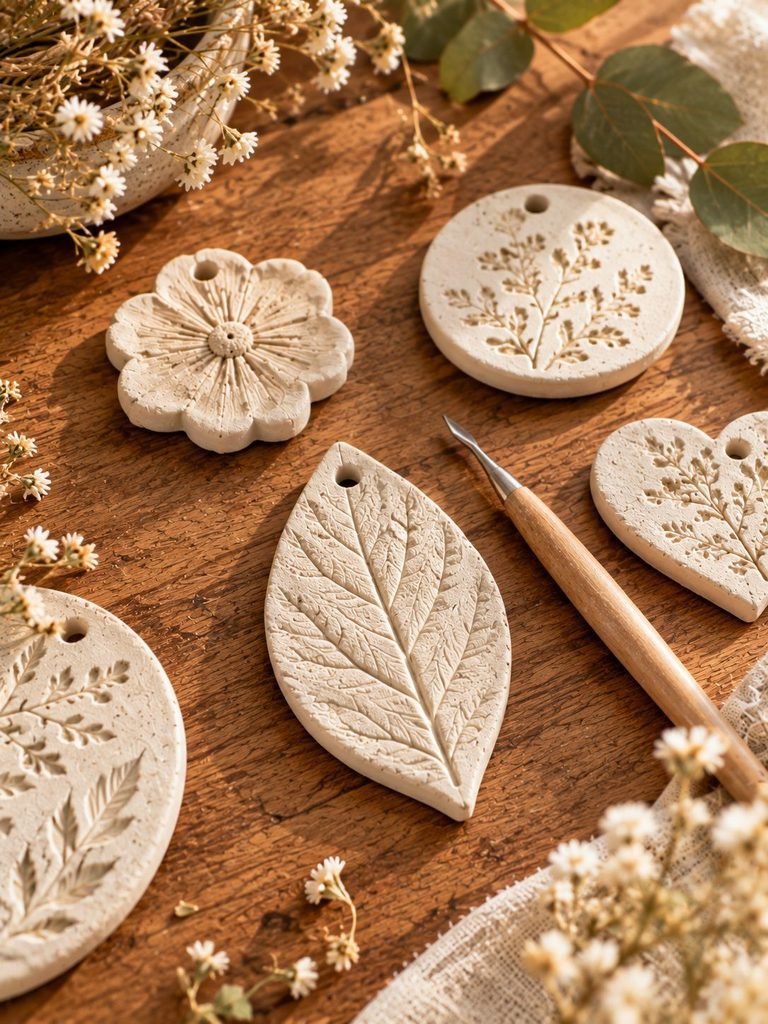
If you’re making a hanging charm, now is the time to create the hole.
Use an awl, skewer, needle tool, or similar tool.
Make the hole near the top of the charm, but don’t place it too close to the edge.
Leave enough clay around the hole so it doesn’t crack when you thread the cord through it.
If you don’t want a hanging charm, simply skip this step.
You can make these pieces as little decorative diffuser stones instead. Floranella also suggests placing finished charms in a dish or bowl for smaller spaces rather than hanging them.
Step 6: Check the Back
Turn your charm over and look at the back.
If it’s very uneven, gently smooth it with a rolling pin or your fingers.
A relatively flat back makes the charm easier to handle and gives it a more polished appearance.
This is also the surface you’ll eventually use for your essential oil.
Step 7: Let the Clay Dry Completely
Place your charms on a flat surface and leave them somewhere dry with good air circulation.
Follow the drying instructions for your specific clay.
Depending on the clay, thickness, humidity, and size of the pieces, drying can take overnight or longer.
Don’t rush this step.
The charm needs to be completely dry and hardened before you paint it or add essential oil.
Floranella’s tutorial recommends allowing the clay to air-dry overnight or until thoroughly hardened before decorating.
If the charm still feels cool, soft, or damp, give it additional drying time.
Step 8: Smooth Any Rough Edges
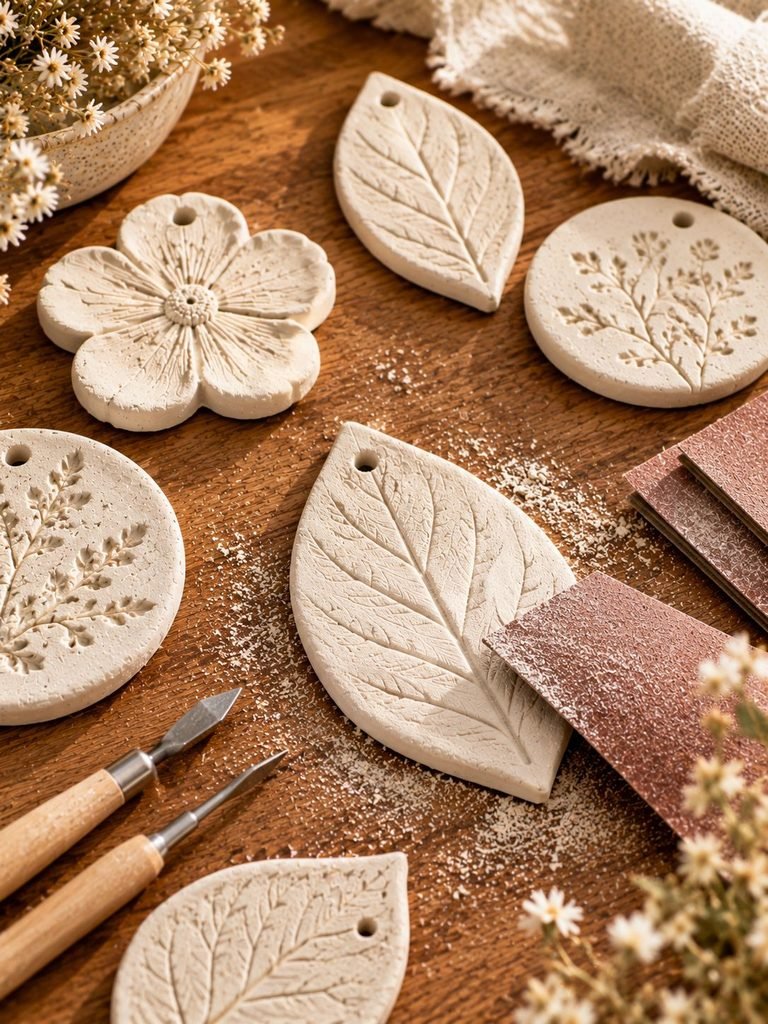
Once the charm is fully dry, inspect the edges.
If you notice rough spots, lightly smooth them with fine-grit sandpaper.
Be gentle.
You don’t want to accidentally remove delicate textures or make the charm too thin.
Brush away any dust before painting.
Step 9: Decorate the Front
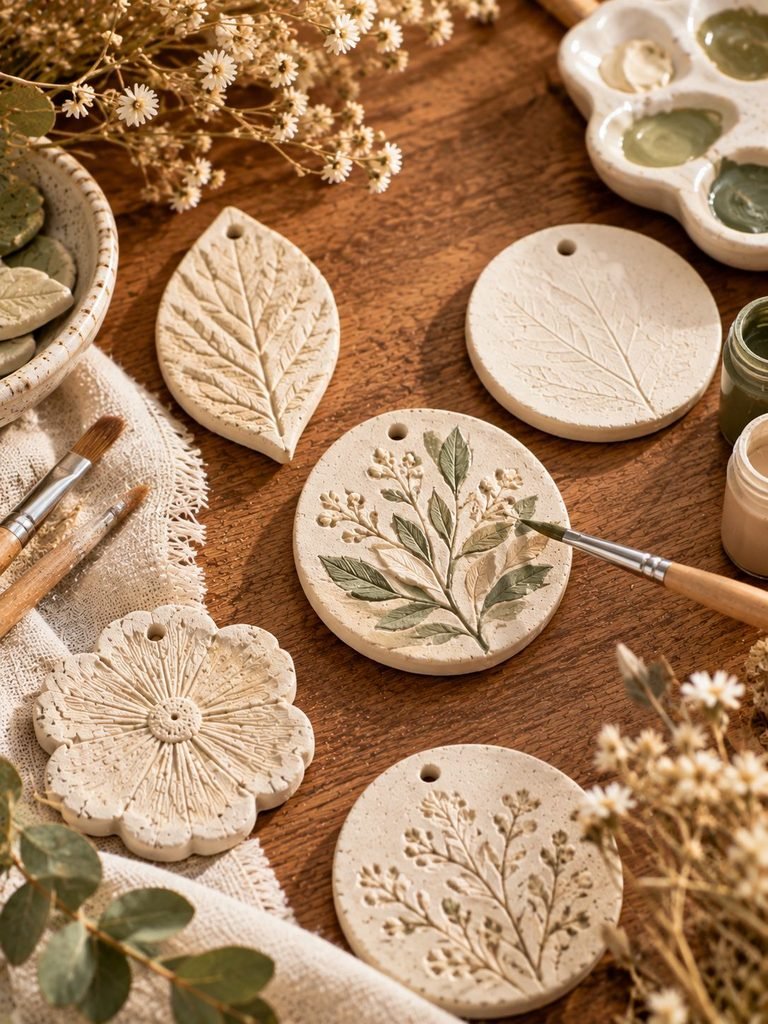
Now you can personalize your charm.
You can leave the natural clay completely unpainted for a minimalist look, or add acrylic paint.
For a botanical style, I love using several shades instead of covering the entire charm with one heavy coat.
Start with a lighter color and gradually add darker details.
For example, a cream base with muted green botanical details can look soft and natural.
You can also experiment with:
- White and beige
- Blush and cream
- Sage and ivory
- Terracotta and cream
- Dusty blue and white
- Brown and warm beige
The important thing is to keep the back of the charm unpainted if you want that surface to absorb essential oil effectively. Floranella specifically recommends painting the front while leaving the back blank for oil application.
Step 10: Let the Paint Dry
Place the painted charms somewhere safe and let them dry completely.
Don’t add essential oil while the paint is still wet.
Give the paint enough time to cure according to the paint manufacturer’s instructions.
This also gives you an opportunity to inspect your finished design and add another thin layer if necessary.
Step 11: Add Your Cord
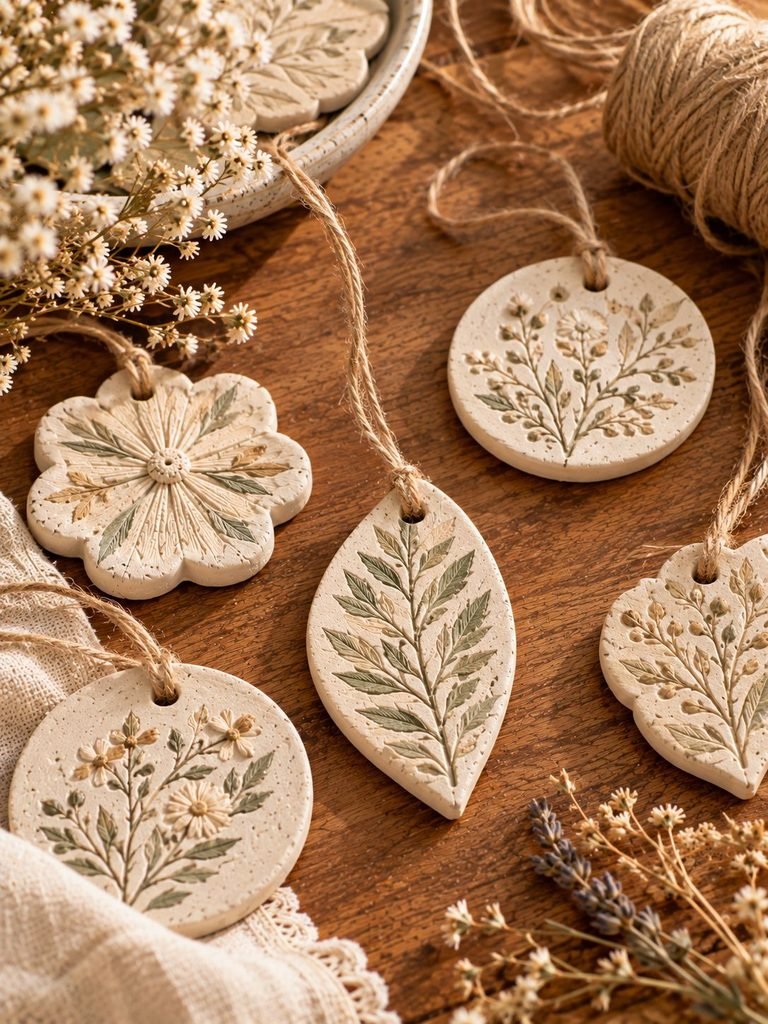
Once everything is completely dry, thread your jute, hemp twine, or cord through the hole.
Tie a secure knot or loop.
If you’re using wire, work carefully because excessive pressure can crack the clay. Floranella notes that thin natural twine can be gentler on the finished piece.
For a softer feminine look, I particularly like natural-colored jute or cotton cord.
You could also add a small wooden bead if the hole is large enough and the extra weight won’t stress the clay.
Step 12: Add Essential Oil
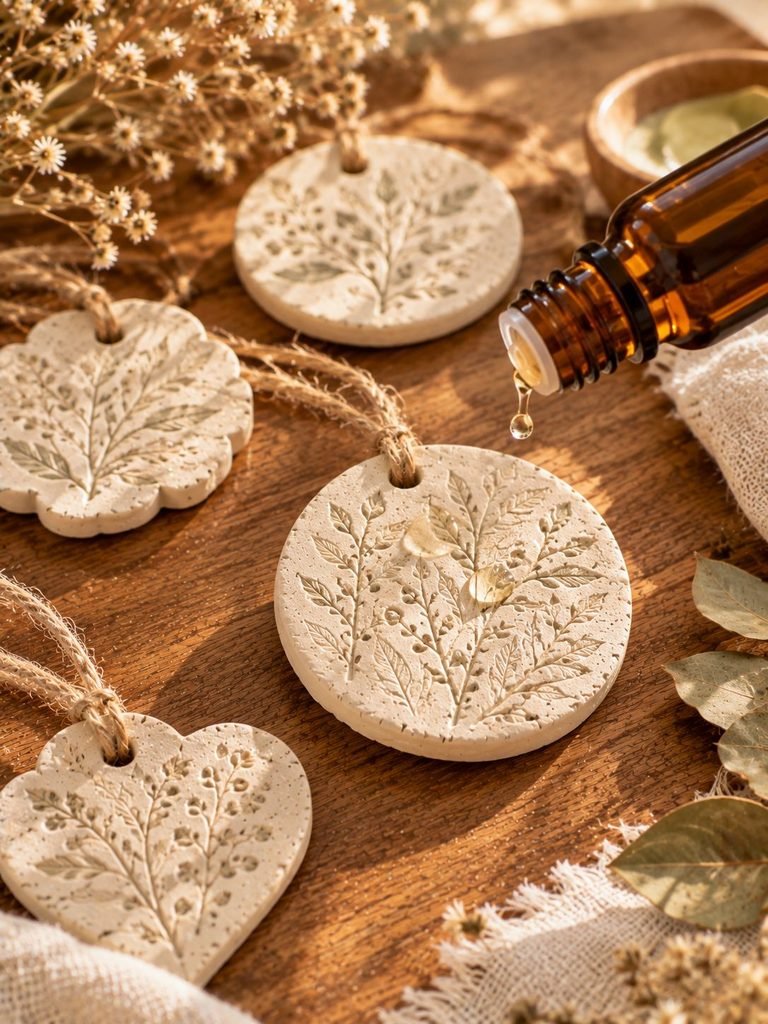
This is what transforms your clay ornament into a diffuser charm.
Turn the charm over so you’re working on the unpainted back.
Add a small amount of essential oil to the bare clay.
Start with just a drop or two rather than soaking the charm.
Allow the oil to absorb before adding more.
The clay will gradually release the aroma into the surrounding area.
Avoid applying oil to the painted surface because the oil can affect the finish.
How to Refresh Your Clay Diffuser Charm
Eventually, the fragrance will become less noticeable.
When that happens, simply add a small amount of essential oil to the unpainted back again.
I recommend starting with a small amount and waiting to see how strong the fragrance becomes before adding more.
If you switch from one essential oil to another, let the previous scent fade as much as possible first. Otherwise, your fragrances may blend together in a way you didn’t intend.
You can also keep separate charms for different fragrance families.
For example:
Relaxing charm: lavender
Fresh charm: lemon or sweet orange
Herbal charm: eucalyptus or rosemary
Woodsy charm: cedarwood
Always check the specific safety guidance for the oils you choose, particularly if the charm will be used around children, pets, or people who may be sensitive to fragrances.
Beautiful Ways to Use Your Diffuser Charms
Once you’ve made a few, you’ll probably find lots of places to use them.
In a Closet
Hang one in a suitable closet or wardrobe area for a subtle fragrance.
Make sure the charm doesn’t rub directly against delicate clothing, especially if you’ve recently added oil.
In a Bathroom
A small decorative dish filled with diffuser charms can add a gentle fragrance to a bathroom.
This is especially useful when you don’t want an electrical diffuser sitting near water.
In a Bedroom
Choose a gentle fragrance and place the charm somewhere appropriate where it won’t touch bedding or fabrics.
In Your Car
A hanging clay charm can be used as a simple car fragrance.
However, secure it carefully so it doesn’t obstruct your view or interfere with vehicle controls, and avoid placing freshly oiled pieces against upholstery.
As Handmade Gifts
These are wonderful little handmade gifts.
You can make several matching charms, wrap them in a small fabric pouch, and include a suitable essential oil separately.
I think botanical shapes make especially pretty gifts because they look decorative even before they’re scented.
Easy Design Ideas to Try
Once you’ve made your first charm, don’t be afraid to experiment.
Botanical Leaves
Press real or artificial leaves into the clay for a natural pattern.
Floral Medallions
Use a flower mold and paint the raised details with a slightly darker shade.
Minimalist Circles
Make simple round discs and leave them completely unpainted.
Heart Charms
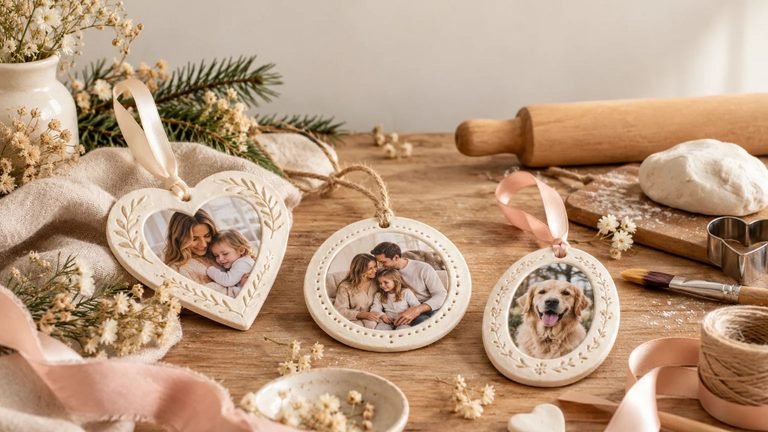
These would be beautiful for Valentine’s Day, bridal gifts, Mother’s Day, or small thank-you gifts.
Seasonal Shapes
Try pumpkins for fall, stars for Christmas, flowers for spring, or seashell-inspired shapes for summer.
Textured Lace Charms
Press lace gently into the clay before cutting your shape.
The result can look surprisingly delicate.
Common Mistakes to Avoid
Painting Both Sides
If you cover both sides with paint or another finish, you can interfere with the clay’s ability to absorb essential oil.
Keep at least the application area on the back unpainted.
Adding Too Much Oil
More oil doesn’t necessarily mean a better diffuser.
Start small and allow the clay to absorb it.
Making the Charm Too Thin
Very thin clay can become fragile.
Give your charm enough thickness to withstand handling and hanging.
Making the Hanging Hole Too Close to the Edge
Leave enough clay around the opening to prevent cracking.
Handling the Charm Before It’s Dry
Even if the surface looks dry, the inside may still contain moisture.
Give the piece plenty of time to harden.
Using Too Much Water
If you need to smooth the clay, use only the amount recommended for your specific clay.
Too much moisture can make the surface difficult to finish and may increase drying time.
Frequently Asked Questions
Can I use polymer clay for diffuser charms?
For this particular project, I recommend choosing a porous, self-hardening air-dry clay rather than polymer clay.
The purpose of the project is for the dried clay to absorb and release small amounts of essential oil.
Do I have to paint my diffuser charms?
Not at all.
In fact, leaving them completely natural can create a beautiful minimalist look.
You can use texture rather than paint to make the charm decorative.
Can I make these without a mold?
Absolutely.
Cookie cutters, jar lids, handmade templates, or freehand shapes can all work.
You can even make simple circles and add your own stamped texture.
How long does a clay diffuser charm last?
The physical charm can be reused as long as it remains intact and the clay continues to absorb oil.
The fragrance itself will fade over time and can be refreshed with a small amount of essential oil.
Can I make a diffuser charm without a hole?
Yes.
Simply leave out the hanging-hole step and use the finished piece as a diffuser stone.
Place it in a small dish or decorative tray instead. Floranella specifically describes this option for bathrooms and closets.
Final Thoughts
I love DIY projects that are both pretty and practical, and these clay essential oil diffuser charms fit that description perfectly. You don’t need complicated equipment or advanced crafting skills to make them. A little air-dry clay, a texture you love, some paint, twine, and your favorite essential oil are enough to create something genuinely useful.
The best part is how easy it is to make the project your own. Keep the clay natural for a minimalist look, paint delicate botanical details for something more feminine, or create seasonal shapes for handmade gifts.
Once you’ve made one batch, you’ll probably find yourself thinking of new shapes and places to use them. Just remember to keep the oil on the unpainted clay surface, allow every layer to dry completely, and follow appropriate essential-oil safety guidance for your household.
These little charms may be simple, but they add such a lovely handmade touch to everyday spaces.