How to Glaze Air Dry Clay: A Beginner’s Guide to a Smooth, Beautiful Finish
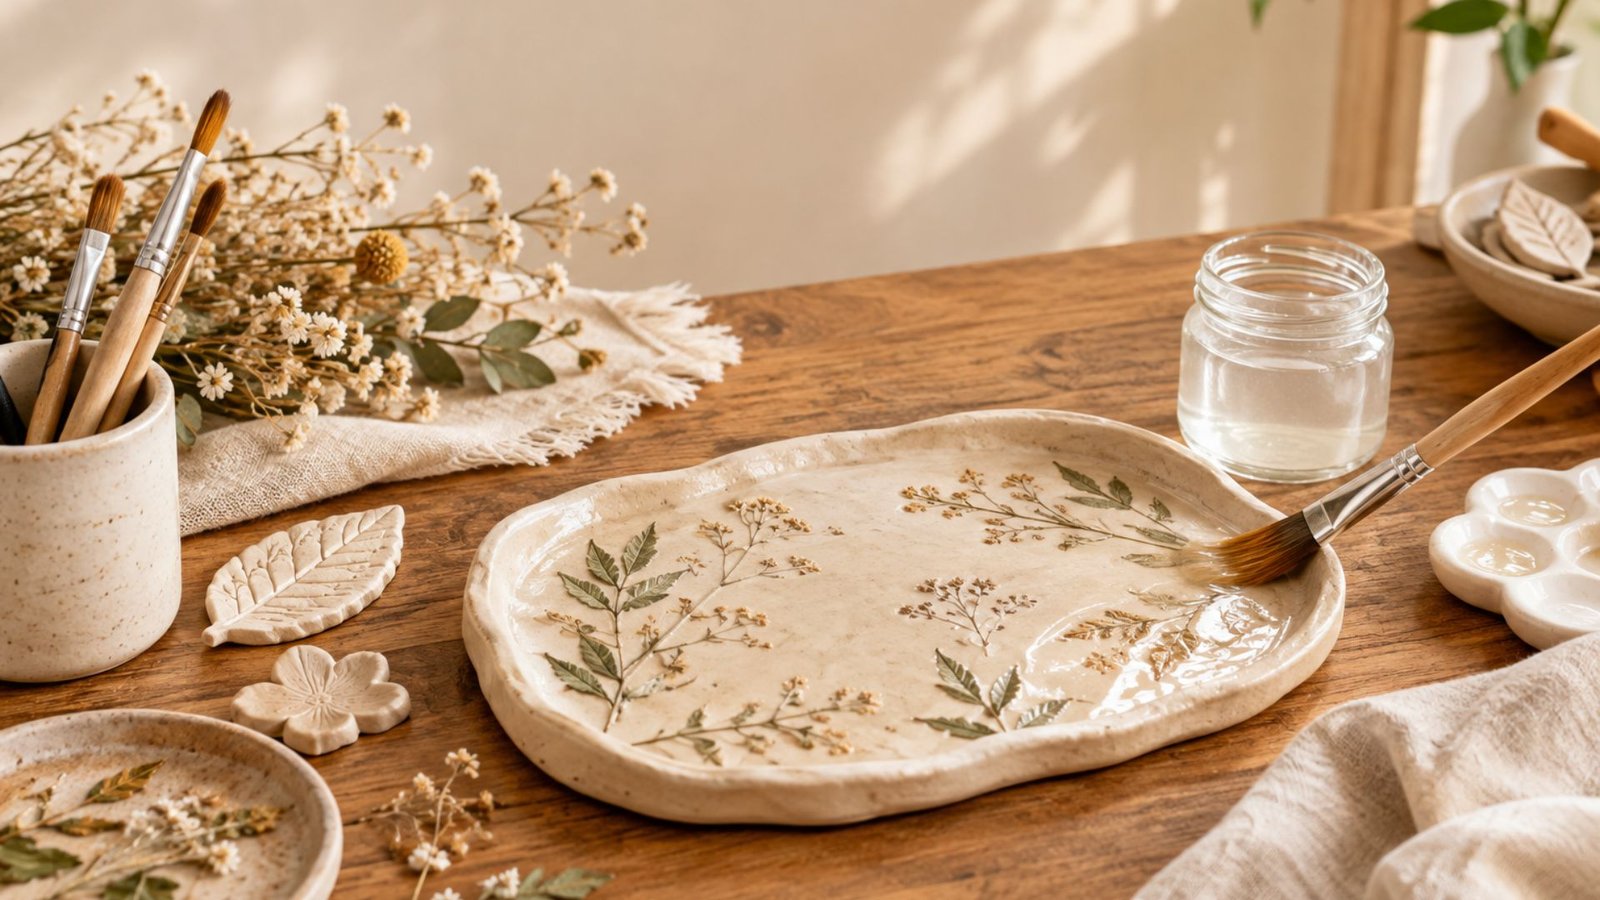
If you’ve spent time shaping, smoothing, and painting your air-dry clay project, you probably want that final finish to make all your hard work look even more beautiful.
I know how disappointing it can be when a finished clay piece still looks a little dull, chalky, or unfinished. That’s where glazing comes in.
The right glaze or sealer can add shine, protect the surface, bring out your colors, and give your handmade piece a more polished look. The good news is that glazing air-dry clay is much easier than it sounds, even if this is your first clay project.
Shop my amazon essentials
- Air-dry clay
- Clear acrylic sealer
- Mod Podge
- Fine paint brushes
- Foam brushes
- Fine-grit sandpaper
- Paint palette
- Silicone craft mat
- Small mixing cups
- Nitrile gloves
What Does “Glazing” Air Dry Clay Mean?
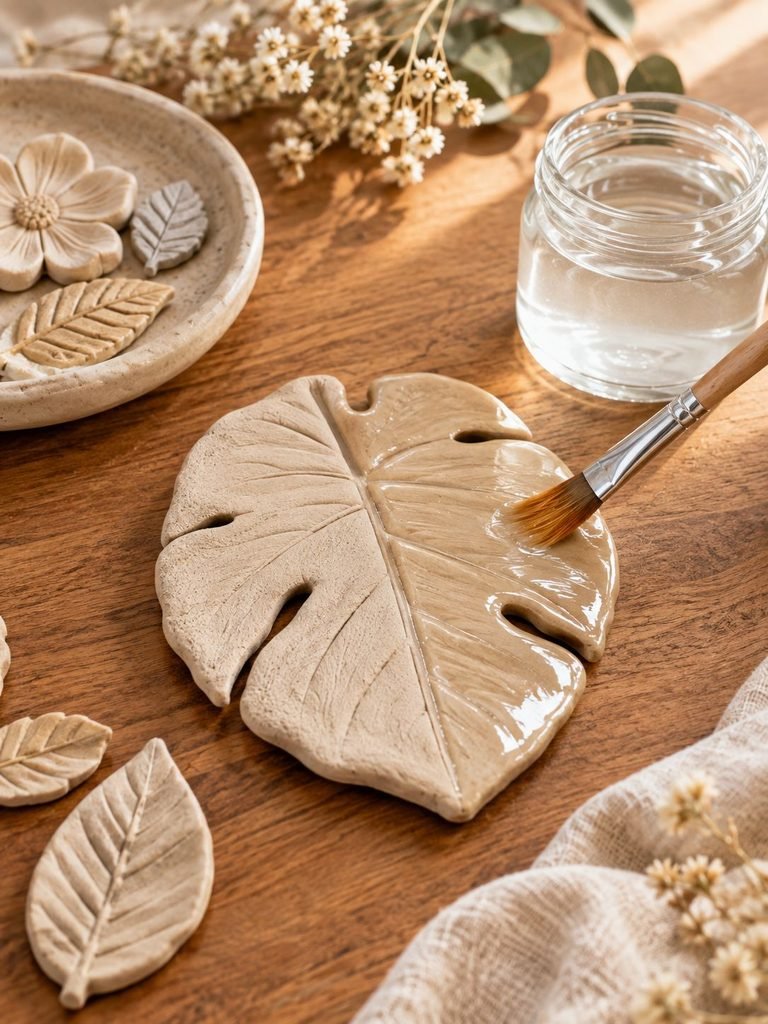
When crafters talk about glazing air-dry clay, they usually mean adding a clear protective finish such as acrylic varnish, craft sealer, or another suitable coating.
Traditional ceramic glaze is different because it is designed for clay that is fired in a kiln. Air-dry clay hardens without firing, so you should use a product specifically suitable for air-dry clay or decorative craft surfaces instead.
A glaze or sealer can help:
- Give your clay a matte, satin, or glossy finish
- Protect painted details from everyday handling
- Reduce the dusty or chalky feel of unfinished clay
- Make colors appear richer
- Add a smoother, more finished appearance
- Provide some resistance to occasional moisture
However, sealing does not automatically make air-dry clay waterproof. For example, Crayola specifically notes that sealing its air-dry clay does not make the finished piece waterproof.
What You’ll Need
You don’t need a huge collection of supplies. For a simple project, gather:
- Completely dry air-dry clay
- Acrylic varnish or suitable clay sealer
- A clean, soft paintbrush or foam brush
- Fine-grit sandpaper, if needed
- A clean, dry cloth
- Small container for your sealer, if necessary
- Protective covering for your work surface
If you are using a spray sealer, work in the well-ventilated area recommended on the product label.
Step 1: Make Sure Your Clay Is Completely Dry
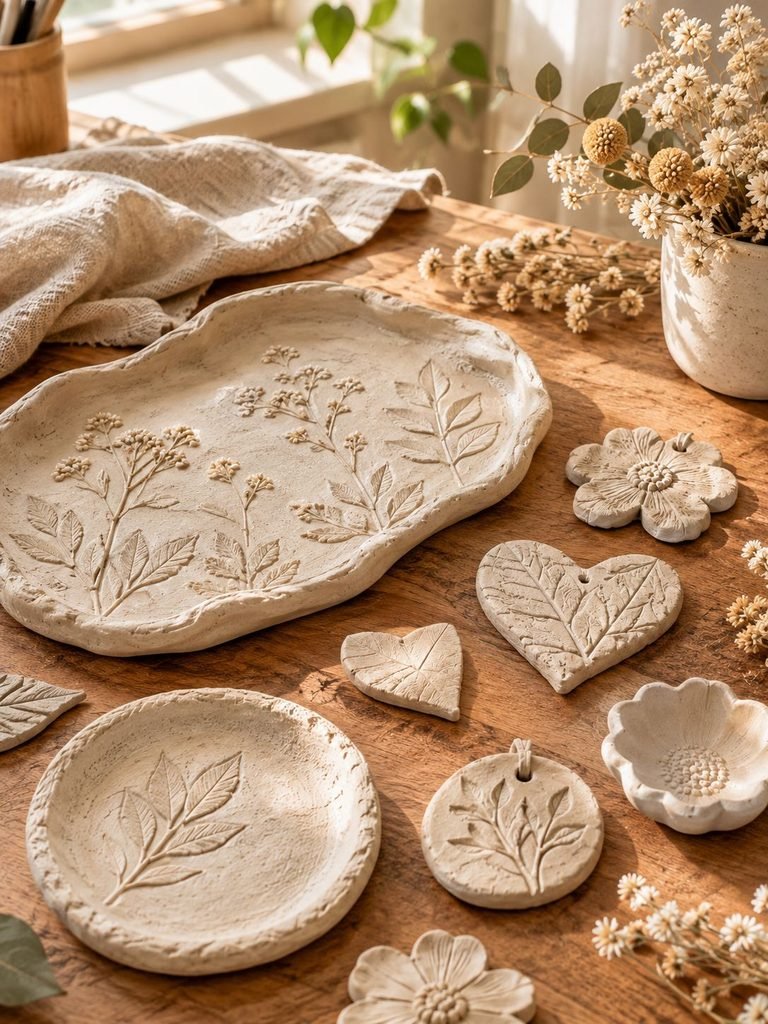
This is the step you should never rush.
Your clay needs to be thoroughly dry before you apply varnish or sealer. If you seal the surface while moisture is still trapped inside, you can end up with an uneven finish or other problems.
Drying time depends on the brand, thickness, size, humidity, and shape of your project. Some manufacturers give specific drying times; for example, Crayola recommends waiting 72 hours before sealing its air-dry clay.
If your piece feels cool, soft, or slightly damp in thicker areas, give it more time.
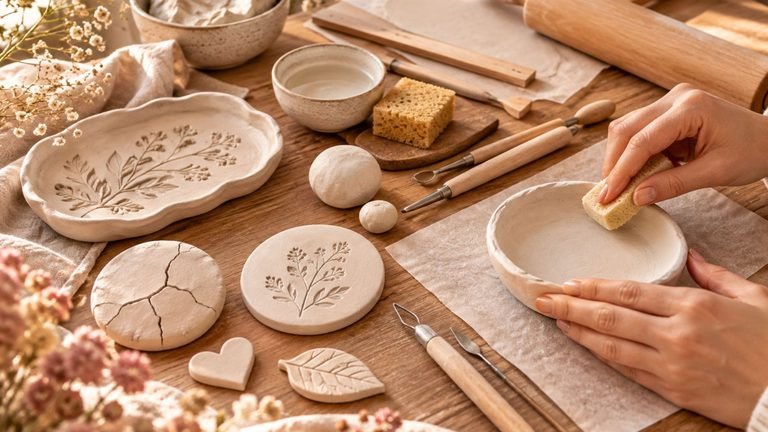
Step 2: Smooth the Surface
Once the clay is completely dry, inspect it carefully.
If you notice rough edges, bumps, or unwanted marks, lightly sand them with fine-grit sandpaper. You don’t have to sand your entire project if you want to keep its handmade texture.
After sanding, remove all the dust with a soft, dry cloth.
This matters because tiny particles left on the surface can become trapped underneath your clear finish and leave little bumps.
Step 3: Choose the Right Finish
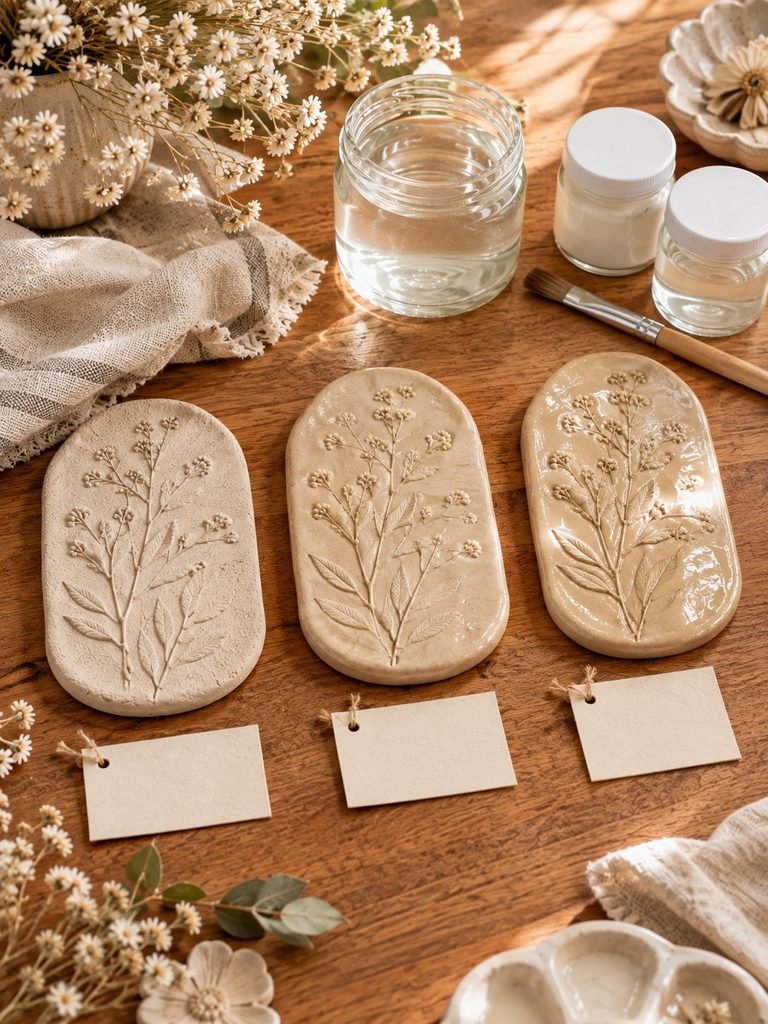
The best finish depends on the look you want.
Glossy Finish
Choose a gloss varnish if you want your clay to have a shiny, polished appearance. This works especially well for decorative trays, ornaments, colorful clay pieces, and projects where you want the details to stand out.
Matte Finish
A matte sealer keeps the natural, soft appearance of the clay without adding much shine. It is a lovely option for minimalist decorations and pieces where you want the handmade texture to remain the focus.
Satin Finish
Satin sits between matte and gloss. It gives your project a gentle sheen without making it extremely shiny.
Acrylic varnishes are a popular beginner-friendly choice because they are available in different finishes and can be brushed onto the clay in thin coats.
Step 4: Test Your Glaze First
Before covering your favorite finished piece, test the product on a small leftover piece of clay if you have one.
This is especially useful if your project has been painted.
Apply the finish to the test piece and allow it to dry completely. Check whether the colors change, the surface becomes cloudy, or the finish reacts badly with the paint.
Testing first can save you from ruining a piece you’ve spent hours making.
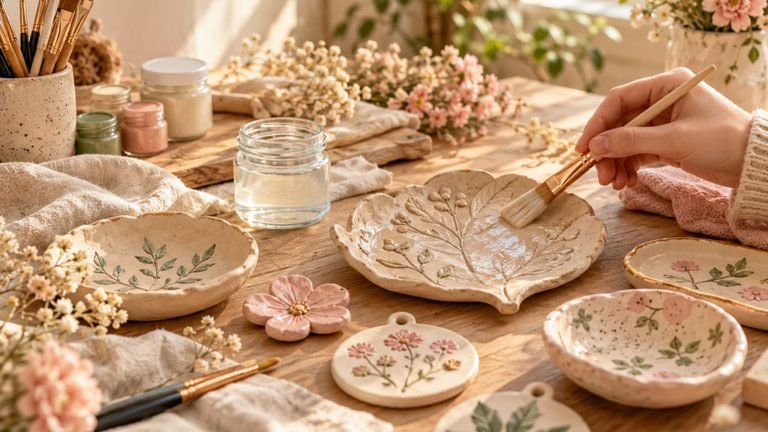
Step 5: Apply the First Coat
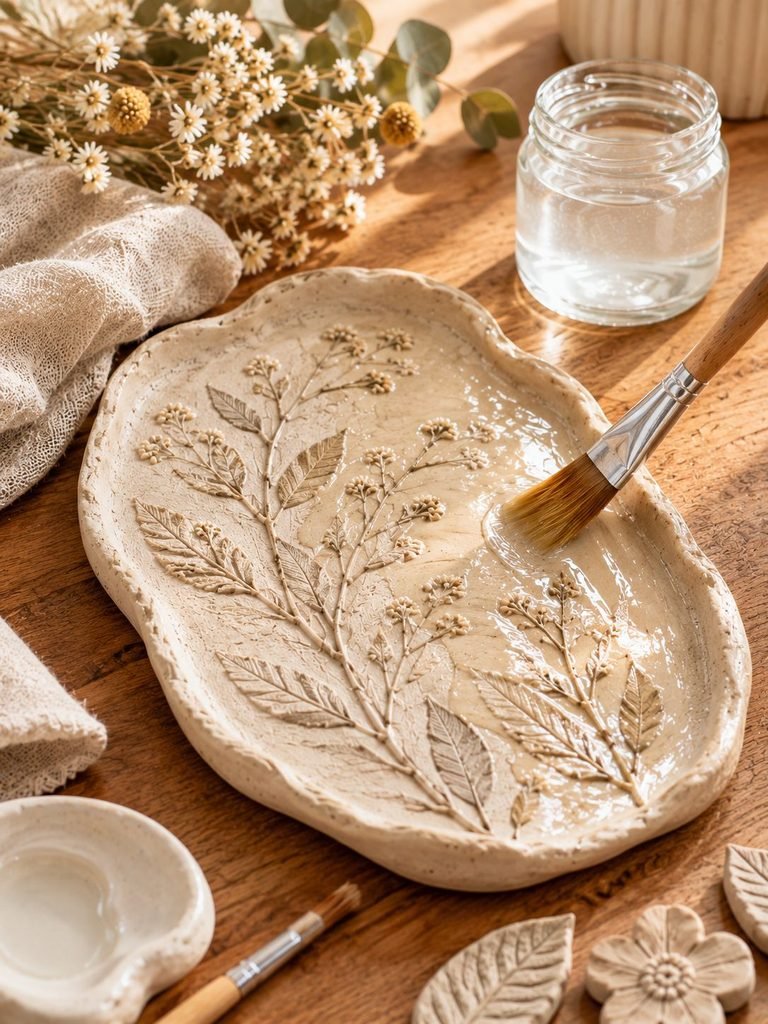
Now comes the fun part.
Use a clean, soft brush and apply a thin, even coat of your chosen sealer.
Try not to keep brushing the same area repeatedly. Once the product starts to dry, going back over it can leave visible brush marks or an uneven finish.
Work gently and cover the surface without allowing the sealer to pool in corners or around raised details.
Thin coats generally give a cleaner result than trying to create a thick glossy layer in one application.
Step 6: Let It Dry Completely
Put your project somewhere clean and leave it alone while the first coat dries.
The drying time depends on the product, so always follow the instructions on your particular sealer.
Don’t touch the surface repeatedly to see whether it is dry. Fingerprints can become trapped in the finish, especially while it is still soft.
Once the first coat has dried, inspect your piece under good lighting.
Step 7: Add Another Thin Coat
If you want more protection or a stronger finish, apply another thin coat.
Two or three thin coats can produce a more even result than one heavy coat, provided you allow each layer to dry properly before applying the next.
Pay special attention to edges, corners, and detailed areas, but avoid letting the product collect in one spot.
Can You Use Mod Podge on Air Dry Clay?
Yes, Mod Podge can be used as a sealer and finish for many decorative air-dry clay projects. It is available in different finishes, including matte and gloss.
It can be a convenient option for ornaments, decorative trays, wall art, and other projects that don’t need to hold water.
Just remember that a product being called “water-resistant” or “dishwasher-safe” does not turn the air-dry clay itself into a waterproof or food-safe material. Air-dry clay can still be affected by water underneath or through damaged areas of the coating.
Can You Make Air Dry Clay Waterproof?
This is one of the biggest misconceptions about glazing air-dry clay.
A good sealer can improve moisture resistance, but you should not assume that a sealed air-dry clay piece can safely be submerged in water.
For this reason, avoid using ordinary air-dry clay for items such as drinking cups, food-serving dishes, or containers that are regularly filled with water.
For decorative pieces, however, sealing can be a useful final step that helps protect the surface from everyday dust, handling, and occasional moisture.
Common Glazing Mistakes to Avoid
Applying one thick coat
A thick layer can drip, pool, or dry unevenly.
Better: Apply several thin coats.
Glazing damp clay
This can interfere with the finish.
Better: Wait until the clay is completely dry.
Using a dirty brush
Dust and old paint can end up trapped in your finish.
Better: Use a clean brush specifically for your sealer.
Over-brushing
Repeatedly brushing a drying layer can create streaks.
Better: Apply the coat smoothly and leave it alone to dry.
Skipping the test
Different paints and sealers can react differently.
Better: Test your combination on scrap clay first.
How to Get a Smooth, Professional Finish
If you want your clay project to look polished rather than overly coated, remember these simple rules:
Clean surface + completely dry clay + thin coats + enough drying time = better results.
Good lighting also helps. It makes it easier to spot missed areas, drips, and uneven coverage while you’re working.
And don’t feel like you have to make every project glossy. Sometimes a beautiful matte finish is exactly what a handmade piece needs.
Final Thoughts
Glazing is a simple final step that can completely change the appearance of an air-dry clay project. Whether you prefer a soft matte finish, a subtle satin sheen, or a beautiful glossy surface, the key is choosing a suitable sealer and taking your time.
Most importantly, don’t rush the process. Let your clay dry completely, prepare the surface, apply thin coats, and allow each layer to dry properly. With a little patience, even a simple beginner clay project can have a smooth, finished look that feels beautifully handmade and ready to display.