How to Make Air-Dry Clay Waterproof: Easy Ways to Protect Your Clay Projects
I still remember the first time I finished an air-dry clay project that I absolutely loved, only to realize afterward that the clay was not naturally waterproof.
I had spent so much time shaping, smoothing, and decorating it that the thought of water ruining it was honestly frustrating.
Thankfully, protecting air-dry clay is much easier than it sounds. With the right sealer and a little patience, you can give your handmade pieces a durable protective coating that helps keep moisture away.
In this guide, I’ll walk you through the easiest ways to make air-dry clay waterproof, what sealers work best, how to apply them, and the mistakes I recommend avoiding.
Can You Make Air-Dry Clay Waterproof?
Yes, you can make air-dry clay highly water-resistant and much more protected from moisture by applying an appropriate sealer.
However, it is important to understand one thing before starting: air-dry clay itself is not naturally waterproof.
Unlike some commercially produced ceramics that are fired in a kiln and glazed at high temperatures, air-dry clay hardens through drying. Once completely dry, it can still absorb moisture.
This means an unsealed air-dry clay piece may:
- Soften when exposed to water
- Absorb moisture
- Become stained
- Develop surface damage
- Crack or weaken over time
- Lose paint or decorative details
A good protective coating creates a barrier between the clay and moisture.
For decorative items, ornaments, trays, jewelry dishes, and similar projects, a properly applied waterproofing sealer can make a huge difference.
For items that will be continuously submerged in water or exposed to outdoor weather, however, air-dry clay may not be the best material. Even a strong sealer does not necessarily make an air-dry clay project permanently waterproof under extreme conditions.
Why Does Air-Dry Clay Need to Be Sealed?

Air-dry clay is porous. Think of it a little like a very fine sponge. Even though your finished project may feel hard and solid, the material can still contain tiny pores that allow moisture to enter.
Sealing the surface helps close those pores and creates a protective layer.
A sealer can also provide additional benefits besides water resistance.
A sealer can help:
- Protect the clay from moisture
- Reduce staining
- Protect painted surfaces
- Make the surface easier to clean
- Reduce dust absorption
- Add a glossy, satin, or matte finish
- Protect delicate decorative details
- Improve the overall finished appearance
For me, sealing is one of those final steps that makes a handmade clay project feel much more finished and polished.
What You Need to Waterproof Air-Dry Clay
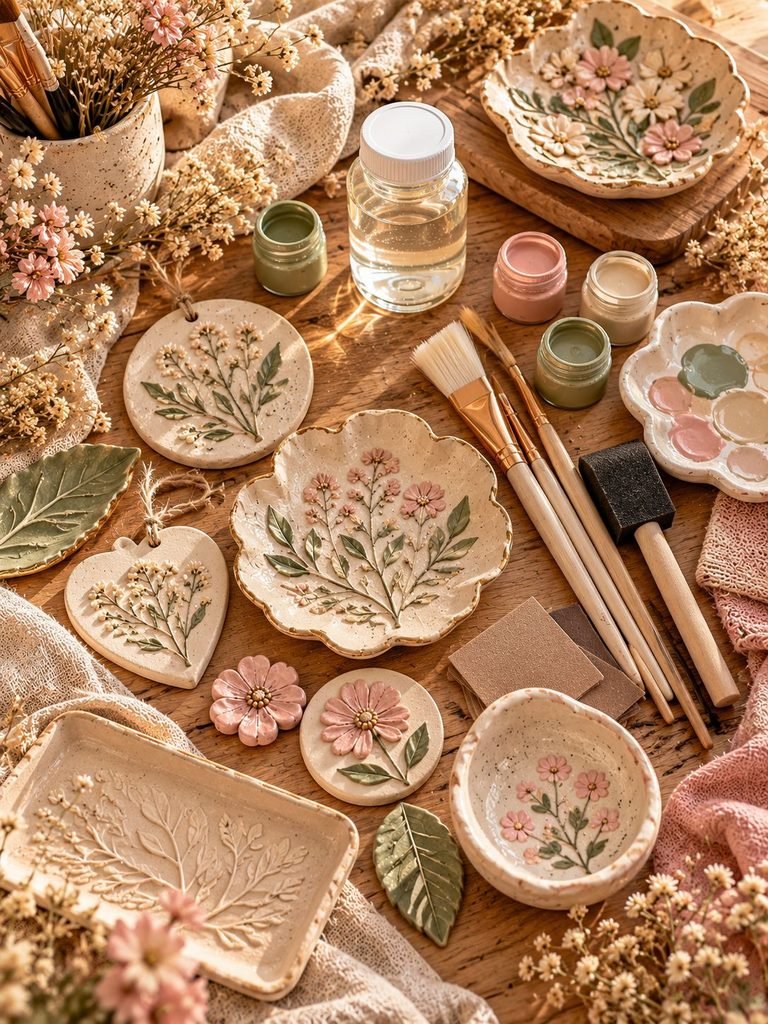
The exact supplies will depend on the project and the type of finish you want, but you don’t need a huge collection of materials.
Basic supplies
- Completely dry air-dry clay project
- Clear acrylic sealer or varnish
- Soft paintbrush or foam brush
- Clean, dry workspace
- Fine-grit sandpaper, optional
- Paper towel or lint-free cloth
- Gloves, optional
- Good ventilation
If your clay piece is painted, make sure the paint has completely dried before applying your sealer.
The Best Sealers for Air-Dry Clay
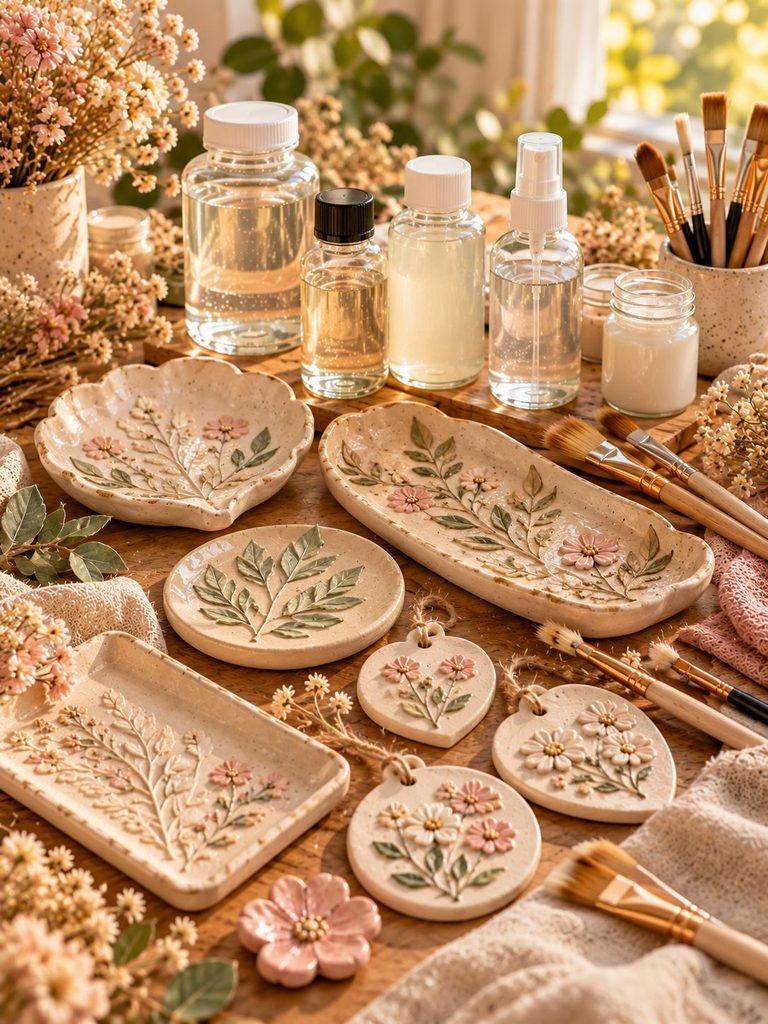
Choosing the right sealer is one of the most important parts of waterproofing air-dry clay.
1. Acrylic Varnish
Acrylic varnish is one of the easiest options for beginners.
It is available in different finishes, including:
- Gloss
- Satin
- Matte
Gloss varnish gives your clay a shiny, polished appearance, while matte varnish keeps the surface more natural-looking.
Satin sits somewhere between the two.
Acrylic varnish works particularly well for decorative clay projects, ornaments, small trays, painted clay pieces, and similar crafts.
2. Water-Based Polyurethane
Water-based polyurethane can provide a stronger protective coating than some basic craft sealers.
It is useful when you want additional durability and moisture resistance.
It usually dries relatively clear and can be available in different finishes.
Always check the manufacturer’s instructions before applying it to your particular clay and paint.
3. Spray Sealer
Acrylic spray sealers can be convenient when you want to cover an oddly shaped piece or avoid visible brush marks.
The key is to apply several thin coats rather than one heavy coat.
Spraying too much product at once can cause:
- Drips
- Uneven coverage
- Cloudiness
- Longer drying times
Use spray products in a well-ventilated area and follow the safety instructions on the product.
4. Mod Podge or Similar Craft Sealers
Craft sealers such as Mod Podge can be useful for many decorative projects.
They can provide a protective coating and are especially convenient for beginners.
However, not every craft sealer provides the same level of water resistance. If your main goal is protecting a piece from significant moisture, look specifically for a product labeled for water resistance or waterproof protection rather than assuming every decoupage medium is waterproof.
Step 1: Make Sure Your Clay Is Completely Dry

This is probably the most important step.
Do not rush into sealing your clay simply because the outside feels hard.
Air-dry clay can feel dry on the surface while still retaining moisture inside.
Depending on the thickness of your project, drying can take anywhere from a day to several days.
Thicker pieces generally require more time.
How can you tell if your clay is dry?
The piece should:
- Feel completely firm
- No longer feel cool or damp
- Have a consistent appearance
- Feel significantly lighter than when freshly shaped
If you are unsure, give it additional drying time.
Patience at this stage is worth it.
Sealing clay that is still damp can trap moisture inside and potentially contribute to cracking or other problems.
Step 2: Smooth the Surface

Once your clay is completely dry, inspect it carefully.
Look for:
- Rough edges
- Tiny bumps
- Uneven areas
- Visible fingerprints
- Small imperfections
If necessary, use very fine-grit sandpaper to gently smooth the surface.
Don’t aggressively sand your piece, especially if it has delicate details.
After sanding, remove all the dust using a soft, dry brush or lint-free cloth.
You want the surface to be clean before applying your sealer.
Step 3: Paint Your Clay First, If Desired
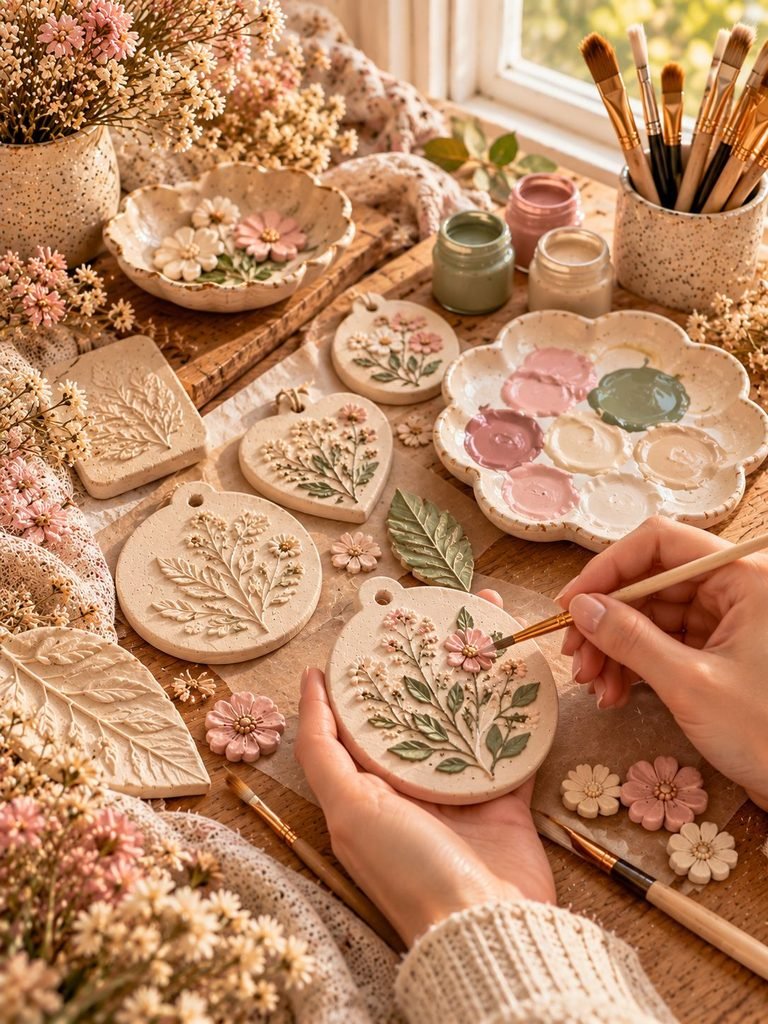
If you want to add color, do this before sealing.
Acrylic paint is a popular choice for air-dry clay because it is easy to use and comes in a huge variety of colors.
Apply your paint in thin layers rather than trying to cover everything with one thick layer.
Allow each layer to dry completely.
Once the painting is finished, give the piece enough time to dry before moving on to sealing.
Step 4: Apply the First Thin Coat of Sealer

Now comes the exciting part.
Pour a small amount of your sealer into a clean container if needed.
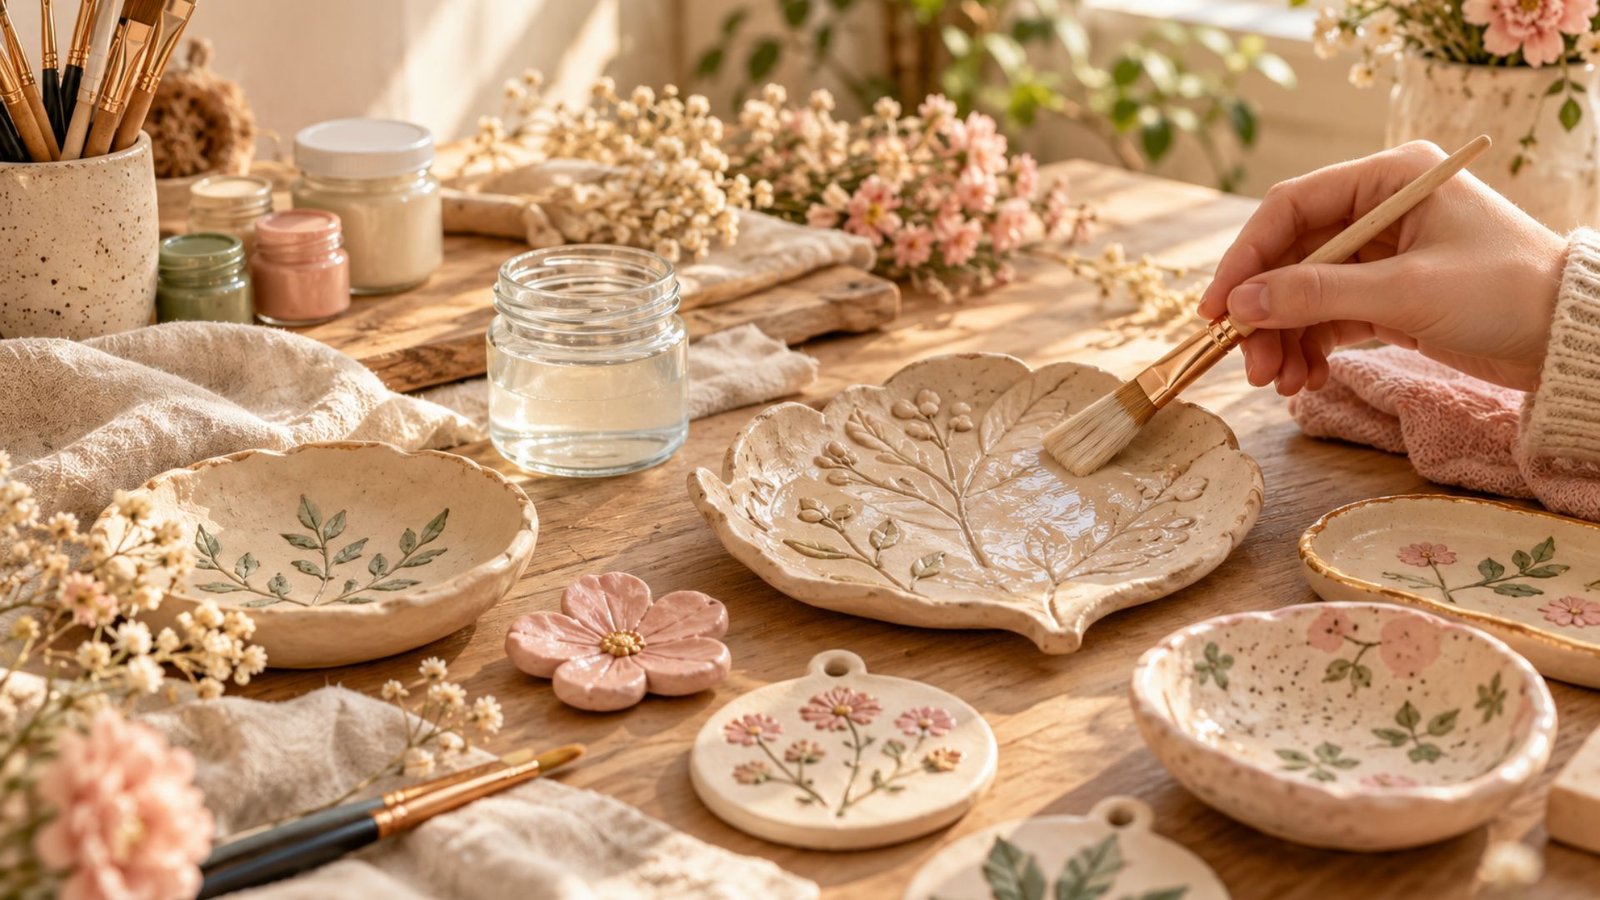
Using a soft brush, apply a thin, even coat over the clay.
Try to avoid repeatedly brushing the same area while the sealer is beginning to dry.
Work gently and methodically.
Make sure you cover:
- The front
- Back
- Sides
- Edges
- Decorative details
- Areas around handles or raised sections
If the project has a bottom surface that could come into contact with moisture, don’t forget to seal that area too.
Step 5: Let the First Coat Dry Completely
Don’t immediately apply another coat just because the first one looks thin.
Let it dry according to the product manufacturer’s instructions.
Drying time can vary considerably depending on:
- The product
- Humidity
- Temperature
- Thickness of the coat
- Ventilation
If the weather is humid, allow additional drying time.
The surface should feel dry before applying the next coat.
Step 6: Apply Additional Coats

For better protection, apply additional thin coats rather than one thick coat.
Usually, several light coats produce a more even and attractive result.
Between coats, allow the sealer to dry completely.
Pay particular attention to areas that may experience more moisture or handling.
For example, if you are sealing a small clay tray, the inside surface and edges deserve careful attention.
How Many Coats of Sealer Should You Use?
The number of coats depends on the product and the intended use of your project.
For a simple decorative piece, a couple of thin coats may be enough.
For an item that will experience more handling or occasional moisture, additional coats may provide extra protection.
However, more sealer does not automatically mean better protection.
Applying extremely thick coats can create problems such as:
- Uneven texture
- Sticky surfaces
- Visible brush marks
- Cloudiness
- Longer drying times
- Cracking or peeling of the coating
Follow the manufacturer’s directions rather than simply applying as much product as possible.
Should You Use Gloss, Satin, or Matte Sealer?
This mostly comes down to the appearance you want.
Gloss
Choose gloss if you want:
- A shiny finish
- A polished appearance
- Colors that appear more vibrant
Gloss is especially pretty on decorative ornaments and painted clay pieces.
Satin
Satin offers a softer sheen.
It is a lovely choice if you want your project to look finished without being extremely shiny.
Matte
Matte is perfect for a soft, natural, understated look.
It works beautifully with neutral clay colors and cottagecore-style projects.
For my own decorative pieces, I especially love choosing the finish based on the overall mood of the project rather than simply choosing the strongest-looking sealer.
Can You Use Resin to Waterproof Air-Dry Clay?
Yes, resin can create a very durable protective surface, but it requires more care than a basic craft varnish.
Epoxy resin can create a thick, glossy coating that provides excellent moisture protection when applied correctly.
However, resin is not always necessary for simple air-dry clay projects.
It can also be more complicated to work with because you need to consider:
- Correct resin-to-hardener ratios
- Curing time
- Bubbles
- Drips
- Proper ventilation
- Protective equipment
- Level working surfaces
For beginners, I recommend starting with a suitable craft varnish or sealer unless your project specifically benefits from a resin coating.
Can You Make Air-Dry Clay Waterproof Without Varnish?
You can use different types of protective coatings, but some form of suitable sealer is generally the easiest and most reliable approach.
Simply painting the clay does not necessarily make it waterproof.
Likewise, applying a random household coating isn’t a good idea because some products may discolor the clay, remain sticky, or react poorly with paint.
When waterproofing is important, choose a product specifically designed to provide a protective coating and follow its instructions.
How to Test Your Sealed Clay
Before testing your favorite handmade piece, I recommend making a small test sample.
This is especially helpful if you’re trying a new sealer.
Create a small piece of clay from the same batch, allow it to dry completely, paint it if your final project will be painted, and apply the same sealer.
Once fully cured, expose the test piece to a small amount of water.
Watch for:
- Softening
- Cloudiness
- Sticky areas
- Color changes
- Peeling
- Water absorption
This simple test can save you from accidentally damaging a finished project.
Common Mistakes to Avoid
Sealing clay too early
Never rush the drying process.
Moisture trapped inside the clay can cause problems later.
Applying one extremely thick coat
Thin layers generally provide a smoother and more controlled finish.
Forgetting the edges
Water can reach your clay through exposed edges, so make sure those areas receive proper coverage.
Sealing dusty clay
Dust trapped underneath the coating can leave bumps and imperfections.
Always clean the surface first.
Not allowing enough drying time
Each coat needs time to dry properly.
Rushing the process can result in a sticky or uneven finish.
Assuming waterproof means indestructible
Even a well-sealed piece should be treated according to its intended use.
Air-dry clay is still air-dry clay. A protective coating improves its moisture resistance, but it doesn’t transform it into kiln-fired ceramic.
Is Waterproofed Air-Dry Clay Safe for Food?
I would avoid using ordinary air-dry clay pieces as food-contact dishes unless the clay, sealer, and entire finishing system are specifically certified and intended for food contact.
A craft sealer should not automatically be considered food-safe.
For decorative trays, jewelry dishes, ornaments, and other non-food uses, sealing is much more straightforward.
If you want a handmade piece for serving or storing food, use a material and finishing process specifically designed and certified for that purpose.
Can Waterproofed Air-Dry Clay Be Used Outdoors?
A sealed piece may tolerate occasional outdoor exposure, but that does not mean it is permanently weatherproof.
Outdoor conditions can be much harsher than occasional household moisture.
Repeated exposure to:
- Rain
- Sunlight
- Humidity
- Temperature changes
- Freezing temperatures
can eventually damage both the clay and its protective coating.
For long-term outdoor projects, choose a material specifically designed for outdoor use.
Tips for Making Your Clay Projects Last Longer
Once your clay has been sealed, a little care can help extend its life.
Keep finished pieces:
- Away from prolonged water exposure
- Away from extreme humidity
- Away from harsh chemicals
- Away from excessive heat
- Away from areas where they can easily be knocked over
For decorative pieces, occasionally dust them with a soft, dry cloth.
If you notice the protective coating becoming damaged, don’t ignore it. Depending on the project, you may be able to lightly clean the surface and apply another compatible protective coat.
My Simple Air-Dry Clay Waterproofing Routine
When I want to protect an air-dry clay project, I like to keep the process simple.
1. Shape the clay.
Create your design and smooth the surface.
2. Let it dry completely.
Give thicker pieces plenty of time.
3. Sand if necessary.
Gently smooth rough areas.
4. Paint.
Add your acrylic colors and allow them to dry.
5. Apply the first thin coat of sealer.
Cover the entire piece carefully.
6. Allow it to dry.
Follow the manufacturer’s recommended drying time.
7. Add another thin coat.
Repeat as needed for your project.
8. Allow the final coating to cure fully.
Don’t immediately expose your project to water.
9. Test a sample first whenever possible.
This is especially important when using a new sealer.
Final Thoughts
Learning how to make air-dry clay waterproof doesn’t have to be complicated. The biggest secret is really just using the right sealer, applying it in thin even coats, and giving your clay plenty of time to dry and cure.
I especially recommend taking your time with the final sealing stage because it can completely change the look and durability of a handmade project. Whether you’re making little clay ornaments, jewelry dishes, decorative trays, plant accessories, or pretty handmade gifts, a good protective finish can help your creations stay beautiful for much longer.
Just remember that sealed air-dry clay is not automatically suitable for constant water exposure, food contact, or harsh outdoor conditions. Think of the sealer as a protective layer rather than a magic transformation.
Once you get comfortable with the process, sealing your clay becomes one of those simple finishing steps that makes every project feel more polished, intentional, and ready to enjoy.