Easy DIY Clay Magnets for Cute Handmade Fridge Decor and Fun Crafts
Making little handmade decorations has always been one of my favorite ways to add personality to everyday spaces. I especially love projects that are simple enough for a quiet afternoon but still leave you with something useful and pretty.
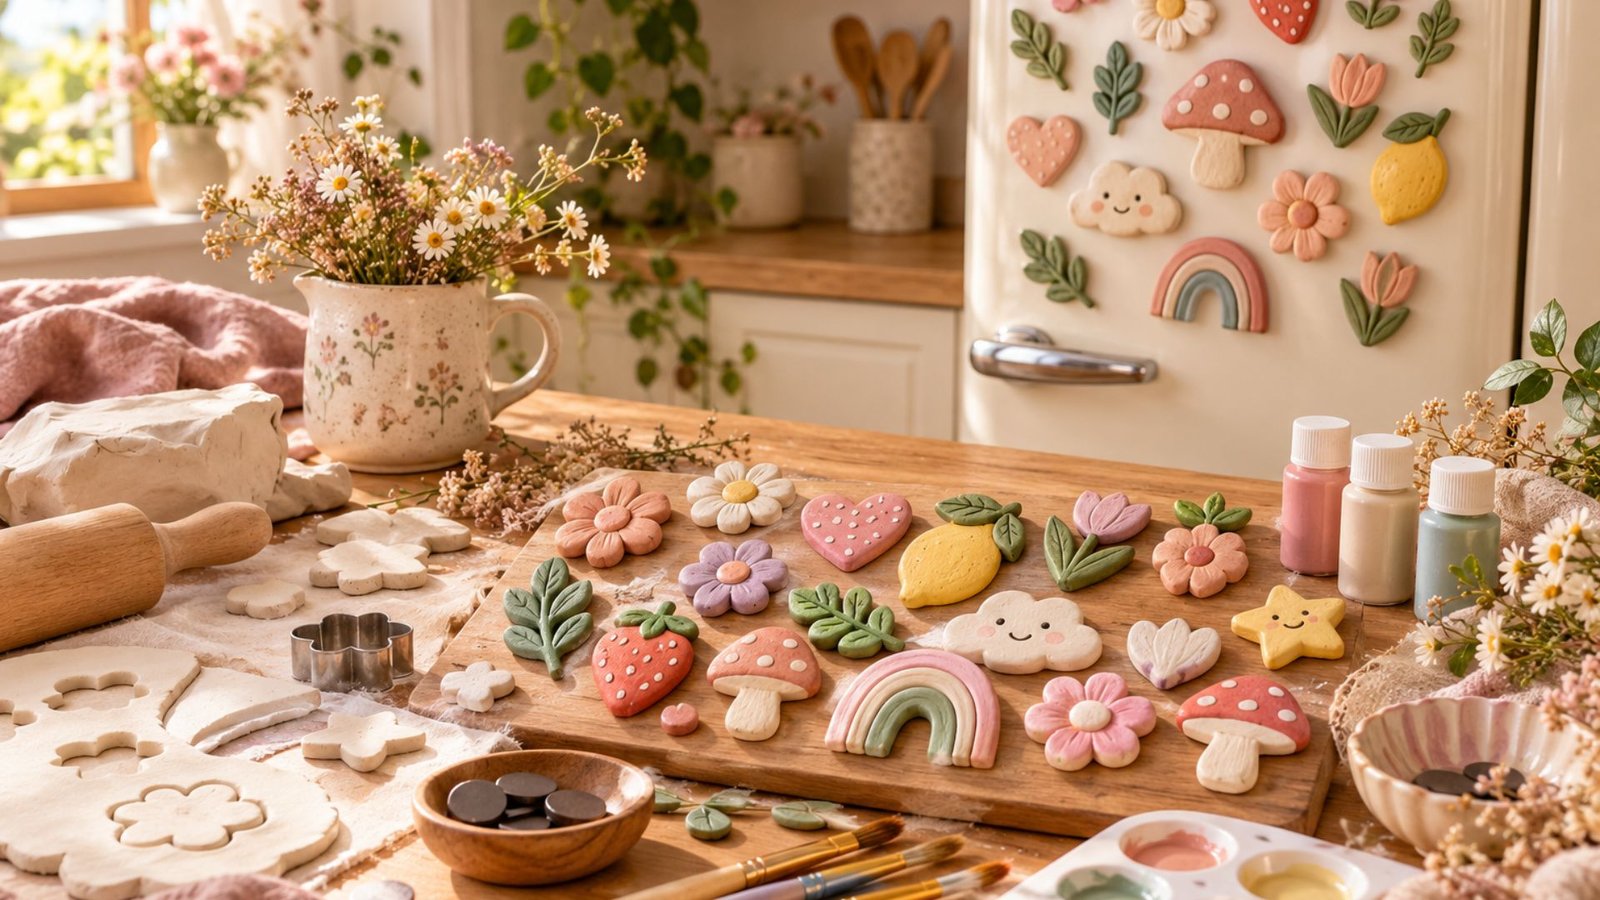
These DIY clay magnets are exactly that kind of craft. You can shape them into flowers, hearts, fruits, stars, initials, or tiny seasonal decorations and turn your fridge into a collection of handmade treasures.
They also make sweet little gifts, party favors, or fun projects to enjoy with kids. In this tutorial, I’ll show you how to make easy clay magnets from start to finish, including shaping, drying, decorating, sealing, and attaching the magnets.
Why You’ll Love These DIY Clay Magnets
If you enjoy handmade crafts but don’t always have hours to spend on a project, clay magnets are a wonderful place to start. You don’t need advanced crafting skills, expensive equipment, or a complicated design.
The beauty of these magnets is that you can make them completely your own.
You can create:
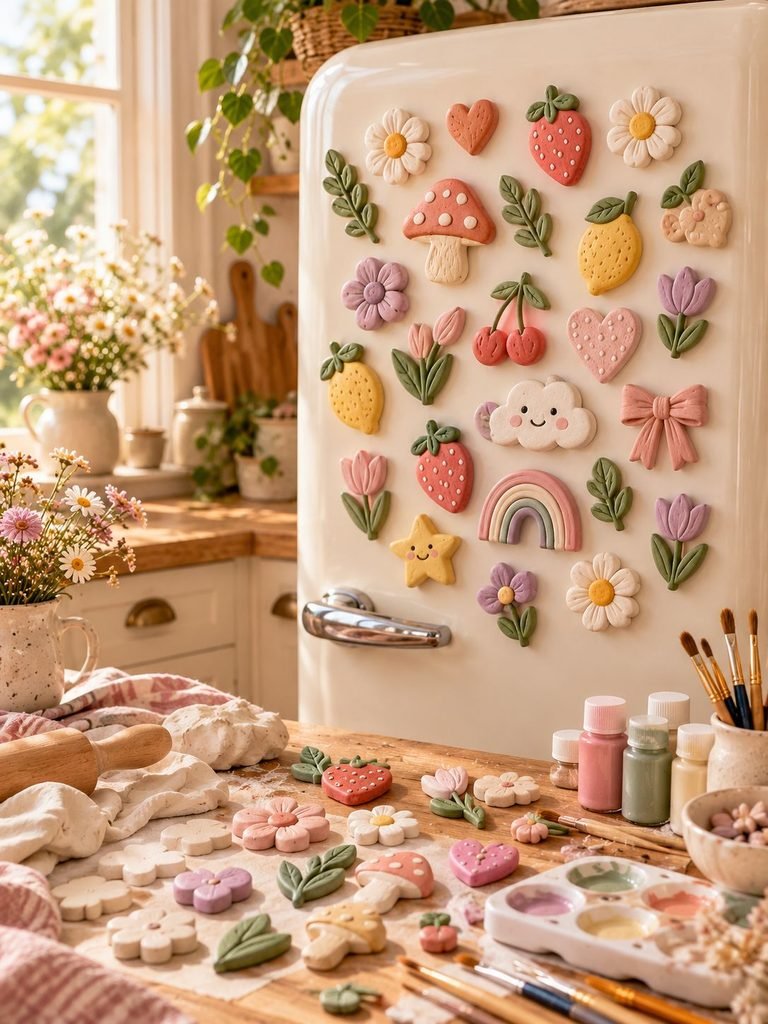
- Cute floral magnets
- Little hearts
- Mushrooms
- Stars and moons
- Mini rainbows
- Fruits and vegetables
- Clouds and suns
- Cute animals
- Initial or letter magnets
- Simple geometric shapes
- Seasonal designs
- Tiny botanical-inspired pieces
- Personalized gift magnets
They are also a lovely way to use leftover air-dry clay from other projects.
Another thing I love about this craft is how easy it is to change the colors and details. A soft cream flower with a blush center gives you a delicate cottagecore look, while bright fruits and colorful shapes can make your fridge feel cheerful and playful.
You can even create a whole collection around a theme.
What Clay Should You Use for Clay Magnets?
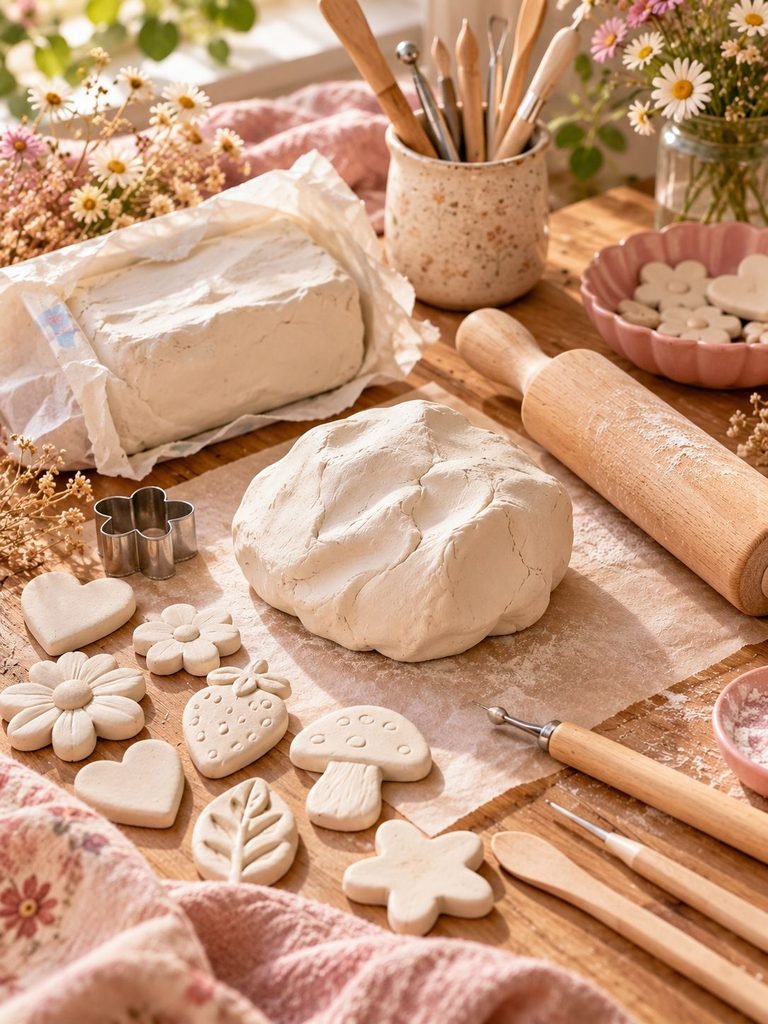
For an easy beginner project, air-dry clay is one of the best choices.
Air-dry clay is convenient because it doesn’t require a kiln or oven. Once you’ve shaped your pieces, you simply leave them to dry naturally according to the manufacturer’s instructions.
Look for an air-dry clay that dries firm and is suitable for small decorative projects.
You can also use polymer clay if you prefer, but polymer clay has to be baked according to its specific instructions. For a simple no-bake craft, I personally find air-dry clay much easier.
A quick note about clay thickness
Try not to make your magnets extremely thin.
Very thin pieces can become fragile, especially around small details or narrow shapes.
At the same time, you don’t want them to be unnecessarily thick because they will become heavier and may require a stronger magnet.
A thickness of roughly ¼ inch (about 6 mm) is a good starting point for many small decorative magnets.
Supplies You’ll Need
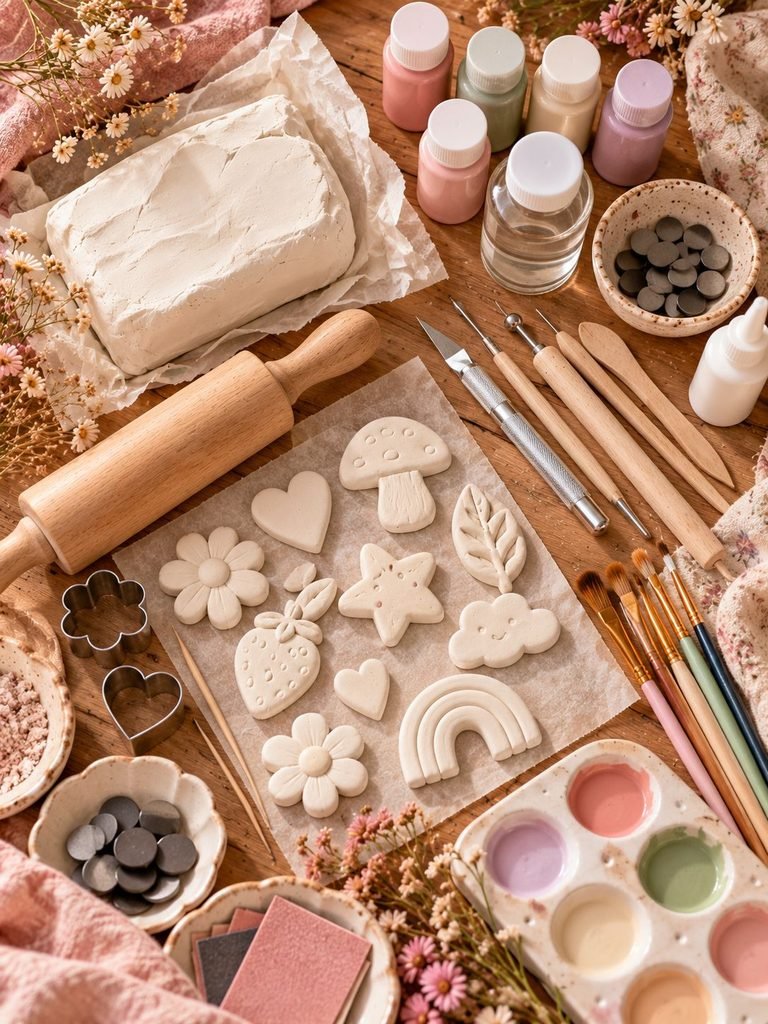
You don’t need a huge collection of craft supplies to make these.
Basic supplies
- Air-dry clay
- Small craft rolling pin or smooth bottle
- Small cookie cutters
- Craft knife or clay tool
- Toothpick or wooden skewer
- Acrylic paint
- Small paintbrushes
- Clear sealer or varnish
- Small strong craft magnets
- Craft glue suitable for magnets
- Parchment paper or a smooth work surface
- Fine-grit sandpaper
- Pencil or small sculpting tool
Optional supplies
- Silicone texture stamps
- Small flower cutters
- Dotting tools
- Fine paint pens
- Gold or pearl acrylic paint
- Metallic paint
- Texture materials such as lace or leaves
- Small sponge
- Ruler
- Clear gloss or matte finish
You probably already have several of these supplies around your craft space.
Step 1: Prepare Your Clay
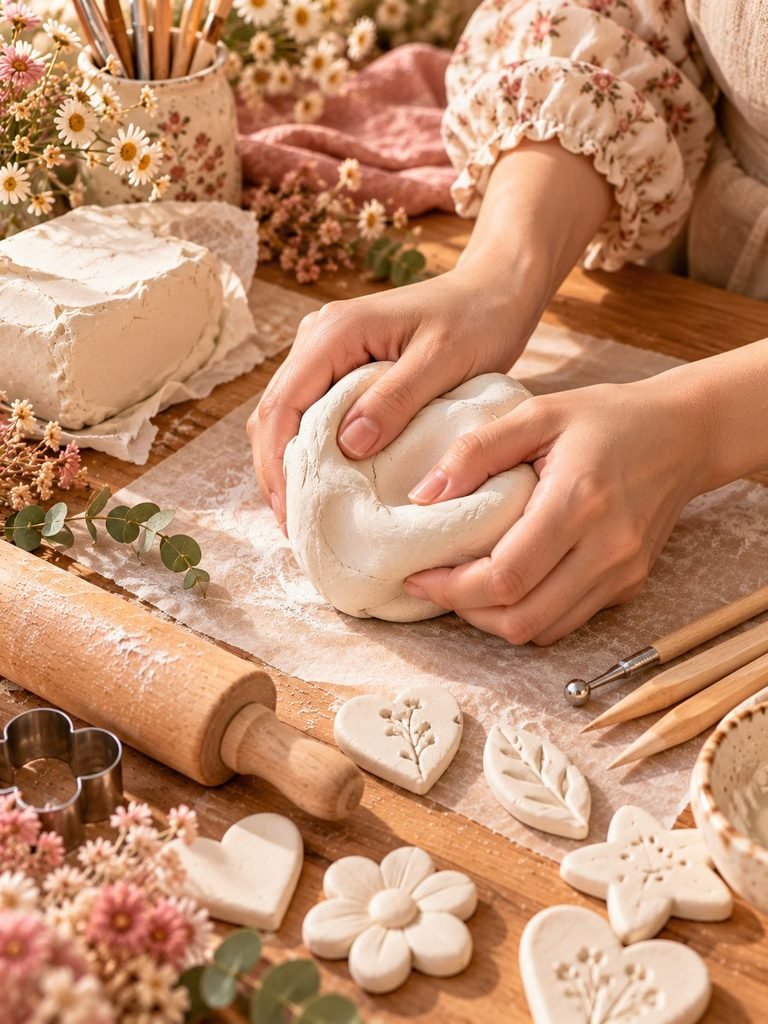
Start by taking a small amount of air-dry clay and kneading it gently between your hands.
This helps soften the clay and makes it easier to roll and shape.
If the clay feels dry or begins cracking while you’re working with it, knead it a little longer. Avoid adding too much water unless the instructions for your particular clay specifically recommend it.
You want the clay to feel smooth and flexible without becoming sticky.
Once your clay is ready, place it on your work surface.
If you’re worried about the clay sticking to your table, work on parchment paper, a silicone craft mat, or another smooth non-stick surface.
Step 2: Roll Out the Clay
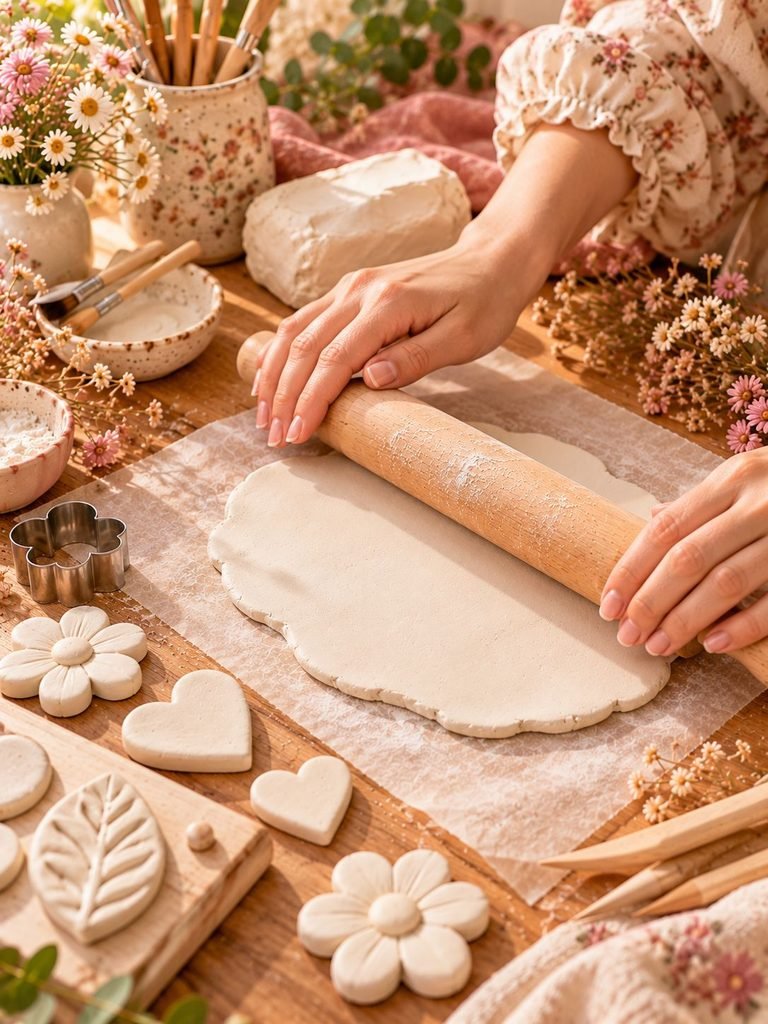
Use a small rolling pin to flatten the clay.
Roll slowly in different directions to create an even sheet.
Try to keep the thickness relatively consistent. Uneven pieces may dry at different rates, which can increase the chance of warping or cracking.
If you don’t have a craft rolling pin, a clean smooth glass bottle can work as a simple alternative.
Don’t press too aggressively.
A gentle, even pressure usually gives you better control.
Step 3: Choose Your Magnet Designs
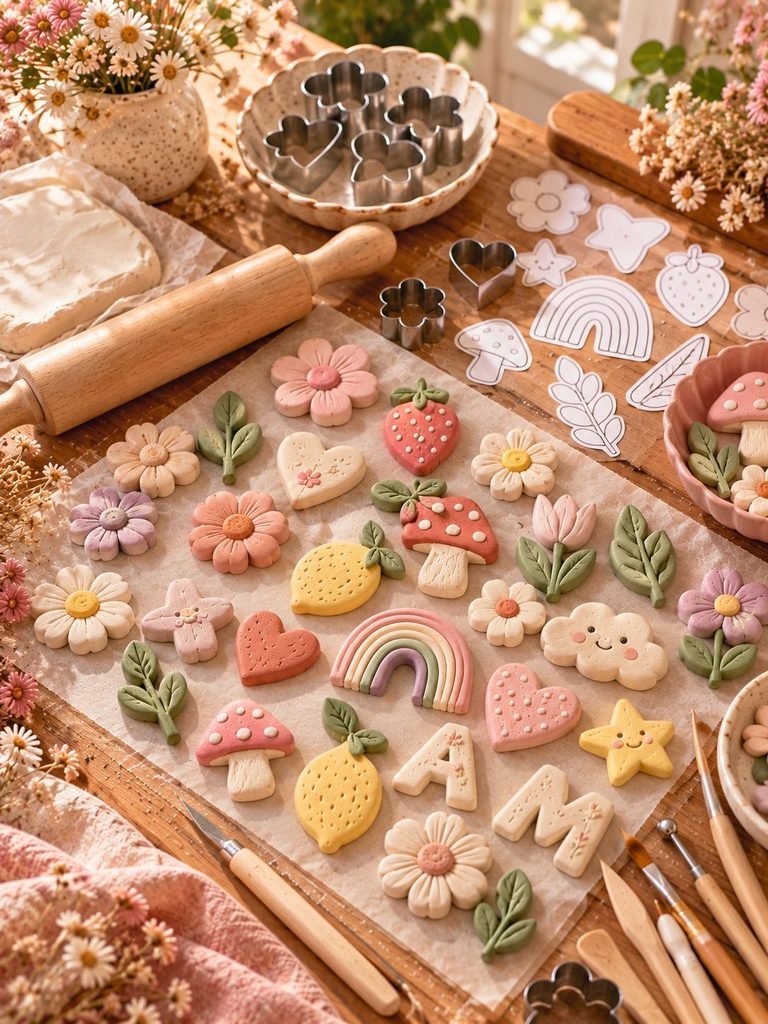
This is my favorite part because you can get really creative here.
For a beginner-friendly project, start with simple shapes.
Hearts
Use a small heart cutter or shape the clay by hand.
You can paint the hearts blush pink, cream, red, or even soft terracotta.
Flowers
Cut out simple flower shapes and add a small clay circle in the middle.
You can also use a toothpick to create delicate lines on each petal.
Stars
Stars are especially cute for children’s rooms, nurseries, or holiday-inspired fridge decor.
Fruits
Try strawberries, lemons, oranges, cherries, or tiny watermelons.
These look adorable when several are grouped together.
Initials
Create letters from clay to make personalized magnets.
These are particularly lovely as small gifts.
Simple abstract shapes
You don’t even need a recognizable shape.
Small arches, circles, scallops, clouds, and wavy shapes can look beautiful when painted in a coordinated color palette.
Step 4: Cut or Shape Your Clay
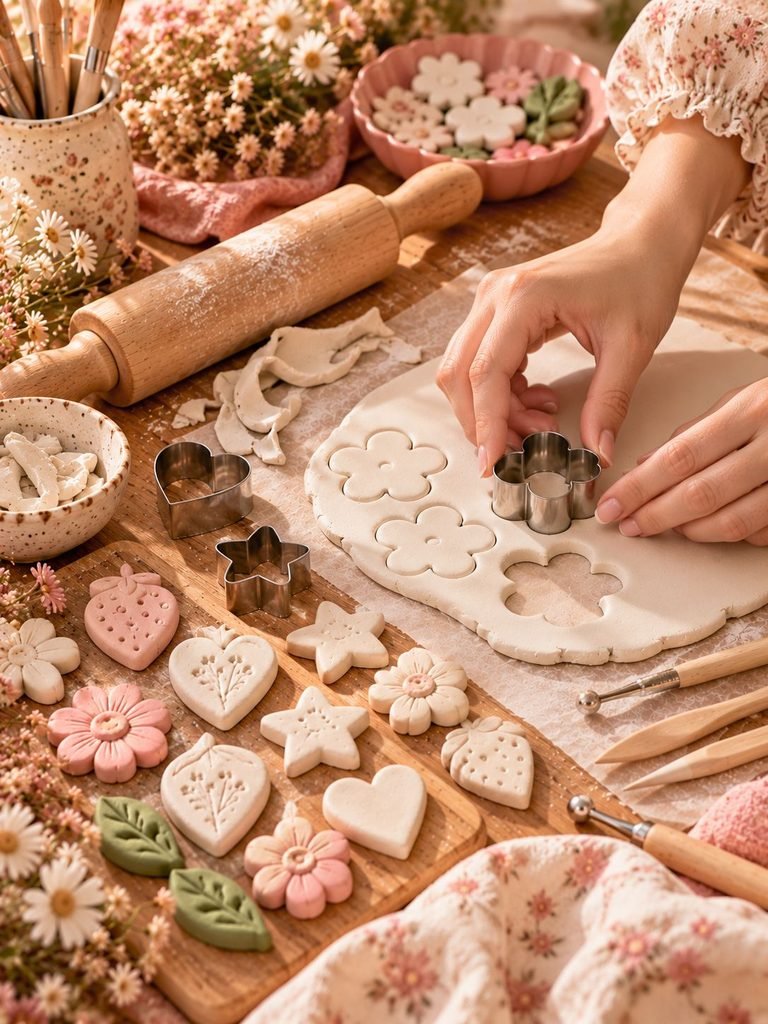
Once you’ve chosen your designs, press your cookie cutter firmly into the clay.
Lift the cutter carefully.
If you’re using a handmade shape, use a craft knife or clay tool to cut around your template.
Remove the excess clay around the design.
Don’t throw those scraps away.
Gather them together, knead them again, and create more little magnets.
For small details, use a toothpick or sculpting tool.
You can make:
- Tiny dots
- Leaf veins
- Flower centers
- Smile details
- Simple lines
- Decorative borders
- Texture marks
Try not to add too many deep details, especially if you’re new to working with air-dry clay.
Simple designs often turn out beautifully.
Step 5: Smooth the Edges
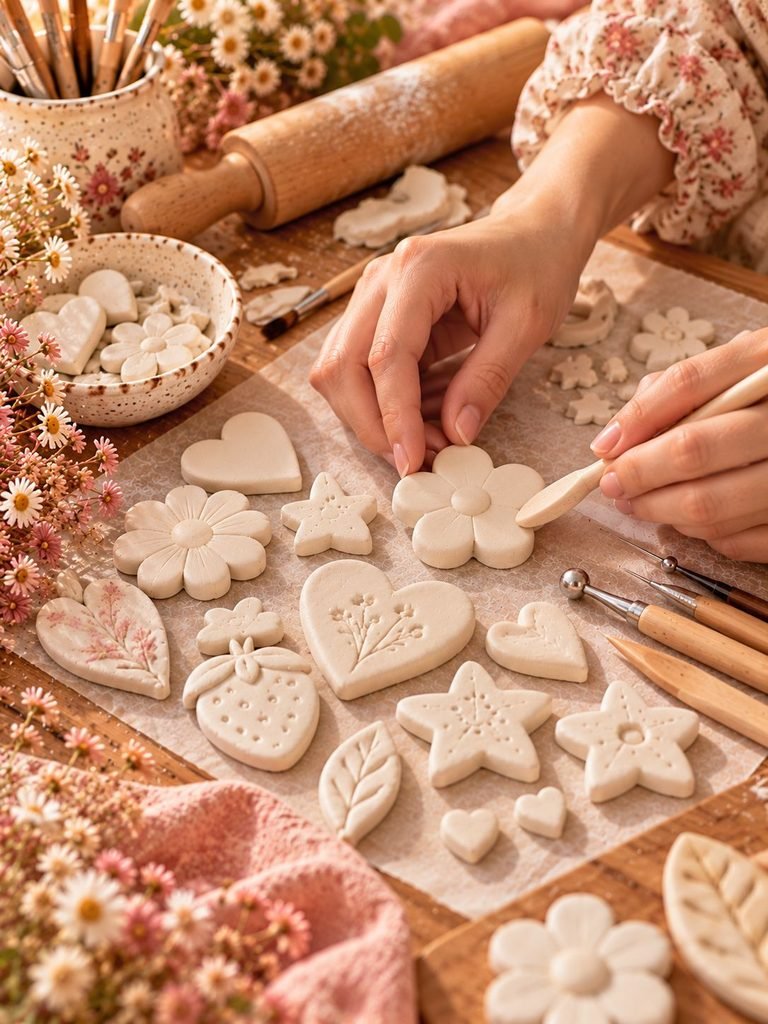
Take a moment to inspect each piece.
If you see rough edges, gently smooth them using your fingertip or a slightly damp tool.
Be careful not to add too much moisture.
You can also wait until the clay has completely dried and lightly sand rough areas with fine-grit sandpaper.
This little step makes a surprisingly big difference.
Smooth edges give handmade magnets a more polished, finished appearance.
Step 6: Add Texture Before Drying
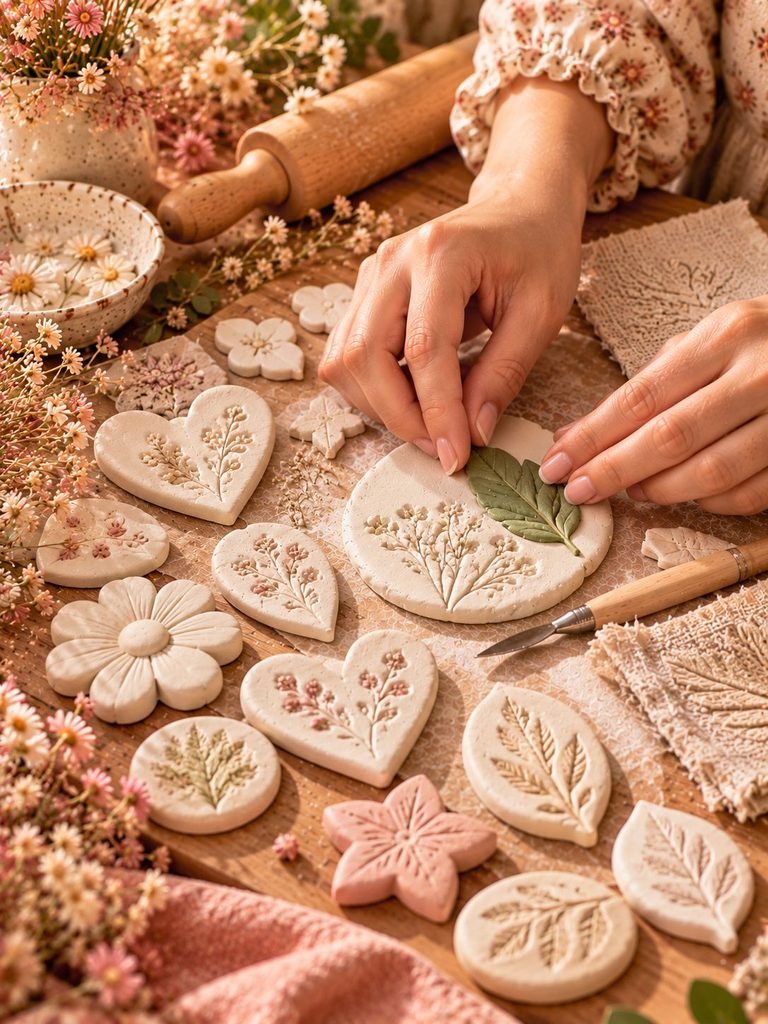
If you want your magnets to have more personality, add texture while the clay is still soft.
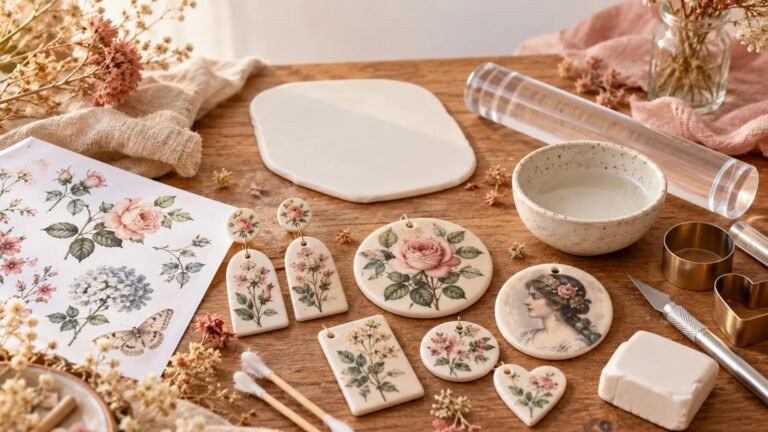
You can press a piece of lace gently into the surface to create a delicate pattern.
You can also use:
- Small leaves
- Rubber stamps
- Crochet fabric
- Textured paper
- Clay texture tools
- A toothpick
- The end of a paintbrush
Press lightly rather than deeply.
The goal is to create an interesting surface without weakening the clay.
For a cottagecore-style magnet, botanical textures and tiny floral details are especially pretty.
Step 7: Let the Clay Dry Completely
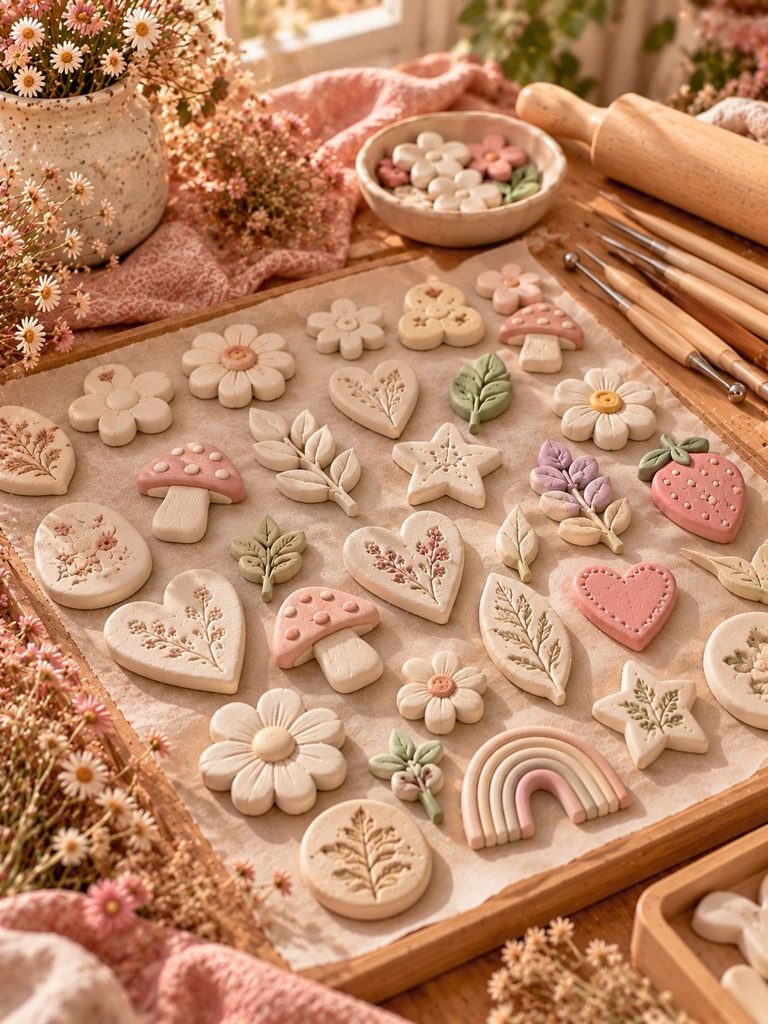
Place your finished clay shapes on a flat surface and allow them to dry completely.
Follow the drying instructions for your specific clay because drying times can vary depending on the product, thickness, humidity, and room temperature.
Try not to rush this stage.
I know it can be tempting to start painting immediately, but painting clay that is still damp can trap moisture inside and cause problems later.
For thicker pieces, the outside may feel dry while the center is still moist.
Allow them enough time to dry all the way through.
How to prevent warping
Place your pieces on a flat surface while drying.
If your clay tends to warp, turning the pieces occasionally during the drying process can help them dry more evenly.
Avoid placing them directly beside a strong heat source.
Slow and even drying is usually better than trying to force the process.
Step 8: Sand Your Dry Clay Magnets
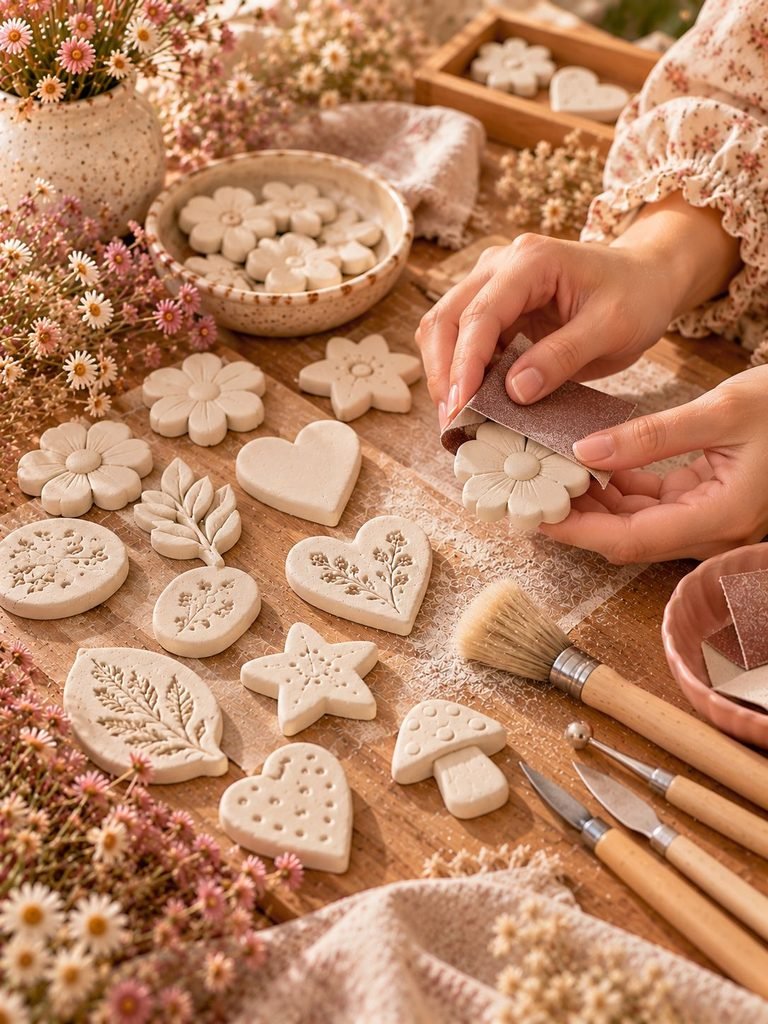
Once the pieces are completely dry, inspect them again.
You may notice a few rough edges or tiny imperfections.
Use fine-grit sandpaper to gently smooth them.
Don’t sand aggressively.
A few light strokes are usually enough.
After sanding, wipe away the dust with a clean, dry soft brush or cloth.
Now your magnets are ready for the fun part decorating.
Step 9: Paint Your Clay Magnets
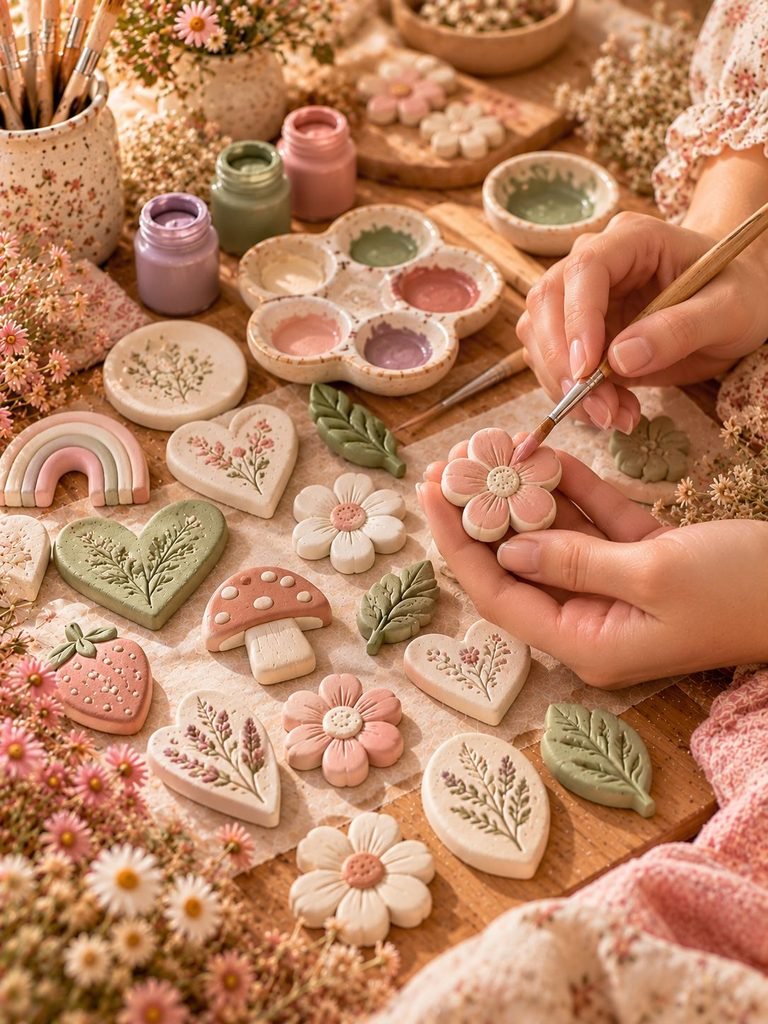
Acrylic paint works beautifully for this project.
You can choose any color palette you like, but I personally love soft, feminine combinations such as:
- Cream
- Warm white
- Blush pink
- Dusty rose
- Sage green
- Soft lavender
- Beige
- Terracotta
- Pale yellow
For a more modern look, keep the palette limited to two or three colors.
For a playful fridge, go brighter.
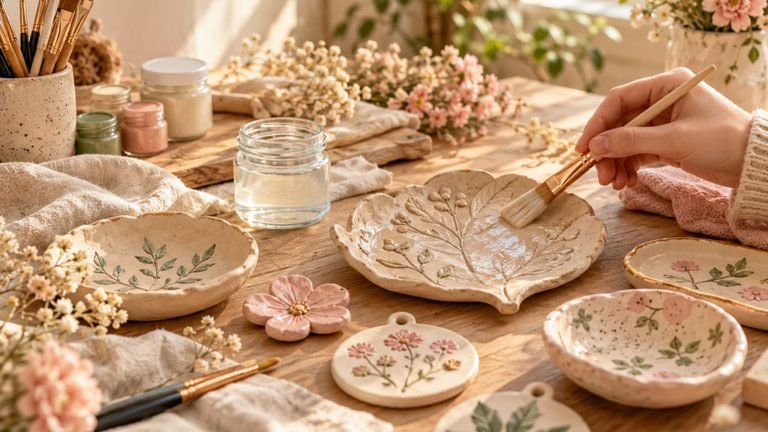
Paint in thin layers
Instead of applying one very thick coat, use several thin layers.
Allow each layer to dry before adding another.
This gives you a smoother and more even finish.
You can also use a small detail brush to add little accents.
For example, a simple flower magnet can have cream petals, a blush center, and tiny sage leaves.
A lemon can have a soft yellow body and a small green leaf.
The details don’t need to be perfect.
Those little handmade imperfections are part of what makes these magnets special.
Step 10: Add Decorative Details
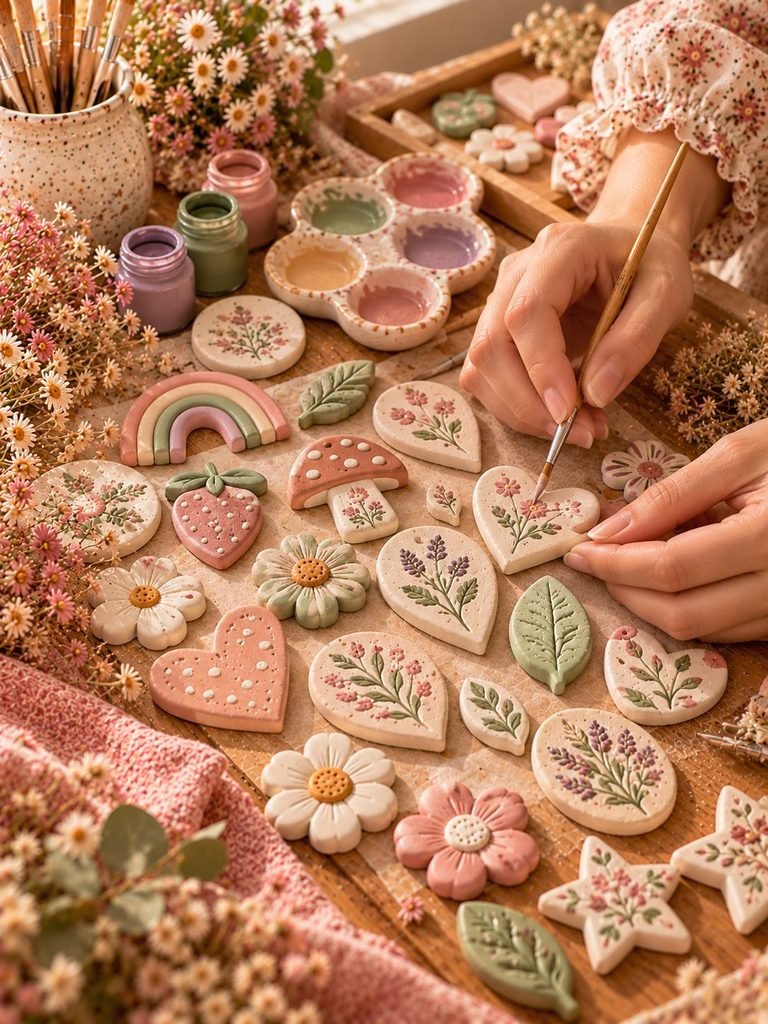
Once your base color has dried, add the finishing touches.
You could paint:
- Tiny dots
- Flowers
- Stripes
- Polka dots
- Faces
- Leaves
- Borders
- Stars
- Little hearts
If you enjoy a more elegant style, add a tiny amount of metallic gold or pearl paint.
Don’t overdo it.
A few subtle details can make a handmade piece look sophisticated without taking away from its simple charm.
Step 11: Seal Your Clay Magnets
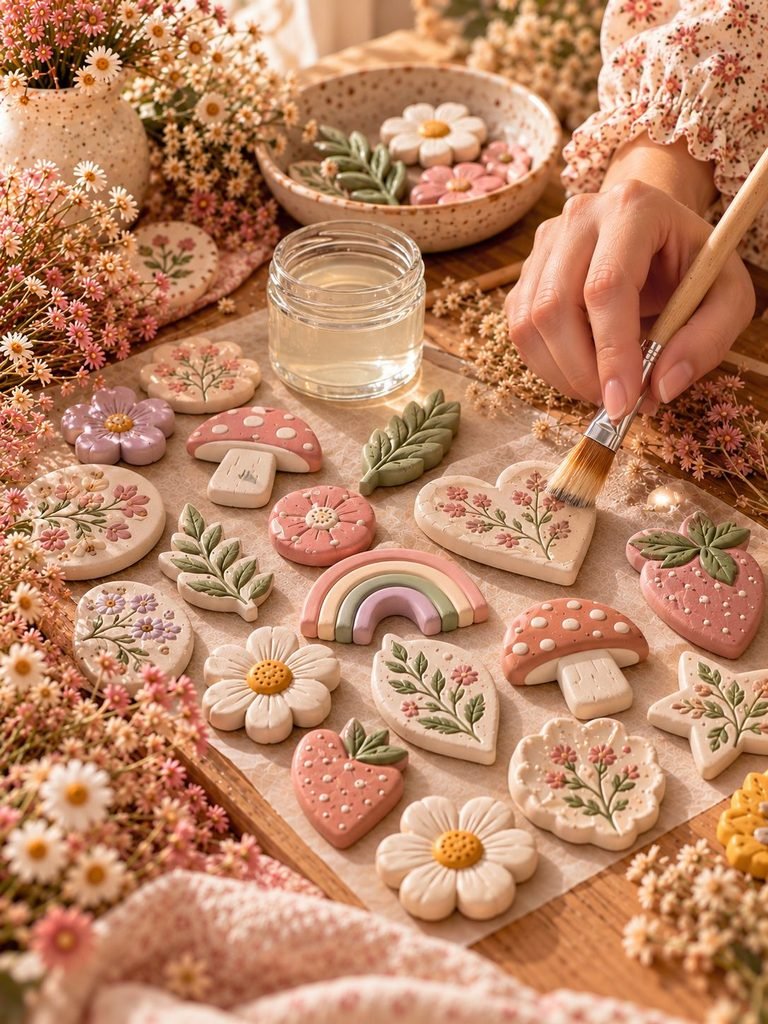
Sealing isn’t always absolutely necessary, but I highly recommend it if you want your magnets to look nicer and have better protection from everyday handling.
Choose a clear sealer that is compatible with your clay and paint.
You can use a matte, satin, or glossy finish depending on the look you want.
Matte finish
A matte sealer gives the magnets a soft, natural handmade appearance.
Satin finish
Satin sits somewhere between matte and glossy and gives a gentle amount of shine.
Glossy finish
Gloss creates a smooth, shiny appearance and can make bright colors look more vibrant.
Apply the sealer in thin, even coats.
Avoid flooding the surface with too much product.
Allow the first coat to dry completely before applying another coat if needed.
Step 12: Attach the Magnets
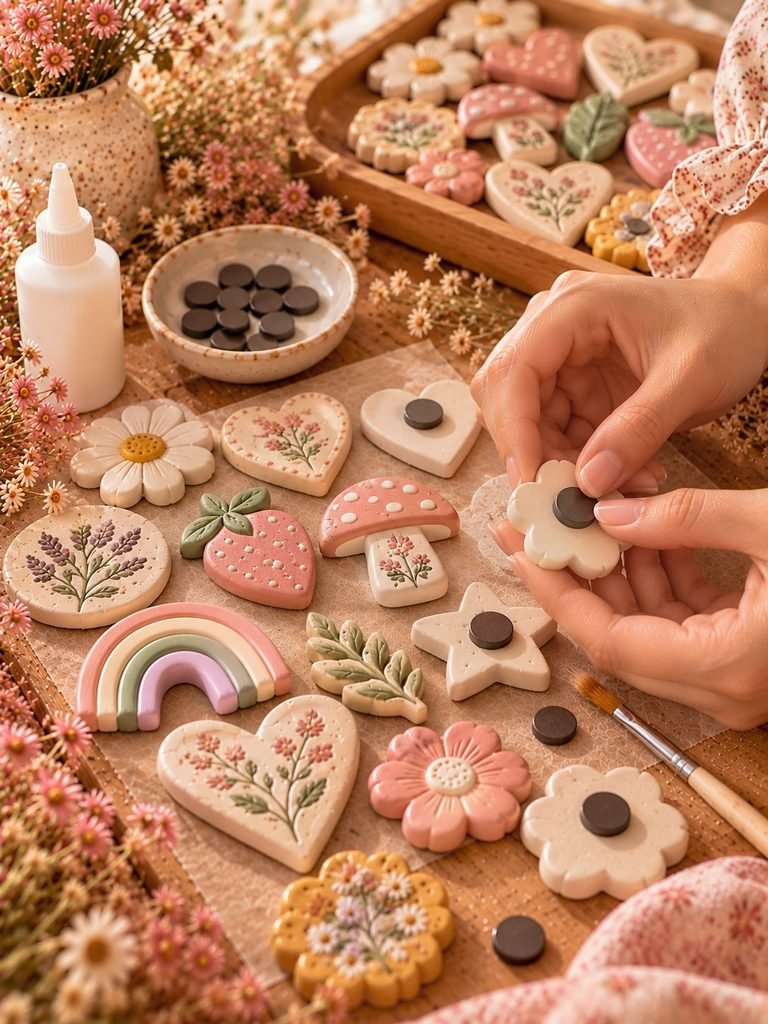
Once your clay pieces are completely dry, painted, and sealed, it’s time to turn them into actual fridge magnets.
Choose small magnets that are strong enough to support the weight of your clay pieces.
Apply a small amount of strong craft glue to the back of the clay.
Then carefully position the magnet in the center.
Press it gently into place.
Allow the glue to cure completely according to the adhesive manufacturer’s instructions before putting the magnet on your fridge.
This is important because the magnet may appear secure before the glue has fully cured.
Don’t test it too soon.
How to Make Your Clay Magnets Stronger
The strength of your finished magnet depends on more than just the magnet itself.
A very thick clay piece will naturally require a stronger magnet than a tiny, lightweight piece.
For small magnets, one strong magnet may be enough.
For larger designs, you may want to use two magnets.
Another helpful tip is to keep your clay pieces relatively lightweight.
If you’re making large decorative shapes, consider reducing the thickness rather than making them heavy and bulky.
Cute DIY Clay Magnet Ideas
Once you’ve made your first few magnets, you’ll probably want to make more.
Here are some ideas to try.
1. Mini Flower Garden
Create several flowers in different sizes.
Use cream, blush, pink, and lavender for the petals with small green leaves.
Arrange them around your fridge like a tiny handmade garden.
2. Fruit Collection
Make little strawberries, lemons, cherries, oranges, and watermelons.
These are perfect for a cheerful kitchen.
3. Personalized Initials
Create the initials of family members.
You can make each person’s letter in a different color.
These would also make sweet handmade gifts.
4. Seasonal Magnets
Change your fridge decor throughout the year.
Try pumpkins for fall, snowflakes for winter, flowers for spring, and suns or fruit for summer.
5. Tiny Mushrooms
Mushrooms are perfect for a cottagecore-inspired collection.
Paint the caps in muted red, cream, blush, or brown and add tiny spots.
6. Little Clouds and Stars
These would be especially cute for a children’s space.
You could create a dreamy collection using cream, pale blue, lavender, and soft yellow.
Tips for Making Professional-Looking Clay Magnets
You don’t need professional equipment to make beautiful magnets, but a few small habits can improve your results.
Keep your clay thickness consistent
This helps your pieces dry evenly.
Don’t rush drying
Patience is one of the most important parts of working with air-dry clay.
Use thin paint layers
Several thin layers usually look much smoother than one heavy layer.
Smooth your edges
Taking a few minutes to clean up rough edges makes the finished magnet look much more polished.
Choose a cohesive color palette
Even very simple designs can look beautiful when the colors work well together.
Use strong magnets
A weak magnet can make an otherwise beautiful project frustrating to use.
Let glue cure fully
Give the adhesive plenty of time to set before attaching the magnets to your fridge.
Common Problems and How to Fix Them
Why did my clay magnet crack?
Cracking can happen for several reasons, including uneven thickness, overly dry clay, or drying too quickly.
Make sure your clay is properly conditioned and avoid making the pieces extremely thin.
Dry them gradually on a flat surface.
Why did my magnet warp?
Warping often happens when the clay dries unevenly.
Try keeping the piece flat while it dries and avoid excessive heat.
Why is my paint streaky?
You may be applying the paint too thickly.
Try using a smaller brush and thinner coats.
Allow each layer to dry before adding another.
Why did my magnet fall off?
The adhesive may not be strong enough, or the clay surface may have been dusty before gluing.
Make sure the back of the clay is clean and dry.
Use an adhesive designed for the materials you’re joining and allow it to cure completely.
Why does my clay feel soft after painting?
The clay may not have dried completely before painting.
Allow air-dry clay to dry thoroughly before applying paint or sealer.
Can You Make Clay Magnets With Kids?
Absolutely.
This is a fun craft for children when the project is adapted to their age and supervised appropriately.
You can let kids choose their shapes, roll the clay, make simple textures, and paint their creations.
For younger children, adults should handle sharp tools, strong adhesives, and small magnets.
Small magnets can be dangerous if swallowed, so keep loose magnets away from young children and pets.
For a child-friendly version, choose larger, lightweight designs and supervise the entire project.
How to Turn These Into Handmade Gifts
One of my favorite things about these little magnets is how easy they are to turn into thoughtful gifts.
Make a small collection of three to five coordinating magnets.
Place them inside a little gift box or small fabric pouch.
You could create a themed set such as:
Garden Set: flowers, leaves, mushrooms, and butterflies.
Kitchen Set: lemons, strawberries, cherries, and little hearts.
Cottagecore Set: mushrooms, flowers, moons, stars, and botanical shapes.
Personalized Set: initials, hearts, stars, and favorite colors.
Because they’re handmade, they feel much more personal than a generic little gift.
How to Store Leftover Clay
If you have leftover air-dry clay, don’t leave it exposed to air.
Wrap it tightly according to the manufacturer’s storage recommendations and keep it sealed in an airtight container or bag.
Try to prevent air from getting inside because exposed air-dry clay can become hard and unusable.
You can also keep small leftover pieces separated by color if you’ve already mixed custom colors.
Frequently Asked Questions
How long do DIY clay magnets last?
With properly dried clay, suitable paint, a good protective sealer, and a securely attached magnet, handmade clay magnets can last for a long time when treated as decorative items.
Keep them away from excessive moisture and avoid dropping them.
Can I make these without a cookie cutter?
Yes.
Cookie cutters simply make the process easier.
You can shape hearts, flowers, circles, clouds, and other designs by hand.
A small paper template can also help you create consistent shapes.
Can I use homemade air-dry clay?
You can, although the results depend heavily on the recipe.
For beginners, commercially prepared air-dry clay tends to be more predictable and convenient.
Can I wash clay magnets?
I wouldn’t recommend soaking them.
Even when sealed, air-dry clay isn’t automatically waterproof.
Wipe them gently with a slightly damp cloth if necessary and avoid prolonged exposure to water.
What size should clay magnets be?
Small designs around 1–3 inches are a great starting point.
The ideal size depends on the design and the strength of your magnet.
Can I use hot glue to attach the magnet?
Hot glue may work for some lightweight decorative projects, but a strong adhesive designed for the materials you’re joining is generally a better choice when you want the magnet to stay securely attached.
Final Thoughts
These easy DIY clay magnets are such a lovely little project when you want to make something creative without taking on an overwhelming craft.
I love that you can start with a simple heart or flower and slowly experiment with more detailed designs once you feel comfortable working with clay.
Even the smallest handmade magnet can add a little personality to your kitchen, and making a whole collection gives you endless possibilities for changing your decor throughout the year.
So gather your clay, choose a few colors you love, and let yourself play with the shapes. Don’t worry about making every piece perfectly symmetrical.
Some of my favorite handmade projects are the ones that still show a little bit of the maker’s hand. These sweet clay magnets are meant to be fun, personal, and completely yours.