How to Make Winter Air Dry Clay Ornaments
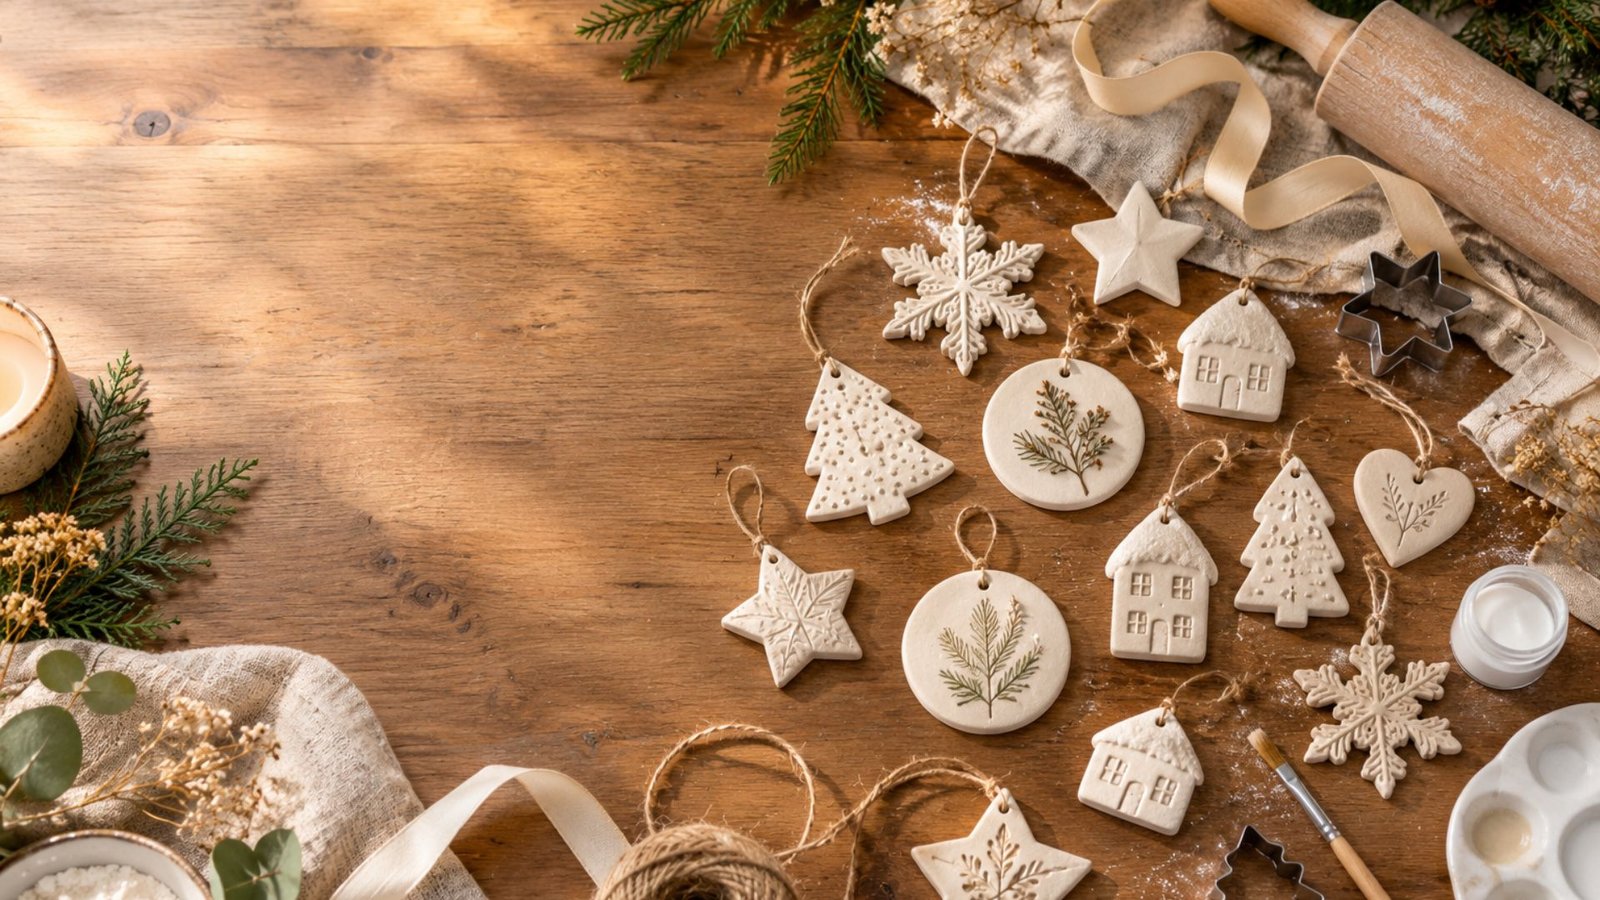
There is something so special about making winter decorations by hand.
I love how a simple piece of clay can become a sweet little ornament that makes a tree, gift, or cozy corner feel much more personal. The first time I made air-dry clay ornaments, I was surprised by how easy they were, even without fancy crafting tools.
Since then, they have become one of my favorite seasonal projects. In this guide, I’ll show you exactly how to make beautiful winter air-dry clay ornaments, from preparing the clay to adding the finishing touches, with simple tips that make the whole process easier.
Why Make Air-Dry Clay Winter Ornaments?
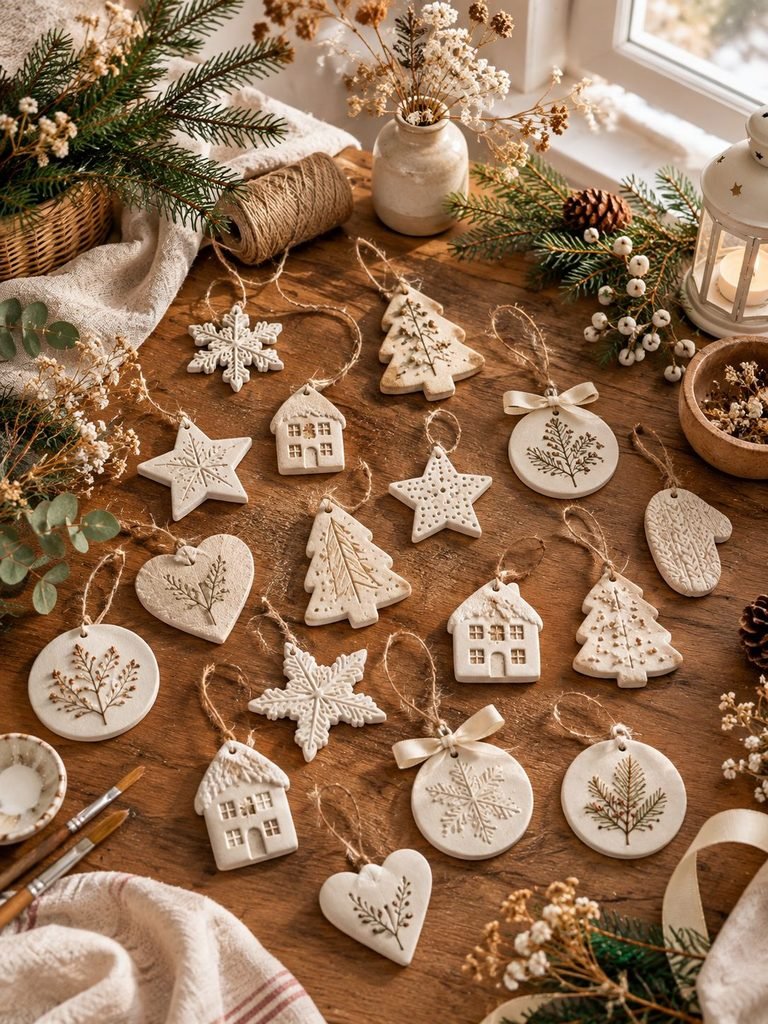
Air-dry clay ornaments are one of those crafts that look much more complicated than they actually are.
You don’t need a kiln, special pottery equipment, or expensive supplies. With a small amount of air-dry clay and a few basic household or craft tools, you can create beautiful handmade decorations in an afternoon.
They are also incredibly versatile.
You can make:
- Snowflake ornaments
- Snowman ornaments
- Winter stars
- Christmas trees
- Mittens
- Little houses
- Pine trees
- Gingerbread-inspired shapes
- Botanical ornaments
- Personalized name ornaments
- Rustic hanging decorations
I especially love using neutral colors such as white, cream, beige, and soft brown because they give the finished ornaments a cozy winter cottage feel.
Another lovely thing about this project is that you can personalize every piece. Add someone’s name, a special date, a little botanical texture, or a simple stamped design to make each ornament feel unique.
Amazon Essentials You’ll Need
You only need a handful of supplies to get started.
Basic Supplies
- Air-dry clay
- Rolling pin
- Parchment paper or a silicone craft mat
- Cookie cutters
- Drinking straw or small round cutter
- Toothpick or wooden skewer
- Fine sandpaper
- Acrylic paint, if desired
- Paintbrushes
- Clear sealer or varnish
- Twine, ribbon, or thin cord
- Small bowl or cup of water
- Pencil or clay sculpting tool
Optional Supplies
For more decorative ornaments, you can also use:
- Lace
- Dried leaves
- Small evergreen branches
- Rubber stamps
- Letter stamps
- Embossing tools
- Small beads
- Gold or silver paint
- Glitter
- Stencils
You don’t need to buy everything on this list. One of the things I enjoy most about air-dry clay is being able to use ordinary objects around the house to create texture.
Step 1: Prepare Your Workspace
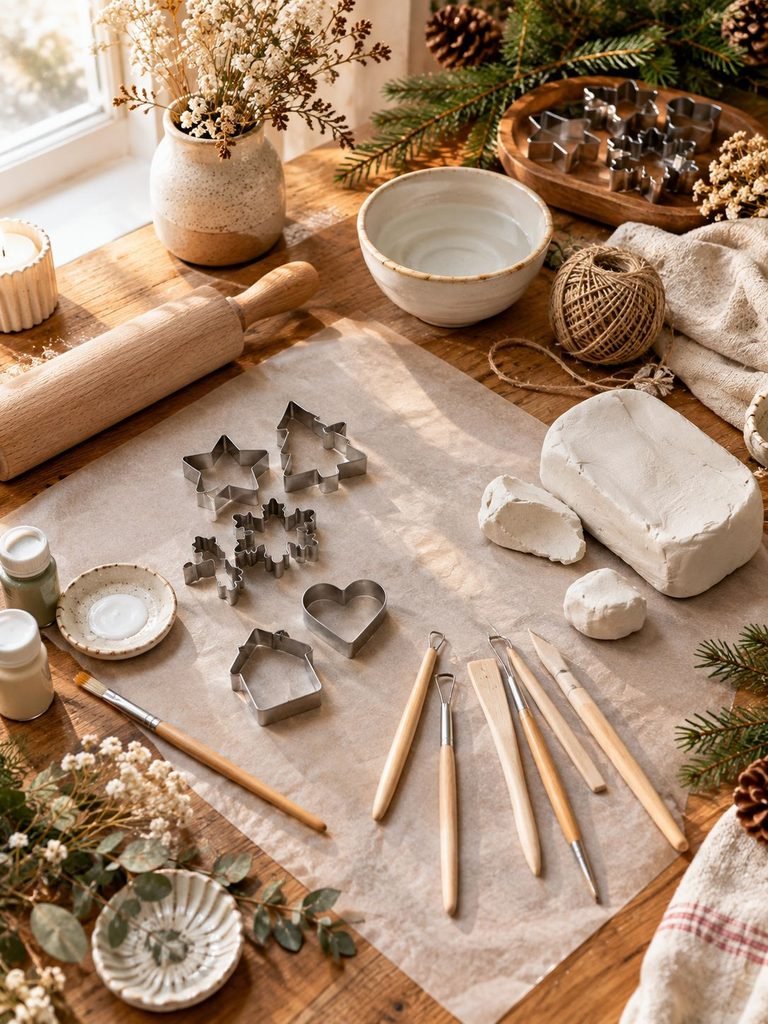
Before opening your clay, prepare your work surface.
Cover your table with parchment paper, wax paper, or a silicone craft mat. This keeps the clay from sticking directly to the table and makes cleanup much easier.
Have all your tools nearby so you don’t have to stop halfway through the project.
I also recommend keeping a slightly damp cloth nearby. Air-dry clay can begin drying while you work, especially if you are making several ornaments at once.
Try not to work directly underneath a fan or in a very hot, dry area. You want the clay to dry gradually rather than too quickly.
Step 2: Condition the Clay
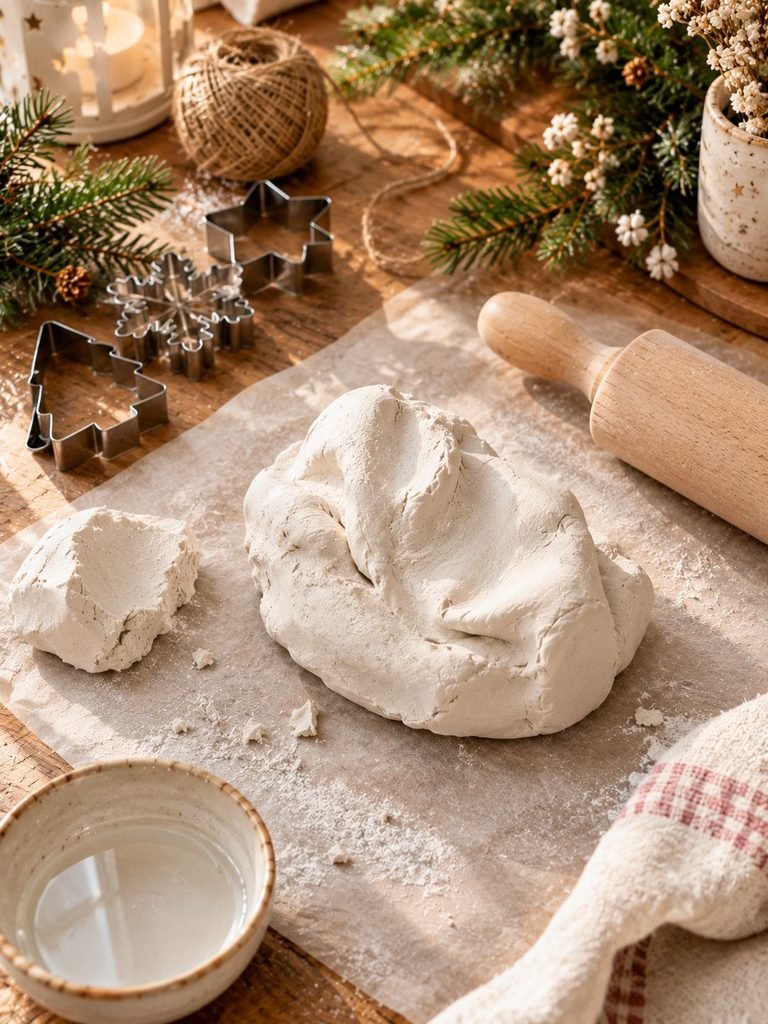
Take a piece of air-dry clay and gently knead it with your hands.
This helps soften the clay and makes it easier to roll.
If your clay feels slightly stiff, continue kneading it for a few minutes. Avoid adding lots of water because too much moisture can make the clay sticky and cause cracking as it dries.
If the clay is extremely dry, you can lightly dampen your fingertips and work the moisture into it gradually.
The goal is to achieve a smooth, workable texture.
Your clay should feel soft enough to roll without crumbling but firm enough to hold its shape.
Step 3: Roll Out the Clay
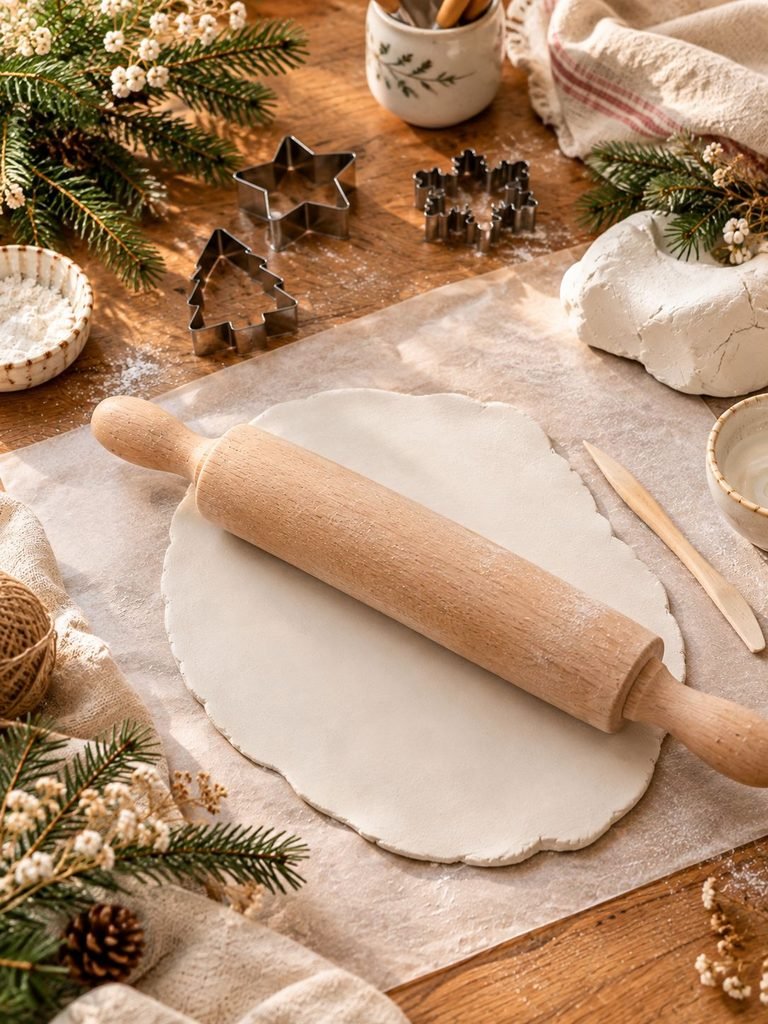
Place your clay onto your prepared surface.
Use a rolling pin to gently flatten it.
For ornaments, I recommend aiming for approximately 1/4 inch (6 mm) thickness.
Try to keep the thickness as even as possible.
If one part is much thinner than another, the ornament may dry unevenly. Very thin pieces can also become fragile and break more easily.
If you don’t have a craft rolling pin, a clean smooth glass bottle can work surprisingly well.
Roll slowly and gently, turning the clay occasionally if necessary.
Don’t press too aggressively because this can make the clay stick to your work surface.
Step 4: Create Winter Shapes
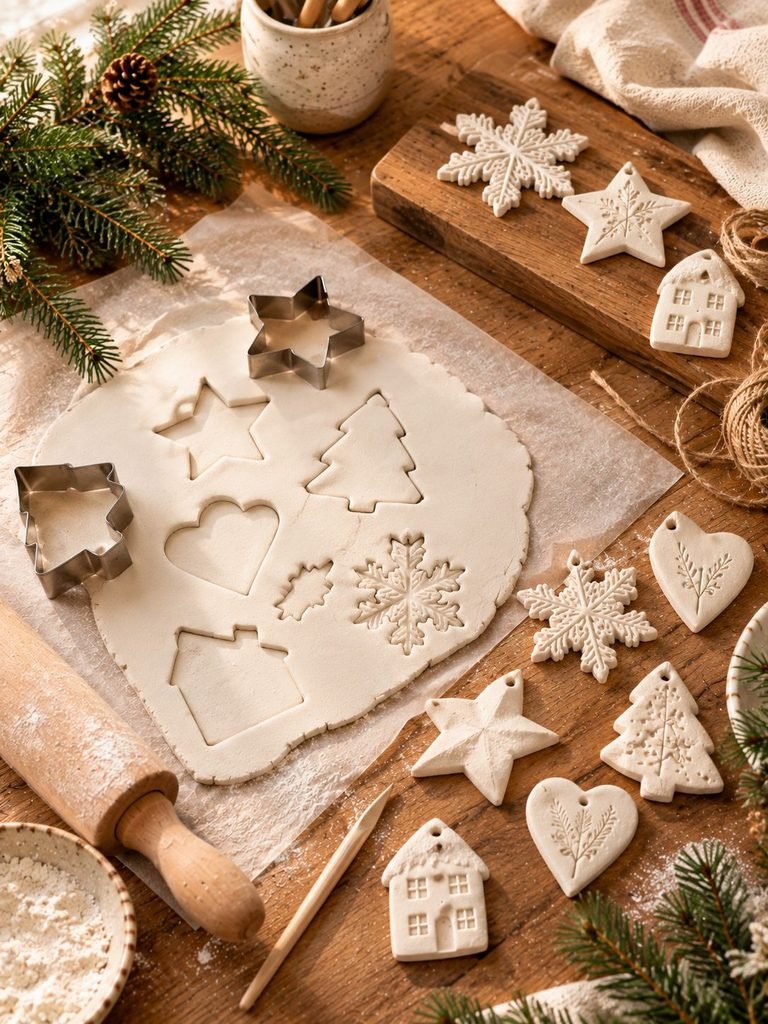
Now comes the fun part.
Use cookie cutters to cut your ornament shapes.
Some beautiful winter-inspired shapes include:
- Stars
- Snowflakes
- Christmas trees
- Hearts
- Snowmen
- Mittens
- Circles
- Bells
- Little houses
- Pine trees
Press the cutter firmly into the clay and gently lift it.
If the edges look slightly rough, smooth them with your fingertip.
You can lightly dampen your finger with water to smooth tiny imperfections, but use very little water.
A Simple Tip for Clean Edges
If your clay sticks to the cutter, dust the cutter very lightly with cornstarch or allow the clay to sit for a minute before cutting.
Don’t use too much powder because it can affect the surface of the clay.
Step 5: Add Beautiful Winter Textures
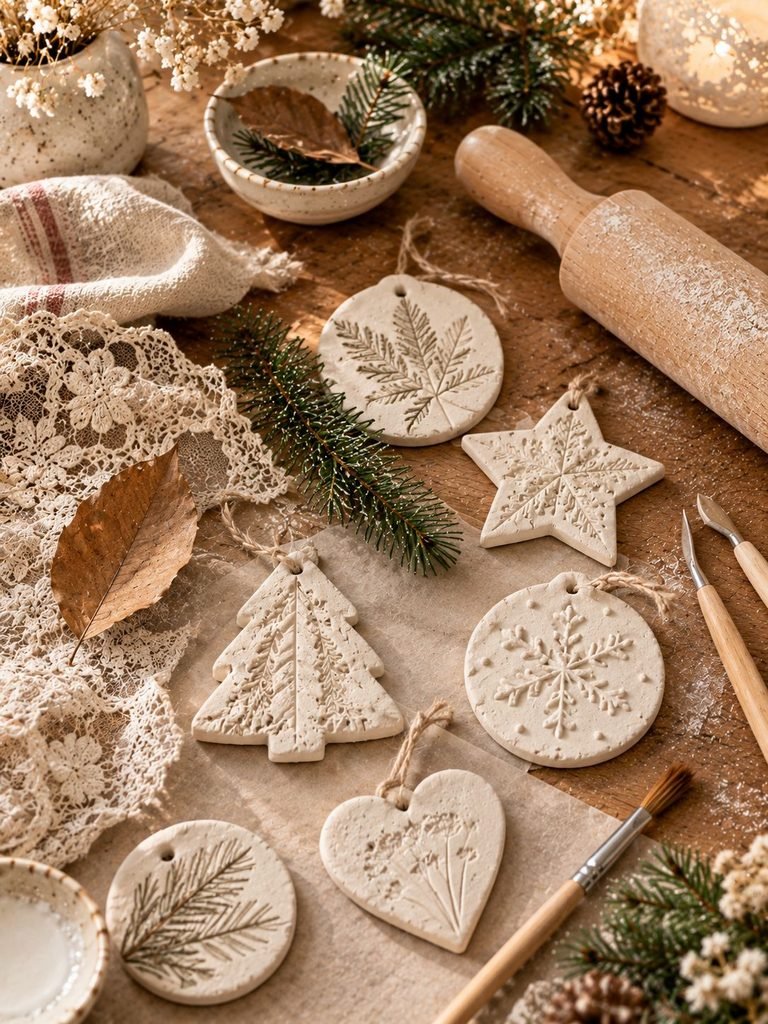
This is one of my favorite parts.
Before the clay dries, you can press different objects into the surface to create beautiful patterns.
Try pressing:
- Lace
- Small leaves
- Pine needles
- Evergreen sprigs
- Knitted fabric
- Rubber stamps
- Wooden texture stamps
- Small cookie stamps
For a natural winter look, place a small dried leaf over the clay and gently roll over it with your rolling pin.
Carefully remove the leaf and you’ll be left with a delicate botanical impression.
You can also create simple snowflake patterns using a toothpick.
Don’t press too deeply. You want the design to be visible without weakening the ornament.
Step 6: Make the Hanging Hole
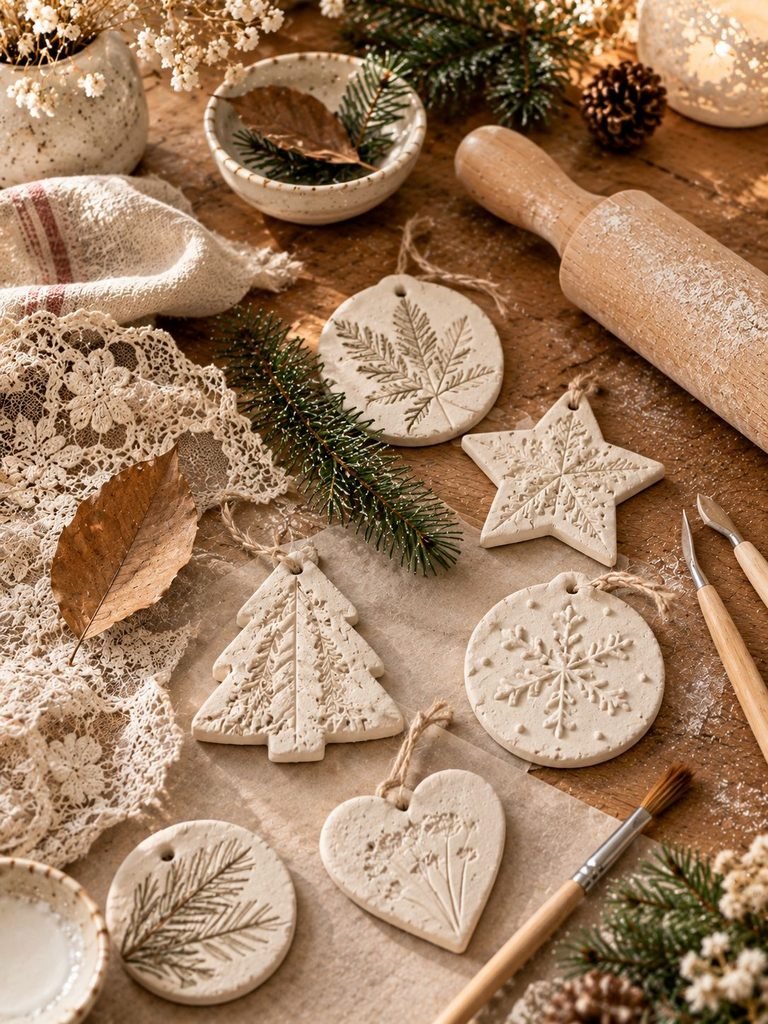
Don’t forget this step!
Before the clay dries, use a straw, skewer, or small round tool to make a hole near the top of each ornament.
Make the hole large enough for your ribbon or twine to pass through.
Try to position it at least a little distance from the edge.
If the hole is too close to the edge, the clay may become weak and break when you hang the ornament.
For a neat finish, gently smooth the inside of the hole with a toothpick.
Step 7: Smooth the Edges
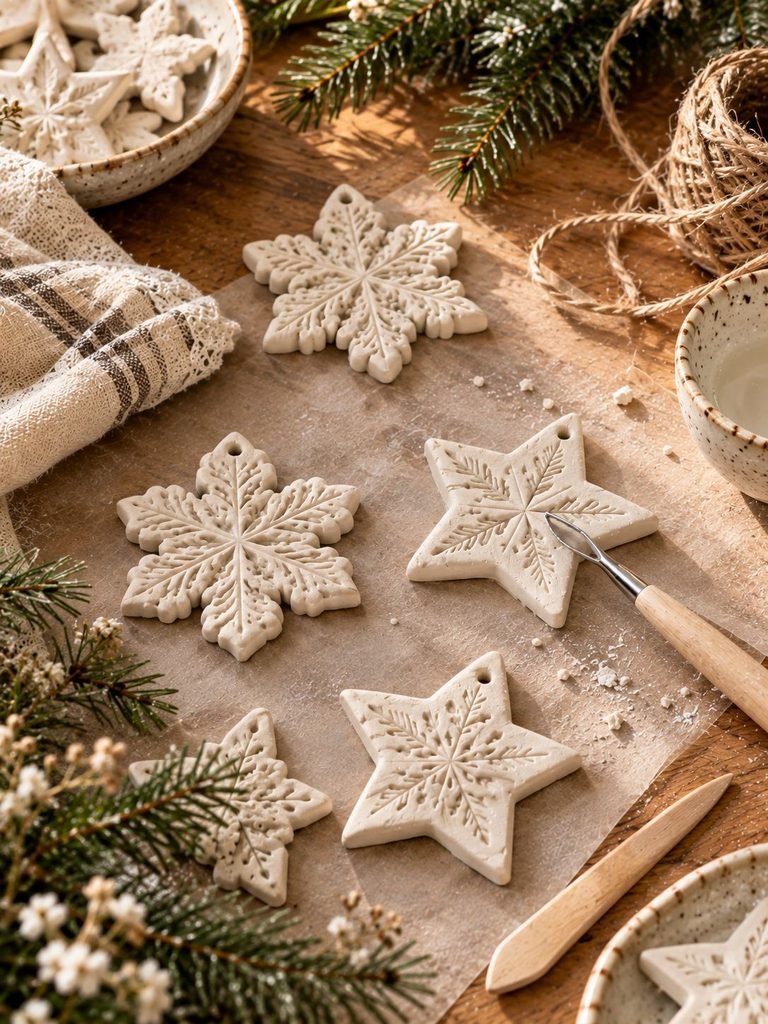
Take a moment to inspect each ornament.
Look for:
- Cracks
- Rough edges
- Fingerprints
- Uneven areas
- Small pieces of clay
Use your fingertip or a clay tool to gently smooth them.
You don’t need to make everything perfectly smooth. Small imperfections can actually make handmade ornaments feel more charming.
The important thing is to remove anything that could become a weak point while the ornament dries.
Step 8: Let the Ornaments Dry
Place your ornaments flat on parchment paper or another non-stick surface.
Allow them to dry according to the instructions on your particular air-dry clay.
Drying time depends on the clay brand, thickness, humidity, and temperature.
Thicker ornaments will naturally take longer to dry.
For more even drying, turn the ornaments carefully after several hours if the clay is firm enough to handle.
Don’t Rush the Drying Process
This is one of the most important tips I can give you.
It can be tempting to place the ornaments somewhere very warm to speed things up, but rapid drying can encourage cracking or warping.
Let them dry naturally in a well-ventilated area.
I usually prefer to leave them undisturbed until they are completely hard.
Step 9: Sand the Dry Ornaments
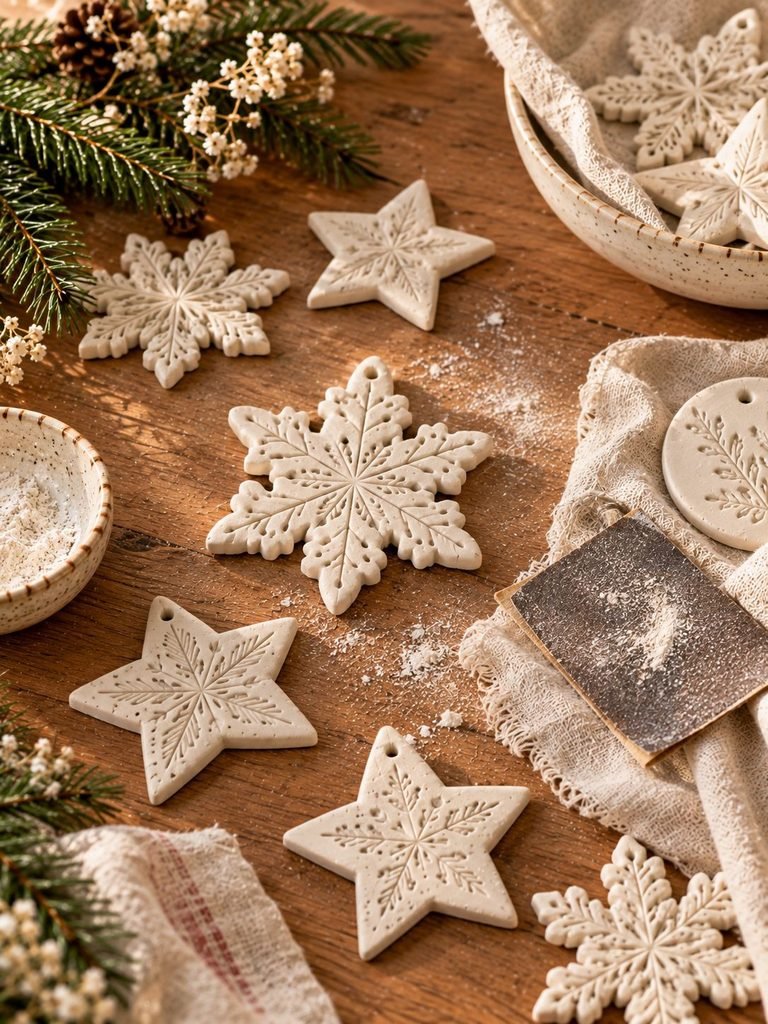
Once your ornaments are completely dry, inspect them again.
If the edges feel rough, use fine-grit sandpaper to gently smooth them.
You can lightly sand:
- The outside edges
- The back
- Rough spots
- Small bumps
Don’t sand aggressively.
Air-dry clay can be fragile, especially around the hanging hole and narrow parts of detailed shapes.
After sanding, wipe away the dust with a soft, dry cloth.
Step 10: Choose Your Winter Color Palette
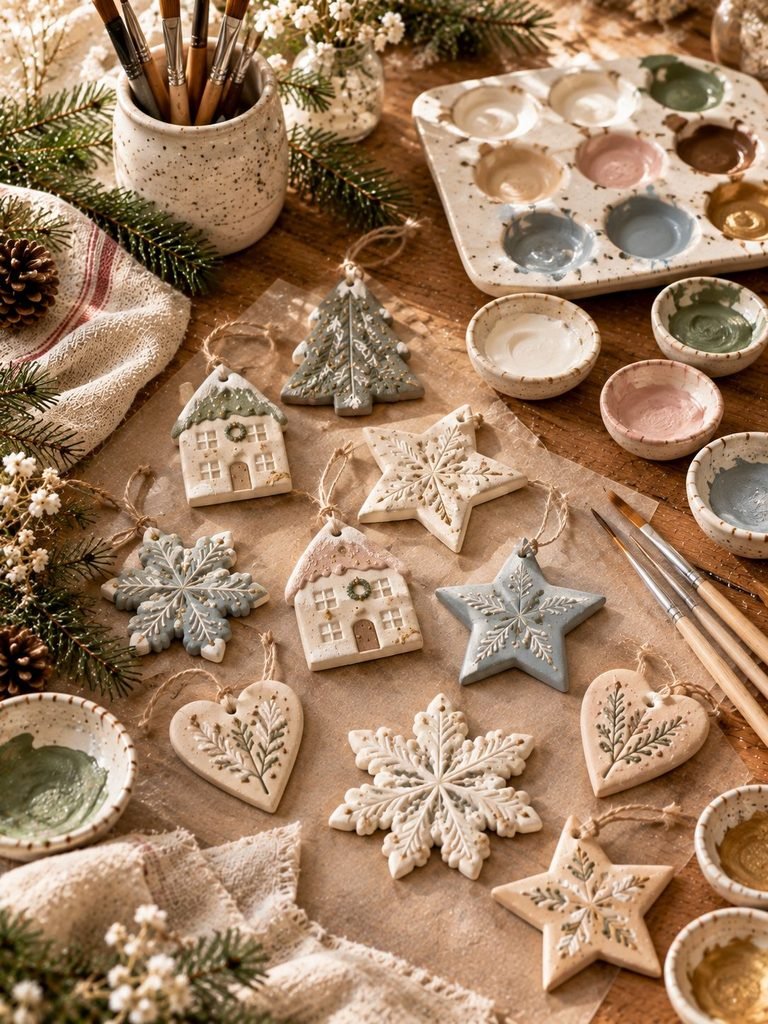
You can leave the ornaments completely natural, but painting them can make them even more special.
For a soft winter aesthetic, I love colors such as:
- Warm white
- Cream
- Ivory
- Beige
- Taupe
- Soft gray
- Dusty blue
- Muted green
- Soft blush
- Warm brown
For a more traditional Christmas appearance, you can add:
- Deep red
- Forest green
- Gold
- Silver
You can also combine neutral colors with tiny metallic details for a more elegant finish.
Step 11: Paint Your Ornaments
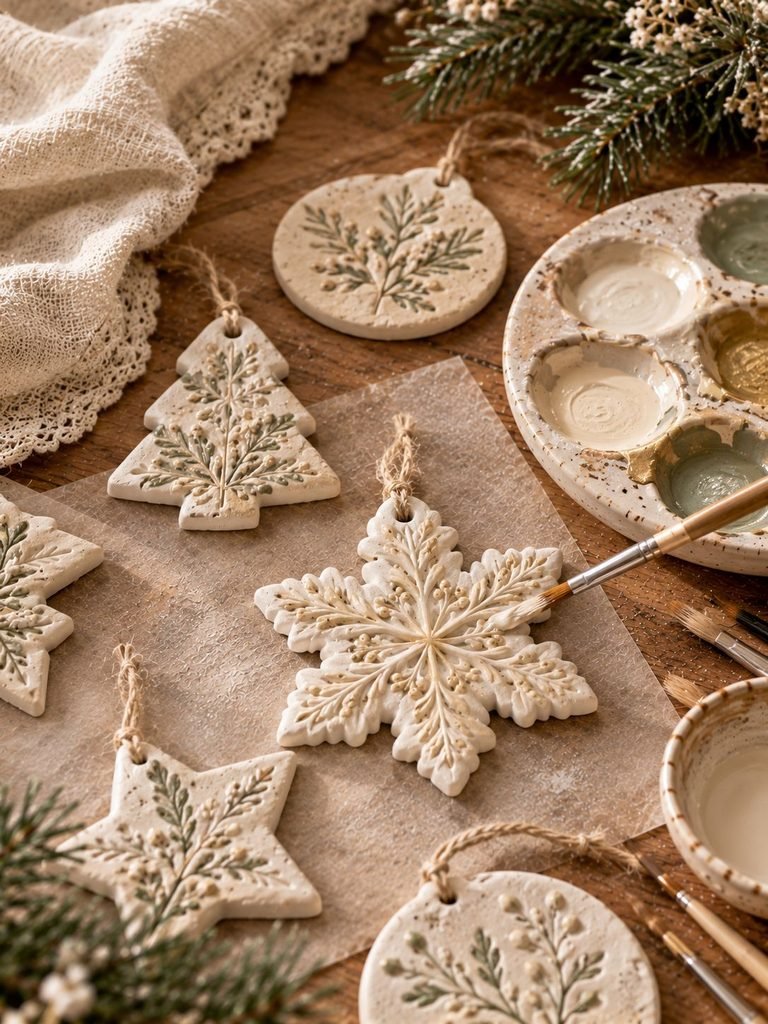
Use acrylic craft paint and a small paintbrush.
Apply thin layers instead of one thick coat.
Allow each layer to dry before adding another.
For textured ornaments, you don’t necessarily need to paint every tiny detail. In fact, gently brushing paint over raised areas can make the texture stand out beautifully.
Try a Dry-Brush Technique
For a snowy effect, dip your brush lightly into white paint and wipe most of the paint off onto a paper towel.
Then gently brush over the raised texture.
The paint will catch on the raised areas while leaving the deeper sections darker.
This works beautifully on:
- Leaves
- Lace patterns
- Snowflakes
- Tree branches
- Knitted textures
Step 12: Add Personal Details
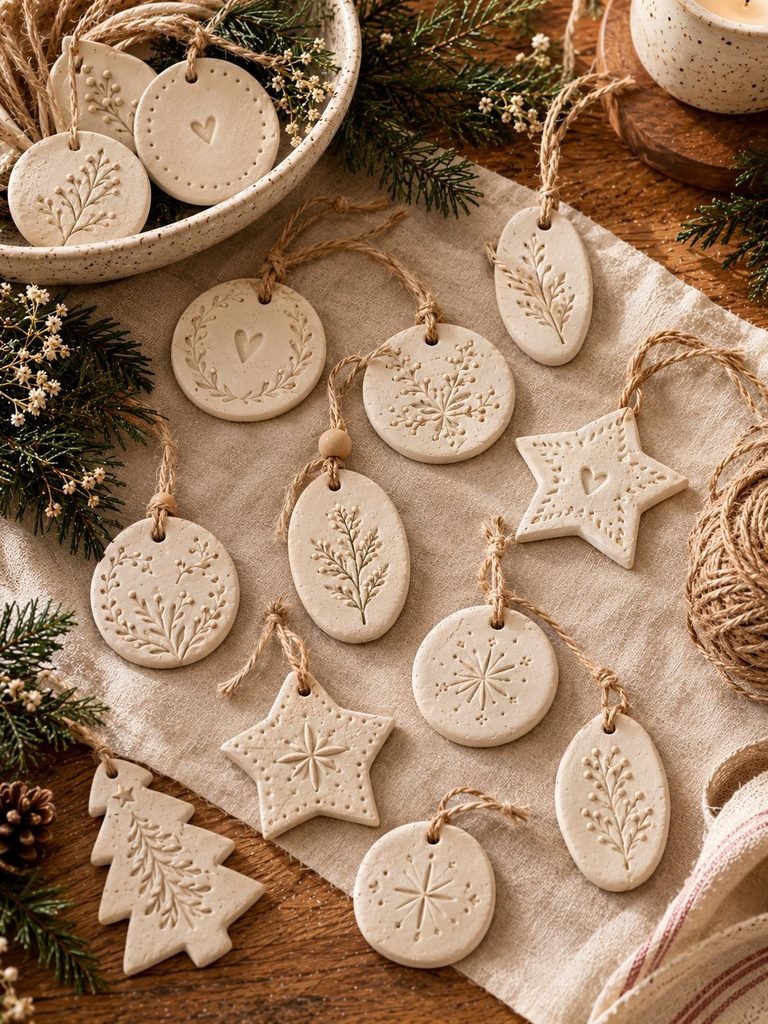
This is where you can make the ornaments truly yours.
You could add:
- A name
- A year
- A short word
- Initials
- A small heart
- A snowflake
- A tiny painted star
Personalized clay ornaments also make lovely handmade gifts.
For example, you could make one for each family member with their name stamped into the clay before drying.
You could also create a small set with words such as:
Joy
Peace
Home
Merry
Noel
Keep the lettering simple so it remains easy to read.
Step 13: Seal the Ornaments
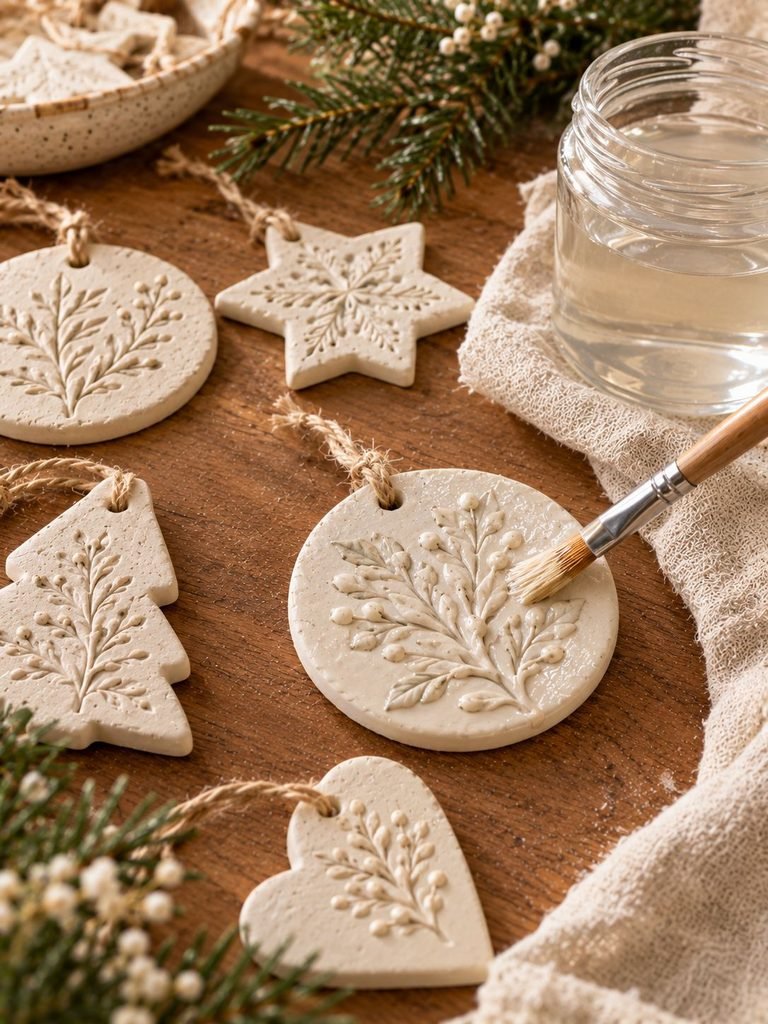
Although air-dry clay becomes hard when dry, sealing your finished ornaments can help protect their surface from dust, moisture, and everyday handling.
Choose a clear acrylic sealer or suitable craft varnish compatible with your clay and paint.
You can choose between:
- Matte
- Satin
- Gloss
For a cozy winter aesthetic, matte or satin finishes are especially beautiful.
Apply thin, even coats and allow each coat to dry completely before applying another.
Avoid soaking the ornament with sealer.
Remember that sealing improves durability and surface protection, but air-dry clay ornaments should still be treated as decorative items rather than waterproof objects.
Step 14: Add Ribbon or Twine
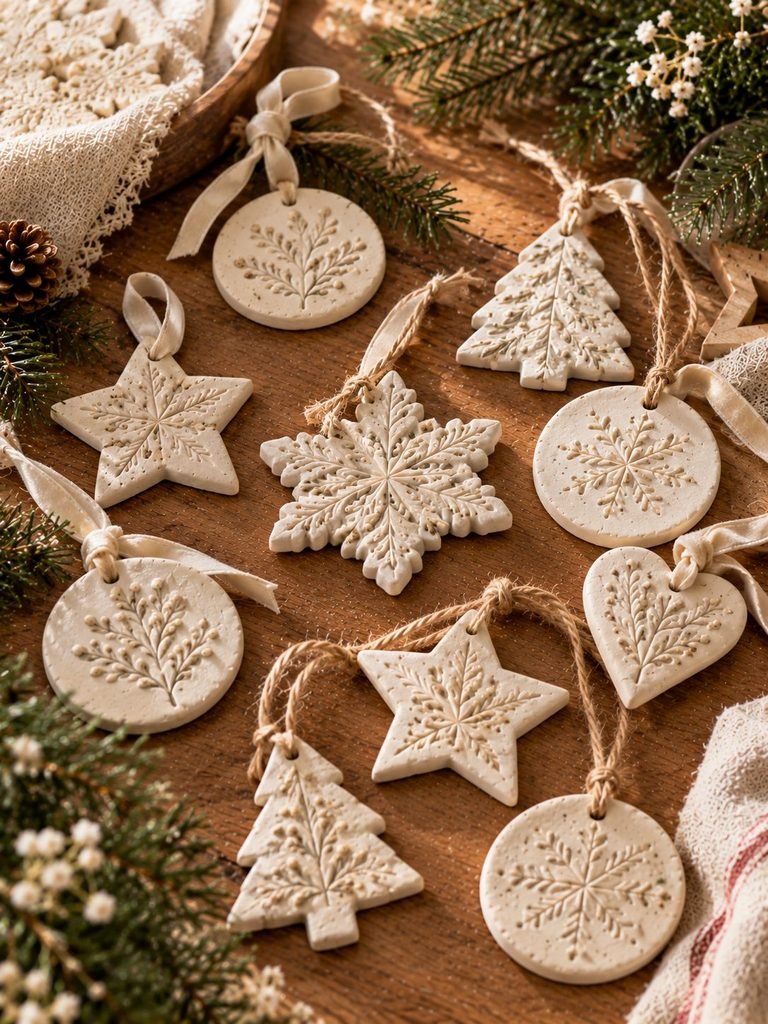
Once everything is completely dry and sealed, thread your chosen hanging material through the hole.
For a rustic winter look, try:
- Natural jute twine
- Cream cotton cord
- Velvet ribbon
- Linen ribbon
- Thin satin ribbon
- Plaid ribbon
Cream or natural twine looks especially pretty against white clay.
For a more elegant appearance, a narrow velvet ribbon can make simple ornaments feel surprisingly luxurious.
Tie a small knot or bow and trim the ends neatly.
Beautiful Winter Ornament Ideas to Try
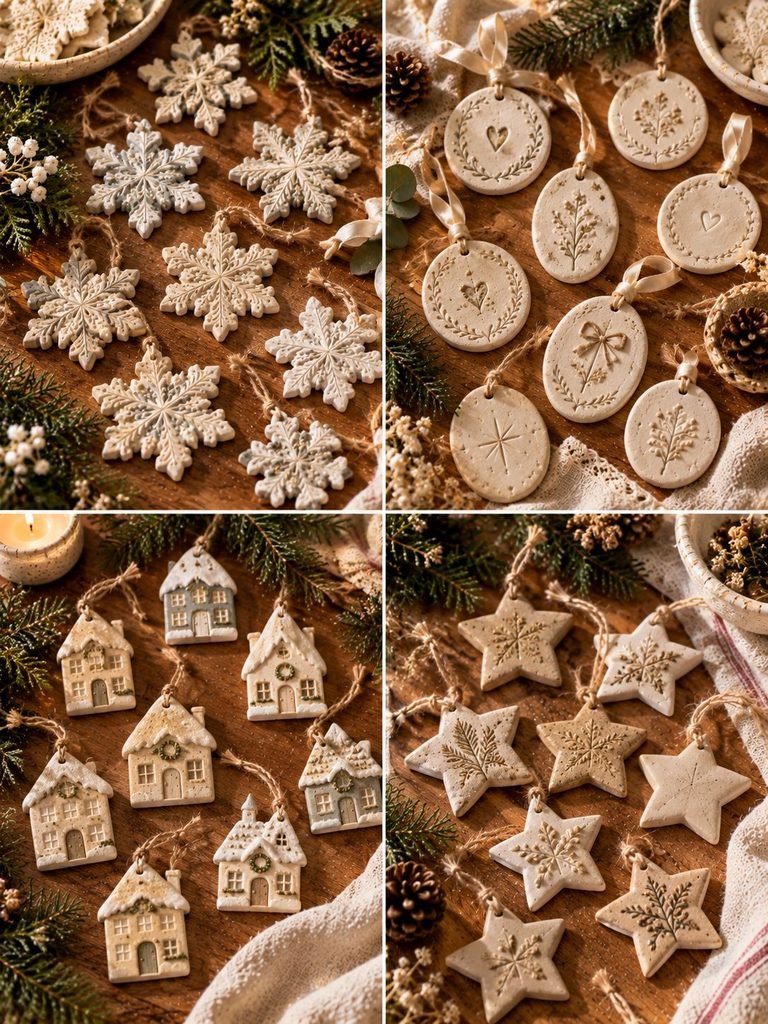
Once you’ve made your first few ornaments, you can experiment with different designs.
1. Botanical Winter Ornaments
Press dried leaves or small evergreen sprigs into the clay.
Paint the finished piece ivory or leave it natural.
These look beautiful with linen or jute hanging cords.
2. Snowflake Ornaments
Cut simple snowflake shapes and use a toothpick to create delicate lines.
Paint them white and add a tiny touch of silver if desired.
3. Personalized Name Ornaments
Cut a simple round or oval shape and stamp a name into the surface.
Add the year underneath.
These make thoughtful handmade keepsakes.
4. Mini Winter Houses
Cut simple house shapes and use a toothpick to draw windows, doors, and roof lines.
Paint them in soft neutral colors for a cozy village-inspired look.
5. Rustic Star Ornaments
Stars are incredibly easy to make and look beautiful in almost any decorating style.
Try leaving them unpainted and adding natural twine for a minimalist appearance.
How to Prevent Air-Dry Clay Ornaments From Cracking
Cracking is one of the most common problems beginners experience.
Here are a few things that can help:
Keep the thickness consistent
Avoid making one side very thick and another very thin.
Don’t add too much water
Excess moisture can weaken the clay and contribute to cracking during drying.
Let them dry slowly
Avoid placing fresh ornaments directly next to a heater or in intense heat.
Don’t make extremely thin ornaments
Very thin designs are more fragile and can dry unevenly.
Handle them carefully
Fresh clay becomes stronger as it dries. Avoid moving detailed pieces too much while they are still soft.
How to Store Your Winter Clay Ornaments
Once the season is over, store your ornaments somewhere dry and protected.
Wrap individual pieces loosely in tissue paper or place them between soft layers inside a sturdy box.
Avoid storing them somewhere damp.
Don’t place heavy decorations on top of them because air-dry clay can still break if it is crushed or bent.
If you take good care of them, handmade ornaments can become decorations you bring out year after year.
Final Thoughts
Making winter air-dry clay ornaments is such a simple way to add something handmade and meaningful to your seasonal decorating. You don’t need expensive supplies or advanced crafting skills—just a little clay, a few basic tools, and some creativity.
I especially love that every ornament can have its own personality. One can be covered in delicate botanical texture, another can have a sweet name stamped into it, and another can stay completely simple and rustic.
Whether you’re making decorations for your own tree, creating handmade gifts, or simply looking for a cozy winter craft to enjoy, these clay ornaments are a wonderful project to try.
Take your time, let the clay dry naturally, and don’t worry about making every piece perfect. Those tiny handmade imperfections are often what make them feel the most special.