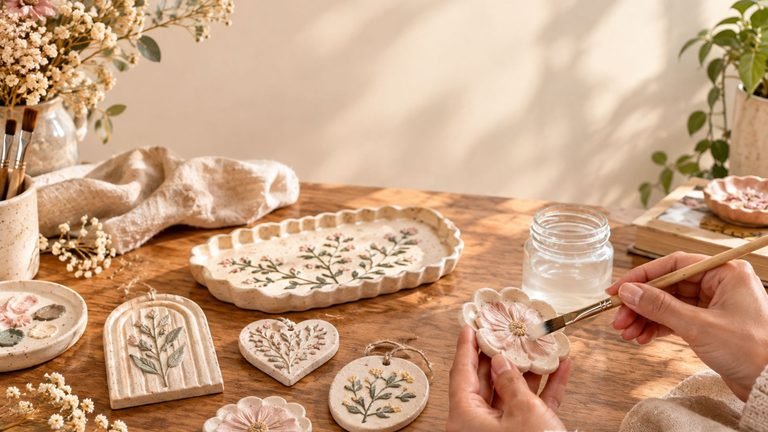
20 Cute Mini Clay Ideas: Air Dry Clay Projects for Beginners
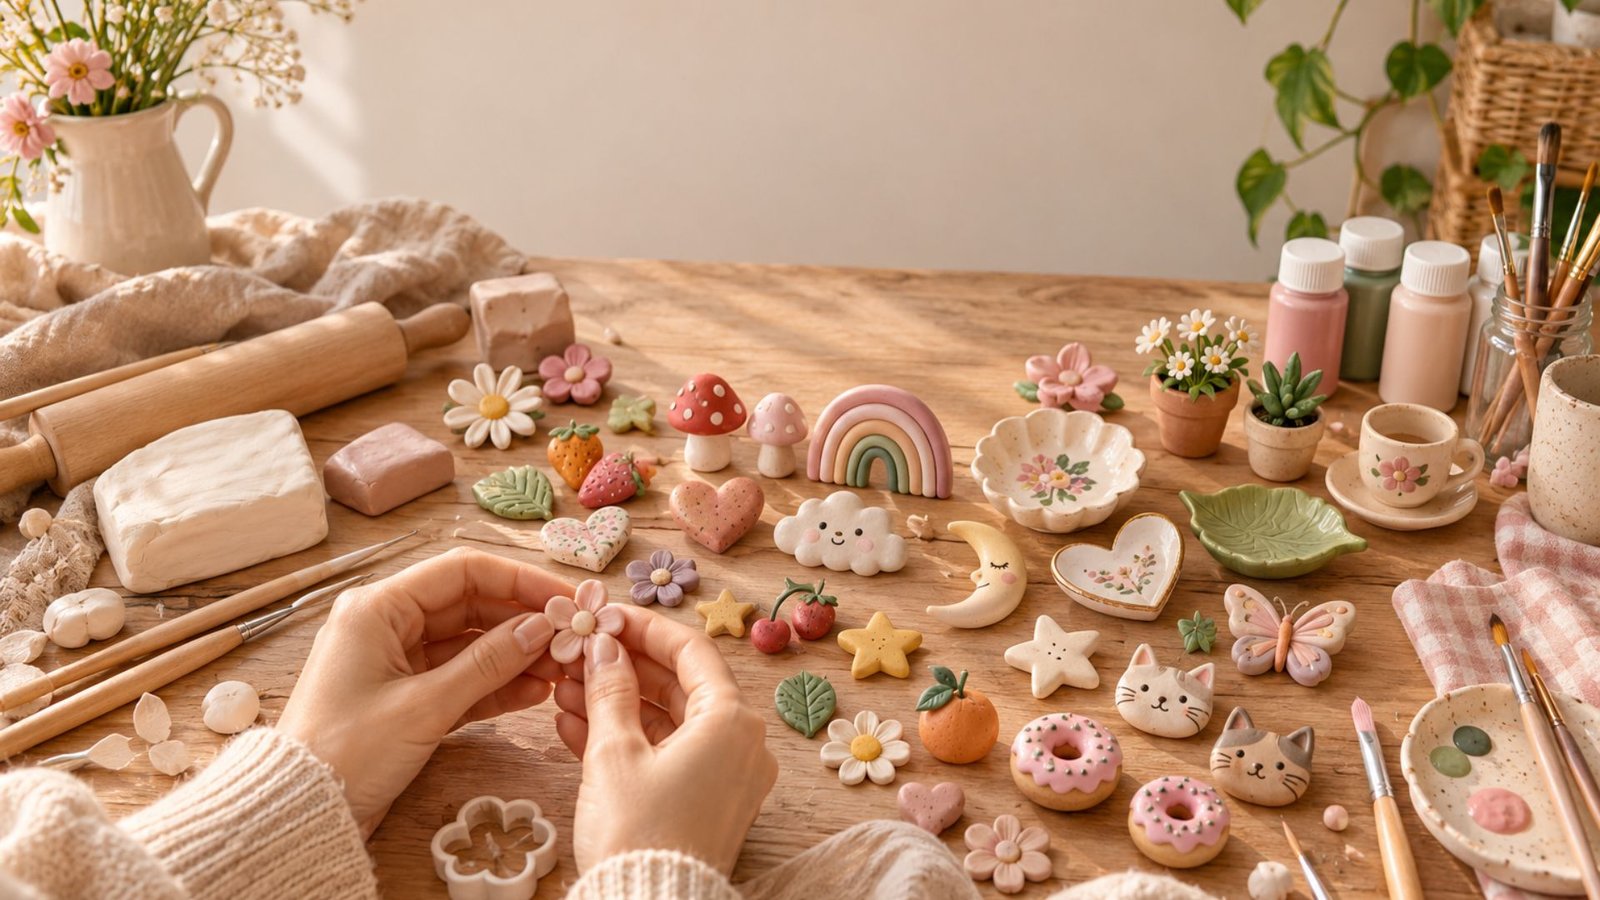
Working with air-dry clay has become one of my favourite ways to spend a quiet afternoon. I love how a simple lump of clay can turn into something tiny, cute, and completely personal with just a few basic tools.
You don’t need a pottery wheel, kiln, or years of crafting experience to get started.
These mini clay projects are especially fun because they are small enough to finish in one sitting and simple enough for beginners to enjoy.
Whether you want to make little decorations, magnets, jewelry, or gifts, these 15 cute air-dry clay ideas are a lovely place to begin.
Why Mini Clay Projects Are Perfect for Beginners

If you have never worked with air-dry clay before, starting with small projects can make the whole process feel much less intimidating.
Large clay projects can sometimes be difficult to shape evenly, and they may take longer to dry. Mini projects, on the other hand, are quick, manageable, and forgiving. You can experiment with shapes, colors, textures, and finishes without using a lot of clay.
Another thing I love about mini clay crafts is how versatile they are. One small clay shape can become a refrigerator magnet, ornament, trinket, keychain, jewelry piece, or decorative accent.
You can also personalize almost every project. Try soft pastel colors for a feminine look, earthy neutrals for a cottagecore feel, or bright colors for something playful.
Before starting, remember that air-dry clay is meant to dry naturally. Avoid making pieces extremely thick because the outside can dry faster than the center, which can sometimes lead to cracks.
What You Need for Mini Air-Dry Clay Projects
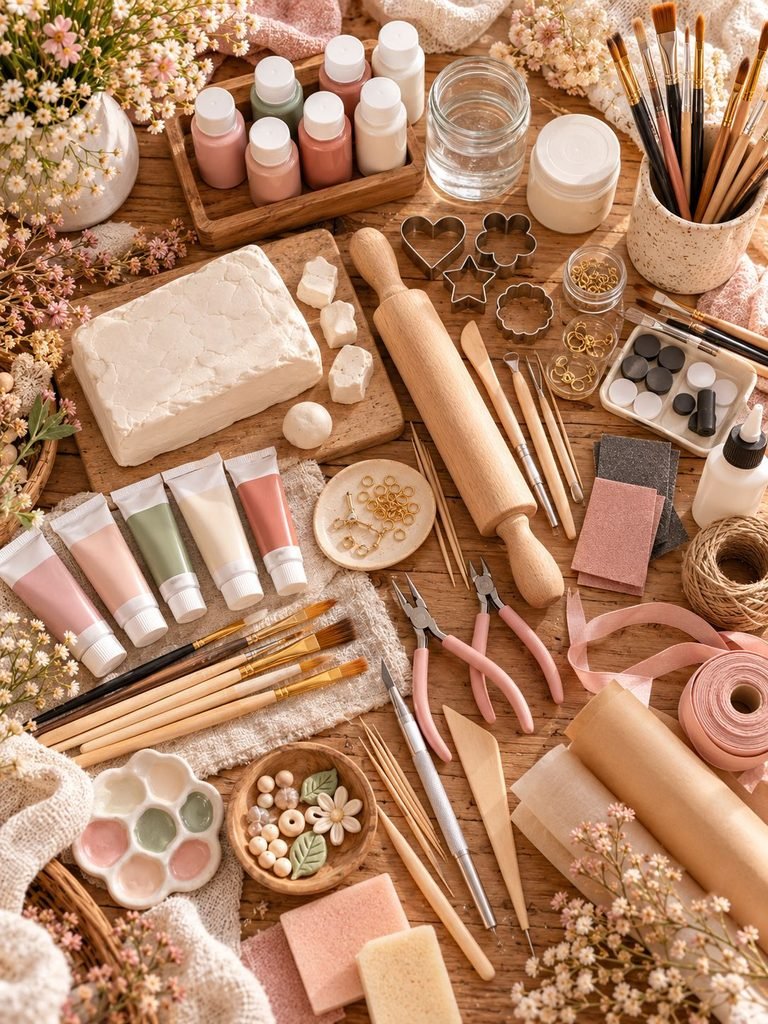
You don’t need a huge collection of craft supplies to get started. A few inexpensive basics will take you through most of these projects.
Basic supplies
- Air-dry clay
- Rolling pin or smooth glass bottle
- Small craft knife
- Toothpicks
- Small cookie cutters
- Acrylic paint
- Small paintbrushes
- Clear sealer or varnish
- Sandpaper or sanding sponge
- Parchment paper
- Small magnets
- Strong craft glue
- Jump rings
- Jewelry pliers
- Ribbon or twine
You can also use everyday household items to create texture. Forks, lace, leaves, buttons, bottle caps, and textured fabric can all make interesting impressions in clay.
1. Mini Clay Flower Magnets

Mini clay flowers are one of the easiest projects to make, and they look adorable displayed on a refrigerator, magnetic board, or craft space.
What you need
- Air-dry clay
- Acrylic paint
- Small paintbrush
- Small magnets
- Strong craft glue
- Clear sealer
How to make them
Start by rolling a small piece of clay into a ball. Flatten it gently between your fingers.
Create five small petals around the center. You can use your fingers to pinch and shape each petal, or make individual small clay balls and press them together.
Use a toothpick to add a small line down each petal. For the center, add a tiny ball of clay.
Leave the flower completely flat on a piece of parchment paper and allow it to dry according to the clay manufacturer’s instructions.
Once dry, paint the flowers in colors you love. Soft pink, cream, peach, yellow, and lavender look especially pretty.
After the paint has dried, apply a thin coat of clear sealer. Glue a small magnet to the back and allow the glue to cure completely before using it.
Beginner tip
Don’t worry about making every petal identical. Slight differences actually make handmade flowers look more charming.
2. Tiny Clay Mushrooms
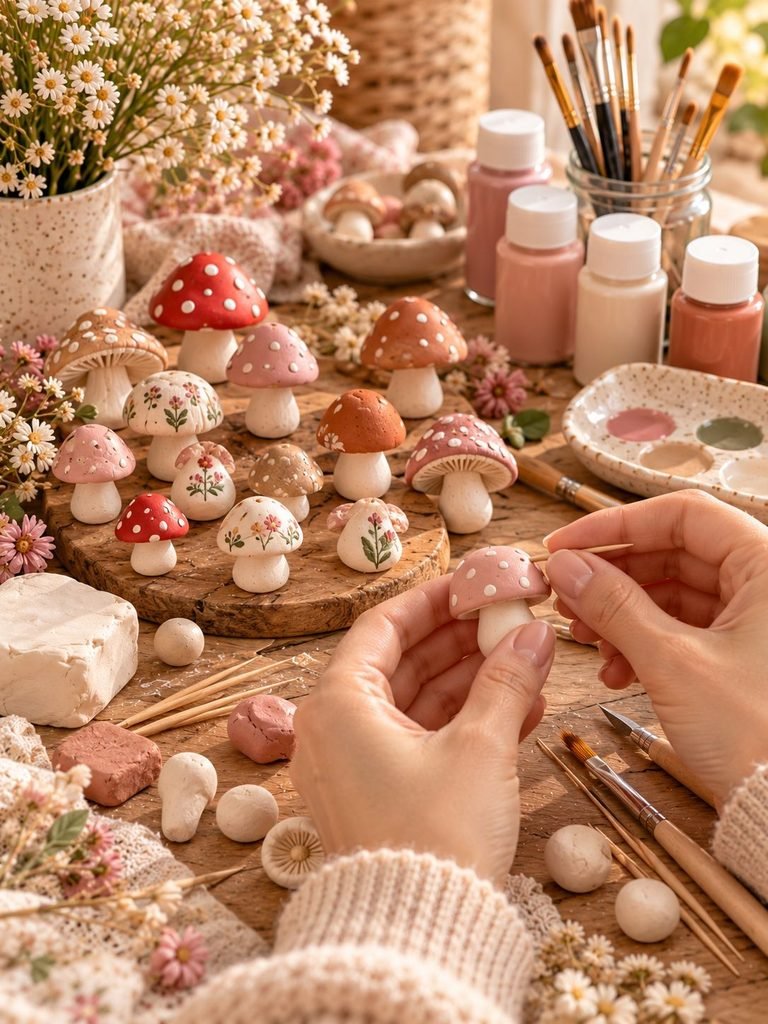
Mini mushrooms are perfect if you love woodland, cottagecore, or fairy-inspired crafts.
How to make them
Roll a small piece of clay into a short cylinder for the stem.
For the mushroom cap, roll another piece into a ball and gently flatten it. Shape it into a rounded dome.
Place the cap on the stem and gently press the two pieces together.
Use a toothpick to add subtle lines underneath the cap.
Once completely dry, paint the cap red, pink, cream, brown, or any color you like. Add tiny white dots for a traditional mushroom look.
Paint the stem a soft cream or beige.
Finish with clear varnish if you want a more polished appearance.
Cute idea
Make several mushrooms in different sizes and place them together in a small decorative tray or plant pot.
3. Mini Clay Hearts

Small clay hearts are incredibly versatile. They can become magnets, ornaments, gift tags, jewelry charms, or little decorative pieces.
Roll your clay flat using a rolling pin.
Use a tiny heart-shaped cutter if you have one. If not, shape each heart by hand.
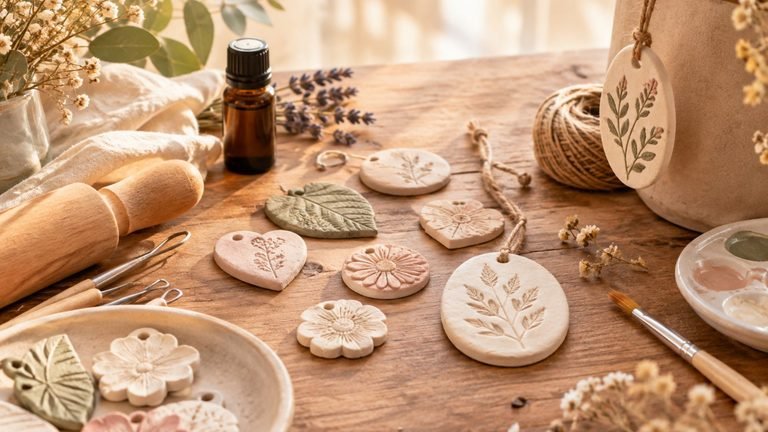
For a handmade texture, press lace, fabric, or a small leaf gently into the clay before it dries.
You can leave the hearts natural or paint them in soft colors.
Try blush pink, cream, dusty rose, terracotta, or sage green for a cozy handmade look.
Once dry, sand the edges lightly if necessary.
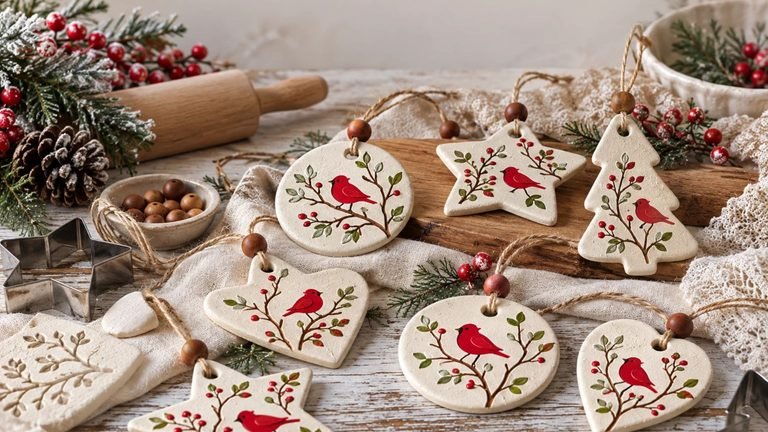
Make them into ornaments
Use a toothpick to create a small hole near the top before the clay dries. Once the heart is dry, thread ribbon or twine through the hole.
These make especially sweet handmade Valentine’s Day, wedding, birthday, or Christmas decorations.
4. Mini Clay Rainbow
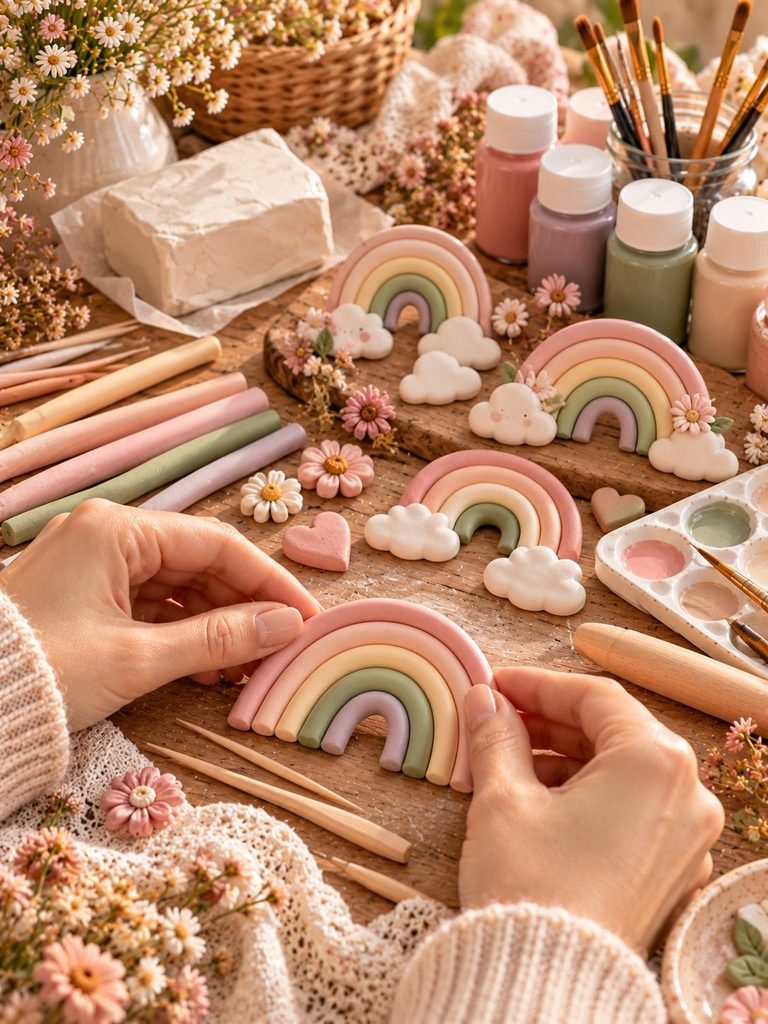
A tiny clay rainbow is a cheerful project that can be used as a magnet or small shelf decoration.
Roll several thin clay ropes in different colors.
Choose three to five colors and make each rope slightly different in length.
Arrange the ropes into curved rainbow shapes.
Press the pieces gently together so they hold their shape.
You can make the rainbow flat or add small cloud shapes underneath.
Once dry, paint the rainbow if you used plain clay.
For a softer aesthetic, try cream, blush pink, peach, pale yellow, and sage green rather than traditional rainbow colors.
Beginner tip
Keep the clay ropes fairly even in thickness. This will make the finished rainbow look cleaner.
5. Mini Clay Bowls
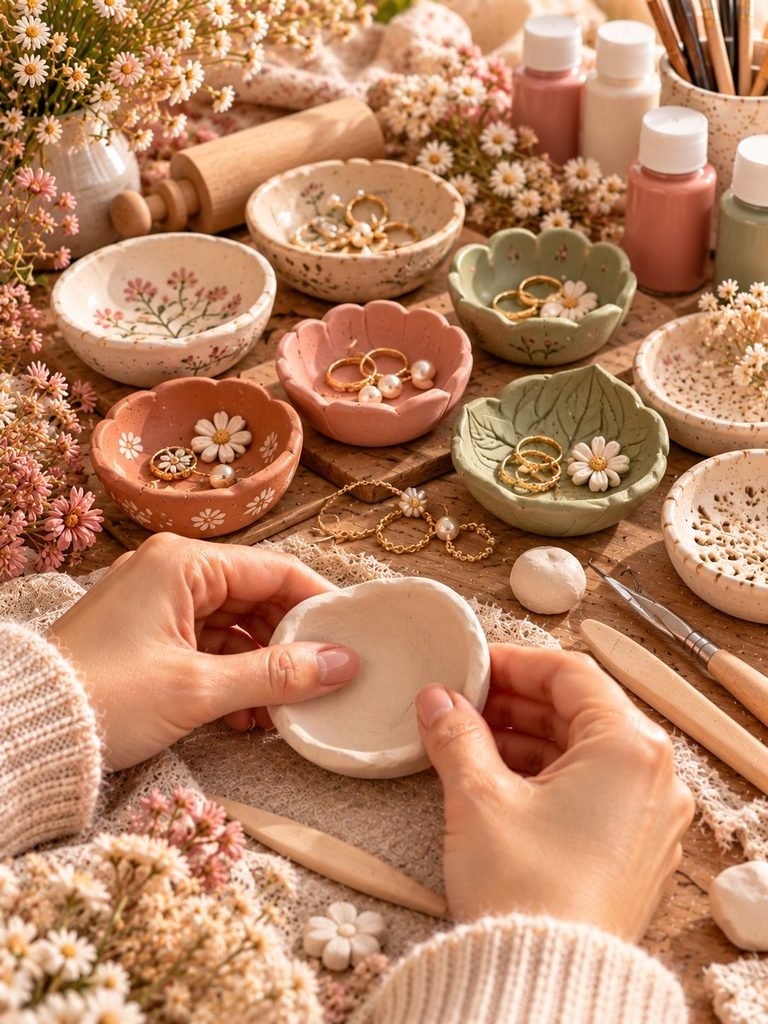
Tiny clay bowls are surprisingly useful and beautiful.
They can hold rings, earrings, hair clips, small beads, or other little treasures.
How to make a mini bowl
Roll your clay into a smooth ball.
Press your thumb into the center and slowly work your way around the clay, creating a hollow center.
Continue pressing and shaping until you have a small bowl with an even wall thickness.
Smooth the inside and outside gently with your fingers.
Don’t make the walls too thin because they can become fragile after drying.
Leave the bowl to dry completely.
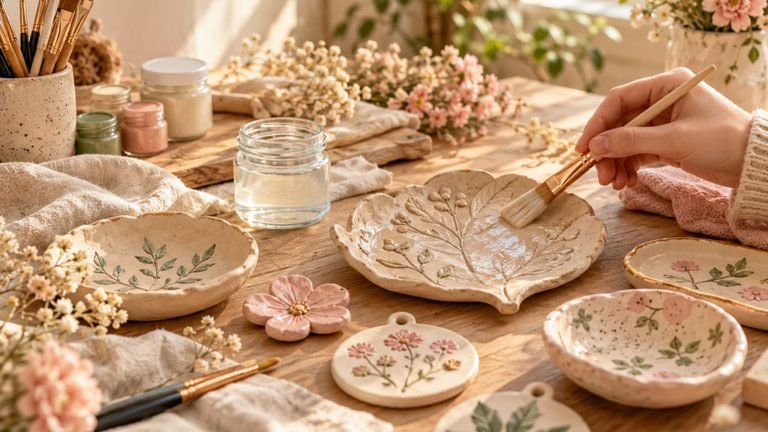
Once dry, paint it or leave it in its natural clay color.
Decoration idea
Press a small dried flower or leaf into the outside of the clay while it is still soft to create a botanical texture.
6. Mini Clay Leaf Trinket Dish
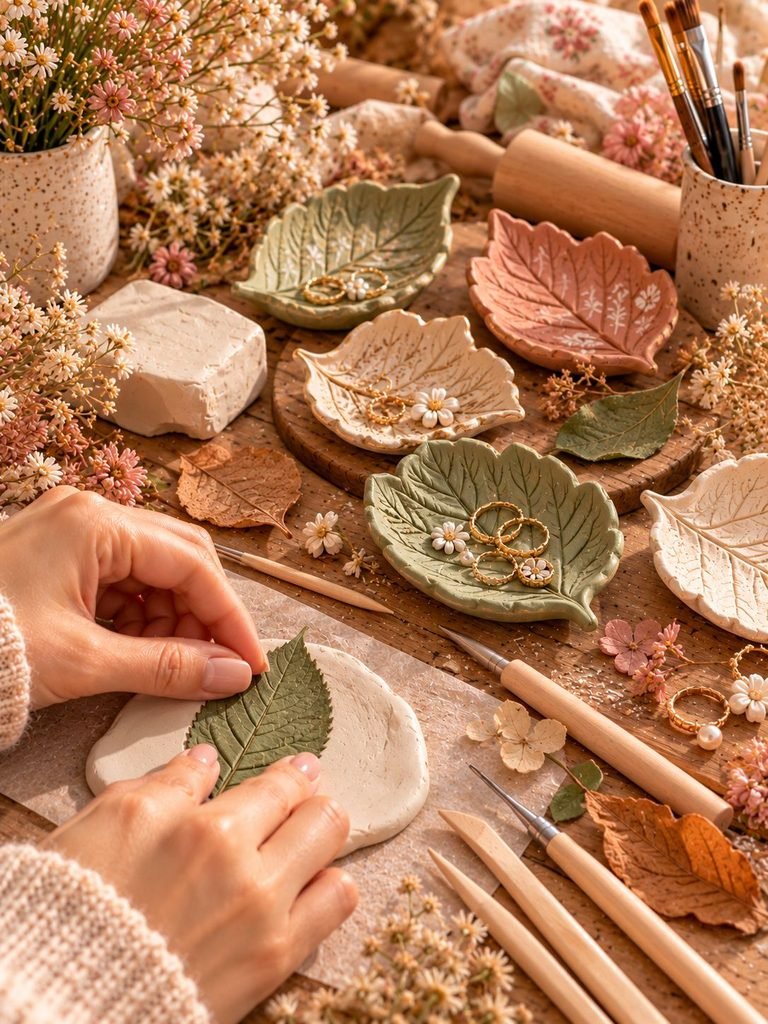
A leaf-shaped dish makes a beautiful little jewelry holder.
Start by rolling your clay flat.
Place a real leaf on top and gently roll over it to transfer the texture.
Carefully remove the leaf.
Use a craft knife to cut around the outline.
Gently lift the clay leaf and place it inside a small bowl or rounded container to create a shallow curved shape.
Let it dry completely.
Once dry, you can paint the leaf with a soft green, beige, white, or terracotta color.
For an elegant finish, lightly brush a darker shade over the raised veins and then wipe away the excess. This creates a lovely antique effect.
Read Easy DIY Clay Magnets for Cute Handmade Fridge Decor and Fun Crafts
7. Mini Clay Fruit
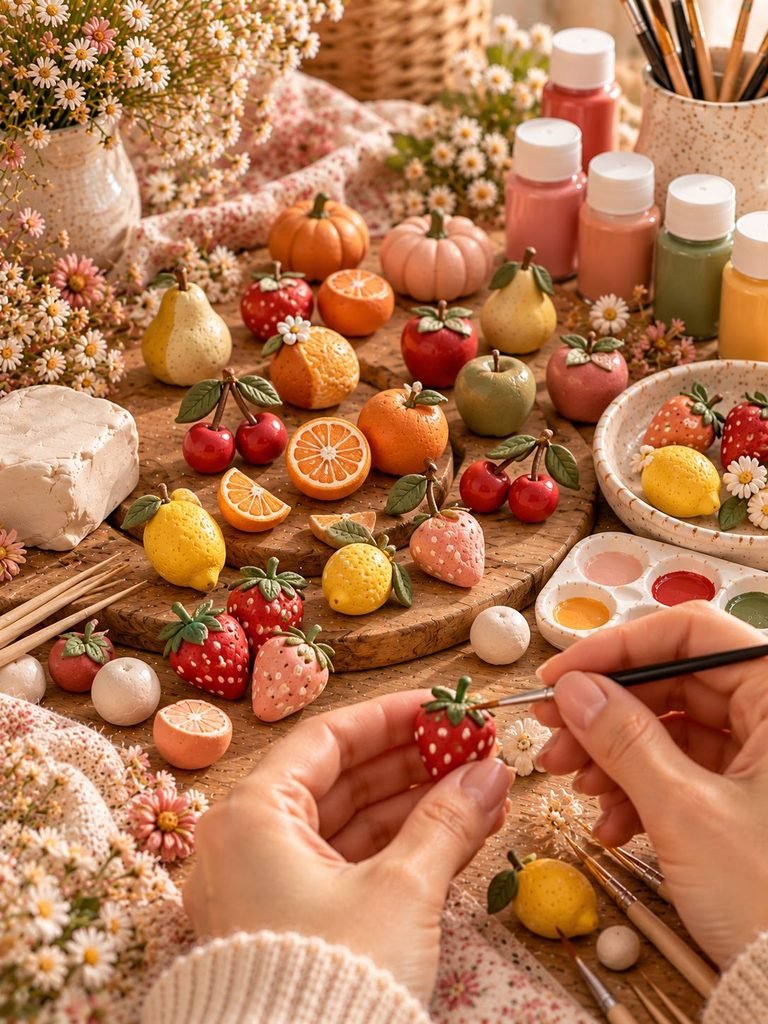
Tiny clay fruits are adorable for decorative projects and miniature displays.
You can make strawberries, lemons, cherries, oranges, apples, pears, or tiny pumpkins.
Mini strawberry
Roll clay into a small teardrop shape.
Use a toothpick to make tiny dots across the surface.
Add a small green clay leaf or painted leafy top.
Allow it to dry and then paint it bright red.
Mini lemon
Shape clay into a small oval.
Smooth the surface and allow it to dry.
Paint it yellow and add a small green leaf if desired.
Mini pumpkin
Roll a small clay ball.
Use a toothpick to gently create vertical grooves around it.
Paint it orange, terracotta, cream, or muted green.
These little fruits are perfect for miniature kitchen scenes or seasonal decorations.
8. Mini Clay Stars
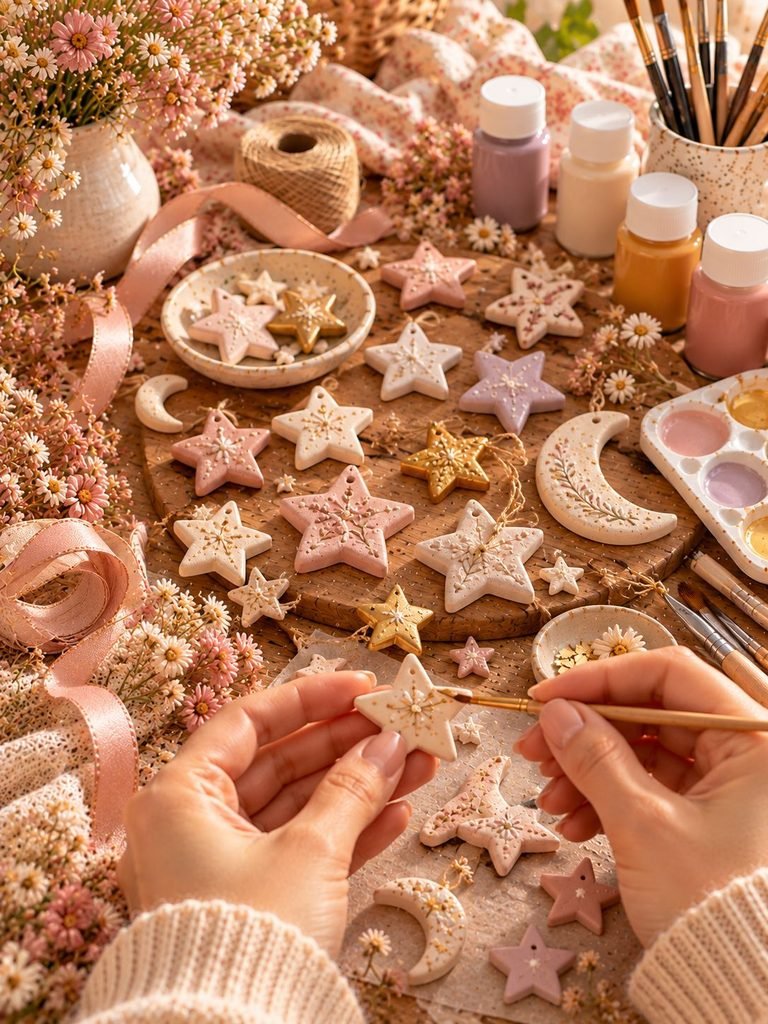
Stars are another beginner-friendly project because the shape is simple and easy to customize.
Roll the clay flat.
Use a small star cutter or cut the shape by hand.
Before the clay dries, make a small hole if you want to turn it into an ornament.
You can also press small dots, lines, or floral designs into the surface.
Once dry, paint the stars.
Gold and cream create an elegant look, while blush pink, lavender, and sage give them a softer handmade appearance.
Simple idea
Make a collection of different-sized stars and place them in a small glass jar as decorative accents.
9. Mini Clay Cat Faces
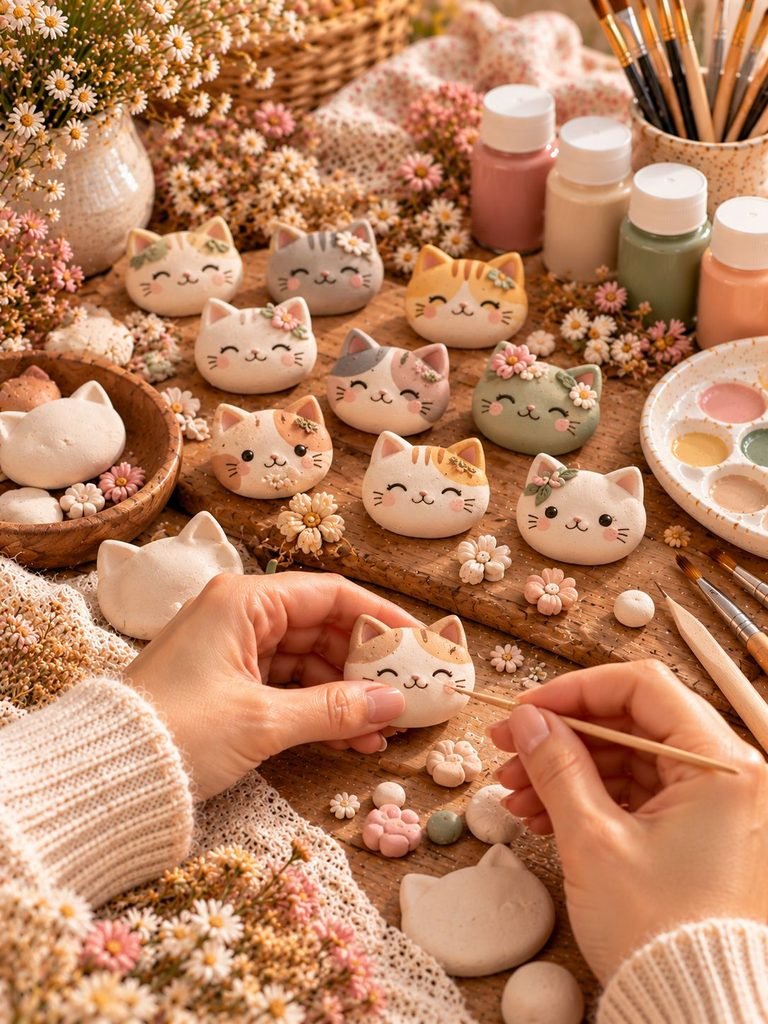
If you love cute crafts, tiny cat faces are hard to resist.
Start with a small ball of clay and flatten it slightly.
Shape the top into two small ears.
Use a toothpick to make tiny eyes, a nose, and whisker lines.
You can also make the details with very thin pieces of clay.
Let the piece dry completely before painting.
Try making several cats with different expressions.
A sleepy cat, happy cat, surprised cat, and little grumpy cat can make a cute collection.
These can be turned into magnets, charms, ornaments, or tiny decorative pieces.
10. Mini Clay Flower Pots
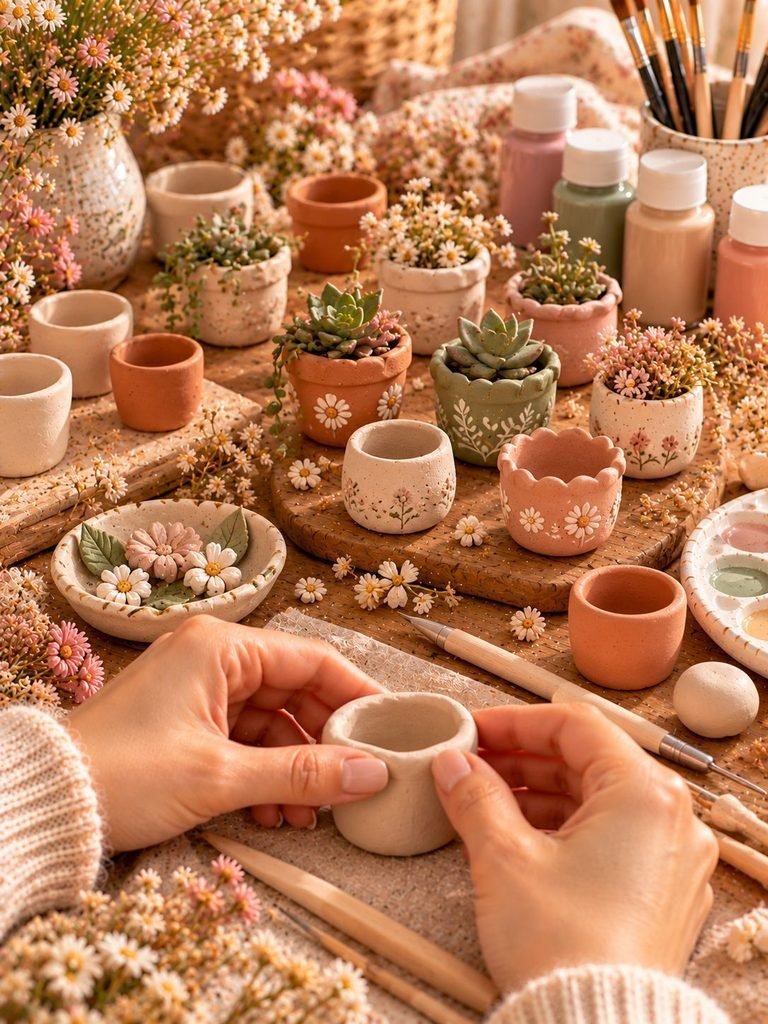
Mini clay flower pots are especially cute when paired with tiny faux plants or dried flowers.
Shape a small piece of clay into a cylinder.
Gently widen the opening at the top.
Create a small hollow center.
Smooth the sides carefully.
You can add a small rim around the top by attaching a thin clay rope.
Once dry, paint the pot.
Try terracotta for a classic look or cream and blush for something softer.
Decoration ideas
Add tiny dots, painted flowers, stripes, or simple botanical patterns.
You can also leave the pot plain and add a tiny artificial succulent afterward.
11. Mini Clay Coffee Cups
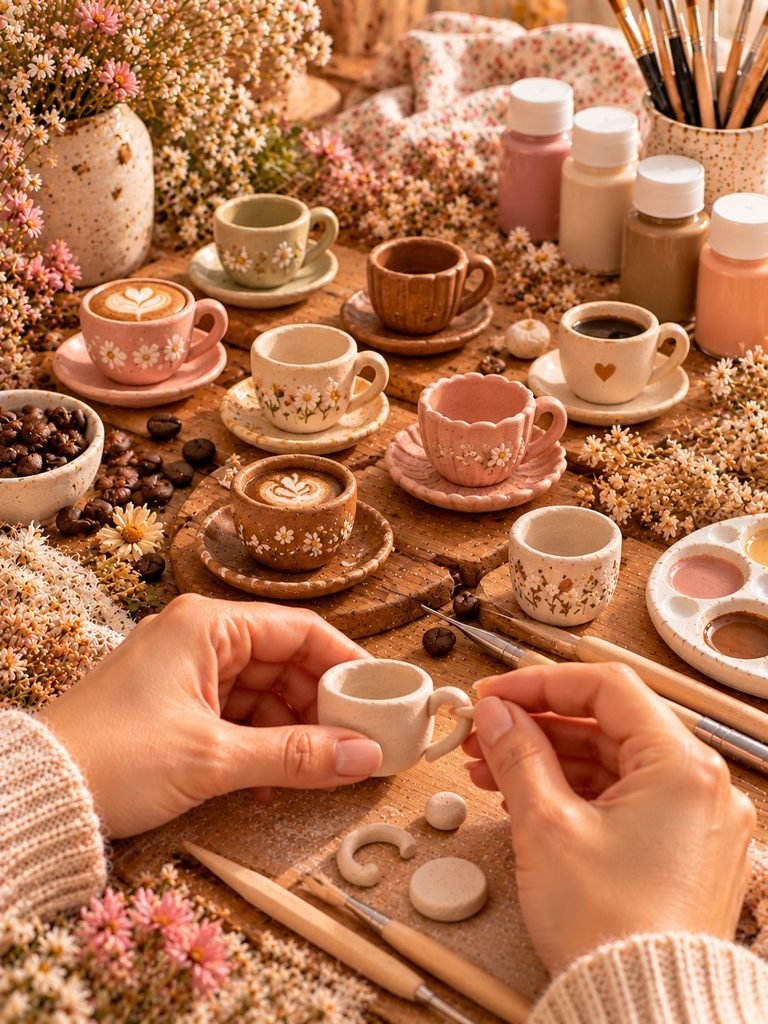
For a cozy craft project, tiny clay coffee cups are adorable.
Shape the cup from a small ball of clay.
Press your thumb into the center and carefully hollow it out.
Smooth the sides.
Make a tiny handle from a thin piece of clay and attach it carefully.
You can also make a small saucer from flattened clay.
Allow both pieces to dry completely.
Paint the cup cream, beige, pink, or brown.
Add tiny painted details such as hearts, flowers, or dots.
Important note
These mini cups are decorative crafts unless the clay product you use specifically states that it is suitable for food contact and your finishing process supports that use. For ordinary air-dry clay, keep them decorative.
12. Mini Clay Clouds

Tiny clouds are simple, soft, and whimsical.
Roll several small balls of clay.
Arrange them together to form a cloud shape.
Gently press the pieces together.
Smooth the joins with your fingers.
You can make a flat cloud for a magnet or a thicker cloud for a small decoration.
Paint it white or cream.
For a fun variation, add tiny clay raindrops underneath.
These would look adorable as nursery decorations, magnets, or part of a miniature display.
13. Mini Clay Moon
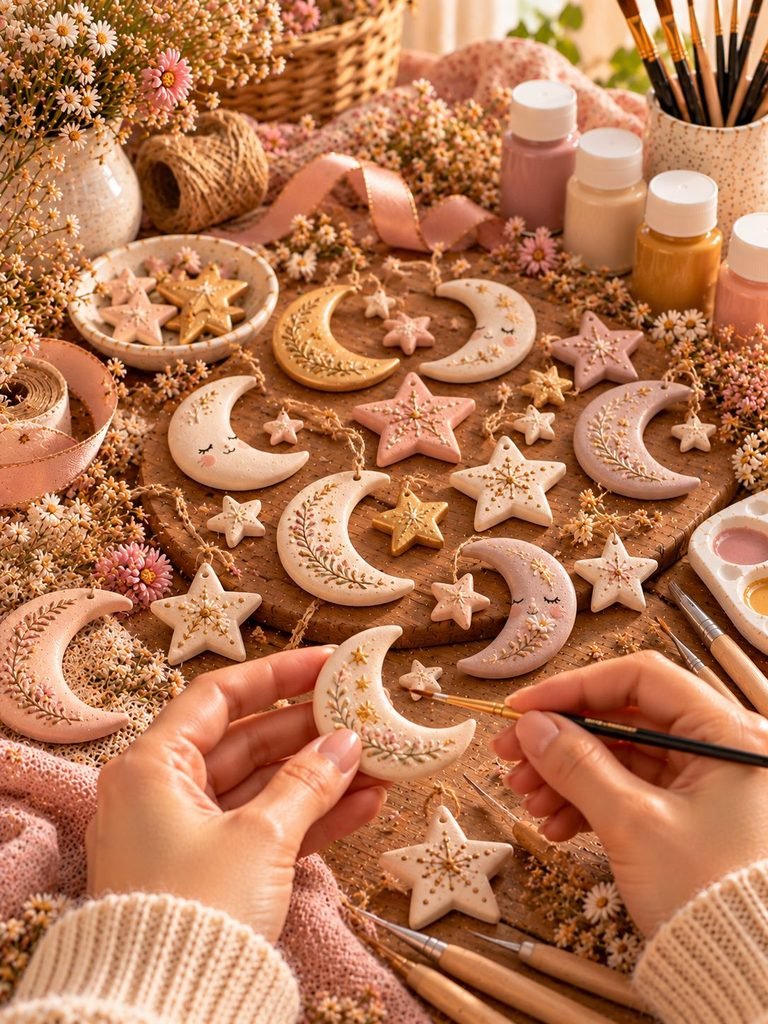
A tiny crescent moon can make a beautiful decoration, especially when paired with stars.
Roll the clay flat.
Use two round cutters of slightly different sizes to create a crescent shape.
Gently smooth the edges.
Before drying, add small dots or textured details using a toothpick.
Once dry, paint the moon cream, pale yellow, gold, or a soft neutral shade.
You can make several moons and stars together for a dreamy collection.
Display idea
Attach the moon and stars to a piece of twine to create a simple hanging decoration.
14. Mini Clay Butterfly Charms

Tiny butterflies are perfect for jewelry, keychains, magnets, and decorative crafts.
Roll your clay flat.
Cut or shape a small butterfly.
Use a toothpick to create lines on the wings.
For a more detailed look, add tiny dots or raised clay decorations.
If you want to make a charm, create a small hole before the clay dries.
After drying, paint the butterfly in your favorite colors.
Soft pink, lavender, cream, and peach create a delicate feminine look.
Extra tip
Use two shades of the same color to add dimension to the wings. A darker shade around the edges and a lighter shade in the center can make a tiny butterfly look much more detailed.
15. Mini Clay Donuts

Mini clay donuts are playful and incredibly cute.
Roll a small piece of clay into a ball.
Press your finger gently through the center to create the donut hole.
Smooth the outside into a rounded shape.
For the frosting, roll a very thin piece of clay and shape it into an irregular circle. Place it on top of the donut.
You can also add tiny clay sprinkles.
Once dry, paint the donut base a light brown or beige.
Paint the frosting pink, cream, chocolate brown, or pastel blue.
Add tiny colorful sprinkles for the finishing touch.
These are perfect for miniature displays, magnets, dollhouse decorations, or cute craft collections.
16. Tiny Bird Trinket Dishes

Tiny bird trinket dishes are one of those little clay projects that look much more complicated than they actually are. I love how useful they can be too. Instead of making a simple decorative bird, you can turn the shape into a tiny dish for rings, earrings, hair clips, or other little treasures.
What you need
- Air-dry clay
- Rolling pin
- Craft knife
- Toothpick
- Acrylic paint
- Small paintbrush
- Clear sealer
How to make it
Start by taking a small piece of air-dry clay and rolling it into a smooth ball.
Flatten the clay slightly and use your fingers to create a shallow dish shape. You want the center to remain fairly flat while the edges curve gently upward.
Next, shape one end of the dish into a small bird head. You can pinch the clay gently to create a rounded head and add a tiny pointed beak.
At the opposite end, create a small raised tail. You can make two or three little feather points with your fingers or a toothpick.
Use the toothpick to add tiny feather lines along the tail and body if you want more detail.
Smooth any rough edges with your fingertip.
Leave the dish on parchment paper and allow it to dry completely according to the clay manufacturer’s instructions.
Once dry, paint your little bird.
Cream, blush pink, soft blue, sage green, and warm beige all look beautiful for a feminine cottage-style design.
Add tiny black dots for the eyes and a small contrasting color for the beak.
Once the paint has dried completely, apply a thin layer of clear sealer if desired.
Cute decorating idea
Make several bird dishes in different colors and place them together on your bedroom dresser or craft table. They would also make lovely handmade gifts.
17. Mini Clay Bunny
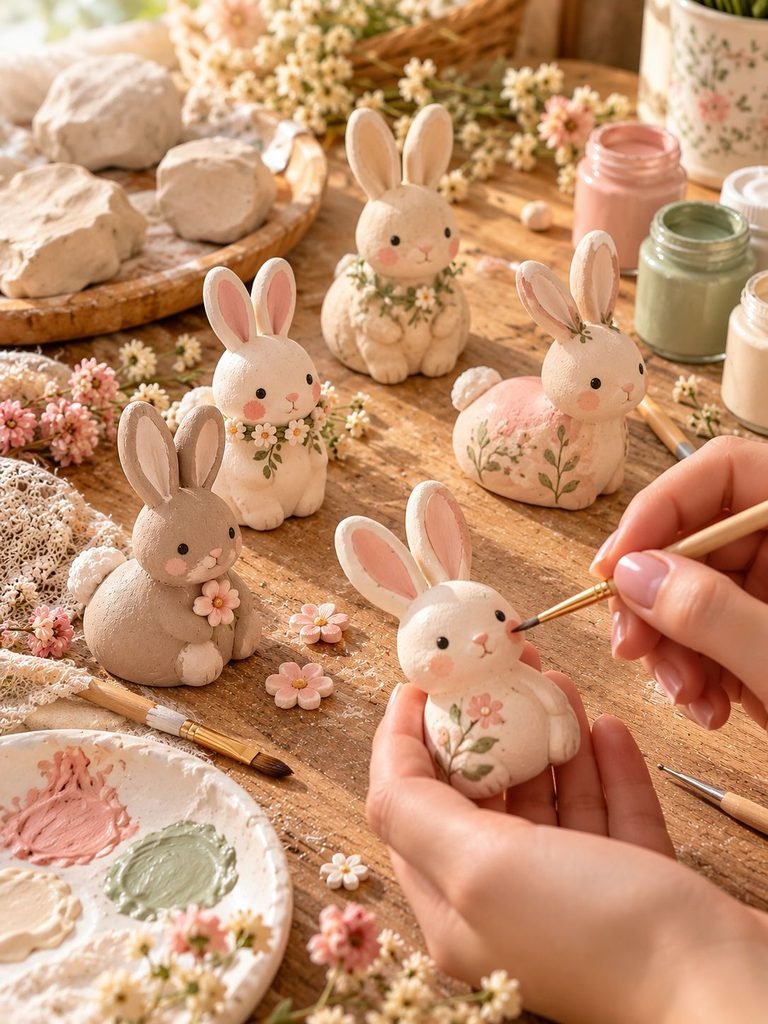
A tiny clay bunny is such a sweet project for spring, Easter, nursery decorations, or simply adding a little cuteness to your home.
The great thing about this project is that you don’t need to create a complicated bunny sculpture. A few simple shapes are enough to give you an adorable result.
What you need
- Air-dry clay
- Toothpick
- Small craft knife
- Acrylic paint
- Small paintbrush
- Clear sealer
How to make it
Start by making a small oval shape for the bunny’s body.
Next, roll a smaller ball of clay for the head.
Attach the head gently to the body and smooth the connection with your fingertip.
For the ears, create two small elongated pieces of clay. Flatten them slightly and shape them into long oval or pointed ears.
Attach the ears to the top of the head.
You can make the ears standing upright or slightly folded over for a softer look.
For the little tail, roll a tiny ball of clay and attach it to the back of the bunny.
Use a toothpick to add simple facial details.
You can make two tiny eyes, a little nose, and a few delicate whisker lines.
Allow the bunny to dry completely.
Once dry, paint it in your favorite color.
Soft cream, white, blush pink, beige, and light brown all work beautifully.
You can also add a tiny pink nose or little pink details inside the ears.
Make it extra cute
Add a tiny clay flower beside the bunny or place a miniature painted carrot next to it.
You can even make a family of tiny bunnies in different sizes.
Beginner tip
Don’t try to make the bunny perfectly symmetrical. Handmade little imperfections give these tiny figures so much personality.
18. Mini Clay Strawberry Trinkets

Tiny strawberries are another adorable project for beginners. They are easy to shape and can be turned into magnets, charms, miniature decorations, or simply displayed together in a little bowl.
What you need
- Air-dry clay
- Toothpick
- Acrylic paint
- Small paintbrush
- Clear sealer
- Small magnets or jewelry findings if desired
How to make it
Begin with a small piece of clay and roll it into a ball.
Gently pinch the bottom portion so that it becomes slightly pointed.
Smooth the surface with your fingers until you have a simple strawberry shape.
Use a toothpick to make tiny dots across the strawberry. These little indentations will give the fruit its recognizable texture.
For the leafy top, make several tiny pieces of green clay.
Arrange them around the top of the strawberry and press them gently into place.
You can also create one small clay leaf and cut several points into it.
Allow the strawberry to dry completely.
Once dry, paint the body bright red, soft pink, or even cream.
Paint the leafy top green.
For a more detailed appearance, use a slightly darker shade of red around the edges.
After everything has dried, apply a clear sealer if desired.
Ways to use them
These tiny strawberries can be used as:
- Refrigerator magnets
- Miniature decorations
- Keychain charms
- Dollhouse accessories
- Gift decorations
- Jewelry charms
- Decorative bowl fillers
Cute idea
Make strawberries in different sizes and arrange them beside tiny flowers and leaves for a miniature garden-inspired display.
19. Tiny Clay Cottage
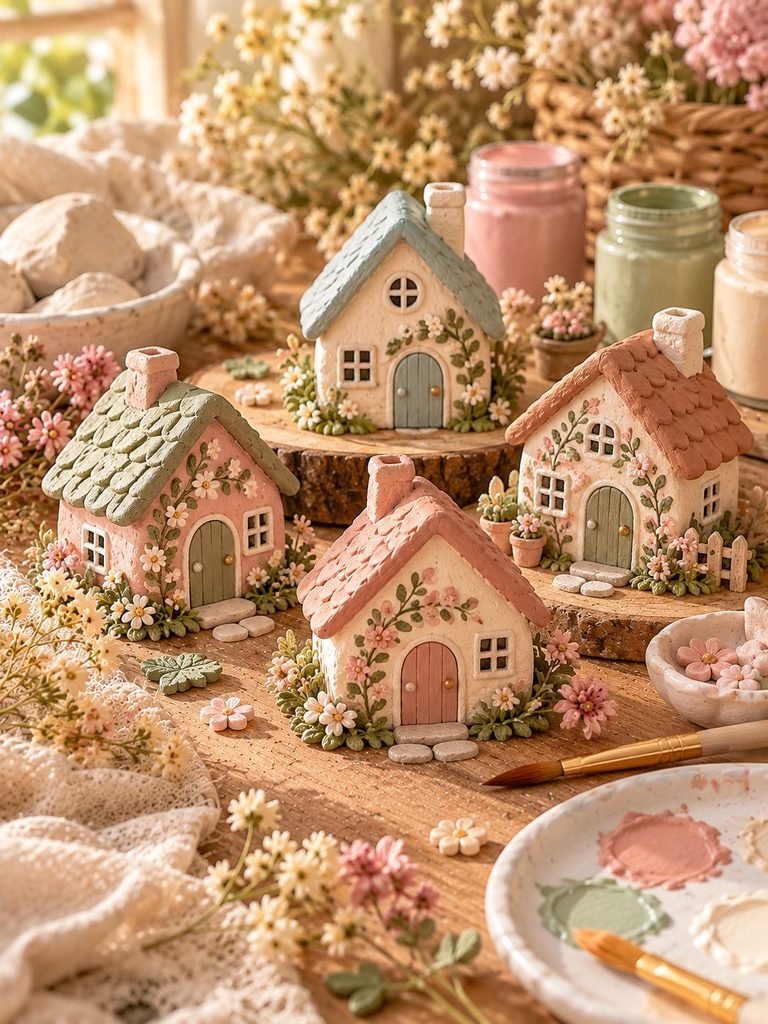
If you love cozy cottagecore crafts as much as I do, this tiny clay cottage is definitely worth trying.
It may look a little more detailed than some of the other projects on this list, but you can keep the design very simple and still end up with something beautiful.
What you need
- Air-dry clay
- Craft knife
- Toothpick
- Acrylic paint
- Small paintbrush
- Clear sealer
How to make it
Start by shaping a small rectangular block of clay for the house.
Don’t make it too large. A small cottage is easier to shape and detail.
For the roof, create a thin piece of clay and fold or shape it into a simple triangular roof.
Attach the roof to the top of the house.
Use a craft knife or toothpick to create a tiny door.
Add two or four small windows.
You can keep the windows very simple by making small squares or rectangles.
For extra detail, add a tiny chimney on one side of the roof.
You can also create a small round window near the roof.
Once you’re happy with the shape, let the cottage dry completely.
After drying, paint the walls.
Cream, warm beige, soft pink, sage green, and pale blue can create a beautiful cottage-inspired palette.
Paint the roof a contrasting color.
Add tiny flowers around the door or little vines climbing up the side of the house.
Make a tiny village
One cottage is cute, but a collection of three or four tiny cottages can be even more charming.
Make each one slightly different.
Try different roof shapes, colors, doors, windows, and tiny flowers.
Arrange them together on a wooden tray to create a miniature clay village.
Beginner tip
Don’t worry about adding too many details. A simple cottage with a door, two windows, and a roof can already look incredibly charming.
20. Mini Clay Sun

A tiny clay sun is a cheerful and simple project that can brighten up your mini clay collection.
It’s especially nice for beginners because you can make it almost entirely from one basic shape.
What you need
- Air-dry clay
- Rolling pin
- Small round cutter or bottle cap
- Toothpick
- Acrylic paint
- Small paintbrush
- Clear sealer
How to make it
Roll a small piece of clay flat.
Use a small round cutter, cookie cutter, or bottle cap to create a neat circle.
Remove the excess clay around the circle.
Next, create the sun rays.
You can either cut small triangular rays around the edge of the circle or attach tiny pieces of clay around the outside.
If you want a softer look, make the rays slightly rounded rather than sharp.
Smooth the edges gently with your fingers.
For a playful version, use a toothpick to create two tiny eyes and a small smiling mouth.
You can also leave the face off for a simple decorative sun.
Let the clay dry completely.
Once dry, paint the sun warm yellow, pale gold, peach, cream, or terracotta.
For a more vintage look, use a slightly darker shade around the outer rays.
Finish with a thin layer of clear sealer if desired.
Turn it into a wall decoration
Before the clay dries, make a small hole near the top using a toothpick.
Once dry, thread a piece of ribbon or twine through the hole.
You can hang your tiny sun from a hook, pegboard, shelf, or small decorative branch.
Cute variation
Make a collection of suns in different sizes and colors.
You could combine them with your mini clay moons, stars, and clouds to create a sweet celestial-themed display.
21. Mini Clay Ghost Ornament

A tiny clay ghost ornament is such a fun little project for Halloween, and you can make it surprisingly easily with just a few basic supplies. I love this one because the shape is simple enough for beginners, but you can still give each little ghost its own personality.
What you need
- Air-dry clay
- Rolling pin
- Small craft knife
- Toothpick
- Acrylic paint
- Small paintbrush
- Ribbon or twine
- Clear sealer
How to make it
Start by rolling a small piece of air-dry clay into a smooth ball.
Place it on a piece of parchment paper and gently flatten it with your fingers or a rolling pin.
Shape the clay into a simple ghost silhouette. You can make the bottom slightly wider than the top and create a few gentle curves along the bottom to look like the ghost is floating.
You don’t need to make the shape perfectly symmetrical. A slightly uneven shape can actually make your little ghost look more handmade and playful.
Use a toothpick to create two small eyes.
For a classic cute ghost, add a tiny round mouth underneath the eyes.
You can make the expression happy, surprised, sleepy, or even slightly spooky.
Before the clay dries, use a toothpick to make a small hole near the top of the ghost. This will allow you to add ribbon or twine later.
Place the ghost somewhere flat and allow it to dry completely according to the instructions on your clay package.
Once it has dried, paint the entire ghost white or a soft cream color.
Let the paint dry before adding the facial details.
Paint the eyes and mouth black, or use tiny black dots for a simple minimalist design.
For a softer feminine look, add tiny blush-pink cheeks.
You could also paint a tiny bow, flower, or little heart on your ghost.
Once everything is completely dry, apply a thin coat of clear sealer if you want to give your ornament a finished appearance.
Finally, thread a small piece of ribbon or twine through the hole at the top.
Cute decorating ideas
You can make an entire collection of mini ghosts with different expressions.
Try making:
- A happy ghost
- A sleepy ghost
- A surprised ghost
- A blushing ghost
- A ghost with a tiny bow
- A ghost holding a mini clay pumpkin
For a cozy Halloween display, combine your ghosts with tiny clay pumpkins, stars, moons, and mushrooms.
Beginner tip
Keep the ghost fairly thin and evenly shaped so that it dries more consistently. Also, make sure the hanging hole is large enough for your ribbon before the clay dries.
How to Get Smooth Air-Dry Clay Pieces
One of the biggest beginner challenges is getting clay to look smooth.
Thankfully, you don’t need special equipment.
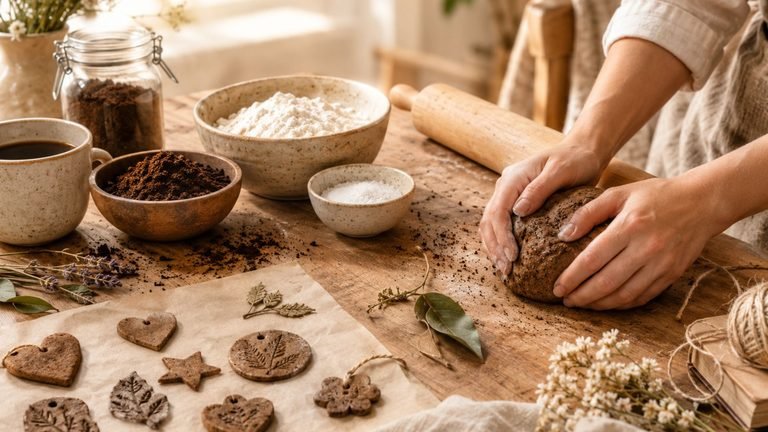
Start by conditioning the clay with your hands. Knead it gently until it becomes soft and flexible.
When rolling clay flat, place parchment paper underneath it. This can help prevent the clay from sticking to your work surface.
If you notice small cracks while shaping the clay, smooth them gently with a slightly damp fingertip.
Don’t add too much water. Excess moisture can make the clay sticky and may affect how it dries.
A little patience while shaping can make a big difference.
How to Prevent Mini Clay Projects From Cracking
Cracks can happen when clay dries unevenly or when pieces are too thick.
Here are a few simple ways to reduce cracking:
Keep the thickness consistent
Try to make flat pieces evenly thick from one side to the other.
Don’t make pieces unnecessarily thick
Mini projects usually don’t need a lot of clay.
Dry them slowly
Place your projects somewhere dry and well ventilated, away from direct heat.
Avoid placing wet clay directly beside a heater or in intense sunlight.
Smooth cracks early
If you notice a small crack while the clay is still soft, gently smooth it with your fingertip.
For deeper cracks, a small amount of softened clay can sometimes be pressed into the damaged area.
How Long Should Air-Dry Clay Take to Dry?
Drying time depends on the thickness of the project, the type of clay you’re using, and the humidity in your environment.
Small flat pieces may dry relatively quickly, while thicker pieces can take considerably longer.
The safest approach is to follow the drying instructions provided by your clay manufacturer.
Don’t rush the process simply because the outside feels dry. A piece can feel firm on the surface while still holding moisture inside.
For thicker mini projects such as bowls and miniature cups, give them extra drying time.
Easy Ways to Decorate Mini Clay Projects
Once your pieces are completely dry, decorating them is where you can really have fun.
Acrylic paint
Acrylic paint works beautifully for most decorative air-dry clay projects.
Use thin layers instead of applying one very thick layer.
Let each coat dry before adding another.
Tiny patterns
Simple dots, stripes, flowers, hearts, and leaves can make plain clay look much more special.
You don’t need advanced painting skills. A toothpick can be used to create tiny dots and fine details.
Texture
You can create texture before the clay dries.
Try:
- Lace
- Leaves
- Crochet fabric
- Buttons
- Forks
- Stamps
- Textured fabric
- Toothpicks
Press the item gently into the clay and remove it carefully.
Should You Seal Air-Dry Clay?
Sealing is optional, but I love using a clear sealer on decorative clay pieces because it can give them a more finished appearance and provide some surface protection.
Once the paint is completely dry, apply a suitable clear sealer according to the manufacturer’s instructions.
You can choose between finishes such as matte, satin, or glossy.
Matte finish
Perfect for a soft, natural, minimalist appearance.
Satin finish
A lovely middle ground that gives the piece a subtle sheen without looking overly shiny.
Glossy finish
Great when you want bright colors and a polished appearance.
Remember that sealing air-dry clay does not automatically make it waterproof or food-safe. Always check the product instructions before exposing your finished project to moisture.
Fun Ways to Use Your Mini Clay Creations
One of the best things about these projects is that they don’t have to sit on a shelf.
You can turn your mini clay pieces into useful little items.
Magnets
Glue small craft magnets to the back of flat shapes such as flowers, hearts, stars, mushrooms, and cats.
Ornaments
Add a hole before drying and thread ribbon or twine through it.
Jewelry
Small hearts, flowers, moons, butterflies, and stars can become pendants or charms.
Keychains
Create a thicker clay charm and add a suitable keychain finding after the clay has fully dried.
Gift tags
A tiny clay heart or star can make a beautiful reusable decoration on a wrapped gift.
Decorative trays
Arrange several mini pieces together on a small dish or tray.
Tips for Making Mini Clay Projects With Kids
Air-dry clay can also be a fun family craft.
For younger children, choose simple projects such as:
- Hearts
- Stars
- Clouds
- Mushrooms
- Flowers
- Fruits
Let children focus on shaping and decorating rather than making everything perfect.
Keep small pieces away from very young children who may put them in their mouths, and supervise the use of craft tools.
The beauty of handmade clay crafts is that they don’t have to look perfect. A slightly uneven flower or funny little face can become the most charming part of the project.
How to Store Unused Air-Dry Clay
If you have leftover clay, don’t leave it exposed to air.
Wrap it tightly according to the clay manufacturer’s recommendations and store it in an airtight container or sealed bag.
If the clay starts drying out, it can become difficult to work with.
I also recommend only taking out the amount you need for a project. Keeping the remaining clay sealed while you’re crafting helps prevent unnecessary drying.
My Favorite Beginner Tips for Better Mini Clay Crafts
If you’re just starting, keep these simple tips in mind:
1. Start small.
Don’t try to create complicated sculptures right away.
2. Keep your shapes simple.
Basic circles, hearts, leaves, stars, and flowers can become beautiful decorations.
3. Don’t rush drying.
Allow your projects to dry naturally and completely.
4. Keep your clay clean.
Dust and fibers can easily become stuck in light-colored clay.
5. Use a smooth workspace.
A clean surface makes shaping much easier.
6. Don’t overwork the clay.
Too much handling can make it warm and difficult to shape.
7. Experiment with texture.
Household objects can create beautiful patterns.
8. Paint in thin layers.
This helps preserve the tiny details of your project.
9. Seal decorative pieces if desired.
A clear finish can give them a polished appearance.
10. Embrace imperfections.
Handmade crafts are supposed to have a little personality.
Final Thoughts
Making mini air-dry clay crafts is such a lovely way to slow down and create something with your hands. You don’t need an expensive craft room or a long list of specialized supplies to get started. A small package of clay, a few simple tools, and a little imagination can give you everything you need.
From tiny flowers and mushrooms to adorable donuts, butterflies, moons, and little bowls, these projects give beginners plenty of opportunities to practice shaping, texturing, painting, and finishing clay.
My favorite part is that you can make each piece completely your own. Change the colors, add your favorite patterns, experiment with textures, or turn your finished pieces into magnets, ornaments, charms, and thoughtful handmade gifts.
So grab some air-dry clay, clear a little space on your craft table, and start with whichever project makes you smile first. You might be surprised by just how quickly one tiny clay project turns into a whole collection of handmade treasures.