How to Make Air-Dry Clay Christmas Ornaments by Embossing Them
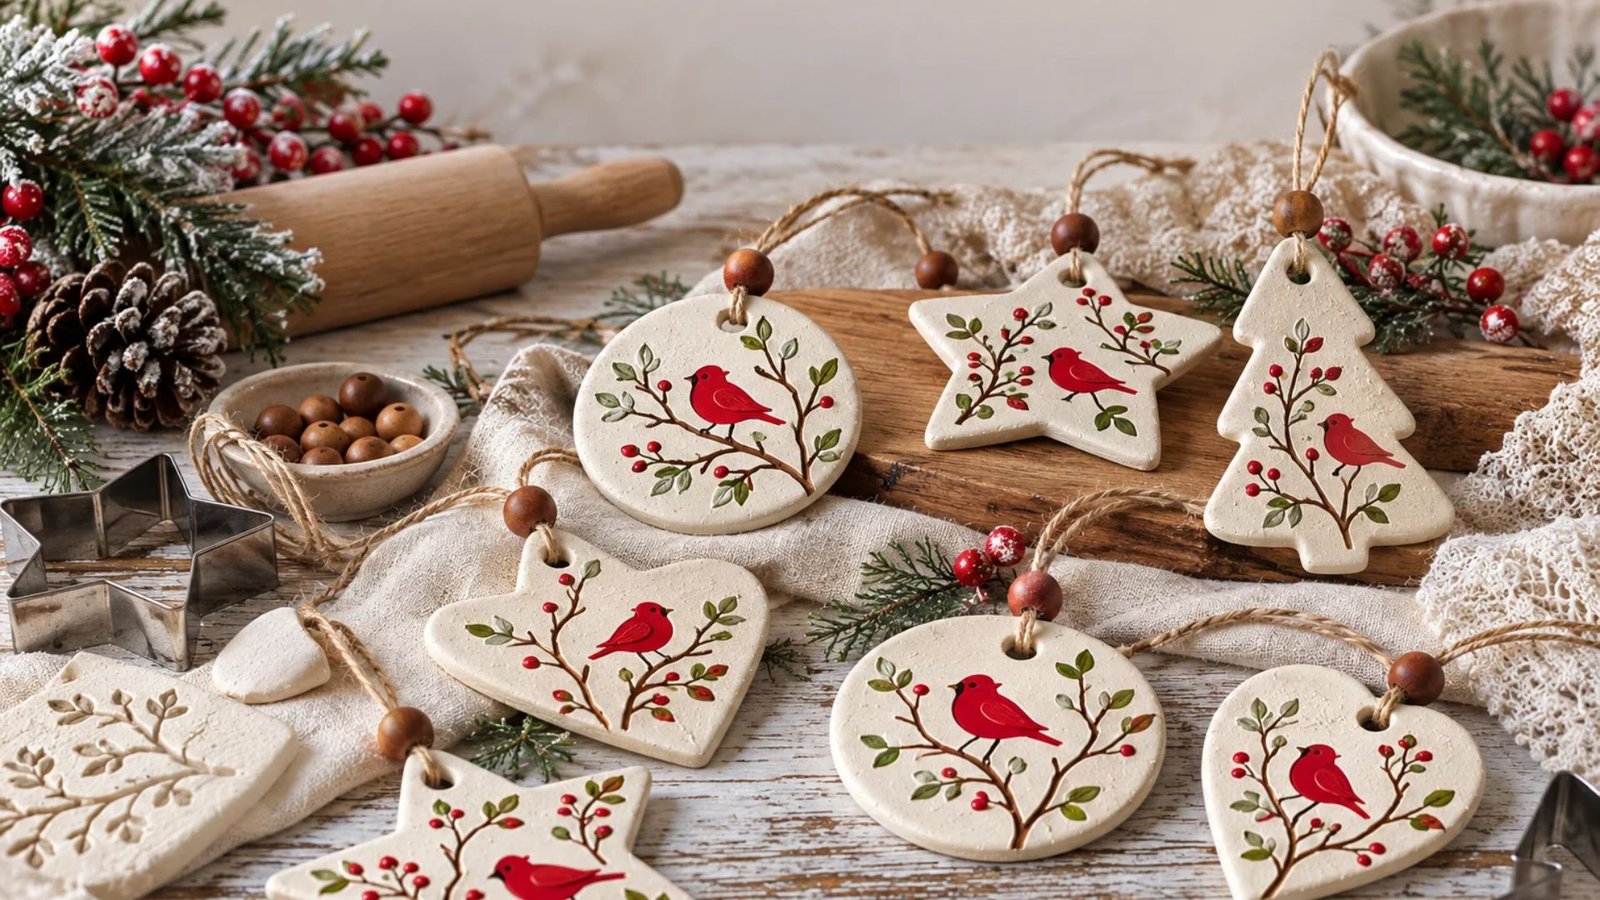
Christmas crafting is one of my favorite ways to make the holiday season feel a little more magical. I love how simple materials can become beautiful decorations with just a little creativity and care.
Air-dry clay ornaments are especially lovely because you can personalize them with delicate embossed patterns, from leafy branches to pretty snowflakes.
You don’t need a kiln or expensive equipment to make them, either! In this tutorial, I’ll walk you through how to make air-dry clay Christmas ornaments by embossing them, with easy instructions, helpful tips, and charming decorating ideas for your home.
Why You’ll Love These Embossed Clay Christmas Ornaments
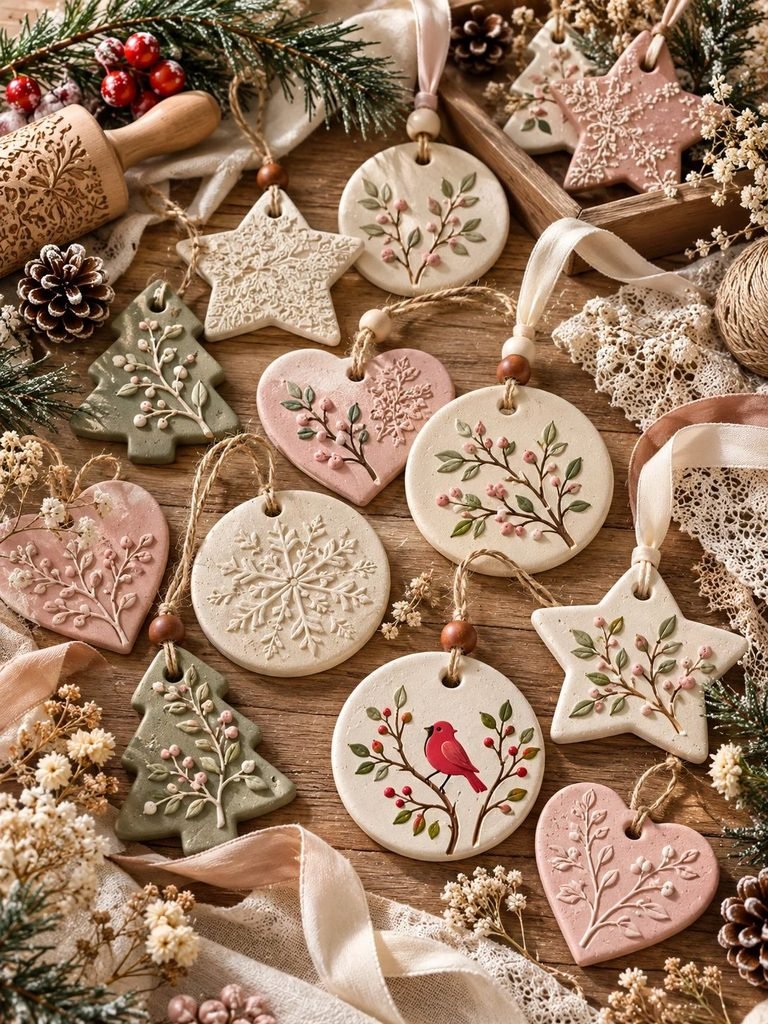
If you’re looking for a Christmas craft that’s simple, affordable, and beautiful enough to give as a handmade gift, these embossed air-dry clay ornaments are a wonderful choice.
Embossing creates raised or indented patterns in the clay, giving each ornament a delicate, handmade appearance. You can use lace, rubber stamps, textured rolling pins, leaves, or other objects to create interesting designs.
Here are a few reasons to try this project:
- Beginner-friendly: You don’t need previous clay-crafting experience.
- Easy to personalize: Create stars, hearts, Christmas trees, circles, or other festive shapes.
- Budget-friendly: A few basic supplies are enough to make several ornaments.
- Perfect for gifting: Handmade ornaments make thoughtful presents for friends, family, teachers, and neighbors.
- Beautifully versatile: Leave them natural, paint them in soft Christmas colors, or add a little metallic detail.
- A lovely family activity: Children can help with shaping and decorating when supervised by an adult.
You can make a matching collection for your Christmas tree or experiment with different textures to create a collection that feels completely your own.
Materials You’ll Need
Before getting started, gather your supplies. Having everything ready makes the process easier and helps prevent the clay from drying out while you’re working.
Essential supplies
- Air-dry clay
- Rolling pin or smooth clay roller
- Christmas cookie cutters or craft shape cutters
- Lace, rubber stamps, textured fabric, or decorative leaves for embossing
- Parchment paper or a clean craft mat
- Drinking straw or small round cutter for hanging holes
- Craft knife or clay-cutting tool
- Small bowl of water
- Fine-grit sandpaper
- Ribbon, twine, or thin cord
- Acrylic paint, if you want colored ornaments
- Clear water-based varnish or a suitable clay sealer
Optional decorating supplies: Gold or silver paint, a fine paintbrush, letter stamps, small botanical sprigs, and fine glitter suitable for crafts.
A note about clay: choose a smooth, good-quality air-dry clay if you want crisp embossed patterns. Some clays shrink slightly or develop cracks as they dry, so follow the manufacturer’s instructions and avoid adding too much water.
Step 1: Prepare Your Work Surface and Clay
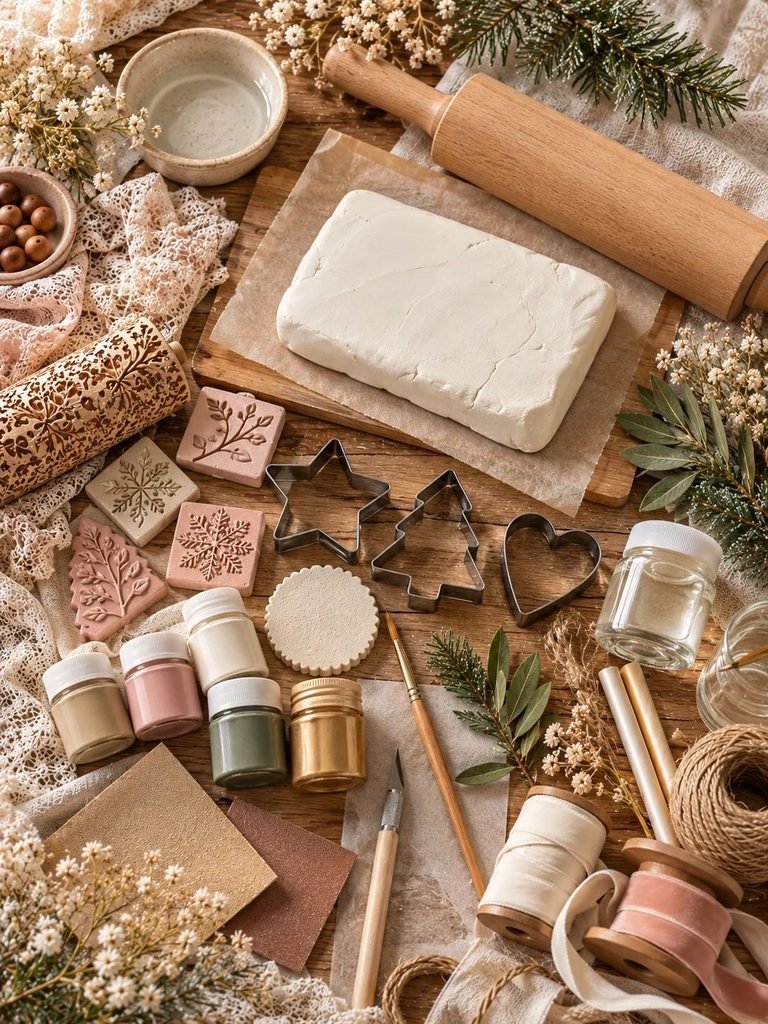
Start by covering your work surface with parchment paper or a clean craft mat. This prevents the clay from sticking to the table and makes it easier to lift your ornaments without stretching their shapes.
Take a portion of air-dry clay and knead it gently with your hands until it feels smooth and pliable. If the clay is particularly stiff, work it gradually rather than adding lots of water.
If the clay feels dry or develops small cracks while kneading, check the package instructions before adding a tiny amount of water. Too much moisture can make the clay sticky and increase drying time.
Keep the remaining clay covered in an airtight bag or container while you work. Air-dry clay begins losing moisture when exposed to air, and uncovered clay can become difficult to roll and emboss evenly.
Read 15 Plastic-Free DIY Christmas Gifts for a Sustainable Holiday
Step 2: Roll Out the Clay Evenly

Place your clay on the prepared surface and roll it out using a rolling pin.
Aim for an even thickness of approximately 5–7 mm (around ¼ inch). This is a useful starting point because very thin ornaments can break easily, while very thick ones take longer to dry and may develop cracks.
Try to maintain the same thickness across the entire sheet. Uneven clay can dry at different rates, making the finished ornaments more likely to warp.
Helpful tip: If you find it difficult to roll the clay evenly, place two guides of equal thickness on either side of the clay. Roll over the guides to help maintain a consistent depth.
Don’t worry if your edges aren’t perfectly straight. You’ll cut out the shapes in the next step.
Read 15 DIY Christmas Ornament Ideas That Look Beautifully Handmade and Cozy
Step 3: Create Beautiful Embossed Patterns
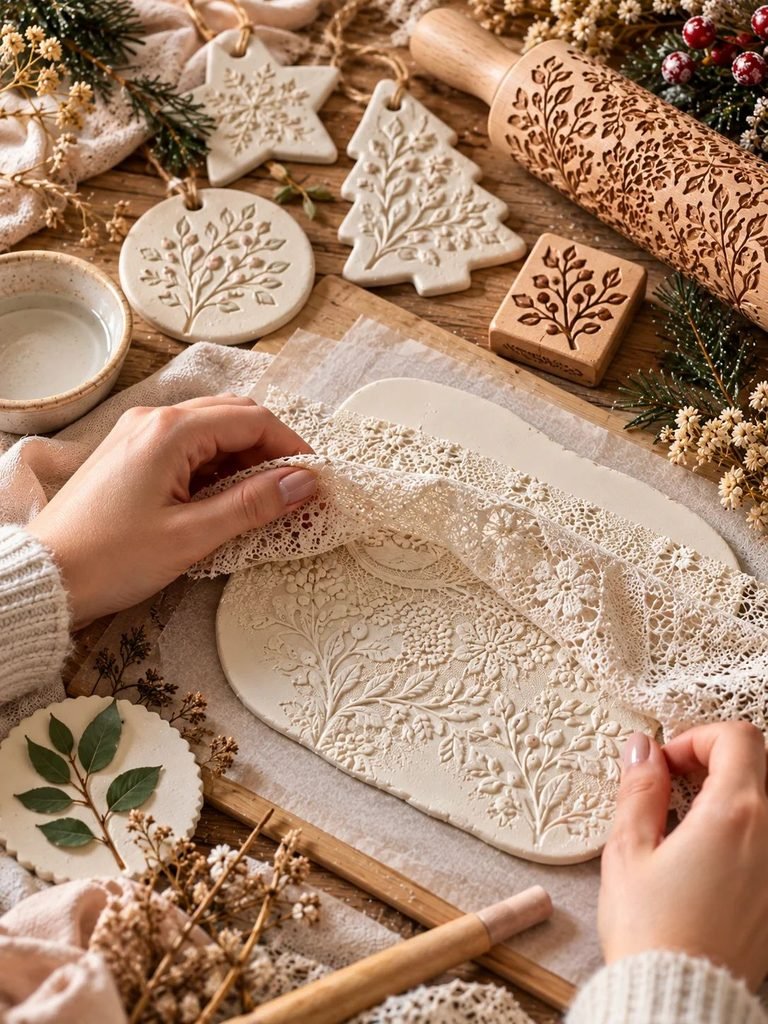
This is my favorite part of the project because it’s where simple clay becomes something special.
Embossing means pressing a pattern into the surface of the clay to create texture. Depending on the object you use, your design may appear as an indentation or a raised-looking pattern around the pressed area.
Here are some lovely materials to experiment with:
Lace and textured fabric
Lay a piece of lace over the rolled clay and gently press it into the surface with your rolling pin or fingertips. Carefully lift the fabric to reveal the delicate pattern underneath.
Choose lace with a clearly defined design for the prettiest results.
Rubber stamps
Press a clean rubber stamp into the clay using steady, even pressure. Avoid rocking the stamp from side to side, as this can blur the pattern.
Christmas words, stars, snowflakes, and botanical motifs all work beautifully.
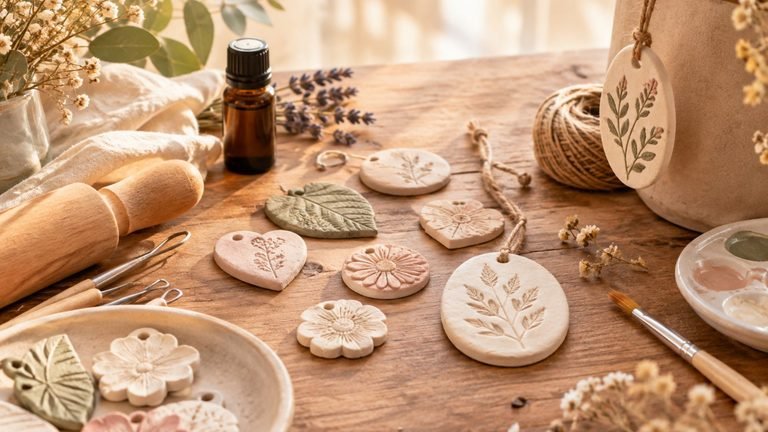
Leaves and botanical sprigs
Place a small leaf or delicate sprig onto the clay and gently roll over it. Remove it carefully to reveal the natural veins and textures.
Use clean, dry botanical materials that will lift away easily without tearing the clay.
Textured rolling pins
A patterned rolling pin is a quick way to create consistent designs across a larger sheet of clay. Roll slowly and apply even pressure so the texture is clear without making the clay too thin.
My best advice: Test your chosen texture on a small scrap of clay first. This lets you check the pressure and pattern before embossing your actual ornaments.
Avoid pressing so deeply that the clay becomes weak or develops holes.
Step 4: Cut Out Your Christmas Ornament Shapes
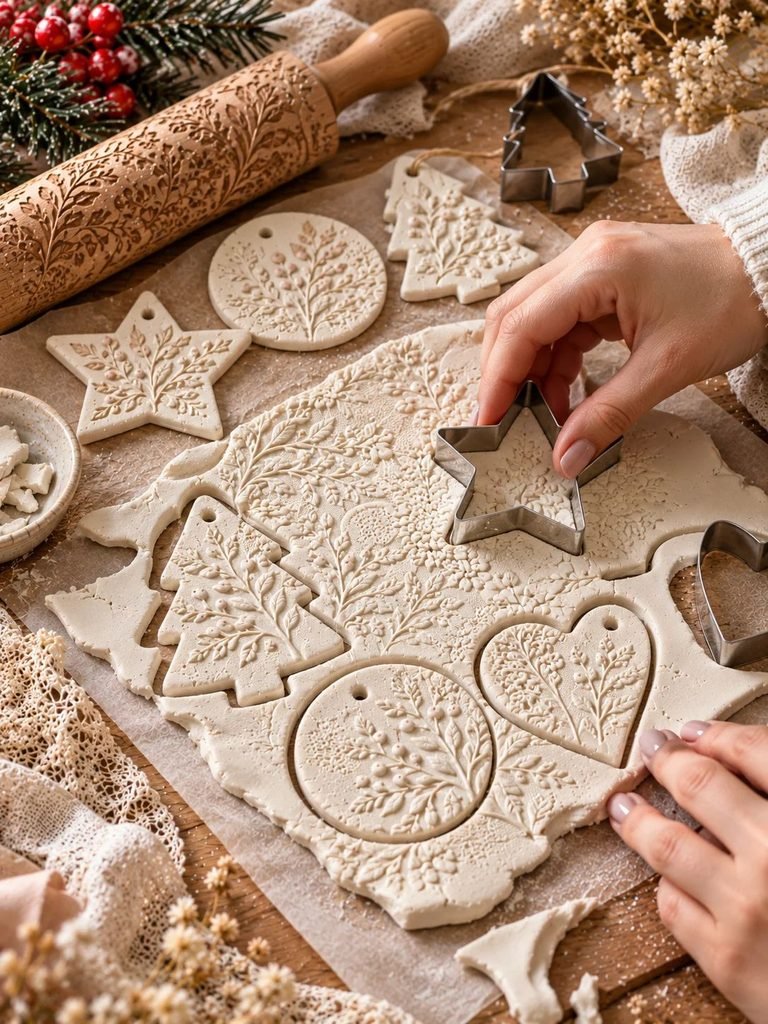
Once you’ve embossed the clay, it’s time to create your ornaments.
Use cookie cutters to cut out stars, hearts, circles, Christmas trees, bells, or any other festive shapes you like. Press each cutter straight down into the clay and lift it carefully.
Try to position your cutters strategically so you can make the most ornaments from the rolled sheet.
Remove the excess clay from around each shape. Use a craft knife or clay tool to tidy any uneven edges.
If the clay sticks to the cutter, gently loosen it rather than pulling the ornament out by force. Pulling can stretch the shape and distort your beautiful embossed design.
Transfer each ornament carefully to a flat drying surface. If necessary, use a thin, flexible tool to lift it without bending it.
You can make every ornament the same shape for a coordinated look, or mix several shapes for a more playful Christmas collection.
Step 5: Make the Hanging Holes
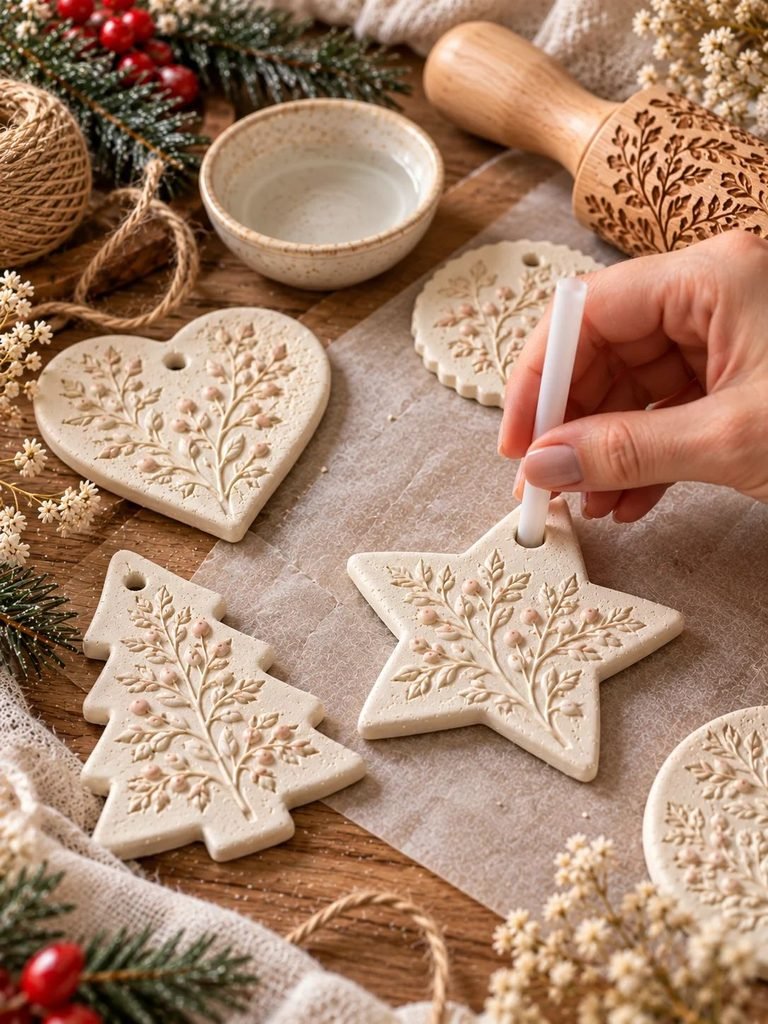
Before the clay dries, create a hole near the top of every ornament.
A drinking straw works well for this. Press it straight through the clay and gently twist it to remove the small clay plug.
Make the hole large enough for your chosen ribbon or twine to pass through comfortably. Leave enough space between the hole and the top edge so the clay doesn’t break when the ornament is hung.
For most small ornaments, a hole approximately 4–6 mm wide is a useful starting point, depending on the thickness of your ribbon.
Check that the hole is clear on both sides. If necessary, use a small tool to tidy the edges.
Don’t forget this step! It’s much easier to create the hanging holes while the clay is soft than to try drilling them after the ornaments have dried.
Step 6: Smooth the Edges and Refine the Details
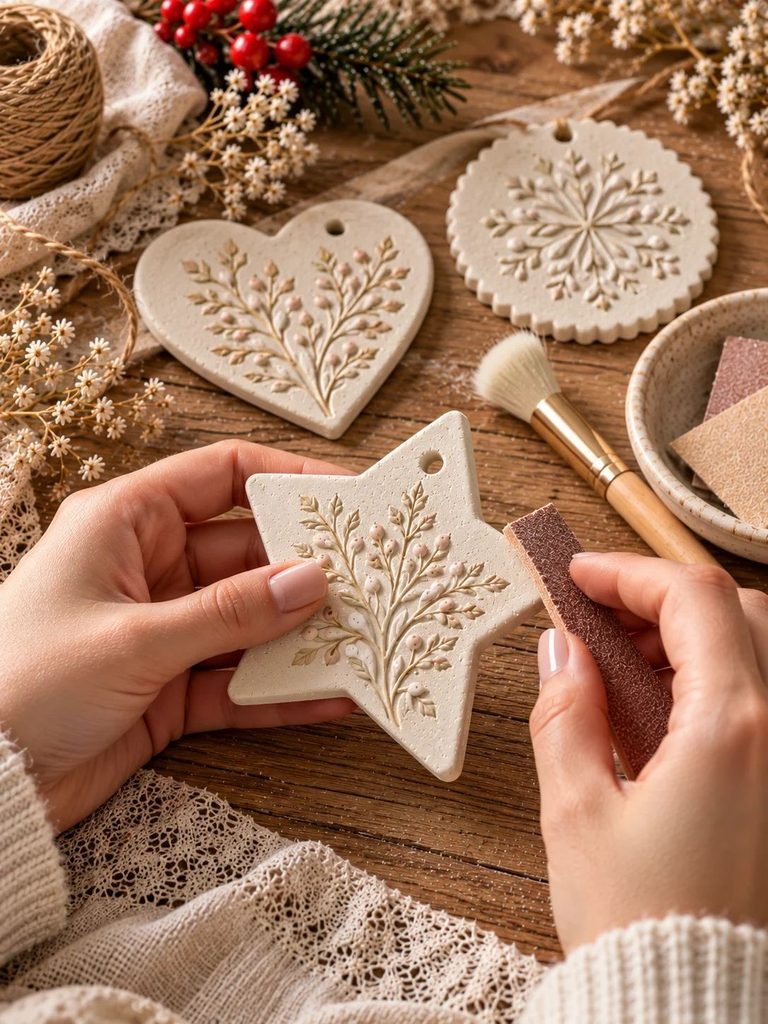
Take a moment to inspect your ornaments before drying them.
Use your fingertips or a slightly damp sponge to smooth rough edges. If you need to repair a small imperfection, work gently with a tiny amount of water, provided your clay manufacturer’s instructions allow it.
Avoid rubbing over the embossed surface, as this can flatten the texture.
If a little clay remains around the hanging holes, remove it carefully with a small tool. Clean holes and smooth edges give your ornaments a more polished finish.
Be gentle during this stage. The goal is to refine the shape without losing the handmade charm of each piece.
Step 7: Dry the Ornaments Slowly and Completely
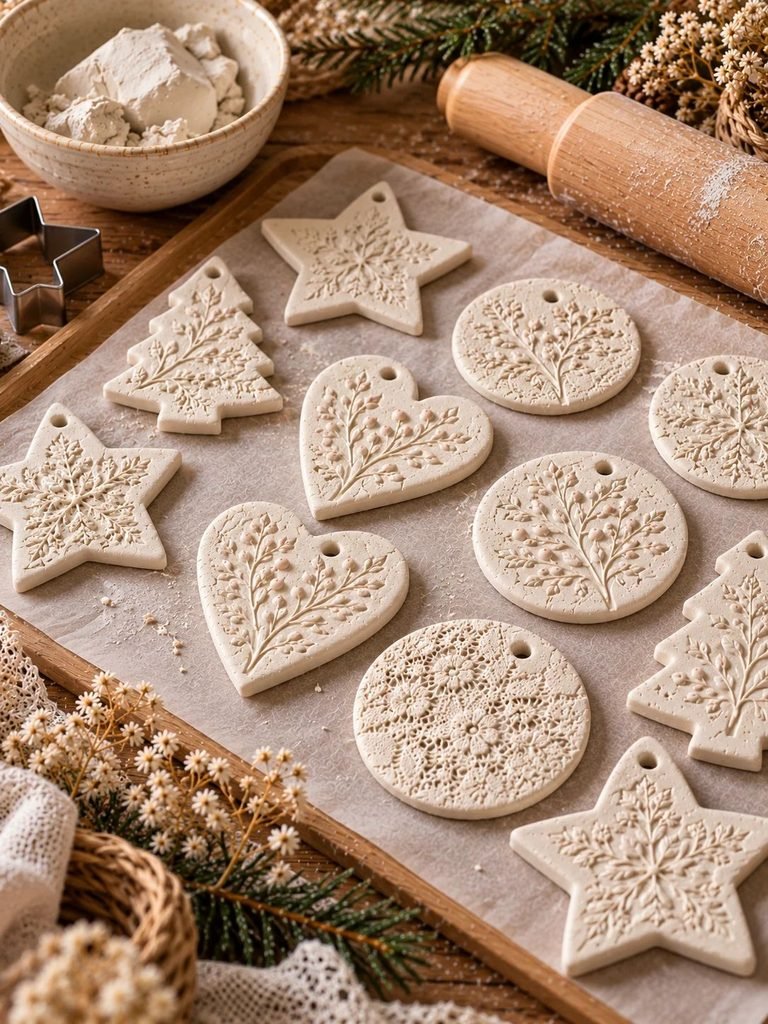
Arrange your ornaments in a single layer on a flat, non-stick drying surface. Leave space between them so air can circulate.
Allow them to dry according to the clay manufacturer’s instructions. Depending on the brand, thickness, room temperature, and humidity, drying may take 24–72 hours or longer.
Turn the ornaments carefully when the surface is firm enough to handle. This helps both sides dry more evenly and can reduce warping.
Avoid placing them directly on a radiator, using a hairdryer, or putting them in strong direct sunlight to speed up the process. Rapid or uneven drying can cause cracks and curling.
Before moving on, check that each ornament is completely dry, including the thicker areas. The clay should feel firm, and there should be no cool, damp-feeling areas remaining.
Remember that air-dry clay is not automatically waterproof once dry. It is best suited to decorative ornaments rather than items exposed to rain or moisture.
Step 8: Sand Any Rough Spots
Once the ornaments are completely dry, examine the edges and surfaces.
Use fine-grit sandpaper to smooth any rough areas. Work gently, particularly around the embossed patterns and hanging holes.
Wear a suitable dust mask and avoid breathing in clay dust. Clean up the dust carefully before painting or sealing.
You don’t need to sand every ornament until it’s perfectly smooth. A little natural texture can make handmade decorations feel more charming.
If the edges already look neat, you can skip this step.
Step 9: Decorate Your Embossed Ornaments
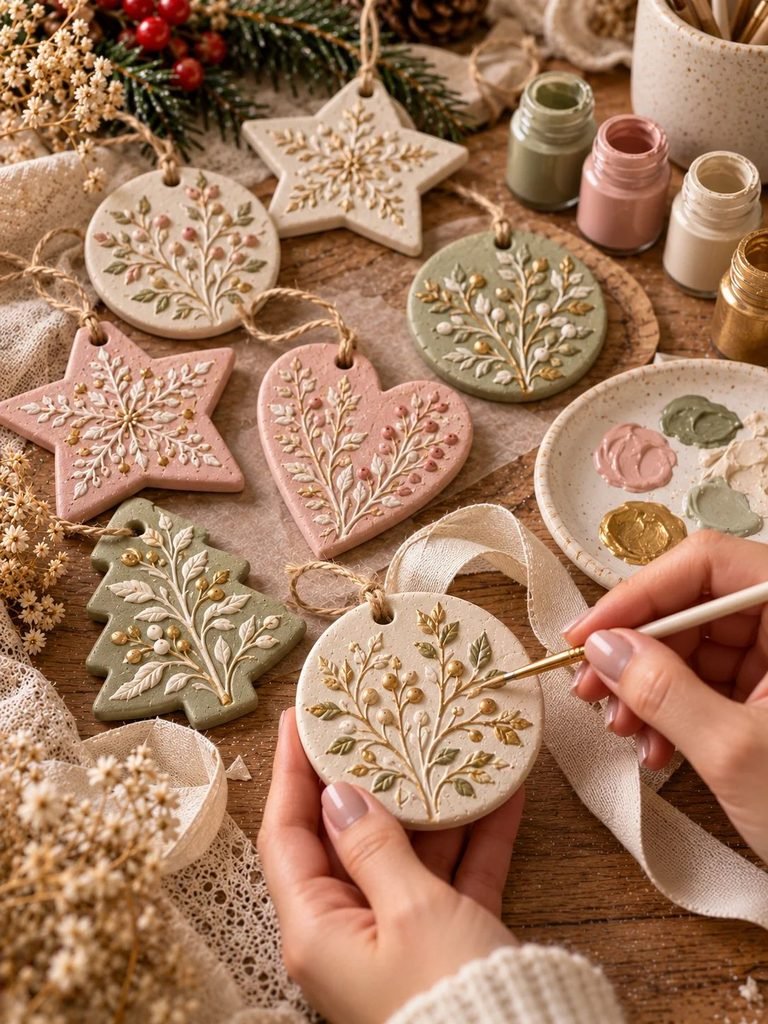
Your ornaments are now ready for decorating, or you can leave them unpainted for a simple, natural look.
Here are a few ideas for creating a beautiful Christmas collection.
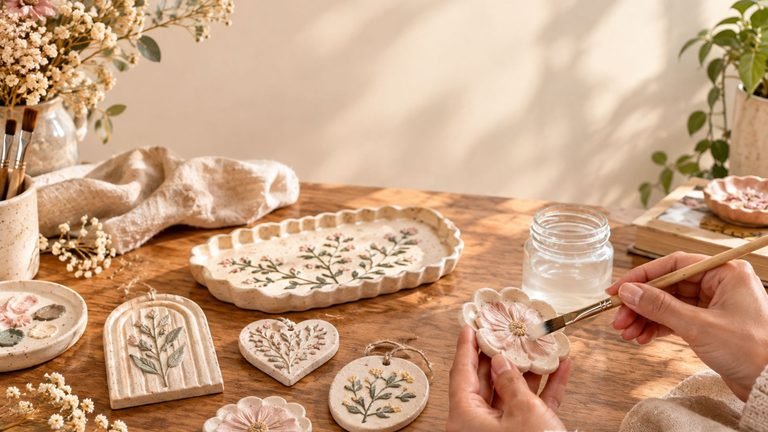
Natural ivory ornaments
Leave the clay in its original color and add cream ribbon or natural twine. This understated style works wonderfully with wooden decorations, greenery, and warm white Christmas lights.
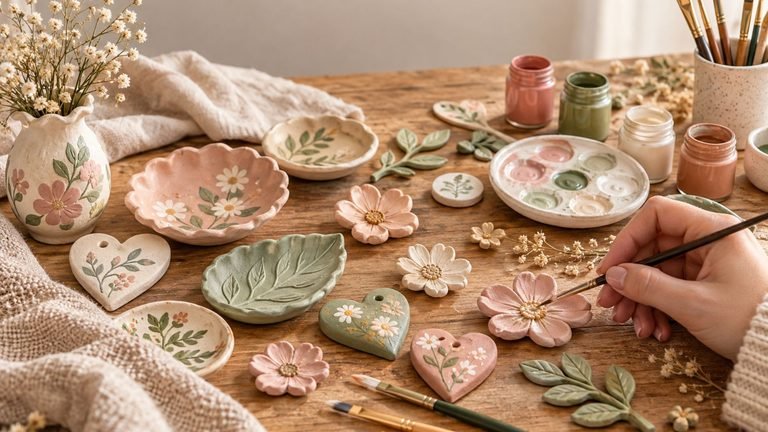
Soft blush and sage green
Paint some ornaments in muted blush pink, sage green, or warm beige. These colors look lovely together and create a soft, feminine Christmas palette.
Use a fine brush to avoid filling in the embossed details with too much paint.
Gold-accented designs
Apply a small amount of gold acrylic paint to selected raised or indented areas, depending on your design. Botanical patterns and stars look especially pretty with subtle metallic details.
Let the paint dry fully before handling the ornaments.
Personalized ornaments
Use suitable letter stamps before drying to add a family name, initials, or a year. You can also paint small details by hand once the clay has dried.
Personalized ornaments are particularly thoughtful as keepsakes for newlyweds, new homeowners, grandparents, or friends celebrating a special Christmas.
Step 10: Seal the Ornaments and Add Ribbon
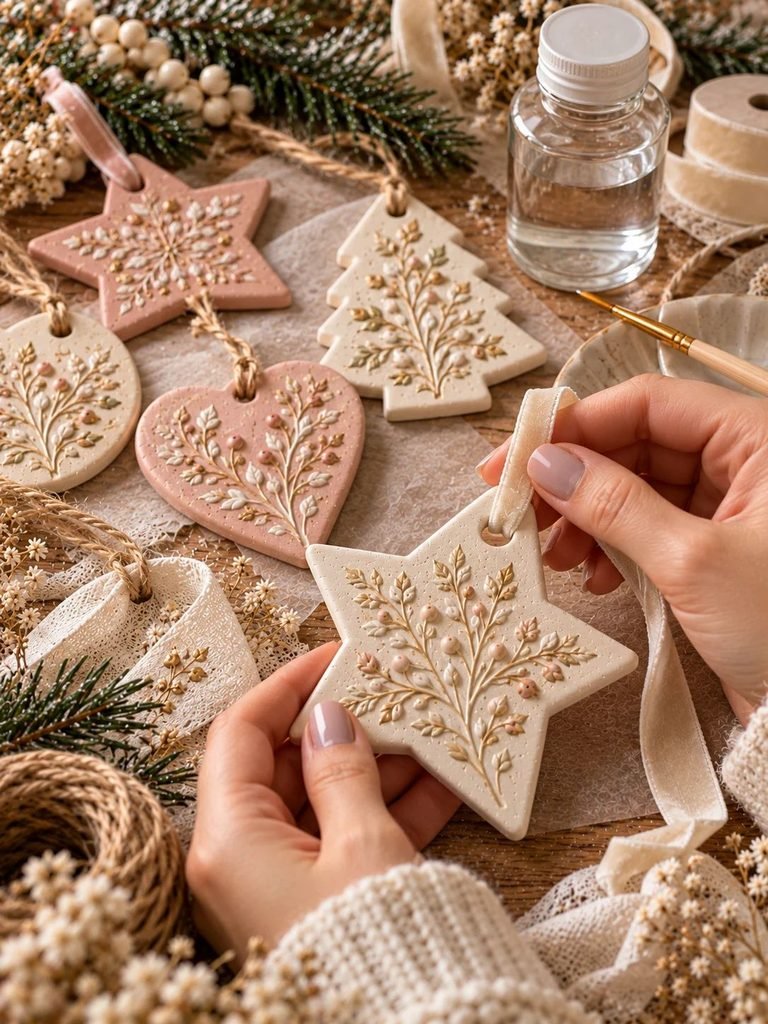
If you want to protect the painted finish and make the ornaments easier to wipe clean, apply a suitable clear sealer or varnish designed for air-dry clay.
Check that the product is compatible with your clay and paint. Apply a thin, even coat and allow it to dry completely according to the manufacturer’s instructions. Add another coat only if recommended.
A sealer can help protect the decorative surface, but it does not make ordinary air-dry clay reliably waterproof or suitable for outdoor exposure.
Once everything is dry, thread ribbon, twine, or cord through the hanging holes and tie a secure loop.
For a soft, feminine finish, try cream velvet ribbon, blush satin ribbon, or natural cotton twine. You could also tie a tiny bow at the top of each ornament.
Your handmade Christmas decorations are now ready to hang!
Helpful Tips for Making Perfect Embossed Clay Ornaments
A few small adjustments can make a big difference to the finished result.
- Keep the clay covered: Unused clay dries quickly when exposed to air.
- Maintain an even thickness: Consistent thickness helps ornaments dry more evenly.
- Test textures first: A quick test helps you avoid overly deep or blurry impressions.
- Don’t use too much water: Excess moisture can weaken the clay and prolong drying.
- Create the holes before drying: This reduces the risk of cracking or breaking the finished ornament.
- Dry slowly: Give the clay plenty of time to dry rather than rushing the process.
- Handle carefully: Dry air-dry clay can be brittle, especially around narrow points and hanging holes.
- Store them properly: Keep finished ornaments in a dry place, protected from pressure and accidental drops.
Common Problems and How to Fix Them
Why did my clay ornaments crack?
Cracks can develop when the clay dries too quickly, the ornament is too thick, or the clay contains uneven areas of moisture.
To reduce the risk, roll the clay evenly, avoid adding excess water, and let the ornaments dry gradually. Follow the instructions supplied with your specific clay.
Why is my embossed pattern barely visible?
You may not have applied enough pressure, or your chosen material may have a shallow texture.
Try pressing more firmly and evenly on a small test piece. Textured lace, detailed rubber stamps, and leaves with visible veins can produce clearer impressions.
Why are my ornaments curling?
Curling can happen when one side dries faster than the other or when the clay is rolled unevenly.
Dry ornaments on a flat surface and turn them carefully once they are firm enough to handle. Avoid exposing them to direct heat.
Can I paint the ornaments before they dry?
It’s best to wait until the clay is completely dry before applying acrylic paint or varnish, unless your clay manufacturer specifically recommends otherwise. Painting damp clay may interfere with drying and affect the finish.
Can I hang these ornaments outside?
These ornaments are best used indoors. Air-dry clay can absorb moisture, and ordinary craft sealers do not necessarily provide reliable protection against rain, snow, or prolonged humidity.
Creative Ways to Use Your Handmade Christmas Ornaments
Once you’ve made a few ornaments, you may find yourself wanting to create an entire collection!
Here are some lovely ways to use them:
- Decorate your Christmas tree: Mix embossed stars, hearts, and botanical shapes among your existing decorations.
- Dress up gift wrapping: Tie a small clay ornament onto a wrapped present for an extra-special finishing touch.
- Create handmade gift sets: Package three or four coordinating ornaments in a small box with tissue paper and ribbon.
- Make personalized keepsakes: Add initials or a year to commemorate a special occasion.
- Decorate a festive wreath: Attach lightweight ornaments securely to an indoor wreath, ensuring they are supported properly.
- Create a seasonal display: Arrange a few ornaments in a decorative bowl or hang them from branches in a vase.
If you’re making these as gifts, remember that the ornaments are decorative rather than toys. Keep them away from very young children and pets, as they can break into small pieces.
Frequently Asked Questions
How thick should air-dry clay Christmas ornaments be?
A thickness of around 5–7 mm (¼ inch) is a good starting point for many small ornaments. Adjust the thickness to suit the clay brand and the size of your shapes.
How long do embossed clay ornaments take to dry?
Many small ornaments need 24–72 hours, although thicker pieces or humid conditions can require more time. Always follow the manufacturer’s instructions and make sure the clay is completely dry before painting or sealing.
Can I use real leaves to emboss air-dry clay?
Yes! Clean, dry leaves with clearly defined veins can create beautiful botanical patterns. Press them gently into the clay and lift them carefully to reveal the impression.
Do I need to seal air-dry clay Christmas ornaments?
Sealing is optional for indoor decorative ornaments. However, a compatible clear varnish can help protect the painted surface and make it easier to clean gently.
Can I make these ornaments ahead of Christmas?
Absolutely. Making them several days or weeks in advance gives you plenty of time for drying, painting, sealing, and decorating. Store them somewhere dry and safe until you’re ready to use them.
Final Thoughts
Making air-dry clay Christmas ornaments by embossing them is such a lovely way to add a handmade touch to your holiday decorations. With a little clay, a few simple tools, and your favorite textures, you can create beautiful ornaments that feel personal and meaningful.
I especially love the idea of mixing delicate botanical impressions with stars, hearts, and soft neutral colors for a cozy Christmas look. You can keep your designs simple or add paint, gold details, and pretty ribbons to make each piece unique.
Most importantly, don’t worry about making every ornament perfect. The little variations are part of what makes handmade decorations so special.
Gather your supplies, experiment with different textures, and enjoy creating something beautiful for your Christmas tree or someone you love!