How to Paint Air Dry Clay
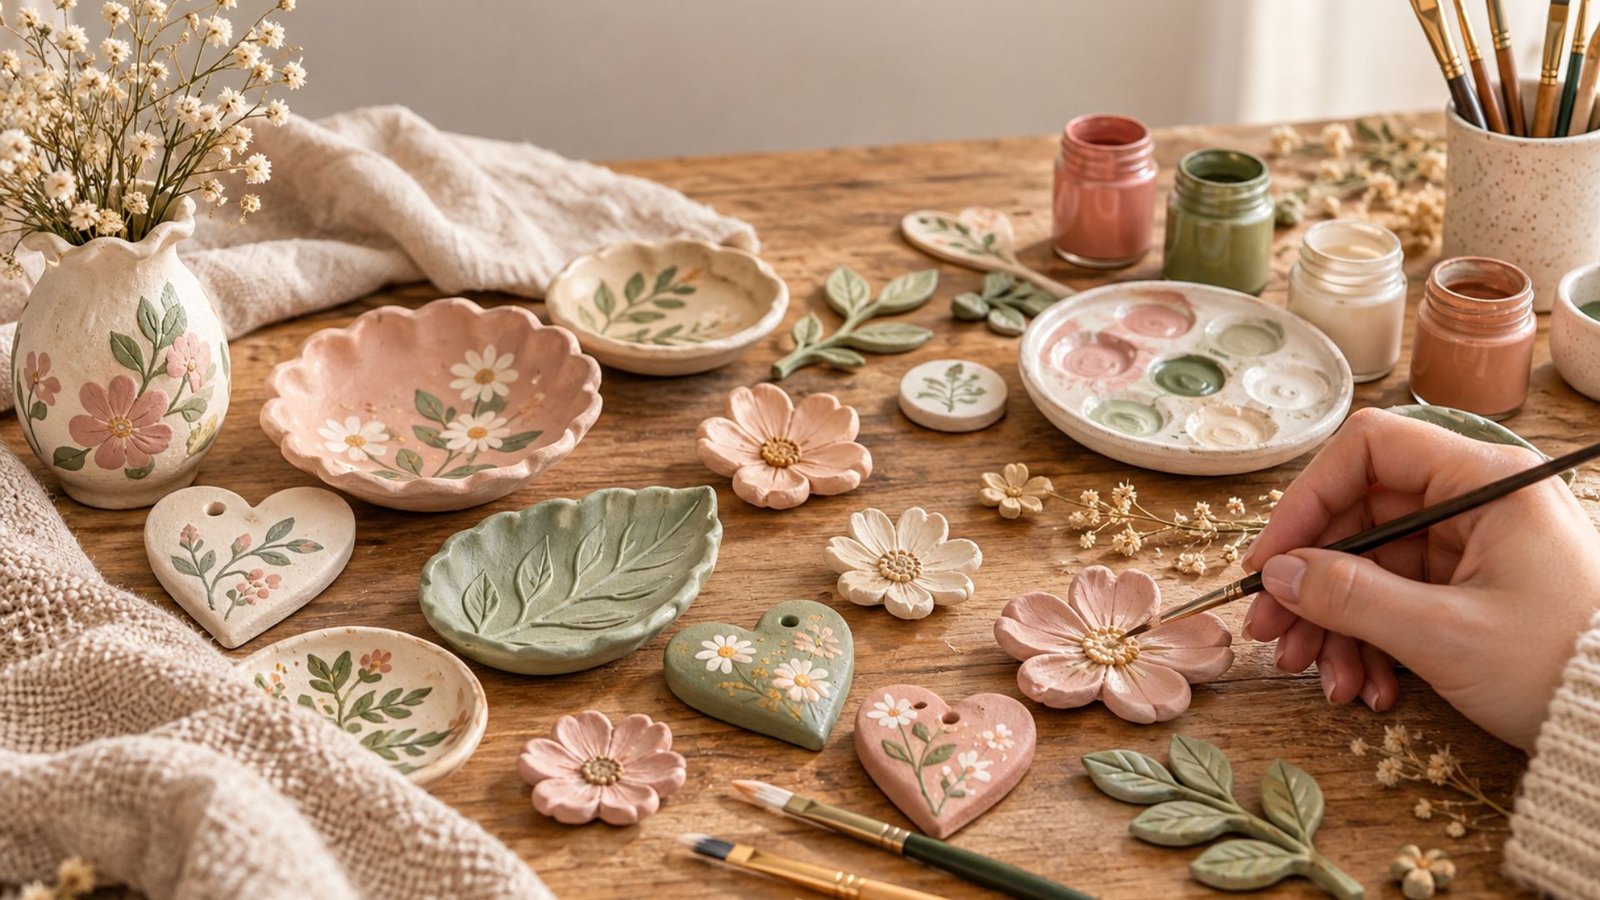
One of my favorite things about working with air dry clay is watching a simple handmade piece transform into something beautiful with just a little paint.
Whether I’m creating delicate clay flowers, pretty jewelry dishes, personalized ornaments, or tiny decorative trinkets, adding color is always the part that brings everything together.
But I’ve learned that getting a smooth, lovely finish takes a little more care than simply picking up a paintbrush.
From waiting for the clay to dry completely to choosing the right paint, a few simple techniques can make all the difference. Today, I’m sharing everything you need to know to paint air dry clay beautifully.
Shop my amazon essentials
- Acrylic Paint Set
- Fine Detail Paintbrushes
- Flat Paintbrushes
- White Gesso Primer
- Fine-Grit Sandpaper
- Clear Acrylic Sealer
- Air-Dry Clay
- Ceramic Paint Palette
- Paintbrush Cleaning Cup
- Masking Tape
Can You Paint Air Dry Clay?
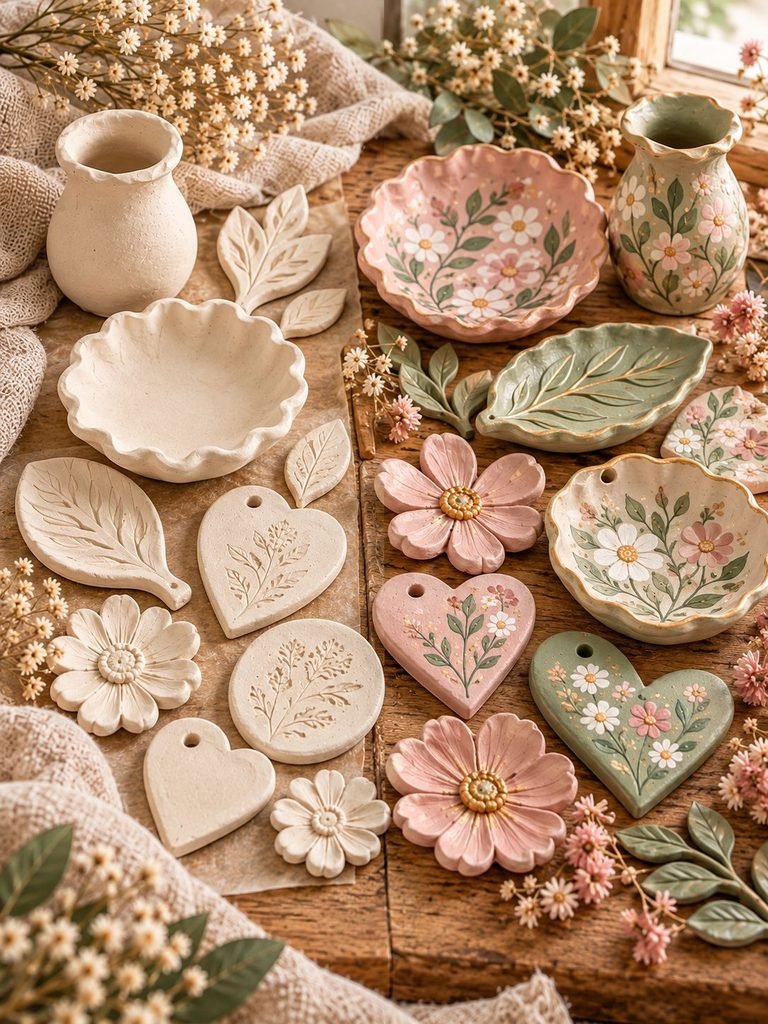
Yes! Air dry clay is easy to paint, making it a wonderful material for DIY home decor, handmade gifts, ornaments, jewelry dishes, mini sculptures, and countless other creative projects.
Unlike polymer clay, which typically needs to be baked in an oven, air dry clay hardens naturally as moisture evaporates. Once it is completely dry, you can paint the surface using several types of paint, including acrylic paint, watercolor, and gouache.
Acrylic paint is generally my favorite choice because it offers good coverage, dries relatively quickly, and comes in a beautiful range of colors. It is especially useful when you want rich, even color on decorative clay pieces.
However, the secret to a beautiful result isn’t just the paint you choose. Preparing the clay properly, applying thin layers, allowing enough drying time, and protecting the finished surface can all help your project look more polished.
Let’s walk through the process together!
What You Need to Paint Air Dry Clay

Before you begin, gather your materials so everything is within easy reach. You don’t need an expensive collection of supplies to achieve a lovely finish.
Materials and Tools
- Fully dried air dry clay pieces: Make sure your project has hardened all the way through.
- Acrylic paints: Choose your favorite colors, such as cream, blush pink, sage green, terracotta, or soft blue.
- Paintbrushes: A medium flat brush is useful for larger areas, while small round brushes help with details.
- Fine-grit sandpaper: Approximately 220–400 grit works well for smoothing minor imperfections.
- A clean, soft cloth: Use this to remove dust before painting.
- A palette: A ceramic plate, paint palette, or other suitable nonporous surface works well.
- A small cup of water: Helpful for rinsing brushes when using water-based paints.
- Primer or gesso (optional): Useful when you want a more uniform base or improved coverage.
- Protective sealer (optional): A compatible clear acrylic varnish can help protect the finished paintwork.
- A protective covering: Use scrap paper or a craft mat to keep your work surface clean.
You may also want a pencil for lightly marking designs, masking tape for simple geometric patterns, and a fine detail brush for flowers, dots, and decorative lines.
Step 1: Make Sure Your Clay Is Completely Dry
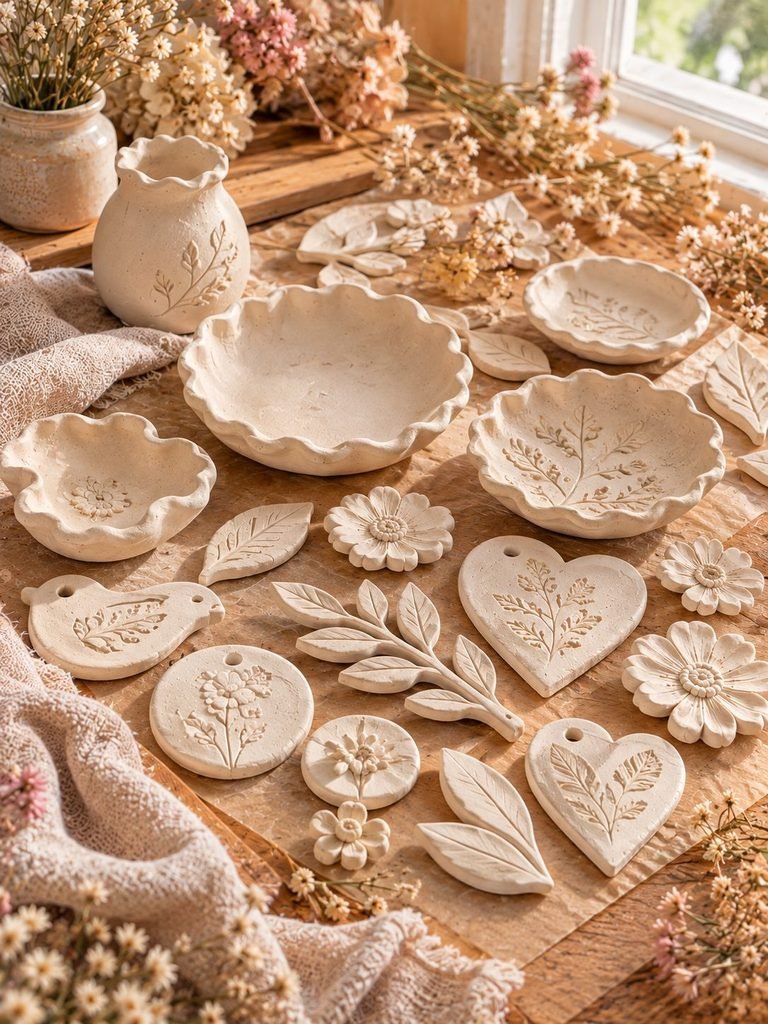
This is one of the most important steps, and it is worth being patient here.
Air dry clay can feel firm on the outside while retaining moisture inside. If you paint it too early, the remaining moisture may interfere with the finish, contribute to cracking or peeling, or become trapped beneath a less breathable coating.
How do you know when the clay is dry?
Check your piece carefully for the following signs:
- The surface feels firm rather than soft or cool and damp.
- The clay has become lighter in color, depending on the clay formulation.
- Thicker areas no longer feel noticeably cooler than thinner areas.
- The piece has hardened evenly without soft or damp spots.
Drying time depends on the clay brand, thickness, humidity, and airflow. Thin ornaments may dry within a day or two, while thicker sculptures or bowls can take several days or longer.
Always follow the manufacturer’s drying instructions when available.
My tip: Place your clay piece in a dry, well-ventilated area and turn it occasionally if the shape allows. Avoid rushing the process with intense heat, as uneven drying can encourage cracks or warping.
Step 2: Smooth the Surface Before Painting

Once your clay is completely dry, take a moment to inspect its surface. You may notice small bumps, rough edges, fingerprints, or tiny imperfections left behind during shaping.
A little preparation can make a big difference to the finished appearance.
How to smooth air dry clay
- Examine the piece under good lighting.
- Use fine-grit sandpaper to gently smooth rough areas.
- Pay special attention to edges, corners, and visible tool marks.
- Brush away loose dust with a soft, dry cloth or brush.
- Check the surface again before moving on.
Work gently, particularly with thin ornaments, delicate petals, and narrow edges. Excessive sanding can damage fragile pieces.
For decorative dishes and other objects with intricate details, concentrate on the areas that will be most visible rather than trying to make every tiny detail perfectly smooth.
Important: Sanding clay can produce fine dust. Work in a well-ventilated area, avoid breathing the dust, and follow the clay manufacturer’s safety guidance. Do not dry-sand materials that contain unknown additives without checking their instructions.
If your clay is already beautifully smooth, you can skip most of the sanding and simply remove any dust.
Step 3: Choose the Best Paint for Air Dry Clay
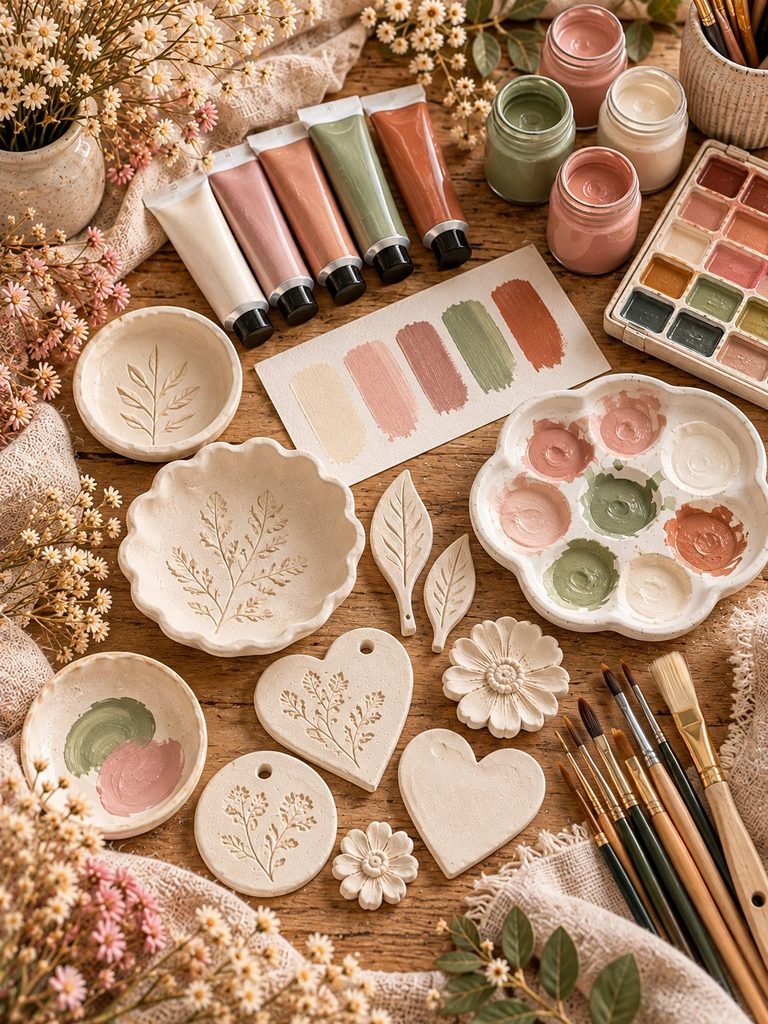
Choosing the right paint can affect the coverage, texture, and overall appearance of your finished project.
Here are the main options worth considering.
Acrylic Paint
Acrylic paint is an excellent all-around choice for most air dry clay crafts.
It offers strong color, is available in countless shades, and works well for both simple color blocking and detailed designs. Once dry, it generally forms a more durable film than watercolor.
It is particularly suitable for ornaments, figurines, decorative trays, wall hangings, and other pieces that will be handled occasionally.
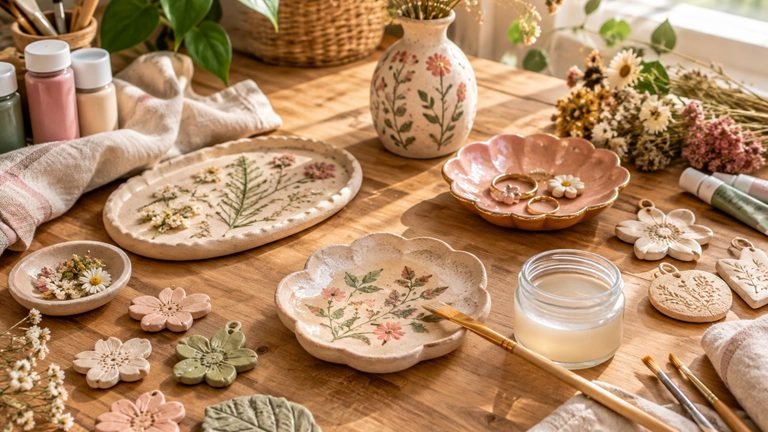
For a soft, feminine look, I love the idea of combining warm cream, dusty rose, muted sage, and subtle gold accents.
Watercolor Paint
Watercolor can create delicate, translucent effects on absorbent clay surfaces. It is useful for gentle color washes, botanical illustrations, and dreamy pastel designs.
However, watercolor is generally less resistant to handling and moisture than acrylic paint. Its appearance can also vary depending on the clay’s absorbency.
If you want to use watercolor, test it on a spare piece first and consider a compatible protective finish after it has dried.
Gouache Paint
Gouache offers an opaque, matte appearance that is lovely for illustrations and decorative details.
It can produce soft, velvety colors, but traditional gouache may reactivate when exposed to water. A compatible protective coating can help, although the final appearance depends on the products used.
Spray Paint
Some spray paints can be used on suitable air dry clay projects, provided the product label confirms compatibility.
They can provide relatively even coverage on larger pieces, but overspray, ventilation, and application technique require extra care. Use them only according to the manufacturer’s safety instructions.
For most beginners, I recommend starting with acrylic paint because it is versatile and easy to work with.
Step 4: Apply a Primer if Needed
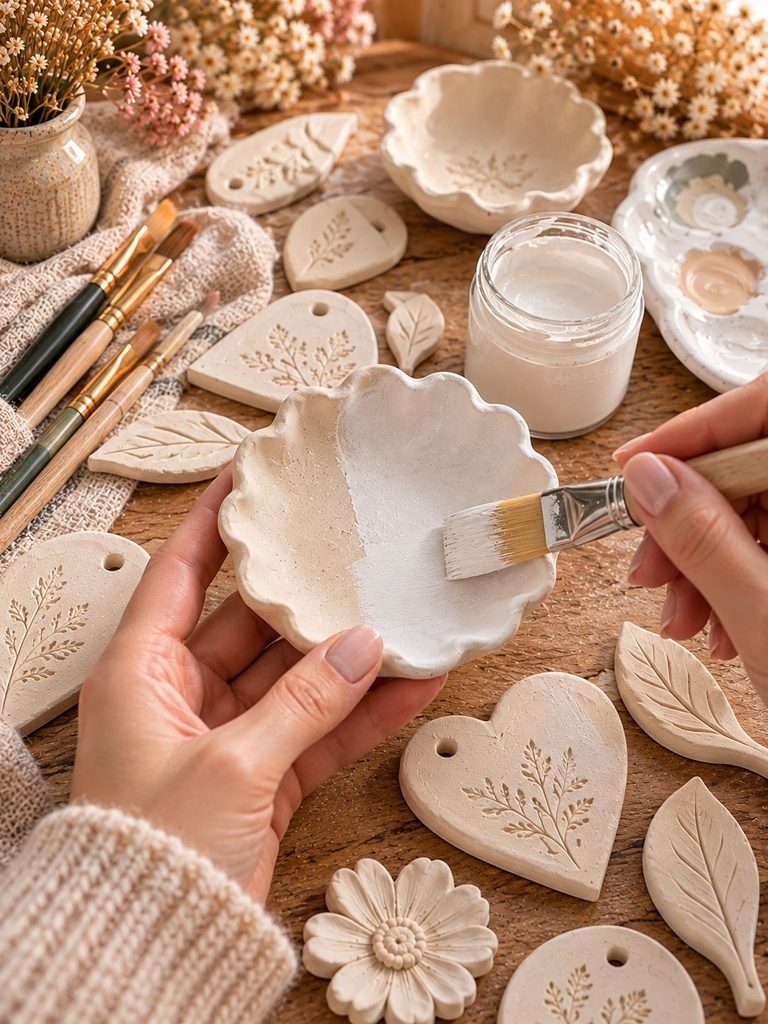
Priming is optional, but it can help create a more uniform surface for painting.
Dry clay is often porous, meaning it can absorb some of the liquid from your paint. This may cause the first coat to look patchy or less vibrant than expected.
A suitable acrylic gesso or compatible primer can reduce this uneven appearance and provide a more consistent base.
How to prime air dry clay
- Make sure your clay is completely dry and dust-free.
- Choose a primer suitable for porous craft surfaces.
- Apply a thin, even coat with a soft brush.
- Avoid allowing primer to collect in small grooves or decorative details.
- Let it dry according to the product instructions.
- Add another thin coat if necessary.
White gesso is useful when you want bright, true-to-color paint. A clear primer may be appropriate when you want to preserve the natural clay color, provided it is compatible with the paint you plan to use.
If your acrylic paint already covers the surface evenly, you can skip priming altogether.
A helpful tip: Always test your primer on a small, inconspicuous area or a spare clay piece before covering your entire project.
Step 5: Paint the First Coat
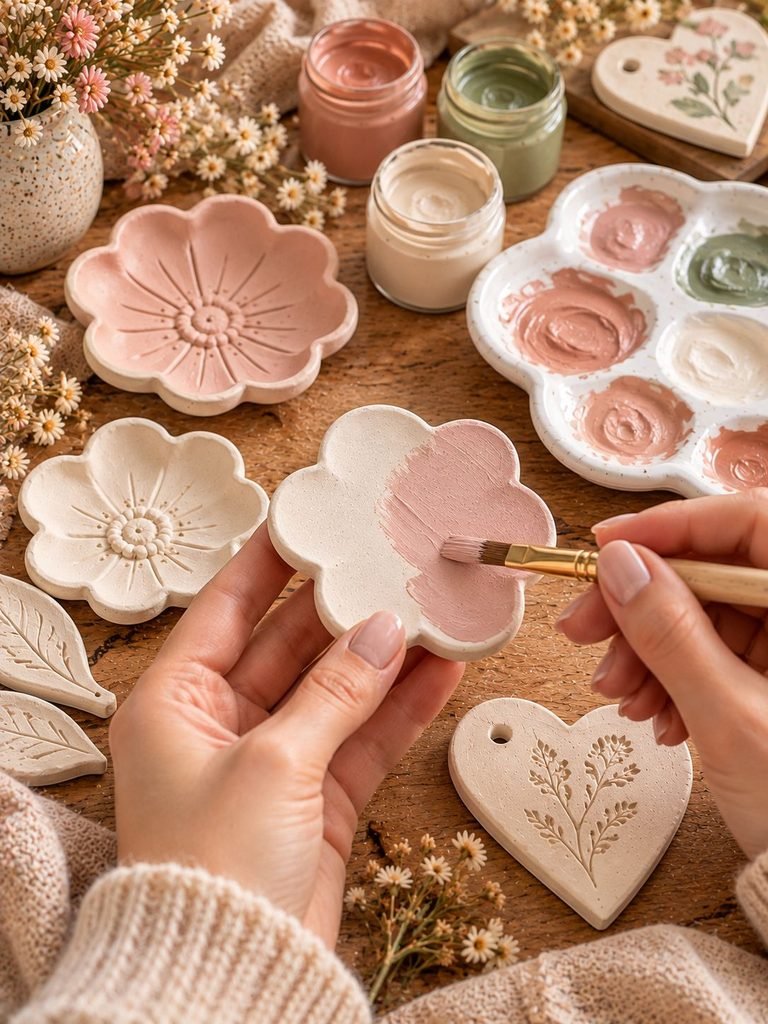
Now comes the fun part!
Before you begin, decide whether you want your project to have a single solid color, a soft gradient, a botanical design, or several decorative details.
For a simple finish, choose one base color and apply it evenly across the surface.
How to apply the first coat
- Stir your paint gently if the label recommends it.
- Place a small amount on your palette.
- Load your brush lightly rather than soaking it in paint.
- Apply a thin, even layer using smooth strokes.
- Watch for drips or paint collecting around edges.
- Allow the coat to dry fully according to the paint label.
Avoid applying a thick layer in an attempt to achieve complete coverage immediately. Thick paint can leave brush marks, obscure small details, and dry unevenly.
If the clay absorbs some of the first coat, don’t worry. That is fairly common with porous surfaces.
Let the paint dry and assess the coverage before deciding whether you need another layer.
Step 6: Add a Second Coat for Smooth, Even Color
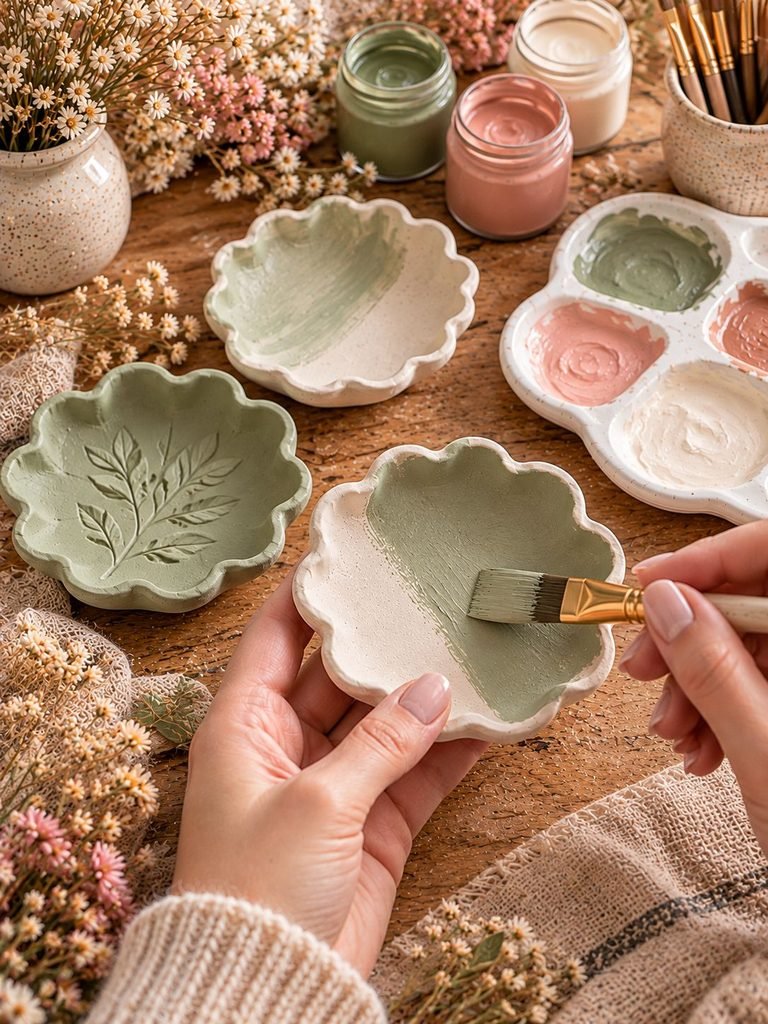
Once the first coat is completely dry, inspect your project carefully.
You may notice that some areas look lighter than others, particularly around curves, edges, or textured details.
A second thin coat can help create a more even finish.
How to achieve better coverage
- Use a clean brush with soft bristles.
- Apply paint in thin, controlled strokes.
- Avoid repeatedly brushing over areas that are already beginning to dry.
- Allow the second coat to dry completely before adding decorative details.
- Add a third thin coat if the paint still looks patchy.
The exact number of coats depends on the paint’s opacity, the color underneath, and whether you used a primer.
Light colors over dark clay may require more coats than darker colors over a pale surface.
I find that taking my time with two or three light coats often gives a much prettier result than trying to finish everything in one pass.
Step 7: Add Decorative Details and Patterns
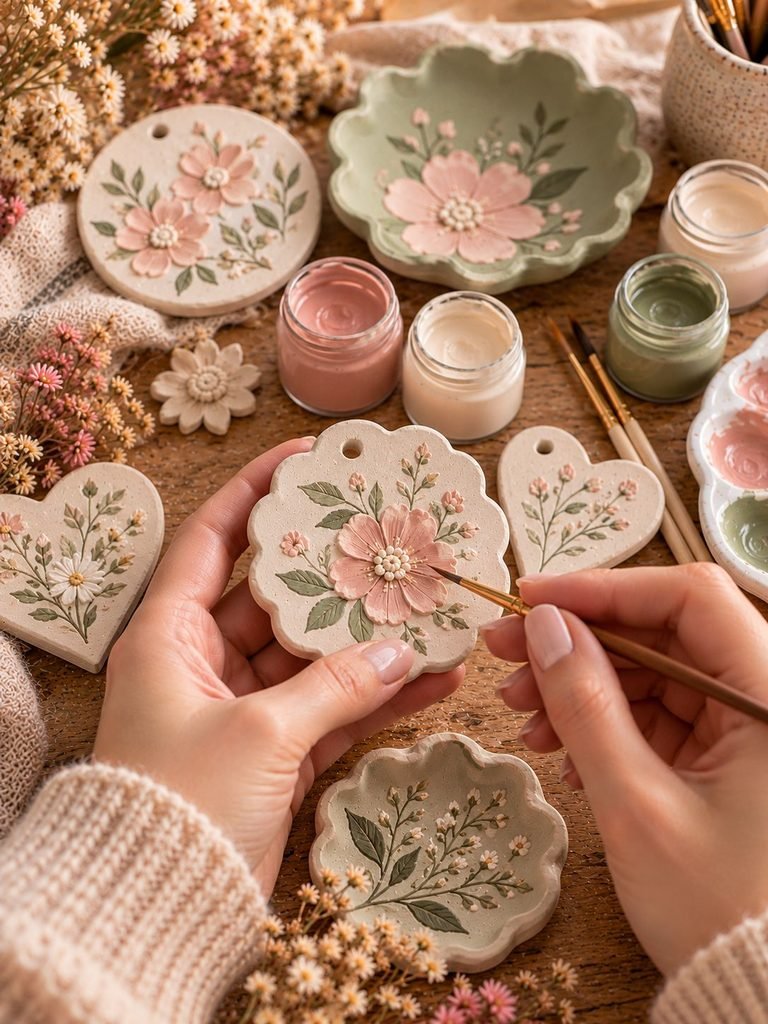
Once the base color looks even, you can personalize your piece with decorative details.
This is where a simple clay creation can become something special.
Here are a few ideas you can try.
Delicate Floral Designs
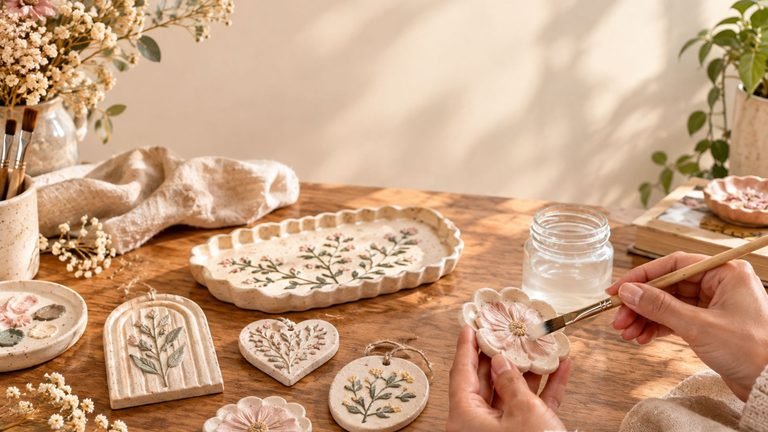
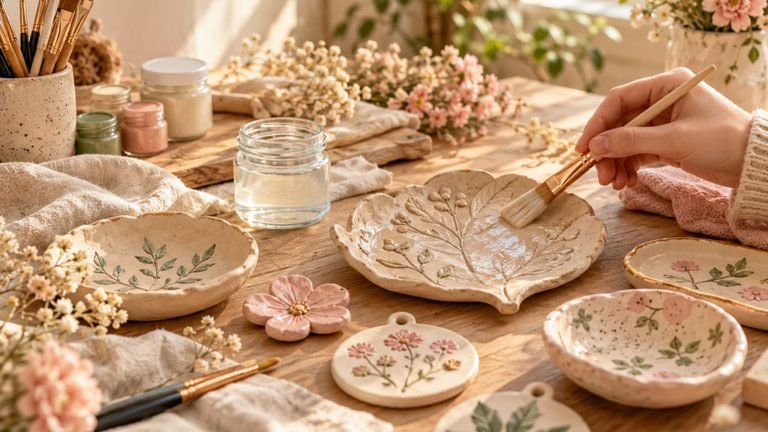
Use a fine brush to paint small flowers, leaves, and slender stems. Blush pink petals with sage green leaves look beautiful on cream-colored ornaments and decorative dishes.
Polka Dots and Geometric Patterns
Create neat dots using a small round brush or a suitable dotting tool. Masking tape can help you paint clean stripes or simple geometric shapes on sufficiently sturdy pieces.
Make sure the base coat is completely dry before applying masking tape, and test the tape first to avoid lifting the paint.
Two-Tone Designs
Paint the base of a small vase or figurine in one color and the upper portion in another. Cream and terracotta, dusty pink and beige, or sage green and ivory are lovely combinations.
Gold or Metallic Accents
A small amount of metallic acrylic paint can add a delicate decorative touch to raised edges, tiny stars, flower centers, and ornament details.
Apply metallic paint sparingly so it enhances rather than overwhelms the design.
Soft Ombre Effects
For a gradual color transition, work with two compatible colors while they are still workable. Blend gently with a clean, slightly damp brush if the paint manufacturer’s instructions allow.
Practice on a spare surface first, as acrylic paint can dry quickly.
My favorite approach: Keep the design simple. A soft neutral base with a few carefully painted details often looks more refined than a piece covered in too many colors.
Step 8: Allow the Paint to Dry Completely
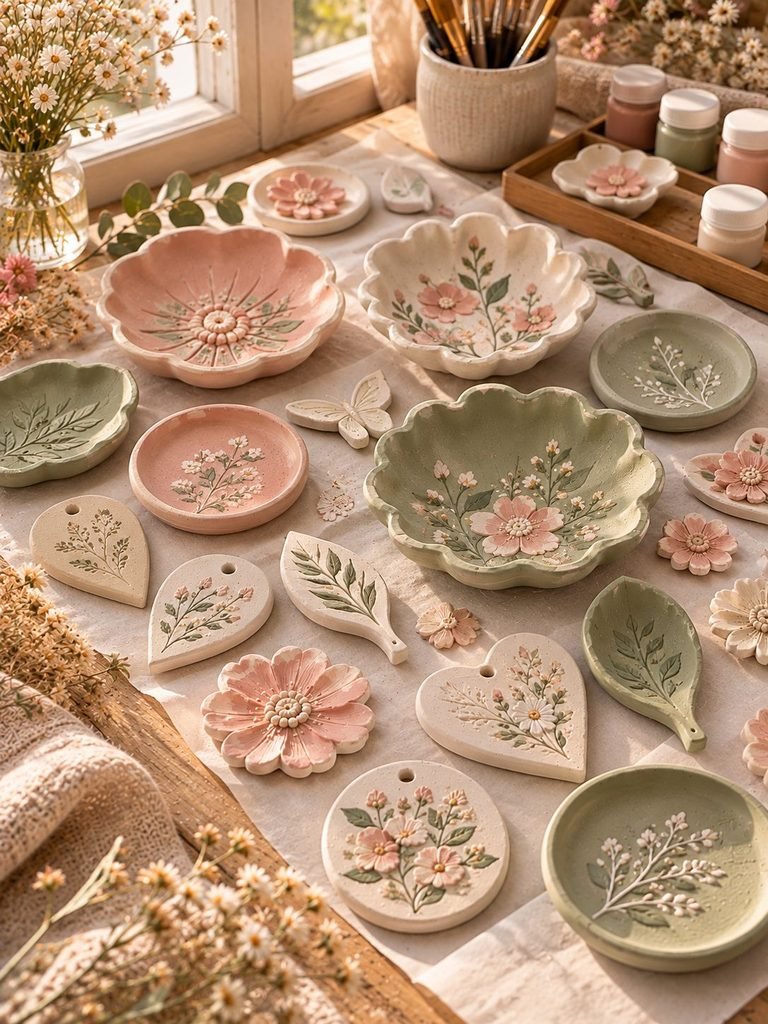
It can be tempting to move straight to sealing your project, especially when you’re excited to see the finished result.
However, drying time matters just as much as the painting itself.
A surface may feel dry to the touch while the paint film is still developing. Thick applications, cool temperatures, and high humidity can extend the drying time.
Follow the paint manufacturer’s instructions and allow extra time when necessary.
Keep your project in a clean, dry place where it will not be disturbed by pets, dust, or accidental contact.
Avoid stacking painted ornaments or placing one painted surface against another until the finish has dried sufficiently.
If you have added several decorative layers, make sure the final details are dry before applying a protective coating.
Step 9: Seal Your Painted Air Dry Clay
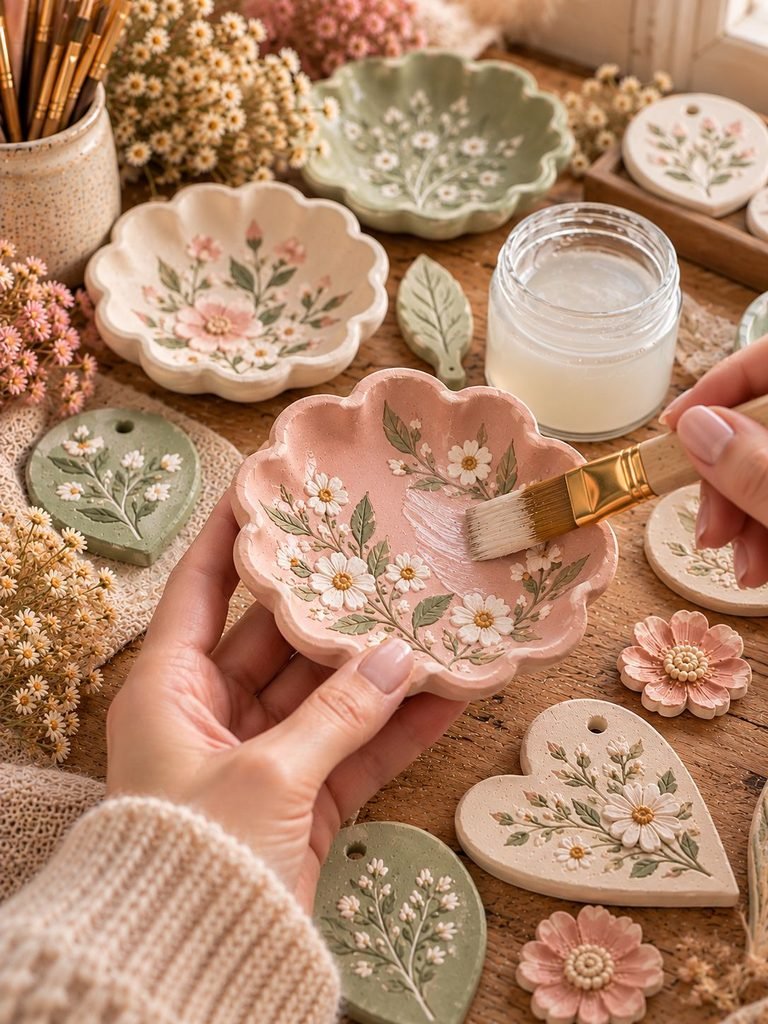
Sealing is optional for some decorative projects, but it can be helpful when you want to protect the paint from light scuffs, dust, and ordinary handling.
A compatible clear acrylic varnish or craft sealer can provide a protective finish. Depending on the product, you may choose matte, satin, or gloss.
- Matte sealer: Gives the piece a soft, understated appearance.
- Satin sealer: Adds a gentle sheen without looking overly shiny.
- Gloss sealer: Creates a brighter, more reflective finish.
How to seal painted clay
- Confirm that both the clay and paint are completely dry.
- Read the sealer label to check compatibility with your paint and clay.
- Test the product on a spare piece or hidden area.
- Apply a thin, even coat as directed.
- Allow it to dry for the recommended time.
- Add additional coats only if the manufacturer recommends them, allowing the appropriate drying time between coats.
Avoid applying a heavy layer of varnish, as it can pool around details or produce an uneven appearance.
Keep in mind that a clear sealer does not automatically make air dry clay waterproof. Many air dry clay pieces remain unsuitable for soaking, washing, or prolonged exposure to moisture even after they have been painted and sealed.
For this reason, painted clay is best used for decorative purposes unless the complete material and coating system is specifically rated for a different use.
Never assume that a sealed clay bowl is safe for food, drinking water, or direct contact with food. Follow the manufacturer’s guidance for the clay, paint, and sealer.
Step 10: Let Your Finished Project Cure Before Displaying It

After sealing, allow the project to dry and cure according to the product instructions.
Drying and curing are not always the same thing. A coating may feel dry before it reaches its intended level of hardness or resistance.
Once your piece is ready, choose a display spot away from excessive humidity, splashing water, and direct handling.
Your finished project might look lovely on a bedroom shelf, a desk, a mantel, or a decorative tray on a dressing table.
For ornaments, make sure any hanging loops or attachments are secure before displaying them.
If you have painted a small decorative dish, use it for dry items such as jewelry or wrapped keepsakes rather than food or liquids.
Common Mistakes to Avoid When Painting Air Dry Clay
Even simple clay projects can have a few challenges. Fortunately, most are easy to prevent.
1. Painting Before the Clay Is Dry
Moisture trapped inside the clay can interfere with the paint and finish.
How to avoid it: Allow the clay to dry thoroughly, especially around thicker sections.
2. Applying Paint Too Thickly
Heavy coats can leave brush marks, obscure details, and dry unevenly.
How to avoid it: Apply several thin coats instead of one thick layer.
3. Skipping Surface Preparation
Dust and loose particles can make paint adhere unevenly.
How to avoid it: Smooth rough areas carefully and remove dust before painting.
4. Using the Wrong Sealer
Some coatings may react with the paint, alter the color, or create an unwanted finish.
How to avoid it: Choose compatible products and test them before using them on your finished project.
5. Rushing Between Coats
Painting over a layer that has not dried sufficiently can cause smudging or uneven coverage.
How to avoid it: Follow the manufacturer’s drying instructions and allow additional time when conditions are humid.
6. Assuming Painted Clay Is Waterproof
Paint and varnish can offer some protection, but they do not necessarily prevent water from reaching the clay.
How to avoid it: Keep decorative pieces dry and follow the limitations of the materials you use.
7. Using Too Much Water With Acrylic Paint
Acrylic paint can become too thin if you add excessive water, resulting in poor coverage or an altered finish.
How to avoid it: Use paint as directed and add only a small amount of water if appropriate for the product.
Helpful Tips for a Professional-Looking Finish
If you want your finished clay crafts to look especially polished, keep these simple tips in mind.
- Use good lighting: Natural or bright neutral lighting makes it easier to spot missed areas.
- Choose quality brushes: Soft brushes can help reduce visible brush marks.
- Use a limited color palette: Two to four coordinated colors can create a harmonious design.
- Paint difficult areas first: Reach small crevices and detailed edges before covering large, open surfaces.
- Keep your brushes clean: Remove dried paint from the bristles to maintain their shape.
- Test unfamiliar products: Try new paints, primers, and sealers on spare clay before applying them to a special piece.
- Protect your workspace: Use a craft mat or scrap paper and keep paint away from clothing and furniture.
- Be patient: Allow sufficient drying time between every stage.
These small details can make your finished pieces look much more intentional and beautifully crafted.
Frequently Asked Questions
Do I need to prime air dry clay before painting?
No, priming is not always necessary. Acrylic paint can be applied directly to clean, completely dry clay. However, a compatible primer or gesso may improve coverage and help create a more uniform base.
Can I paint air dry clay with acrylic paint?
Yes. Acrylic paint is a popular choice because it offers good coverage, comes in many colors, and is suitable for a wide variety of decorative projects.
How many coats of paint should I use?
Two thin coats are often a good starting point. You may need one coat or several, depending on the paint color, opacity, clay surface, and whether you have applied primer.
Allow each coat to dry according to the manufacturer’s instructions.
Should I seal air dry clay after painting?
Sealing is optional, but it can help protect decorative paintwork from minor scuffs and dust. Choose a compatible sealer and follow the product instructions.
Remember that sealing does not guarantee waterproofing or make the piece food-safe.
Can I paint air dry clay before it dries?
It is best to wait until the clay is completely dry before applying most conventional craft paints. Painting too early can interfere with drying and lead to problems with the finish.
Why does my paint look patchy on air dry clay?
Air dry clay is often porous, so it may absorb some of the liquid in the first coat. Uneven surfaces and low-opacity paint can also contribute to patchiness.
Allow the first coat to dry, then apply another thin layer. Priming may help if you regularly encounter this problem.
Can I use nail polish to paint air dry clay?
Nail polish is not my first choice for clay crafts. Its solvents and coating properties may not be compatible with every clay or existing paint layer. Acrylic craft paint is generally a more practical option for beginners.
If you decide to experiment with an unconventional coating, check the product’s safety instructions and test it on a spare piece first.
Can I wash painted air dry clay?
Generally, it is best not to wash air dry clay crafts, even when they have been sealed. Moisture may penetrate the coating or damage the clay.
For routine cleaning, gently dust the surface with a soft, dry cloth or brush unless the material manufacturer specifies another safe method.
Final Thoughts
Painting air dry clay is such a lovely way to add personality, color, and character to handmade creations. Whether you’re working on a simple ornament, a delicate floral decoration, or a pretty little jewelry dish, you don’t need complicated tools or professional painting skills to achieve a beautiful result.
The most important things to remember are to let your clay dry completely, prepare the surface carefully, apply thin coats of paint, and choose a compatible sealer when extra protection is needed.
Take your time, experiment with colors you love, and don’t worry if your first attempt isn’t perfect. Some of the most charming handmade pieces have little imperfections that make them feel special.
I hope this step-by-step guide gives you the confidence to pick up your paintbrush and bring your next clay project to life. Happy crafting!