15 Creative Clay Crafts for Kids to Try This Weekend
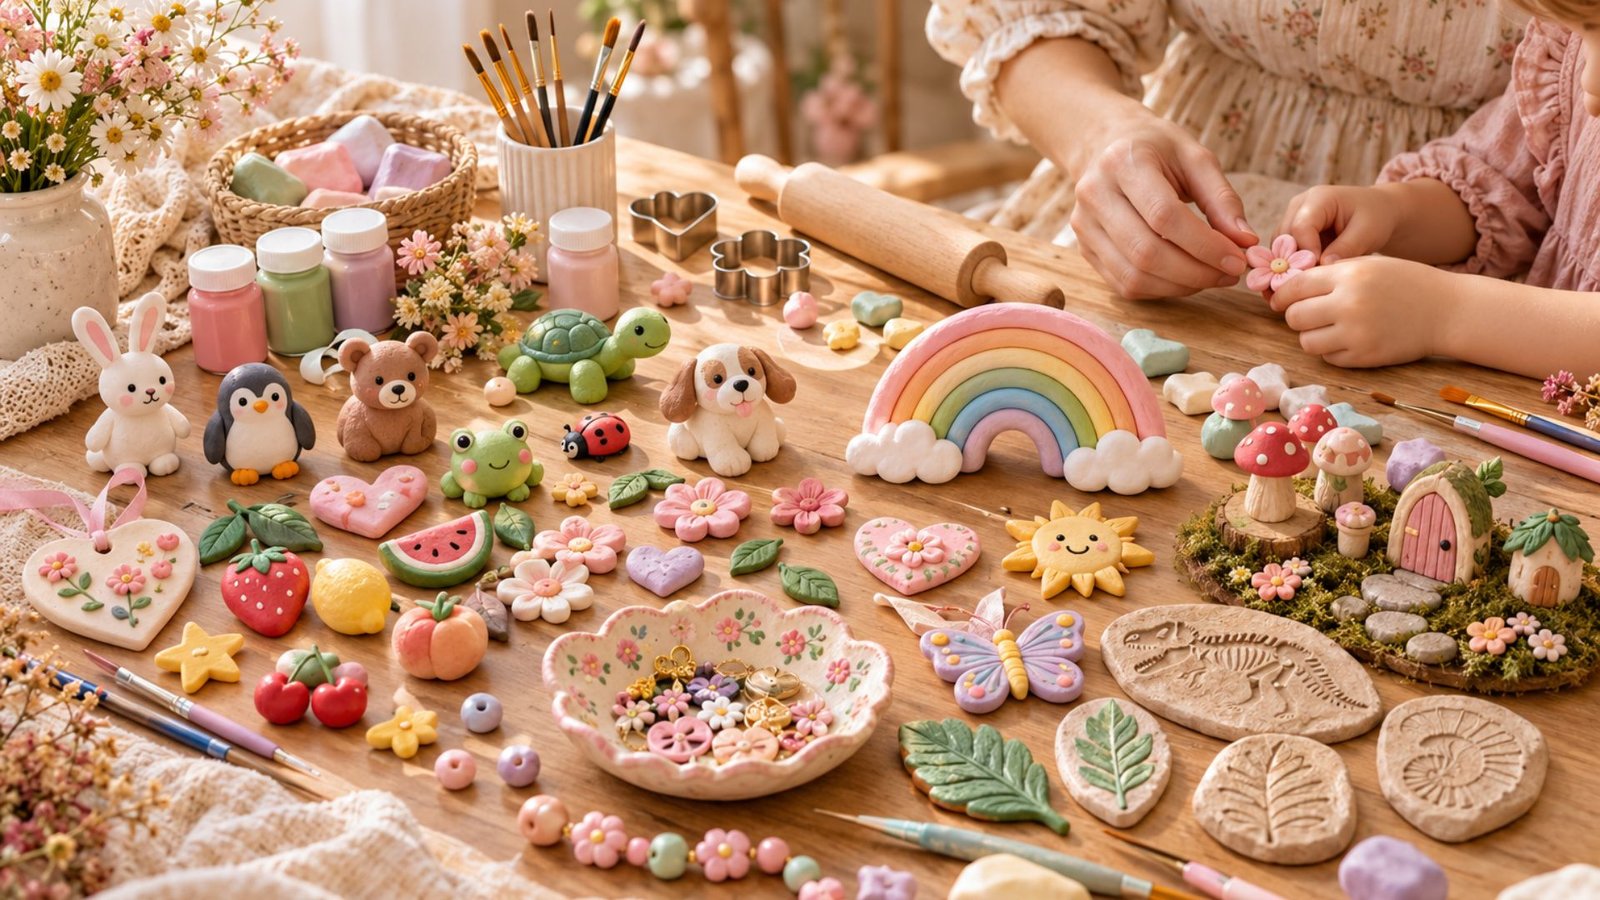
I love having a few simple craft ideas ready for those weekends when the kids need something fun to do.
Clay is one of my favorite choices because it is easy to work with, doesn’t require a huge list of supplies, and gives little hands plenty of room to be creative. Kids can roll, press, shape, paint, and decorate clay in so many different ways.
Best of all, these projects can be adjusted for different ages and skill levels. If you are looking for a fun weekend activity that keeps everyone busy while creating something they can be proud of, these 15 creative clay crafts are a wonderful place to start.
Why Clay Crafts Are Great for Kids
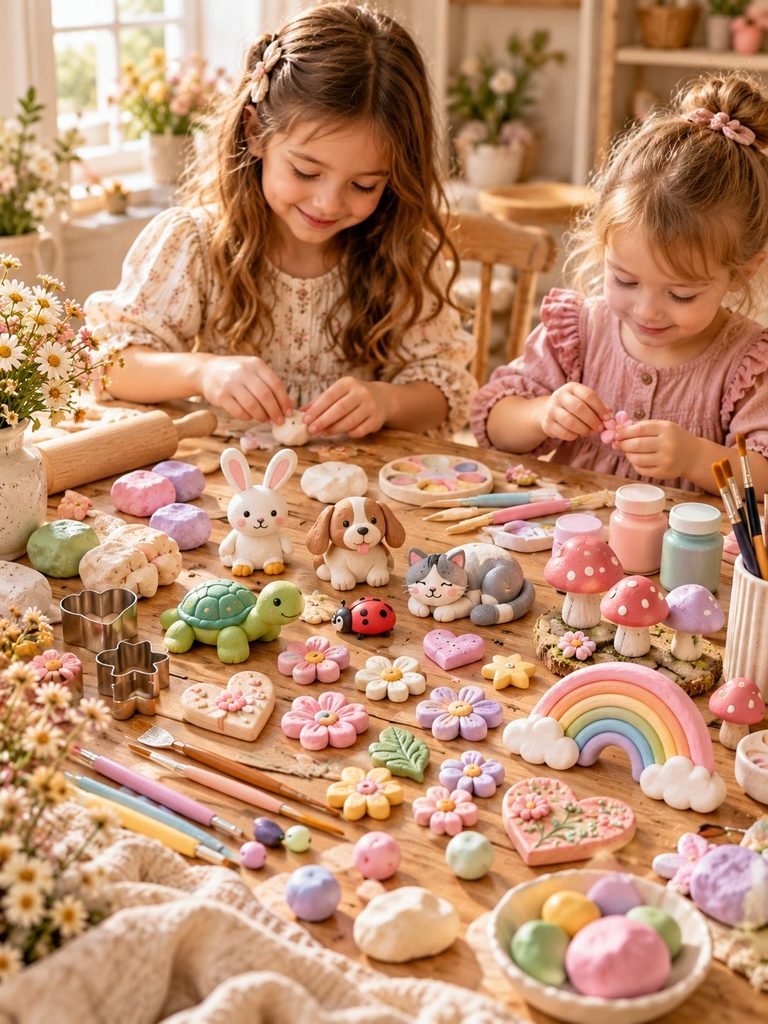
Clay crafts are more than just a fun way to spend an afternoon. Working with clay gives children the opportunity to use their hands while exploring shapes, textures, colors, and patterns.
Clay can also help develop fine motor skills. Rolling clay, pinching small pieces, pressing shapes, and using simple tools all require controlled hand movements.
Another thing I love about clay crafts is that children don’t have to make everything perfect. A slightly uneven flower or a funny-looking animal can actually make the finished craft even more special.
These projects are also easy to personalize. Kids can choose their favorite colors, add their own decorations, or turn a basic project into something completely different.
For younger children, an adult can prepare the clay and help with cutting or baking if necessary. Older children can take more responsibility for designing, shaping, and decorating their creations.
What Kind of Clay Should Kids Use?
For most of these projects, air-dry clay is a simple choice because it does not require a kiln.
Air-dry clay can be shaped and left to dry naturally according to the manufacturer’s instructions. Once completely dry, many types can be painted with acrylic paint and decorated.
You can also use children’s modeling clay for projects that do not need to become permanent decorations.
If you plan to use polymer clay, remember that it needs to be baked according to the manufacturer’s instructions. Children should not handle the oven or hot baked clay without adult supervision.
Always check the packaging of your clay for age recommendations and safety instructions.
1. Cute Clay Animal Magnets
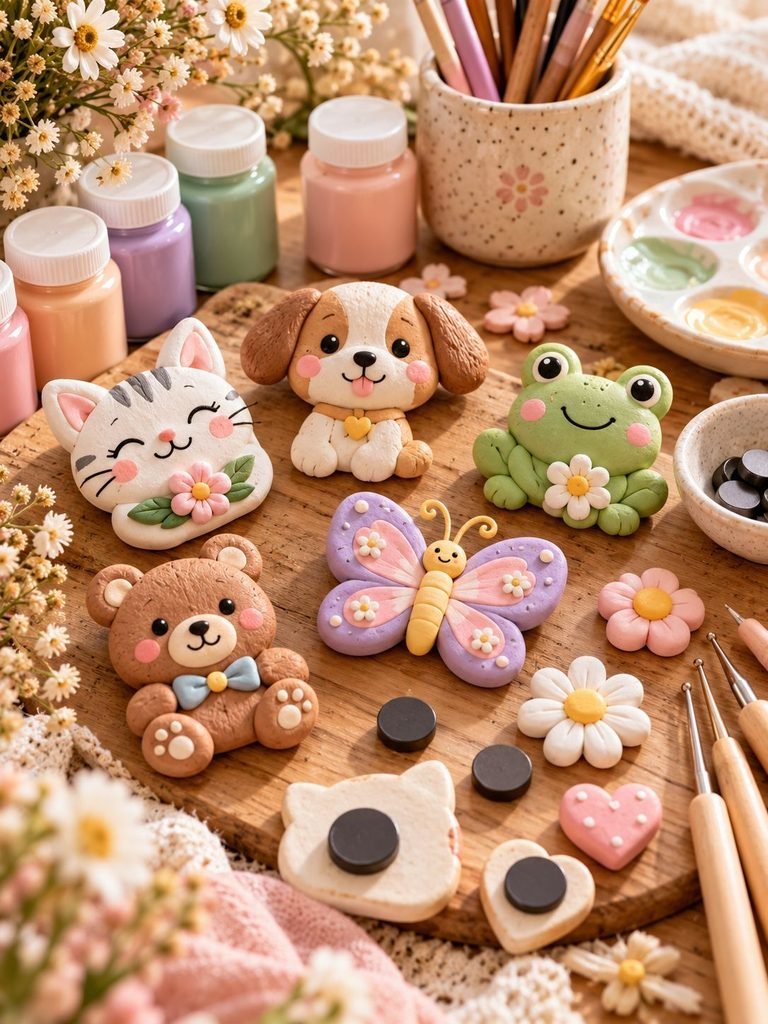
Clay animal magnets are such a fun project because kids can make almost any animal they can imagine.
Think little cats, dogs, frogs, turtles, bears, butterflies, or even silly monsters.
What You’ll Need
- Air-dry clay
- Acrylic paint
- Small paintbrushes
- Clear sealer
- Craft magnets
- Strong craft glue
- Clay tools or a plastic knife
How to Make Them
Start by rolling a small piece of clay into a ball.
Flatten it slightly with your fingers and shape it into an animal face or body.
Add small ears, noses, tails, wings, or other details using tiny pieces of clay.
For eyes and other small details, you can gently press them into the clay using a clay tool.
Allow the clay to dry completely.
Once dry, paint each animal using bright or pastel colors. Let the paint dry before adding another color.
When everything is finished, glue a small magnet to the back.
These little animals are perfect for decorating a refrigerator or magnetic board.
2. Clay Flower Garden
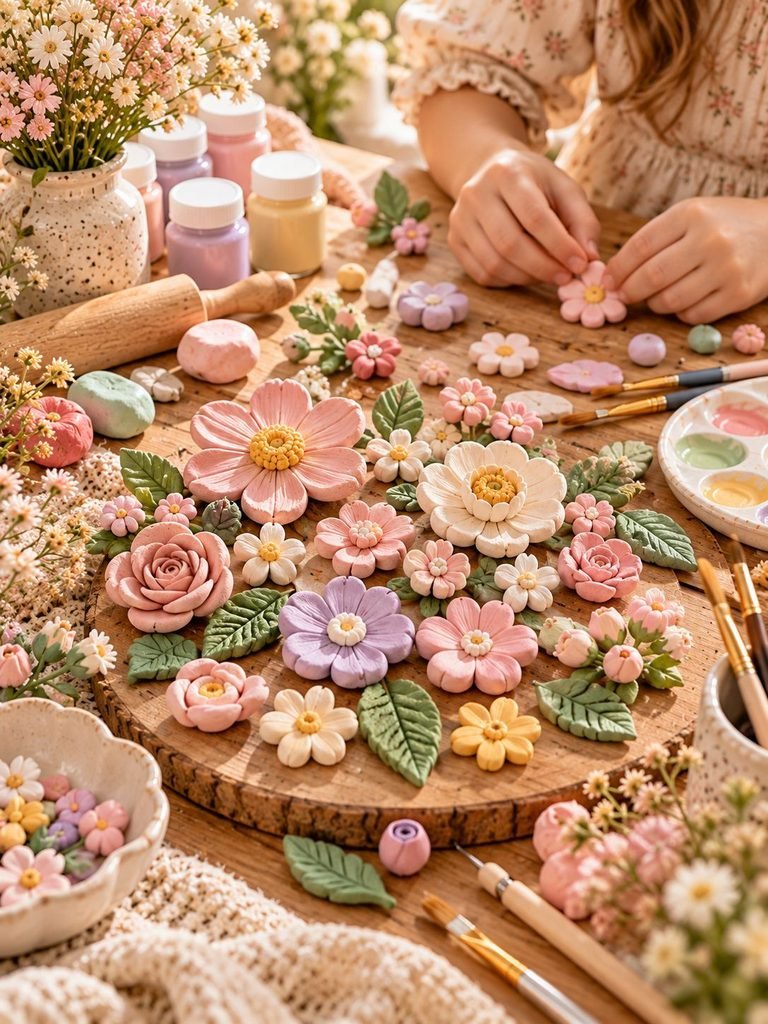
A tiny clay flower garden is a lovely weekend craft and gives children plenty of opportunities to experiment with different shapes.
What You’ll Need
- Air-dry clay
- Green, pink, yellow, purple, and white paint
- Paintbrushes
- Small clay tools
- Clear sealer
How to Make It
Roll small pieces of clay into balls.
Flatten each ball slightly and pinch or shape the edges into petals.
Create several flowers in different sizes.
For the centers, add small balls of clay.
Make simple leaves by flattening small pieces of green clay and pressing a line down the middle.
Leave everything to dry.
Once dry, paint the flowers and leaves.
You can display the finished pieces individually or glue them onto a small piece of cardboard to create a miniature garden scene.
Encourage kids to create flowers that don’t exist in real life. A blue sunflower or rainbow-colored flower can make the project even more fun.
3. DIY Clay Rainbow
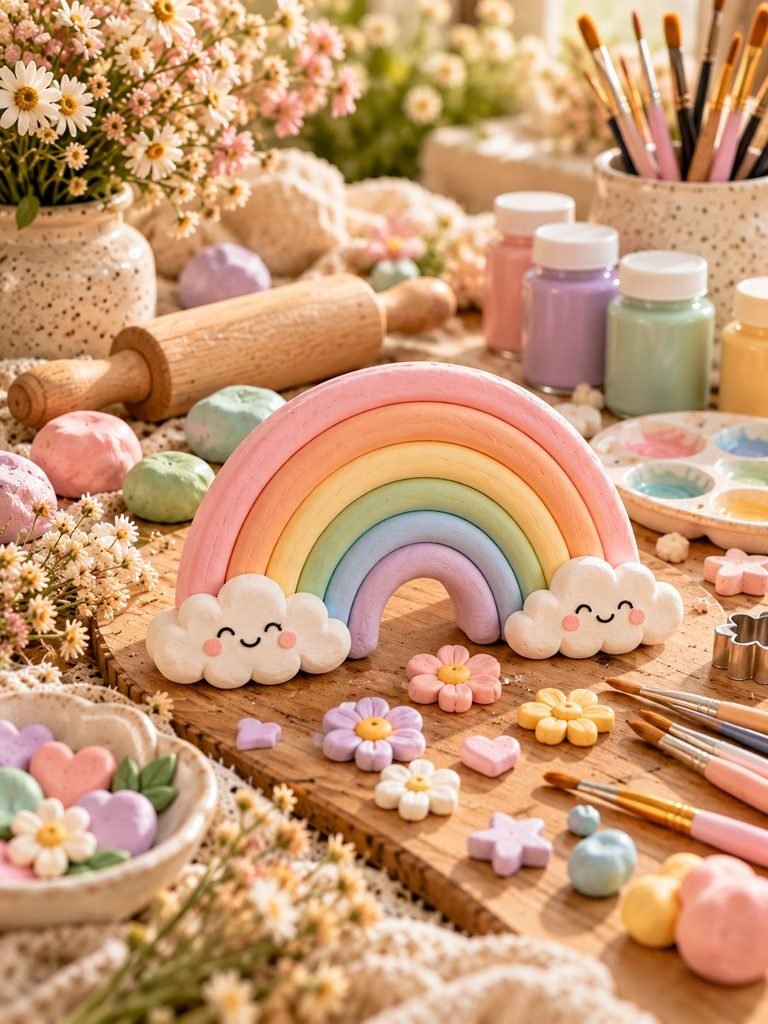
Rainbows are one of the easiest clay crafts for children to personalize.
Materials
- Air-dry clay
- Acrylic paint
- Paintbrushes
- Clay knife
- Rolling pin
- Clear sealer
Steps
Roll out a piece of clay until it is about the same thickness throughout.
Cut or shape several long strips.
Create curved rainbow shapes from the strips and place them next to each other.
Press the pieces together gently.
You can add small clouds underneath using white clay.
Let the rainbow dry completely.
Paint each section a different color.
Once dry, add a light coat of sealer if desired.
This craft can become a cute bedroom decoration or a colorful piece of handmade artwork.
4. Clay Animal Figurines
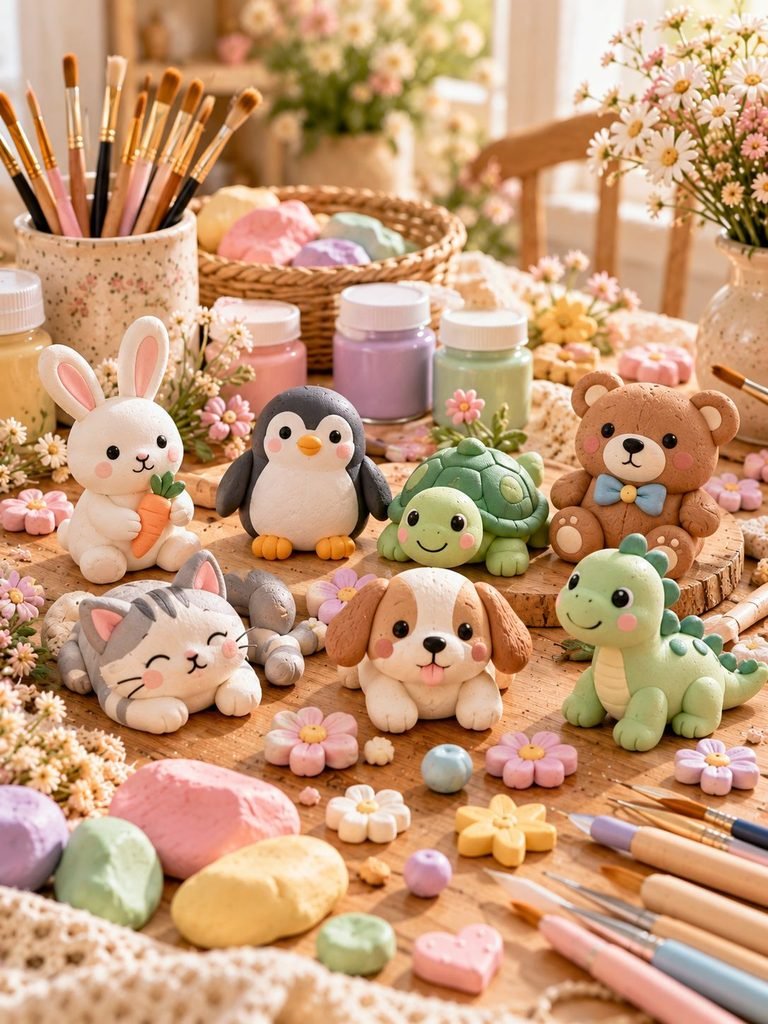
Kids often love making tiny animals because they can create an entire little collection.
Ideas to Try
- Bunny
- Penguin
- Ladybug
- Turtle
- Bear
- Snail
- Cat
- Puppy
- Dinosaur
Simple Method
Start with the body.
Roll the clay into a small oval shape.
Add a smaller ball for the head.
Attach the head carefully and smooth the connection with your fingers.
Add legs, ears, tails, wings, or other features.
Use a toothpick or clay tool to create small details.
Let the figurine dry completely before painting.
Kids can make an entire miniature animal family or create an imaginary creature with unusual colors and features.
5. Clay Heart Decorations
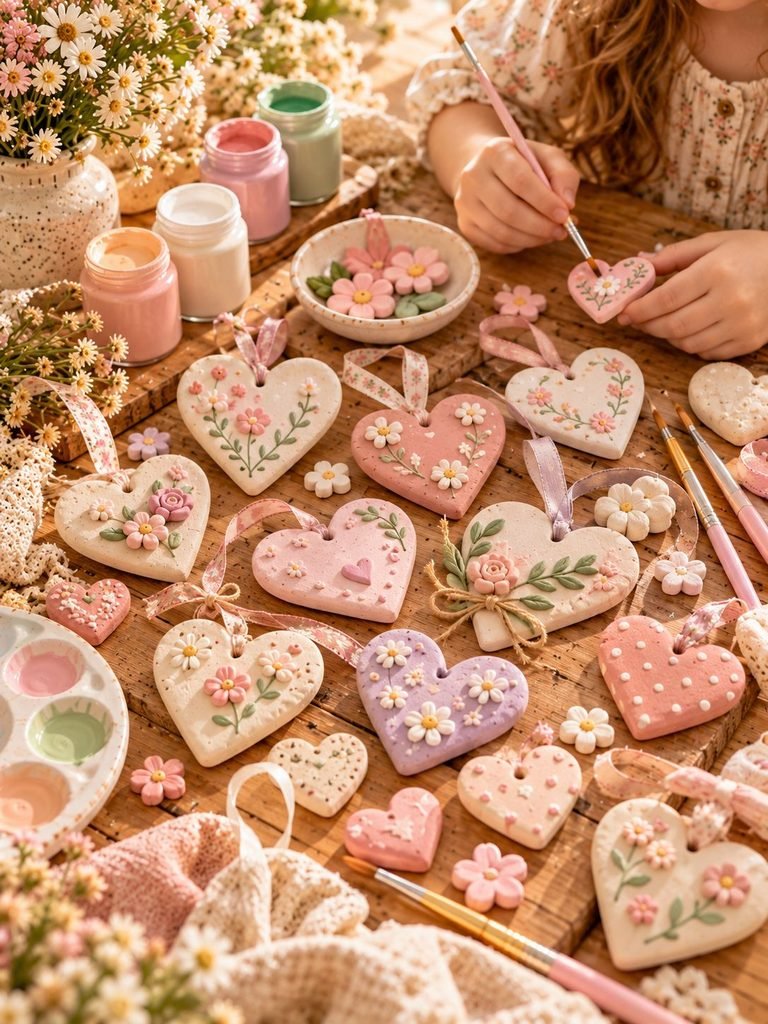
Clay hearts are simple enough for younger children and can be turned into decorations, gifts, or keepsakes.
You’ll Need
- Air-dry clay
- Heart cookie cutter
- Rolling pin
- Paint
- Paintbrush
- Ribbon
- Straw or small round tool
Steps
Roll out the clay.
Press the heart cutter into the clay.
Remove the extra clay around the shape.
Before the clay dries, make a small hole near the top if you want to hang it.
Let the heart dry.
Paint it in any color you like.
Kids can add dots, stripes, flowers, names, or tiny fingerprints.
Thread a piece of ribbon through the hole once the clay is completely dry.
These make sweet handmade gifts for parents, grandparents, teachers, or friends.
6. Pressed Leaf Clay Art
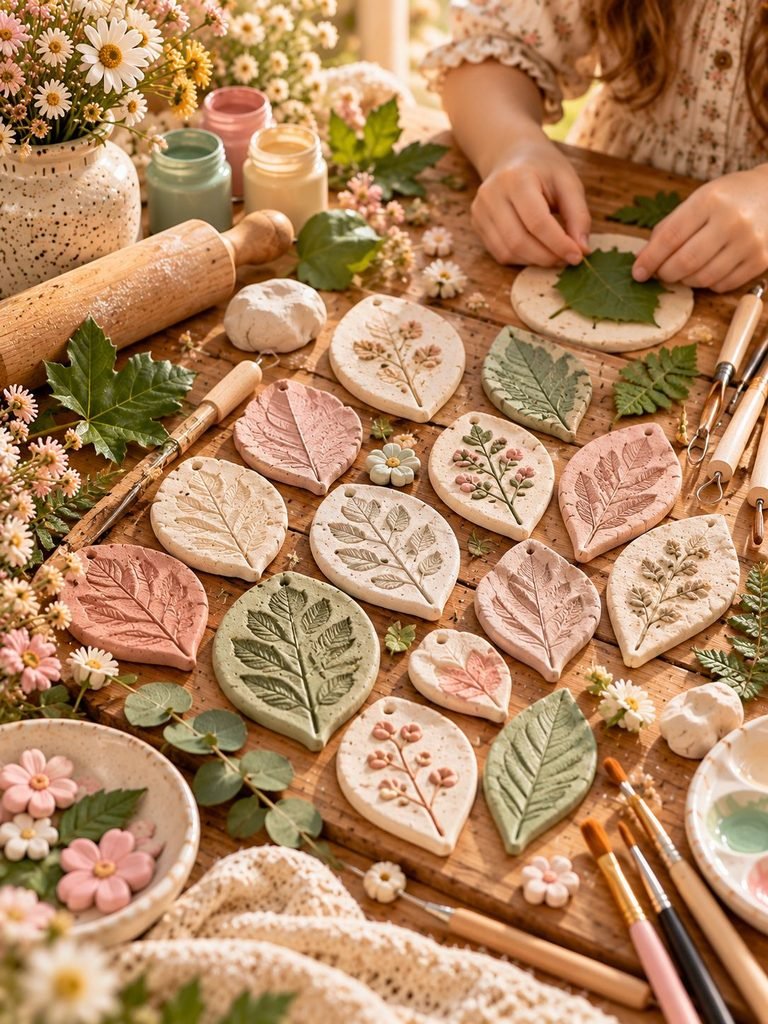
This project combines crafting with a little nature exploration.
Take the children outside and collect a few interesting leaves.
Choose leaves with visible veins and interesting shapes.
Materials
- Air-dry clay
- Leaves
- Rolling pin
- Acrylic paint
- Paintbrush
- Clear sealer
Instructions
Roll out a piece of clay.
Place a leaf on top.
Use the rolling pin to gently press the leaf into the clay.
Carefully lift the leaf away.
You should see its natural pattern impressed into the clay.
Cut around the impression if you want a specific shape.
Allow the clay to dry.
Paint the finished piece or leave it natural.
These can become beautiful little nature-inspired decorations.
Make sure children know not to collect plants that may be poisonous, irritating, or protected.
7. Clay Fruit Magnets
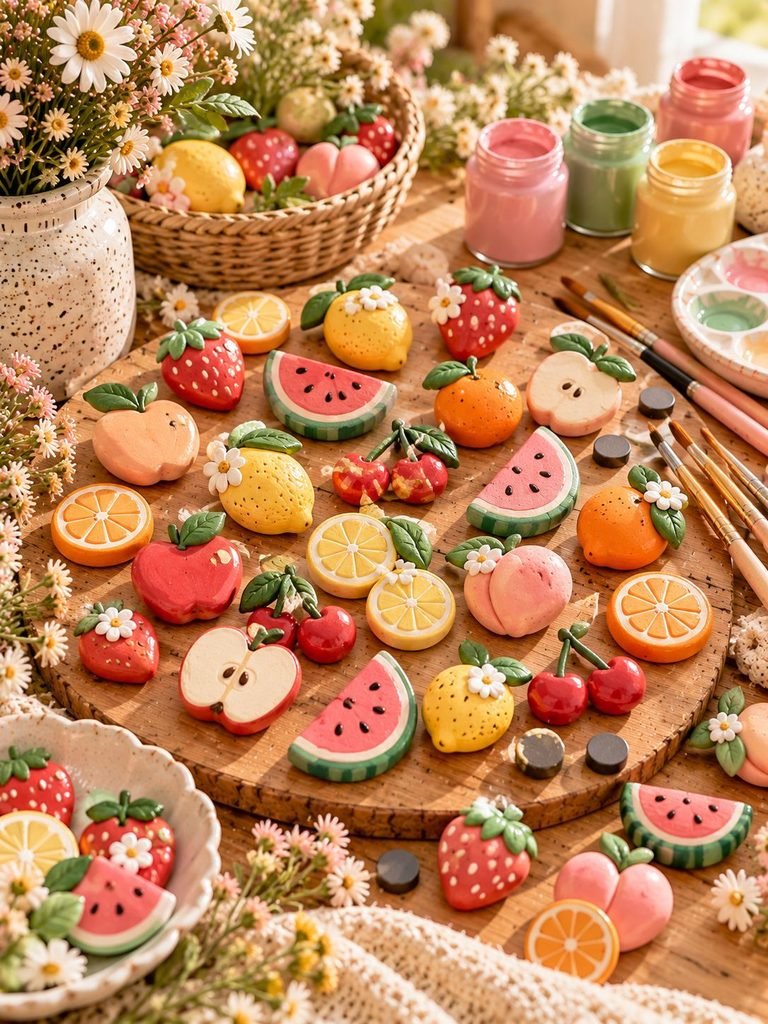
Bright little fruit magnets are cheerful and surprisingly easy to make.
Try making:
- Strawberries
- Lemons
- Watermelons
- Apples
- Oranges
- Cherries
- Peaches
How to Make Them
Shape your clay into small fruit forms.
For strawberries, create a small cone shape and add tiny dots.
For lemons, make an oval and slightly flatten the ends.
For watermelon, create a small green and red layered shape.
Let the clay dry completely.
Paint the details.
Glue magnets onto the backs.
These look adorable on a refrigerator and make a fun handmade set.
8. Clay Pencil Toppers
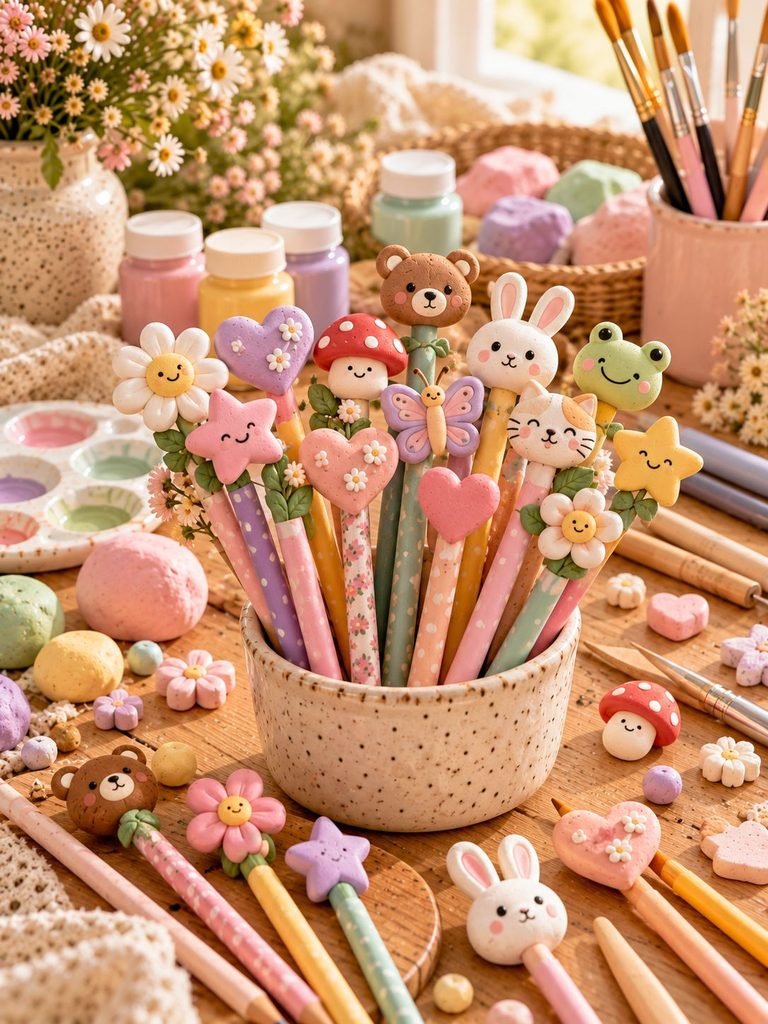
Kids can make their pencils much more fun with handmade clay toppers.
Materials
- Air-dry clay
- Pencils
- Acrylic paint
- Paintbrushes
Steps
Choose a small design such as a star, heart, flower, mushroom, smiley face, or animal.
Shape the clay around the top of the pencil without making it too heavy.
Make sure the opening is large enough for the pencil to slide in and out.
Remove the clay from the pencil if necessary.
Allow it to dry.
Paint the design.
Once completely dry, place it back onto the pencil.
Avoid making toppers too large or heavy because they may make the pencil difficult to use.
9. Clay Mushroom Decorations
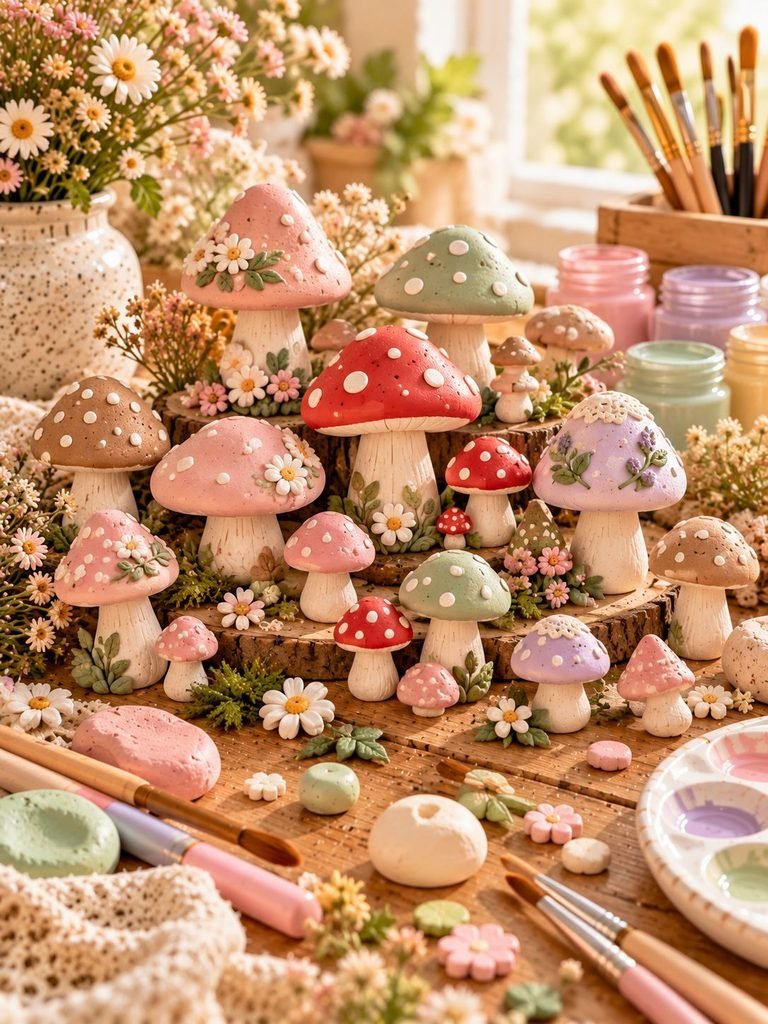
Mushrooms are especially cute for a cottagecore-style craft collection.
What You’ll Need
- Air-dry clay
- Red, white, beige, or pastel paint
- Paintbrushes
- Clay tools
- Clear sealer
Instructions
Make the mushroom stem by rolling clay into a small cylinder.
Shape the top into a rounded mushroom cap.
Attach the cap to the stem.
Add small dots or patterns to the cap.
Let the mushroom dry.
Paint it in your favorite colors.
You can make tiny mushrooms in several different sizes and arrange them together as a miniature fairy garden.
10. Clay Sun Catcher Decorations
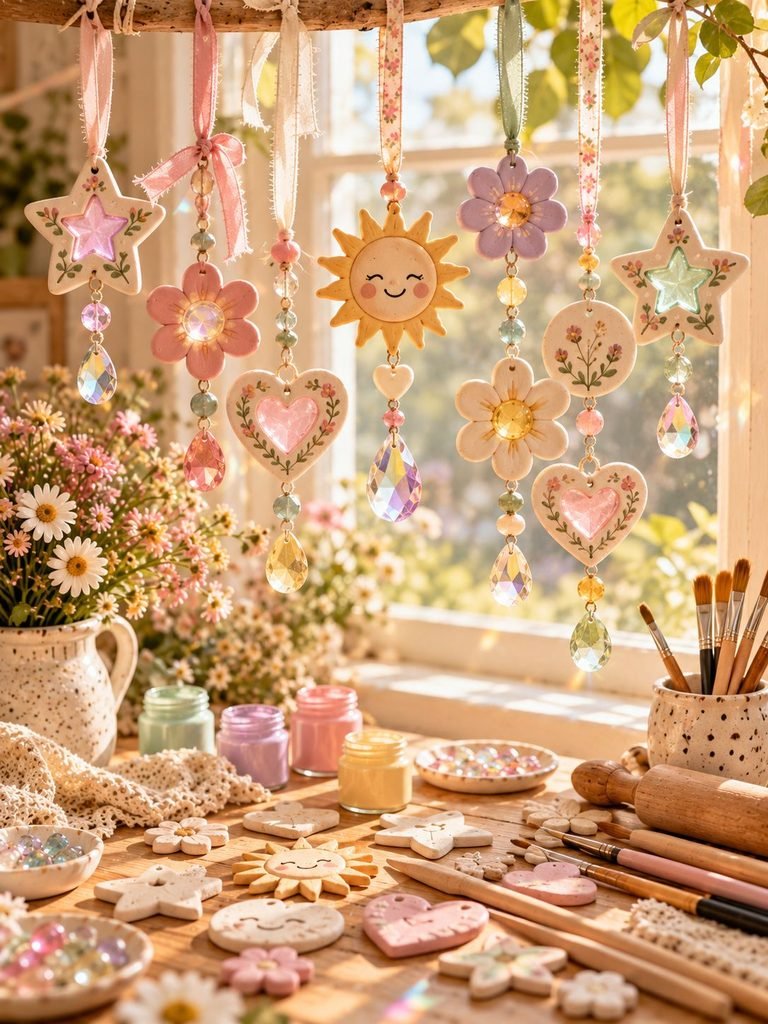
A simple clay sun catcher can add a cheerful touch to a window.
Materials
- Air-dry clay
- Cookie cutters
- Straw
- Paint
- Ribbon
- Clear sealer
Steps
Roll out the clay.
Cut out a simple shape such as a sun, star, flower, or heart.
Make a small hole near the top.
Let it dry.
Paint and decorate it.
Once completely dry, add a ribbon and hang it near a sunny window.
If you want to include beads or other hanging decorations, an adult can help children attach them safely.
11. Clay Name Plaques
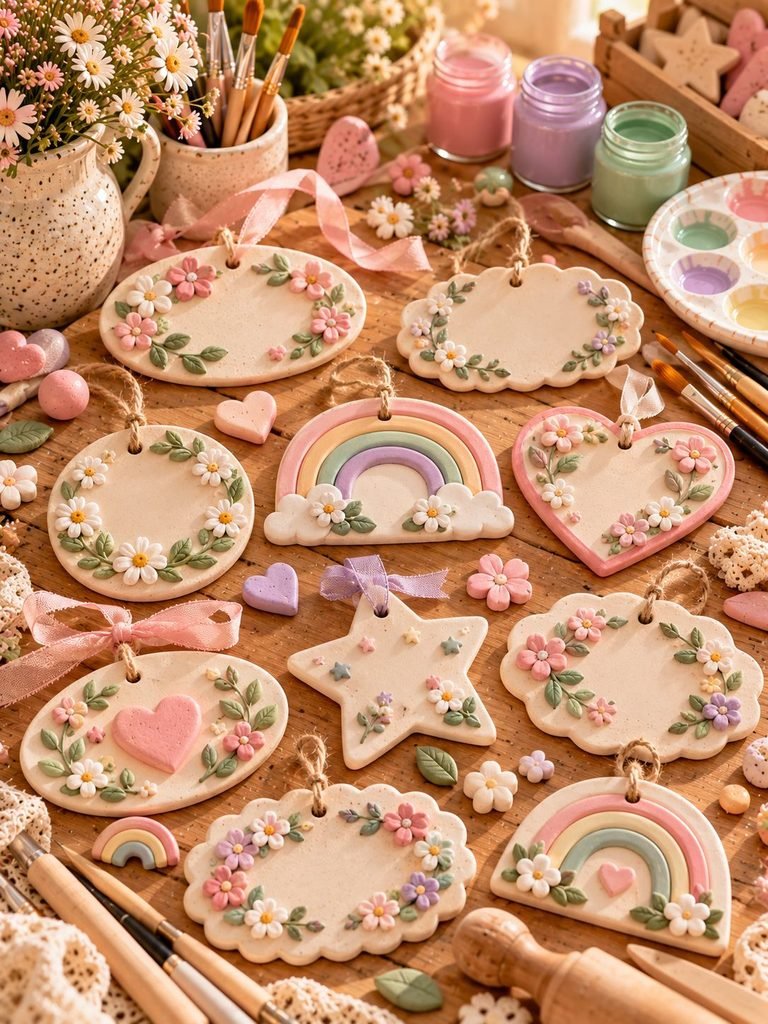
A personalized name plaque can become a sweet decoration for a child’s bedroom or craft area.
You’ll Need
- Air-dry clay
- Rolling pin
- Letter stamps or clay tools
- Paint
- Paintbrush
- Ribbon
How to Make It
Roll the clay into a flat shape.
Cut it into a rectangle, oval, circle, or another shape.
Before it dries, press the child’s name into the clay.
You can also add stars, flowers, hearts, clouds, or other decorations.
Make a hole at the top if you want to hang it.
Allow it to dry completely.
Paint the plaque.
Acrylic paint works well for adding colorful details.
This is also a lovely project for siblings because each child can make their own personalized plaque.
12. Clay Rainbow Bracelets
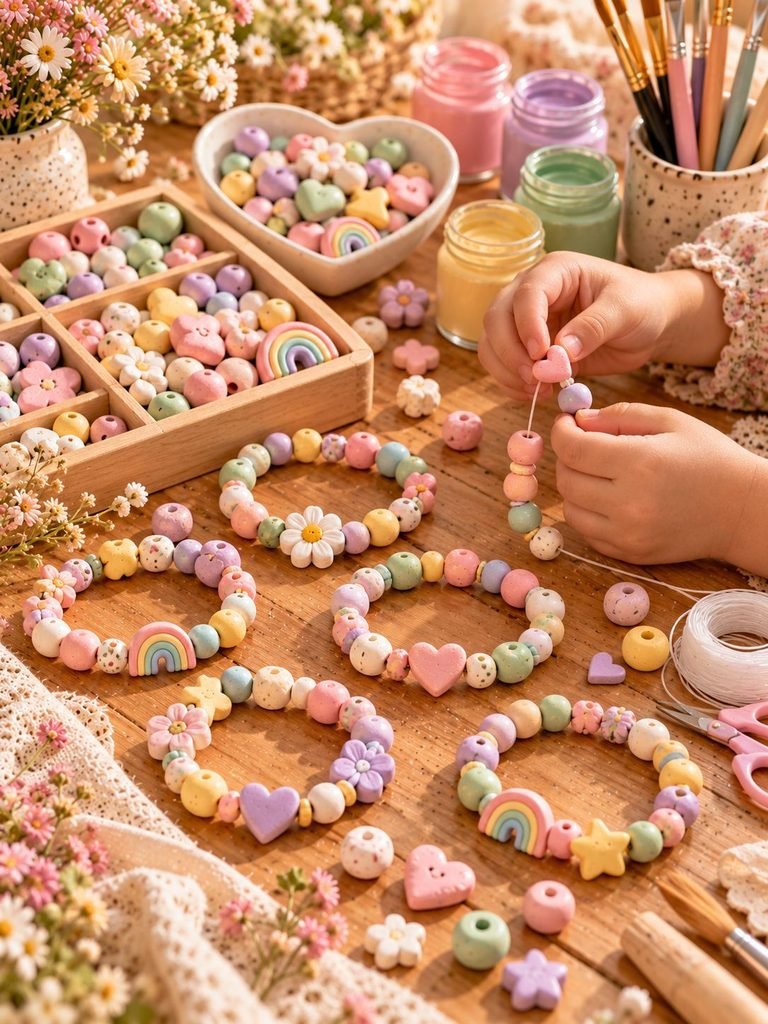
For older children, clay beads can be used to make colorful bracelets.
Materials
- Air-dry clay or suitable polymer clay
- Small clay tools
- Paint
- Elastic bracelet cord
- Clear sealer if suitable for the clay
Instructions
Create small beads from clay.
Use a toothpick or suitable tool to make a hole through the center of each bead.
Try making different shapes such as round beads, hearts, flowers, or stars.
Let the beads dry completely.
Paint them in rainbow colors.
Once dry, carefully string them onto elastic cord.
Tie the bracelet securely.
An adult should help with cutting and tying the elastic.
Make sure beads are appropriate for the child’s age and do not give small loose pieces to young children who may put them in their mouths.
13. Clay Treasure Dish
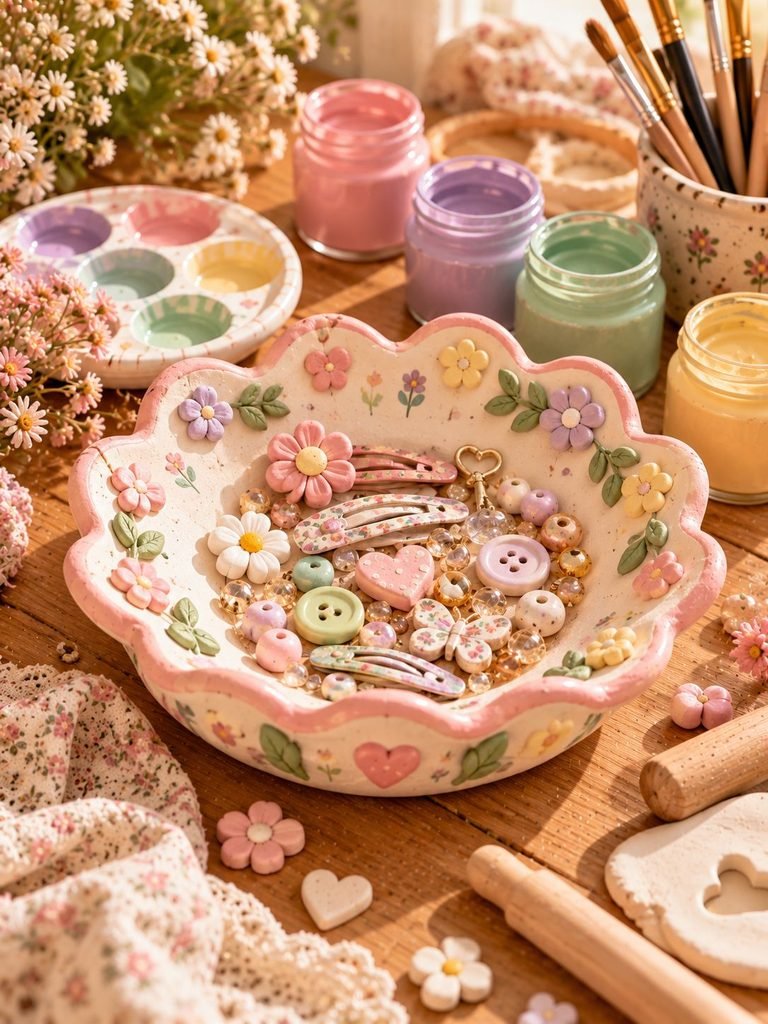
A little clay dish is a practical craft that kids can actually use.
It can hold small treasures such as hair clips, erasers, buttons, or jewelry.
Materials
- Air-dry clay
- Small bowl
- Rolling pin
- Paint
- Paintbrush
- Clear sealer
Steps
Roll out a piece of clay.
Place it gently over the outside of a small bowl to create a curved shape.
Smooth the edges with your fingers.
Carefully remove the clay from the bowl if the clay is suitable for this method.
Let the dish dry completely.
Once dry, decorate it with dots, flowers, stars, hearts, or simple patterns.
A small handmade dish also makes a thoughtful gift.
Remember that most air-dry clay projects should not be used for food unless the clay and finish are specifically labeled food-safe.
14. Clay Dinosaur Fossils
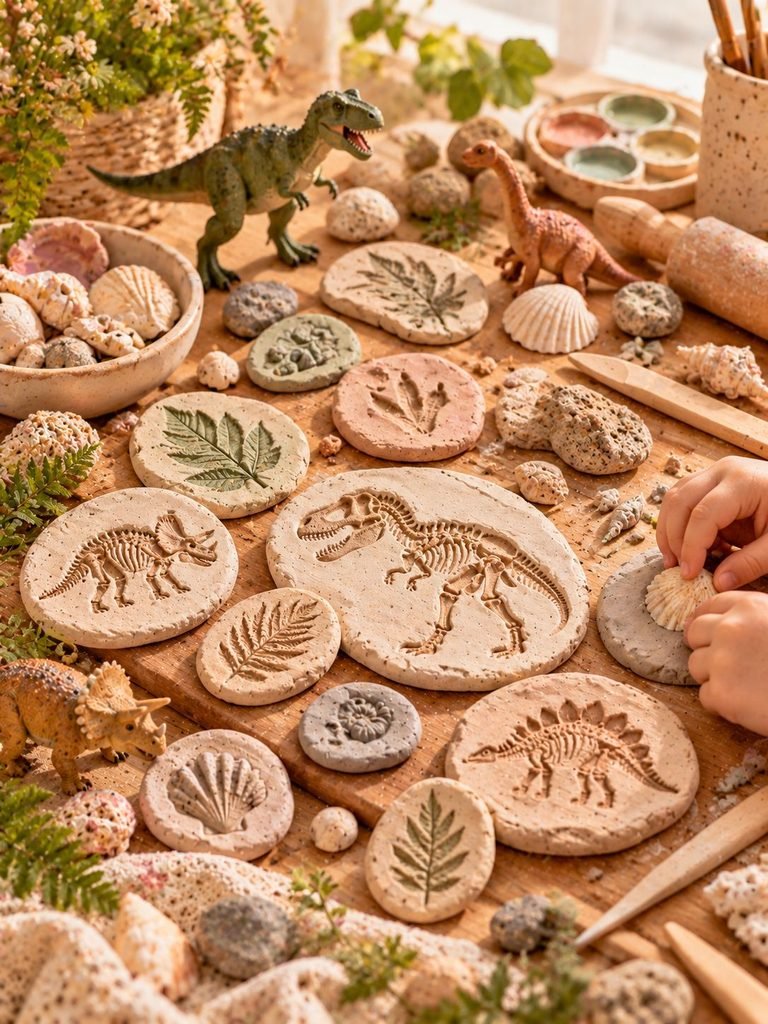
Turn clay crafting into a fun little science activity by making pretend fossils.
Materials
- Air-dry clay
- Small toy dinosaurs or textured objects
- Rolling pin
- Paint
How to Make Them
Roll out a small piece of clay.
Press a toy dinosaur, shell, leaf, or textured object gently into the surface.
Lift it away carefully.
The impression will look like a tiny fossil.
Let the clay dry.
For an aged fossil look, paint it in beige, tan, brown, or gray.
This is a great opportunity to talk about fossils, dinosaurs, rocks, and how impressions can be preserved.
15. Clay Fairy Garden Accessories
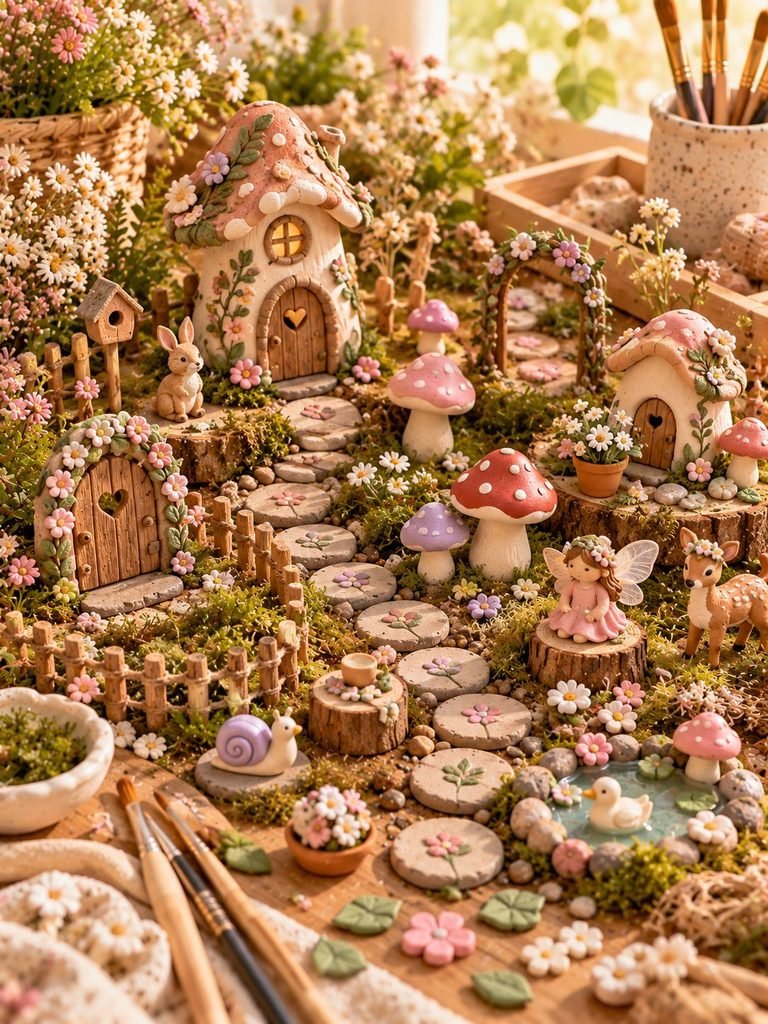
If your kids enjoy imaginative play, making tiny clay accessories for a fairy garden can be one of the most exciting projects on this list.
They can make:
- Tiny mushrooms
- Mini flowers
- Little stepping stones
- Fairy doors
- Tiny signs
- Small pots
- Miniature benches
- Tiny animals
- Little houses
How to Make Them
Start with very small pieces of clay.
Shape each piece into the object you want.
Keep the designs simple.
For example, a tiny fairy door can be a small rounded rectangle with a little clay handle.
A tiny mushroom can be made from a small stem and rounded cap.
Let everything dry completely.
Paint the pieces in soft colors.
Once finished, arrange them in a small garden area or use them for pretend play.
This project can easily turn into a whole weekend activity because children can keep adding new pieces to their miniature world.
Simple Clay Tools Kids Can Use
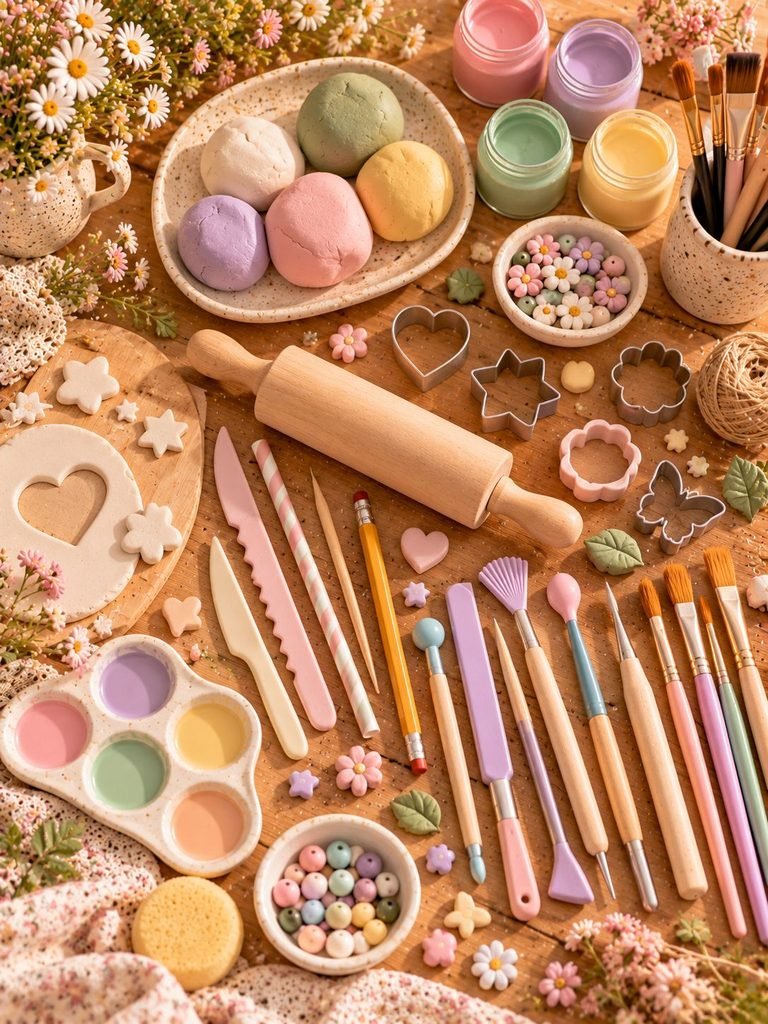
You don’t need an expensive clay tool set to get started.
Many projects can be completed with basic household items.
Useful tools include:
- Rolling pin
- Plastic knife
- Toothpick
- Straw
- Cookie cutters
- Pencil
- Small paintbrushes
- Silicone craft tools
- Small bowl
- Texture stamps
Always make sure any tool used by a child is age-appropriate and safe.
For younger children, adults can handle sharp tools while children focus on rolling, shaping, pressing, and decorating.
Easy Clay Craft Tips for Parents
Let Kids Experiment
Try not to correct every little detail.
One of the best parts of crafting is allowing children to experiment.
Their flower may not look like a traditional flower, and their animal may have an unusual shape. That’s completely fine.
The goal is creativity rather than perfection.
Keep Projects Small
Small projects are often easier for children to finish.
Instead of asking a child to create one complicated sculpture, let them make several small decorations.
This also gives them the chance to try different ideas.
Don’t Rush the Drying Process
Air-dry clay needs enough time to dry completely.
Thicker pieces can take longer than thin pieces.
Avoid painting or sealing the project while the clay is still damp.
Always follow the drying instructions provided with your clay.
Use Washable Supplies When Possible
Crafting can get messy.
Washable paints, washable table coverings, and easy-to-clean tools can make the experience much more enjoyable for everyone.
Cover the table with craft paper or an old tablecloth before starting.
Make Cleanup Part of the Activity
I like to keep a small basket nearby for used tools and scraps.
When the project is finished, children can help put everything away.
This makes cleanup feel like part of the craft instead of a completely separate chore.
Clay Craft Safety Tips for Kids
Clay crafts are generally simple, but a little supervision is important.
Always choose clay that is suitable for the child’s age.
Young children should be supervised closely, especially when working with small pieces.
Don’t allow children to put clay, paint, glue, beads, magnets, or other craft materials into their mouths.
Keep strong adhesives away from young children unless an adult is handling them.
If using polymer clay, an adult should handle the oven and follow the manufacturer’s baking instructions.
Paint and seal clay in a well-ventilated area when required by the product instructions.
Wash hands after crafting.
If you are making magnets, make sure they are securely attached and keep loose magnets away from young children.
How to Make a Clay Craft Day More Fun
You don’t have to make all 15 crafts in one weekend.
Pick three or four projects based on your child’s age and interests.
You could even create a little clay craft station.
Set out:
- Clay
- Paint
- Brushes
- Cookie cutters
- Texture tools
- Water cups
- Paper towels
- Craft mats
- Aprons
Then let the kids choose what they want to create.
You can also choose a simple theme.
For example, a nature weekend could include clay flowers, leaves, mushrooms, and animals.
A rainbow weekend could include rainbow decorations, colorful beads, hearts, and sun catchers.
A dinosaur weekend could include dinosaur figures and pretend fossils.
A themed craft day can make a simple afternoon feel like a special event.
How to Display the Finished Clay Crafts
Once the projects are completely dry, find a special place to display them.
A small shelf can hold clay animals and mushrooms.
A refrigerator can display clay magnets.
A bedroom wall can hold clay name plaques and hanging decorations.
A window can display clay sun catchers.
You can also create a small memory box for special clay projects.
If your child makes something particularly meaningful, take a photograph of it before storing it away.
Kids love seeing their old artwork, and it can be a sweet reminder of how their creativity changes as they grow.
Final Thoughts
A weekend doesn’t need an elaborate plan to become memorable. Sometimes a little clay, a few simple tools, and a table covered with craft paper are all you need for hours of creative fun.
These 15 clay crafts give kids plenty of ways to experiment with colors, shapes, textures, and their own imagination. Some projects are practical, like treasure dishes and magnets, while others are simply fun to make, like tiny animals, mushrooms, and fairy garden accessories.
The most important thing is to let children enjoy the process. Their creations don’t need to look perfect. Those little fingerprints, uneven shapes, and unexpected colors are part of what makes handmade crafts special.
So gather your clay, put on some music, clear a little space at the table, and let the kids start creating. You may be surprised by the wonderful little things they come up with.