DIY Lavender Candle: How to Make a Beautiful Homemade Lavender Candle
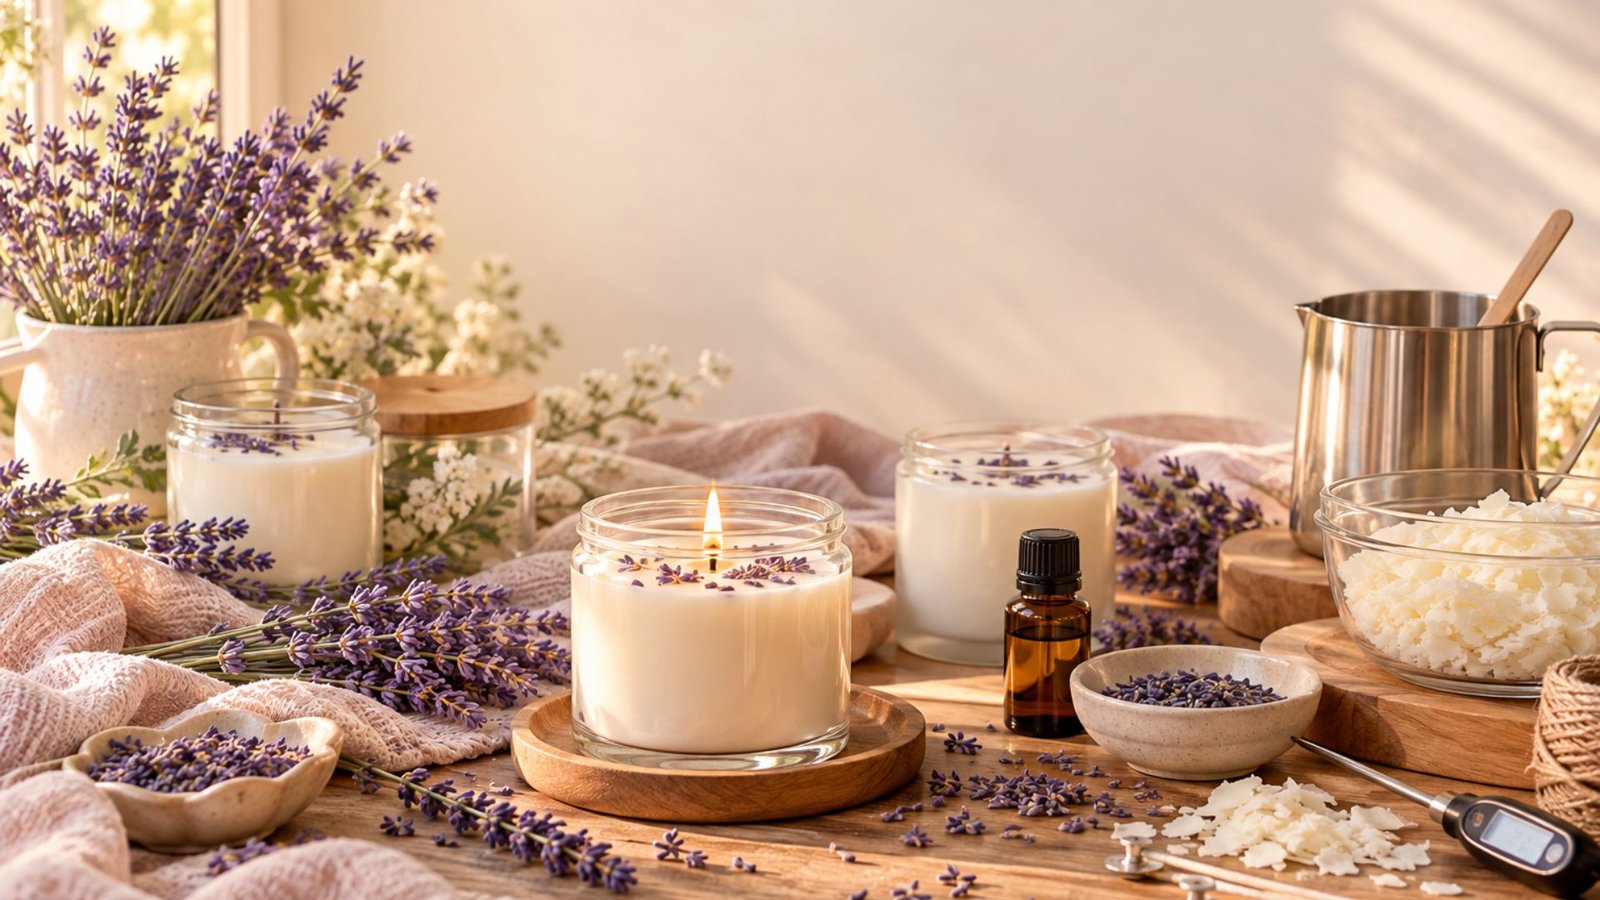
I’ve always loved how a softly scented candle can completely change the feeling of a room. Lavender is one of my favorite scents to use when I want something calm, cozy, and beautifully simple.
Making your own lavender candle at home is surprisingly easy, and it also gives you the freedom to choose the wax, fragrance, container, and little decorative touches you love most.
I especially enjoy making these candles for quiet evenings, self-care moments, and handmade gifts. In this guide, I’ll walk you through everything you need to know to make a beautiful DIY lavender candle from start to finish, even if you’re a complete beginner.
Why Make a DIY Lavender Candle?
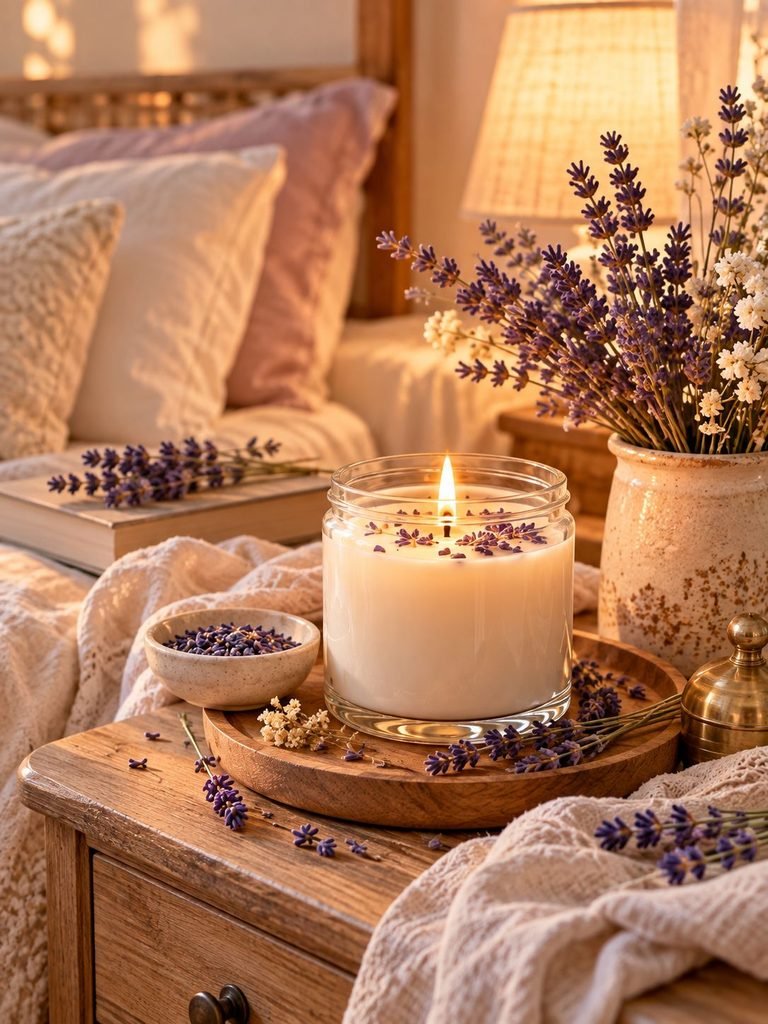
Homemade candles are one of those crafts that feel much more special once you realize how simple they can be to make.
A lavender candle is especially lovely because lavender has a soft, floral fragrance that works beautifully in bedrooms, bathrooms, living rooms, and cozy reading corners. You can make a candle that smells subtle and elegant rather than overwhelmingly floral.
Making your own candle also allows you to customize almost everything.
You can choose:
- The type of wax
- The size and shape of your candle
- The container
- The strength of the lavender fragrance
- The wick
- The color
- Decorative details
- The label and packaging
I also love that homemade candles make thoughtful gifts. A simple lavender candle tucked into a pretty box with a ribbon can feel much more personal than something picked up at the last minute.
What You’ll Need
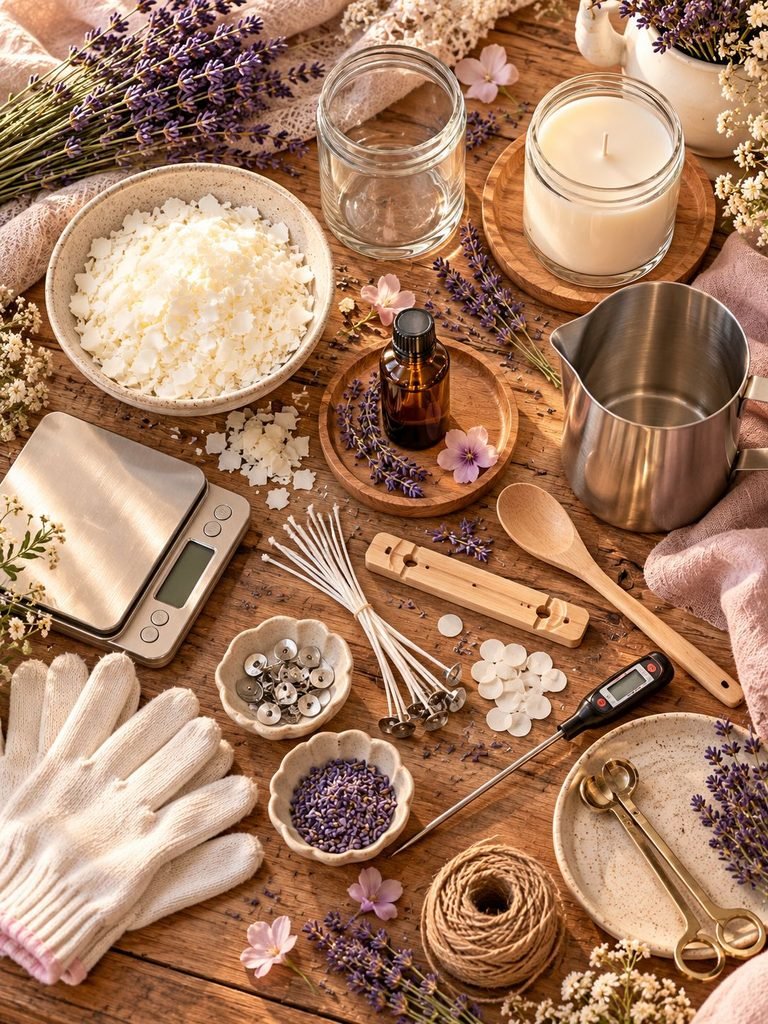
Before you start, gather everything you need. Having your supplies ready makes the process much easier and helps you work safely.
Basic Supplies
Soy candle wax:
Soy wax is a lovely choice for beginners because it produces a clean-looking candle and is easy to work with. You can also experiment with other candle-making waxes once you become comfortable.
Candle wick:
Choose a wick appropriate for the diameter of your container. Wick size matters because a wick that is too small may create a weak flame and uneven melt pool, while one that is too large can produce excessive heat.
Heat-safe candle container:
Use a container specifically designed to withstand the heat of a burning candle. Small glass candle jars work beautifully.
Lavender fragrance oil:
For the most reliable candle fragrance, use a fragrance oil specifically formulated and tested for candle making. Not every fragrance or essential oil performs well when burned.
Wick sticker or candle-safe adhesive:
This helps secure the wick to the bottom of the container.
Wick centering device:
A wick holder, centering bar, or even two wooden sticks can help keep the wick straight while the wax sets.
Helpful Equipment
You’ll also need:
- A heat-safe pouring pitcher
- A double boiler or dedicated wax-melting setup
- A kitchen thermometer
- A digital scale
- A stirring utensil
- Protective gloves
- Paper towels
- A stable, heat-resistant work surface
A digital scale is particularly useful because candle-making measurements are much more accurate by weight than by volume.
Choosing the Right Wax
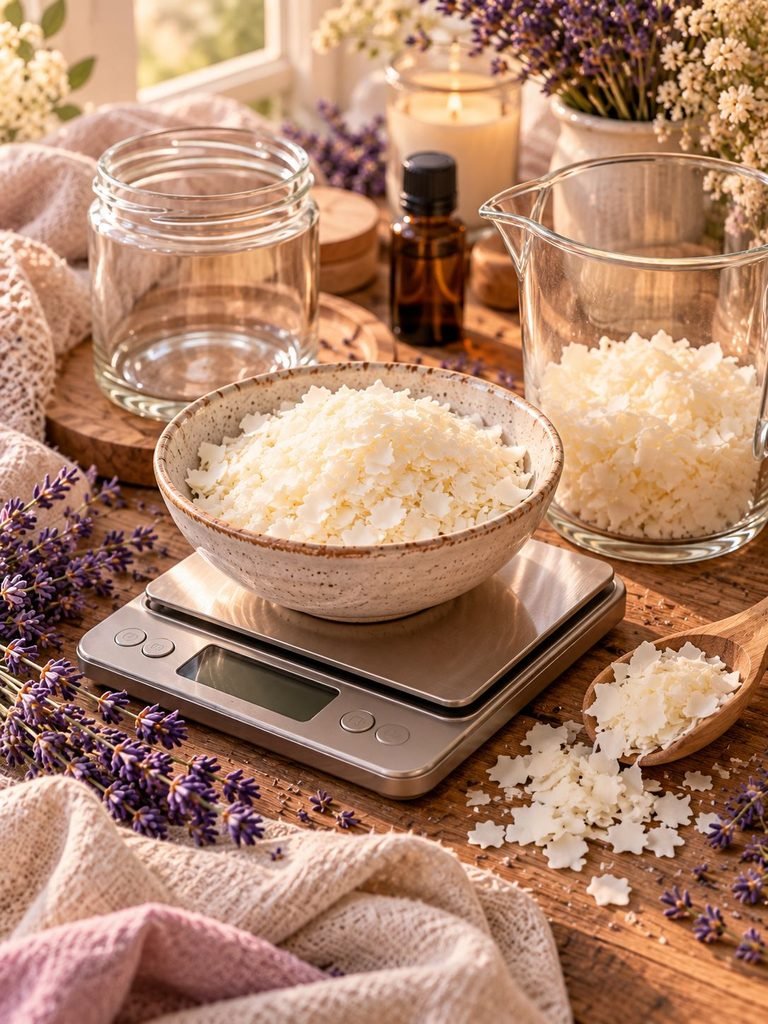
For this project, I recommend soy wax, especially if you’re new to candle making.
Soy wax has a beautiful creamy appearance and works well with many candle fragrances. It also gives homemade candles a lovely handmade look without requiring complicated techniques.
You can eventually experiment with coconut-soy blends, beeswax, or other candle waxes, but soy wax is a great starting point.
Always check the manufacturer’s instructions for the specific wax you purchase because recommended melting and pouring temperatures can vary.
Choosing the Right Lavender Fragrance
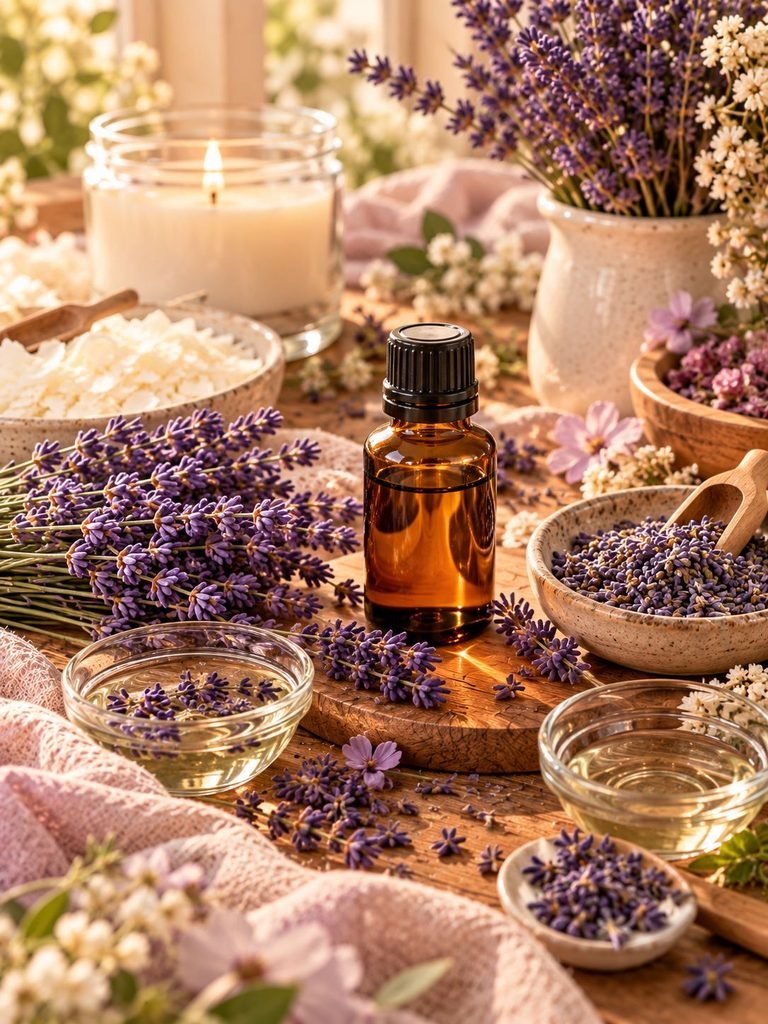
One of the most important parts of making a lavender candle is choosing a fragrance that is actually suitable for candles.
A candle fragrance oil should be labeled for candle-making use and should come with usage recommendations from the manufacturer.
If you’re considering lavender essential oil, don’t automatically assume that an essential oil will behave exactly like a candle fragrance oil. Essential oils can vary considerably in their performance, scent throw, and suitability for candle applications.
For a beginner-friendly project, a candle fragrance oil specifically designed for candles is often the easiest option.
You can also create a lavender blend by combining lavender with complementary scents such as:
- Vanilla
- Cedarwood
- Bergamot
- Lemon
- Rosemary
- Chamomile
- Eucalyptus
Lavender and vanilla are especially lovely if you want a soft, warm, comforting candle.
How Much Wax Do You Need?
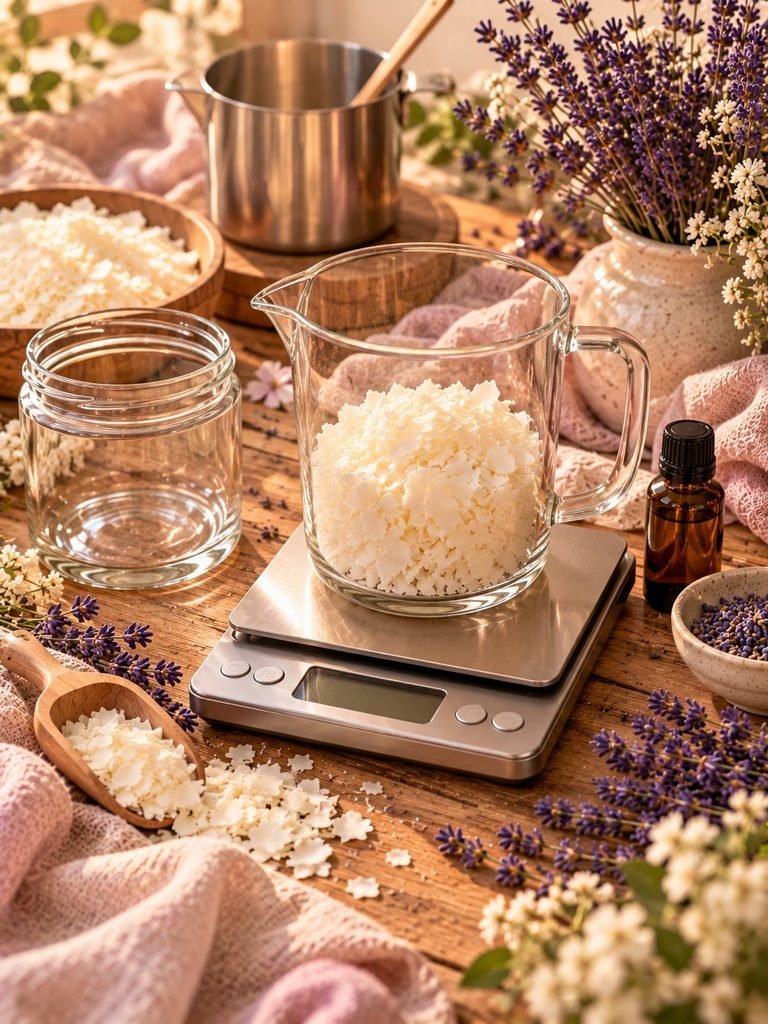
The amount of wax you’ll need depends on the size of your container.
The easiest approach is to use a digital scale and calculate the approximate wax weight required for your container according to the container manufacturer’s guidance.
If you’re making several candles, weigh the amount of wax carefully rather than guessing. Accurate measurements help you achieve consistent results from batch to batch.
It’s also a good idea to have a little extra wax available in case you need to top off the candle after it cools.
Step 1: Prepare Your Candle Container
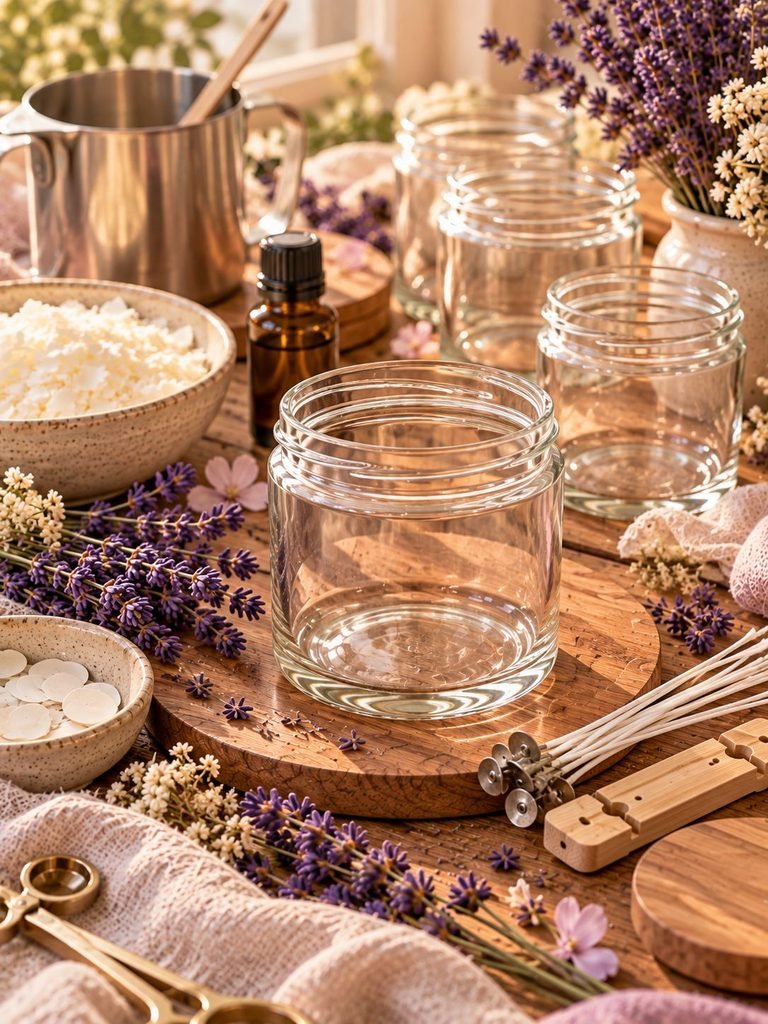
Start by making sure your container is completely clean and dry.
Remove dust, labels, or residue from inside the jar. Even a small amount of moisture can cause problems when working with hot wax, so make sure the container is thoroughly dry.
Place the container on a stable, heat-resistant surface.
Avoid working near children, pets, loose clothing, or anything that could accidentally come into contact with hot wax.
Step 2: Attach the Wick
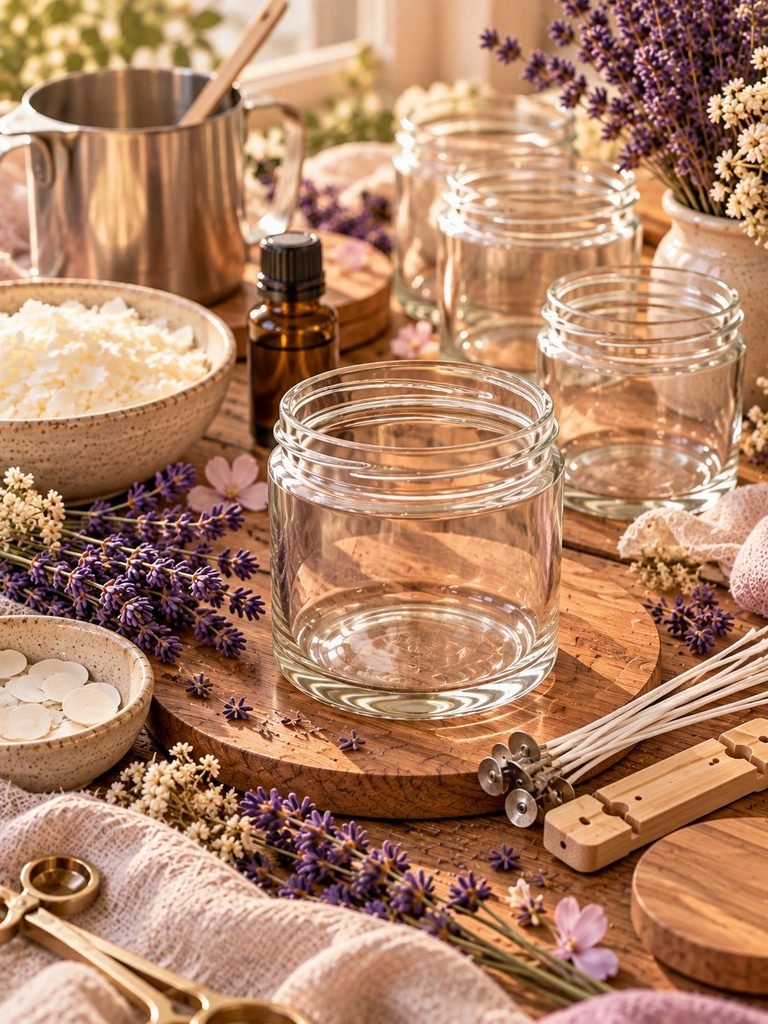
Place a wick sticker or appropriate candle adhesive on the bottom of the wick tab.
Carefully position the wick in the center of the container.
Press it firmly against the bottom so it stays in place.
Keeping the wick centered is extremely important because it affects how evenly the candle burns.
Once the wick is attached, use a wick-centering tool to hold it upright.
If you don’t have one, you can place two wooden sticks across the top of the container and position the wick between them.
Step 3: Measure Your Wax
Weigh the amount of soy wax needed for your candle using a digital scale.
Add the wax to your melting pitcher.
Using a scale rather than measuring cups will give you much more consistent results, especially when you’re making multiple candles.
Step 4: Melt the Wax
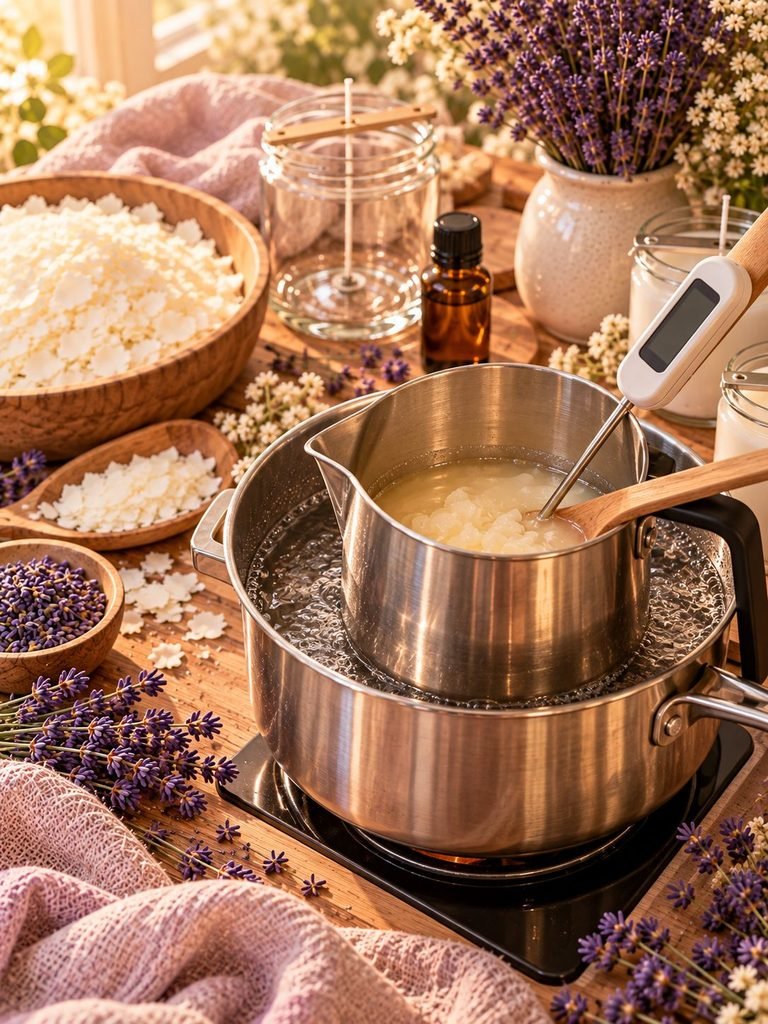
Create a double-boiler setup by placing your wax container in a pot containing water.
Heat the wax gradually according to the instructions provided by your wax manufacturer.
Stir gently as the wax melts.
Keep an eye on the temperature with your thermometer.
Never leave melting wax unattended.
Avoid overheating the wax, and follow the manufacturer’s recommended temperature range rather than relying on a single temperature that applies to every type of wax.
Step 5: Add Your Lavender Fragrance
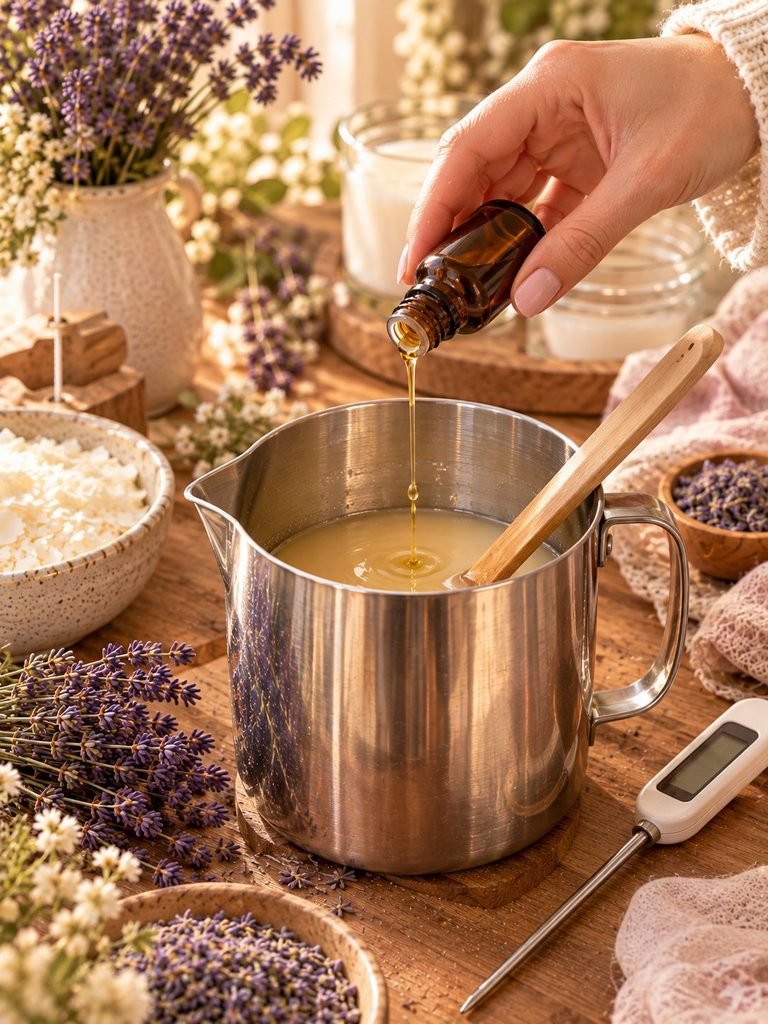
Once your wax reaches the appropriate temperature for fragrance addition according to your wax manufacturer’s instructions, carefully add your candle-safe lavender fragrance.
The recommended fragrance load depends on the specific wax and fragrance oil you’re using, so follow the supplier’s recommended percentage.
Add the fragrance gradually and stir gently but thoroughly.
You want the fragrance to distribute evenly throughout the wax without aggressively whipping air into the mixture.
Take your time during this step. Good fragrance incorporation helps produce a more consistent candle.
Step 6: Pour the Wax
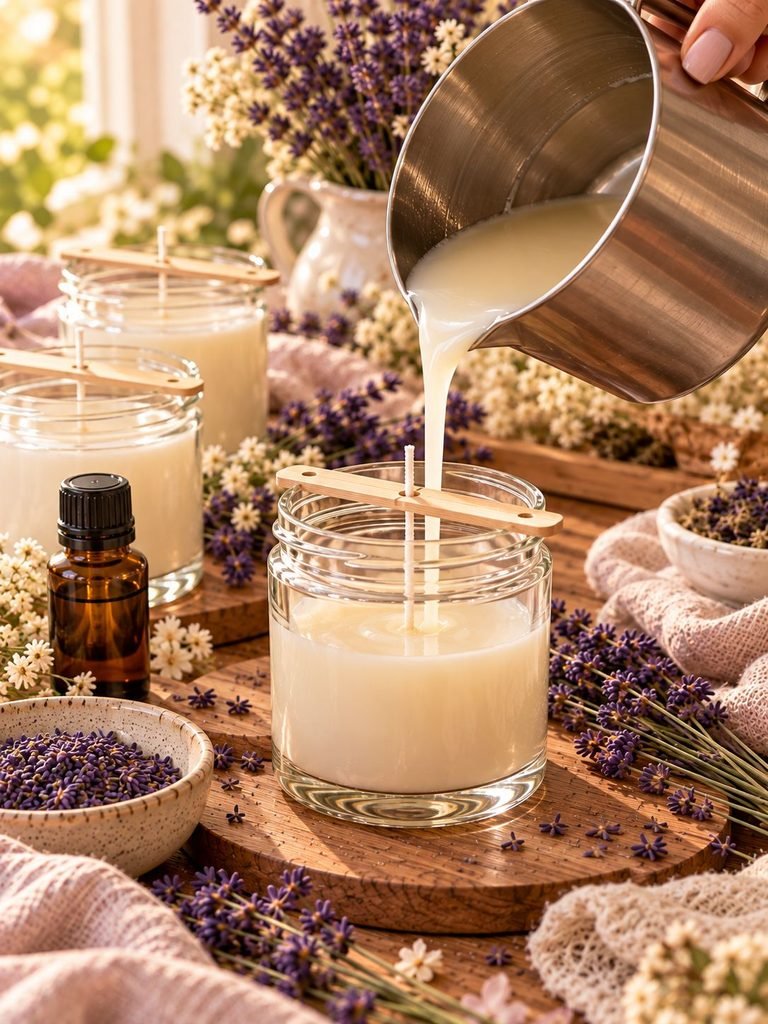
Allow the wax to cool to the pouring temperature recommended for your particular wax.
Then slowly pour the wax into your prepared container.
Pour steadily rather than quickly.
Leave some space at the top of the container instead of filling it completely to the rim.
Check that your wick is still centered after pouring.
If it has moved, gently reposition it while the wax is still liquid.
Step 7: Let the Candle Cool
This is the part where patience really helps.
Place your freshly poured candle somewhere level and undisturbed.
Allow it to cool naturally at room temperature.
Avoid placing the candle in the refrigerator or freezer to speed up the process. Rapid cooling can contribute to surface imperfections, cracking, or other problems.
Depending on the wax and container, cooling can take several hours.
Don’t disturb the candle while it is setting.
Step 8: Trim the Wick
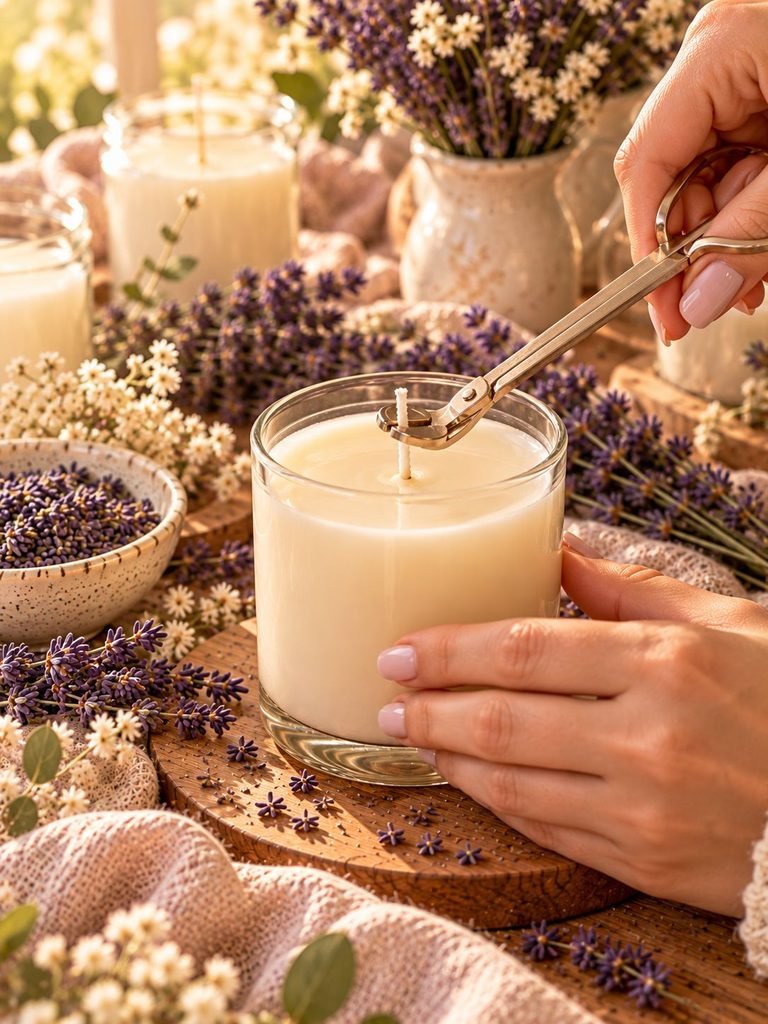
Once your candle has completely hardened, remove the wick-centering tool.
Trim the wick to the recommended length for your wick and candle setup.
A wick that is too long can create an excessively large flame and unnecessary soot.
For many container candles, a trimmed wick around 1/4 inch is a common starting point, but always follow the wick manufacturer’s guidance and test your candle.
Step 9: Let Your Lavender Candle Cure
Your candle may look finished, but I recommend giving it time to cure before burning it.
Curing allows the fragrance and wax to settle and can improve the candle’s performance and scent throw.
The ideal curing period depends on the wax you’re using. Many soy candle makers allow several days to around two weeks for their candles to cure.
Check your wax supplier’s recommendations.
I know waiting can be difficult when you’ve just made something pretty, but the extra time can make a noticeable difference.
How to Make Your Lavender Candle Look Beautiful
One of my favorite parts of candle making is styling the finished candle.
You don’t need to make it complicated.
A simple clear glass jar with creamy soy wax and a minimalist label can look incredibly elegant.
For a cozy feminine look, try:
- A clear glass jar
- A simple cream or blush label
- Natural twine
- A small dried botanical accent
- A wooden lid
- A soft lavender-colored ribbon
You can also place your finished candle on a small wooden tray with dried lavender, linen fabric, and a few natural decorative pieces.
Important Note About Dried Lavender
Although dried lavender looks beautiful in photographs, avoid placing loose dried flowers, herbs, or botanicals near the wick or in the candle’s melt pool.
Combustible decorations can create a fire hazard.
For a decorative lavender look, it’s safer to keep dried lavender outside the burning area—for example, tied around the jar exterior or displayed beside the candle.
How to Get a Stronger Lavender Scent
If your candle doesn’t smell as strong as you expected, don’t simply keep adding more fragrance.
Using too much fragrance can negatively affect candle performance and may create safety issues.
Instead, check:
- Whether you’re using a candle-safe fragrance.
- Whether you followed the wax manufacturer’s fragrance-load recommendation.
- Whether the fragrance was added at the appropriate temperature.
- Whether you stirred the fragrance thoroughly.
- Whether you allowed the candle enough time to cure.
- Whether your room is simply too large for the candle size.
The candle’s fragrance can also seem stronger after the candle has had enough time to cure.
Common DIY Lavender Candle Mistakes
Using the Wrong Container
Not every decorative jar is suitable for candles.
Always use a heat-safe container intended for candle making.
Choosing the Wrong Wick
Wick selection depends on several factors, including container diameter, wax type, fragrance load, and other formulation details.
If the wick is too small, the candle may tunnel. If it is too large, the flame can become excessively large.
Wick testing is an important part of candle making.
Adding Too Much Fragrance
More fragrance doesn’t automatically mean a better-smelling candle.
Follow the fragrance and wax manufacturer’s recommended limits.
Pouring at the Wrong Temperature
Temperature can affect the appearance and performance of your finished candle.
Always use the instructions supplied with your particular wax.
Moving the Candle While It Cools
Try not to touch or move your candle while the wax is setting.
A stable cooling environment can help reduce surface imperfections.
How to Safely Test Your Candle
Before gifting or selling a homemade candle, test it yourself.
Burn the candle on a stable, heat-resistant surface and keep it away from curtains, paper, furniture, and other flammable materials.
Never leave a burning candle unattended.
During testing, pay attention to:
- Flame size
- Soot
- Melt pool
- Container temperature
- Wick behavior
- Burning time
- Fragrance performance
If something doesn’t look right, extinguish the candle and allow it to cool completely before making adjustments.
Remember that candle making involves an open flame and hot wax, so safety should always come before appearance.
How to Use Your DIY Lavender Candle
Once your candle has been properly cured and tested, it’s ready to enjoy.
Light it during a relaxing evening while reading a book, taking a bath, doing your skincare routine, or simply winding down after a busy day.
For the first burn, allow the wax to melt evenly across the surface without exceeding the burn-time guidance recommended for your candle and container.
Keep the wick trimmed between burns.
Never burn a candle completely to the bottom of the container.
Always follow basic candle safety practices and the recommendations supplied with your materials.
How to Make This Candle as a Gift
A homemade lavender candle makes such a sweet handmade gift.
You can create a small gift set by pairing the candle with:
- A lavender sachet
- Handmade soap
- A small bath salt jar
- A cozy tea
- A handwritten note
- A small bouquet of dried lavender displayed separately
Wrap everything in kraft paper, cream tissue paper, or a small gift box.
A simple handmade label could say:
Hand-Poured Lavender Candle
Made with love
Adding a personal note is one of those tiny touches that can make a homemade gift feel extra special.
Final Thoughts
Making a DIY lavender candle is such a lovely little project when you want something creative, practical, and relaxing to make at home.
I love that you can keep the design beautifully simple while still creating something that feels thoughtful and special.
Once you understand the basics of choosing your wax, wick, fragrance, container, and proper pouring method, you can start experimenting with different scents and styles.
Take your time, follow the safety instructions for your materials, and don’t worry if your first candle isn’t absolutely perfect. Candle making is a craft you get better at with every batch, and that’s part of the fun.