Make Your Own Mason Jar Candles with Lavender
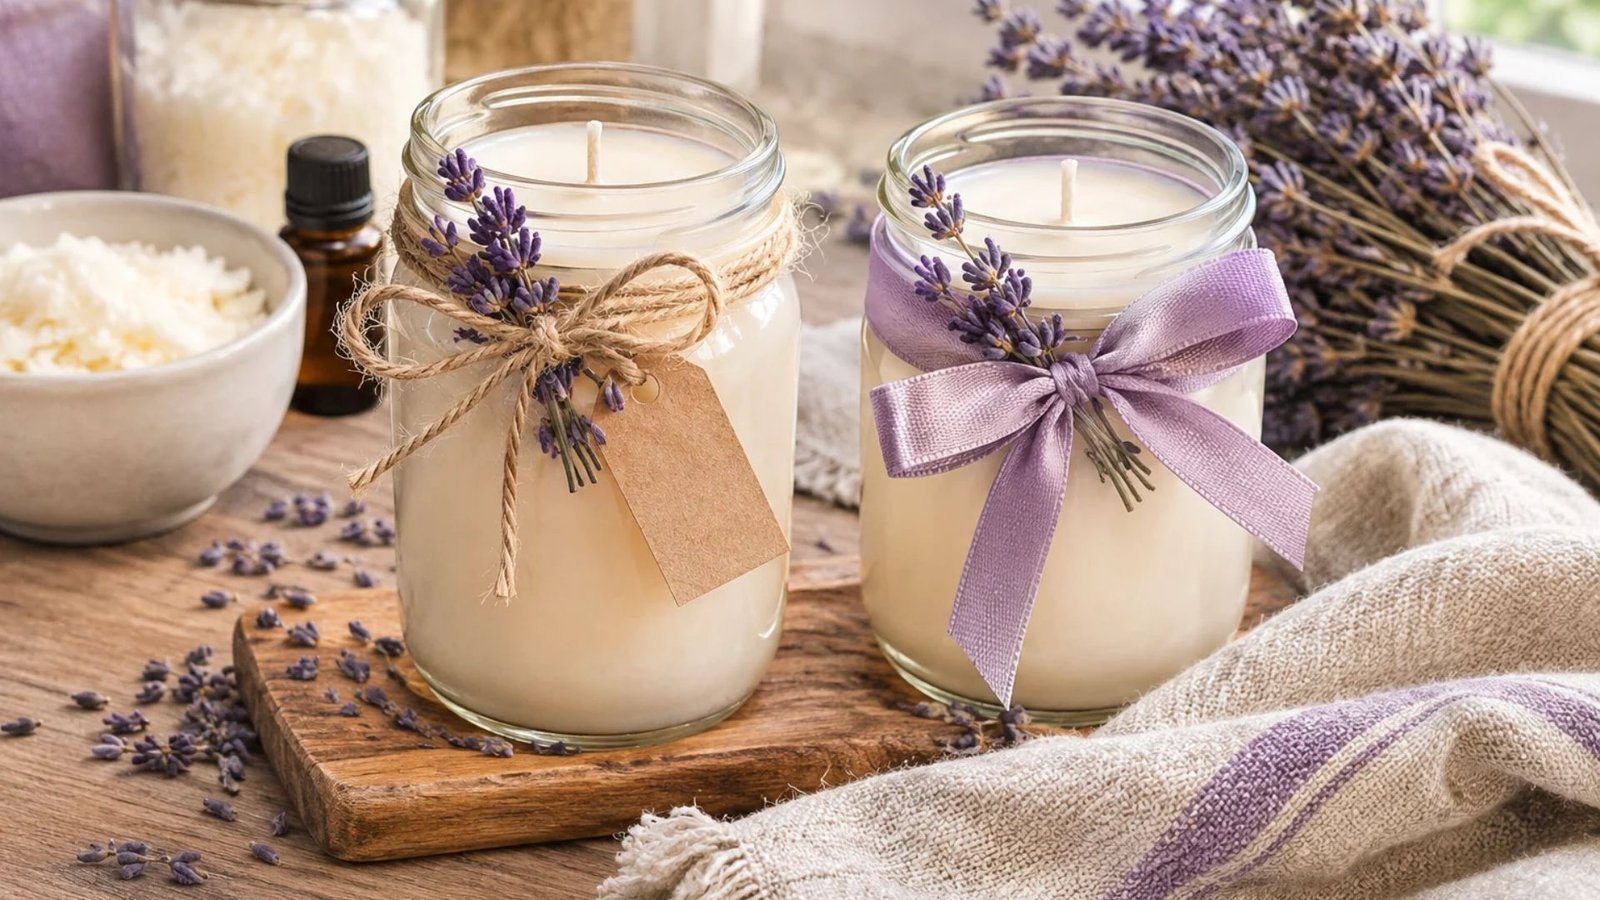
There is something so lovely about filling a home with the soft, soothing scent of lavender, especially when it comes from something you have made with your own hands.
I have always loved simple DIY projects that are both pretty and practical, and these lavender mason jar candles are such a sweet addition to any cozy space.
With their rustic glass jars, delicate purple lavender details, and beautiful fragrance, they are just as lovely to display as they are to give as handmade gifts. The best part? You don’t need professional candle-making skills to create something special.
Why You’ll Love These DIY Lavender Mason Jar Candles

If you enjoy making handmade home decorations, these lavender candles are a lovely project to add to your list. They combine the simple charm of mason jars with the beautiful fragrance of lavender, creating something that feels both rustic and elegant.
Here are a few reasons why I think you’ll love making them:
- Beautiful farmhouse decoration: Mason jars, natural twine, and lavender create a charming country-inspired look that works beautifully with neutral and cottagecore interiors.
- Lovely homemade gifts: These candles make thoughtful presents for birthdays, Mother’s Day, bridal showers, housewarmings, and Christmas.
- Beginner-friendly project: You only need a few basic candle-making supplies and some patience while the wax sets.
- Customizable: You can choose your favorite jar size, wax color, lavender fragrance, and decorative details.
- Budget-friendly: If you already have mason jars and some basic crafting supplies, you can make these candles without buying lots of expensive equipment.
Another thing I love about this project is how easy it is to make each candle look a little different. A simple twine bow, a small gift tag, or a pretty ribbon can completely change the finished look.
Read How to Make Wax Melts Smell Stronger: Easy Tips for a Stronger Scent
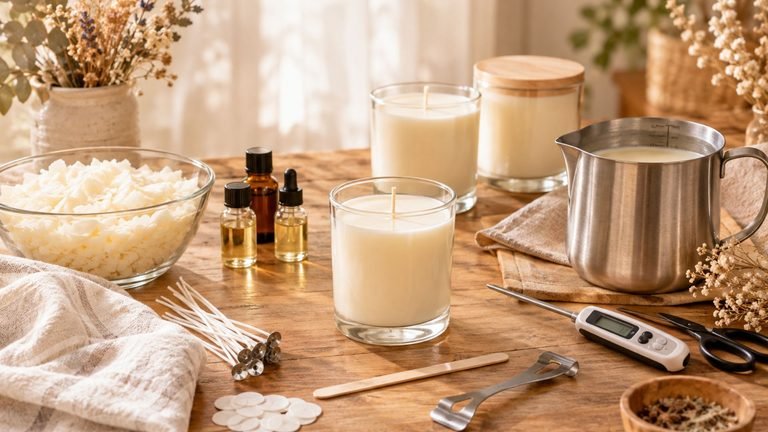
What You’ll Need to Make Lavender Mason Jar Candles
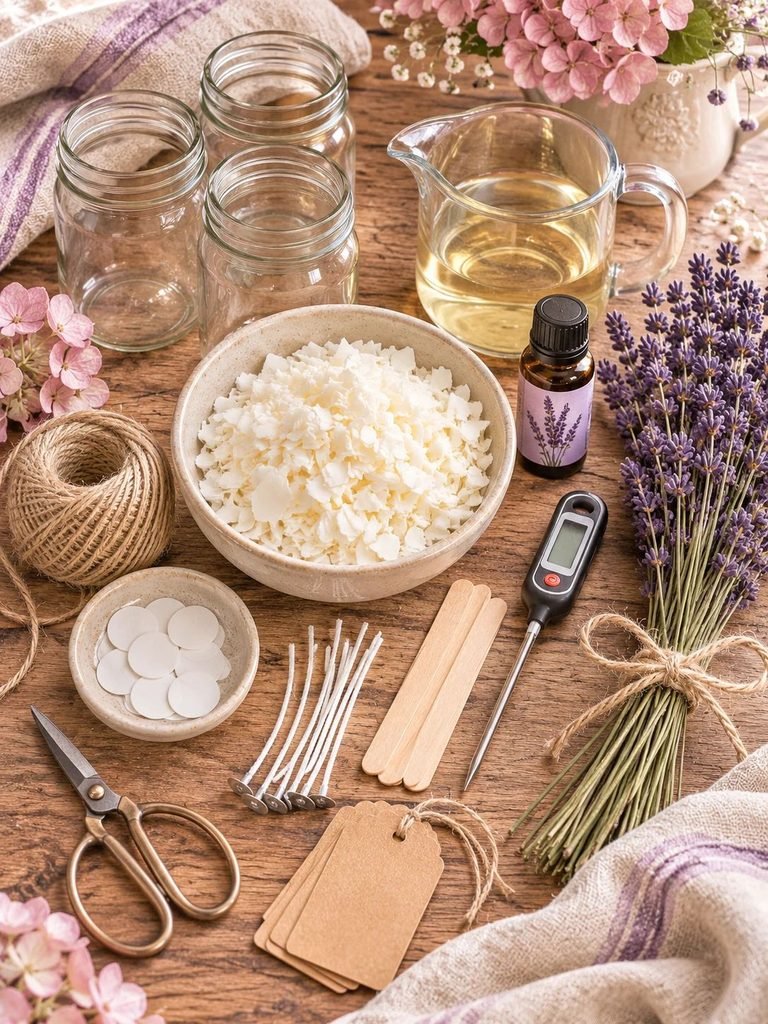
Before getting started, gather all your supplies and prepare a clean, organized workspace. Candle-making is much easier when everything is ready before you begin melting the wax.
Here is what you’ll need.
Materials
- Mason jars: Choose clean, heat-resistant candle-safe glass jars. You can use a single jar for a traditional candle or two differently sized jars for a decorative double-wall design.
- Soy candle wax: Soy wax is a popular choice for homemade container candles because it has a lovely creamy appearance and works well in suitable candle containers.
- Candle wicks: Choose wicks specifically designed for your wax type and the inside diameter of your jar.
- Wick stickers: These help secure the wick to the bottom of the candle container.
- Lavender fragrance oil: Use a candle-safe lavender fragrance oil for a reliable scent. Alternatively, use lavender essential oil only if your wax supplier confirms that it is suitable for the intended candle application.
- Dried lavender stems: These are beautiful for decoration, but should never be placed in the candle wax or anywhere a flame can reach them.
- Candle-safe dye (optional): A little purple or ivory candle dye can give your wax a soft decorative shade.
- Cotton twine or ribbon: Perfect for adding a rustic finishing touch.
- Small gift tags: Optional, but lovely if you are making candles to give away.
Equipment
- Double boiler or a suitable wax-melting setup
- Heat-safe pouring jug
- Kitchen thermometer suitable for candle-making
- Wooden stirring utensil
- Wick-centering tool or wooden skewers
- Digital kitchen scale
- Scissors
- Protective gloves and heat-resistant work surface
A little tip: Don’t guess the wick size or fragrance quantity. Both depend on your particular wax, fragrance, and jar diameter. Follow the wax manufacturer’s instructions and the fragrance supplier’s recommended usage rate.
Choosing the Best Wax for Your Lavender Candles

The type of wax you choose can make a difference to how your finished candle looks, smells, and burns.
Here are some popular options.
1. Soy Wax
Soy wax is one of my favorite choices for beginner-friendly container candle projects. It has a soft, creamy appearance that looks beautiful inside clear mason jars.
It is also popular for its relatively easy handling and natural-looking finish. However, soy wax can sometimes develop frosting, sinkholes, or uneven surfaces as it cools.
2. Paraffin Wax
Paraffin wax is another option for homemade candles. It generally produces a smooth finish and can provide good fragrance performance when properly formulated.
It is worth experimenting with different waxes to discover which one gives you the finish and fragrance you prefer.
3. Beeswax
Beeswax has a naturally warm golden color and a subtle honey-like aroma. It can make beautiful candles, although it behaves differently from soy and paraffin wax.
Make sure you choose a wick and fragrance combination designed for your specific beeswax blend.
My recommendation: For a first mason jar candle, choose a container soy wax specifically formulated for candle-making. It is a lovely starting point for achieving a simple, creamy finish.
How to Make Your Own Mason Jar Candles with Lavender
Now comes the fun part! Once your supplies are ready, you can start creating your candles.
For this project, I’ll explain how to make a traditional lavender-scented candle and then how to create a decorative lavender double-jar look.
Step 1: Prepare Your Mason Jars

Start by washing your mason jars thoroughly with warm, soapy water. Rinse them well and allow them to dry completely.
Before using them, check each jar carefully for cracks, chips, or damage. Only use glass containers specifically suitable for candle-making.
Make sure the inside of the jar is completely clean and free from dust or moisture.
If you’re making a traditional candle, you only need one suitable jar for each candle.
For the decorative double-wall design, choose two compatible jars, with one fitting inside the other while leaving enough space between them for decoration. The inner jar must be suitable for containing a candle, and the outer jar should be used only as a decorative sleeve.
Read How to Make Candles for Beginners: Easy Step-by-Step Guide
Step 2: Attach the Candle Wick

Take your candle wick and attach its metal base to a wick sticker.
Carefully position it in the center of the bottom of your clean candle jar. Press down gently to make sure it is secure.
The wick should remain upright and centered throughout the pouring process.
You can use a wick-centering tool or place two wooden skewers across the top of the jar to hold the wick in position.
A centered wick is important because it helps the candle burn more evenly.
Step 3: Measure Your Candle Wax
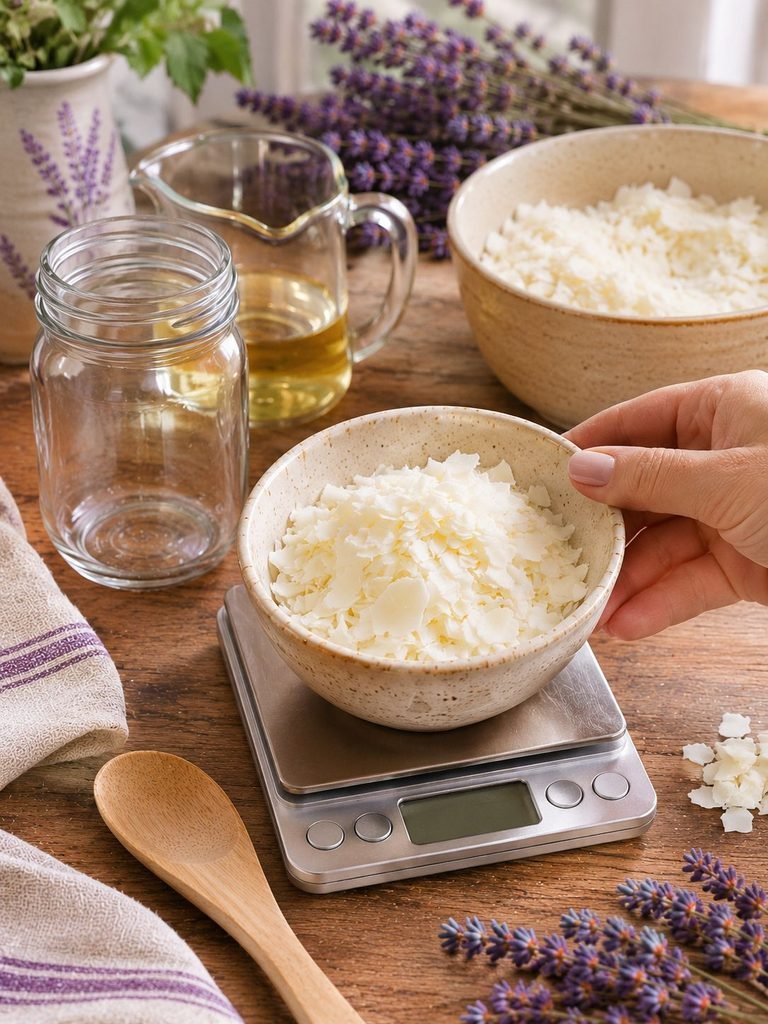
Use a digital kitchen scale to measure the amount of wax you need.
The quantity will depend on the size and number of jars you are filling.
A helpful way to estimate the required amount is to determine the finished candle’s fill volume and use the wax supplier’s recommended wax-to-volume conversion.
It is always better to measure carefully than to melt too much wax and have leftovers.
Keep in mind that the amount of wax you need will also depend on whether you are making one candle or several.
Step 4: Melt the Candle Wax

Place your measured wax into a suitable melting pitcher or double boiler.
Heat the wax gently, allowing it to melt gradually. Stir occasionally with a clean wooden utensil.
Use your thermometer to monitor the temperature and follow the specific heating instructions provided by your wax manufacturer.
Avoid overheating the wax. Excessive heat can affect its performance and may create unnecessary safety risks.
Once the wax has melted completely, remove it from the heat source.
Step 5: Add Your Lavender Fragrance
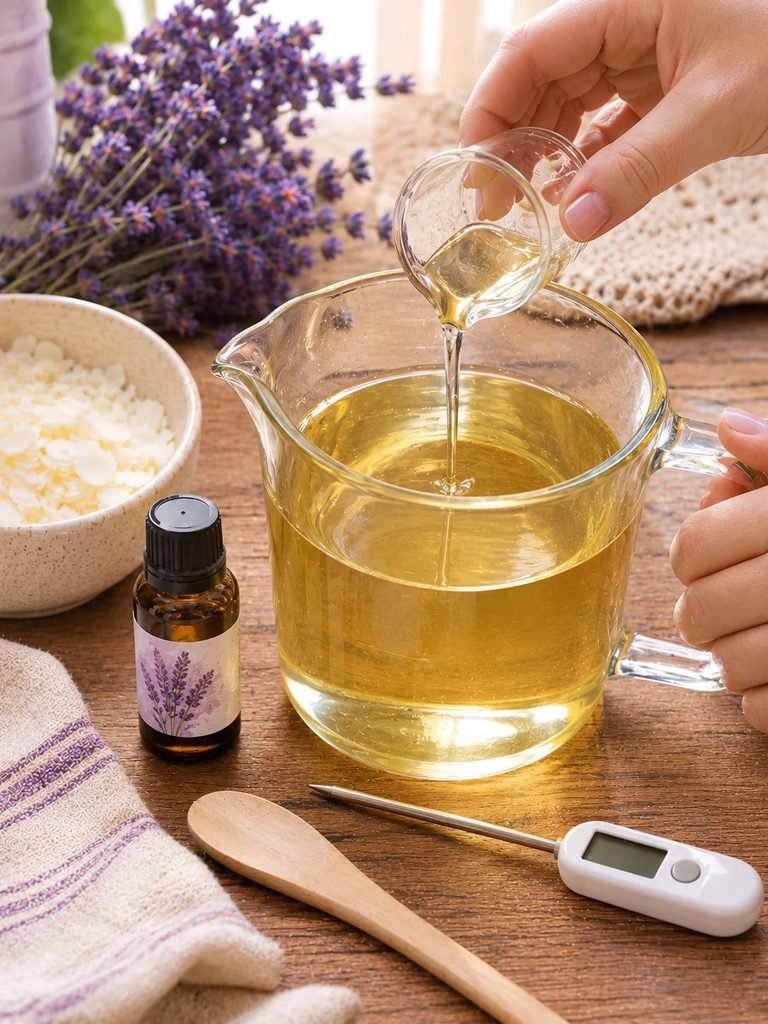
Allow the melted wax to reach the temperature recommended by the wax and fragrance manufacturers before adding your fragrance.
Measure the candle-safe lavender fragrance oil according to the wax’s maximum fragrance load and the fragrance supplier’s instructions.
Pour it into the melted wax and stir gently for the recommended amount of time.
This helps distribute the fragrance throughout the wax.
I love how lavender gives homemade candles such a soft, floral character. You can choose a light lavender fragrance for a delicate scent or a richer lavender blend if you prefer something more noticeable.
Avoid adding random amounts of essential oil. More fragrance does not automatically mean a stronger or better-smelling candle, and exceeding the recommended amount can affect candle safety and performance.
Step 6: Pour the Wax Into Your Mason Jar

Check that your prepared jar is sitting on a stable, heat-resistant surface.
Slowly pour the melted wax into the jar, taking care not to disturb the wick.
Leave a little room at the top rather than filling the jar right to the rim.
Keep the wick centered as you pour. If necessary, adjust your wick-centering tool to keep it upright.
Pouring slowly also helps reduce unnecessary splashing and air bubbles.
Step 7: Allow the Candle to Cool
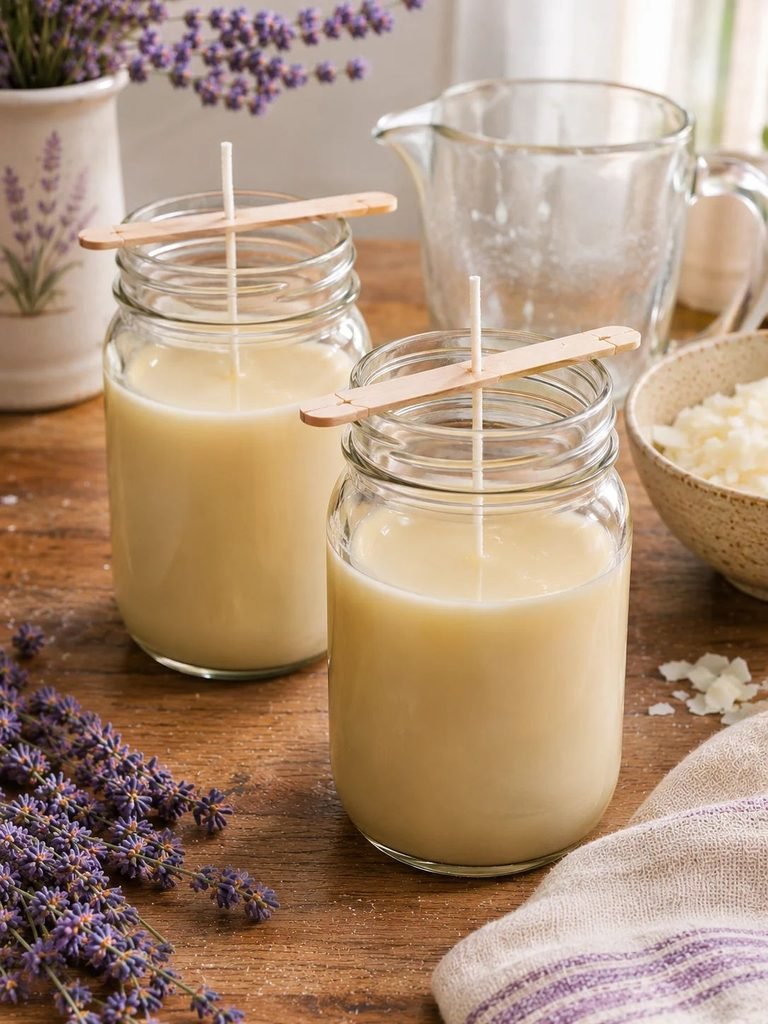
Leave your candle undisturbed in a draft-free area while the wax cools and hardens.
Avoid moving the jar while the wax is setting because this can affect the surface and cause uneven cooling.
Some waxes may develop a small dip or sinkhole around the wick as they cool. This is fairly common with certain container waxes.
If this happens, follow the wax manufacturer’s recommended method for correcting the surface, which may involve a carefully measured second pour.
Allow the candle to cure for the period recommended by your wax manufacturer before burning it. Soy candles often benefit from a longer curing period for improved fragrance performance.
Step 8: Trim the Wick

Once the wax has completely hardened, remove your wick-centering tool.
Trim the wick to the length recommended by the wick manufacturer, commonly around 1/4 inch for many container candles.
Make sure the wick is upright and that there are no loose pieces of wax or debris on the surface.
Your basic lavender mason jar candle is now ready for its finishing touches!
How to Create a Decorative Lavender Double-Jar Design

If you love the look of lavender stems arranged around a candle, you can create a pretty double-wall mason jar decoration.
This is a lovely way to showcase dried lavender while keeping combustible decorations separate from the candle itself.
For this design, use the following arrangement:
- Prepare a larger decorative outer jar and a smaller inner candle jar.
- Make the lavender candle in the inner jar using the steps above.
- Allow the candle to cool completely.
- Place the inner jar inside the larger decorative jar.
- Arrange dried lavender stems in the space between the two jars.
- Make sure the dried flowers remain securely separated from the candle flame and hot surfaces.
Important safety note: Dried lavender is flammable. Never place dried flowers, herbs, petals, or other combustible decorations inside candle wax or where they can come into contact with the flame or heated glass.
For the double-wall design, the safest option is to use a battery-operated LED candle in the inner jar instead of a burning candle.
This gives you the beautiful appearance of a lavender-filled mason jar without introducing dried botanicals near an open flame.
Beautiful Ways to Decorate Your Lavender Mason Jar Candles
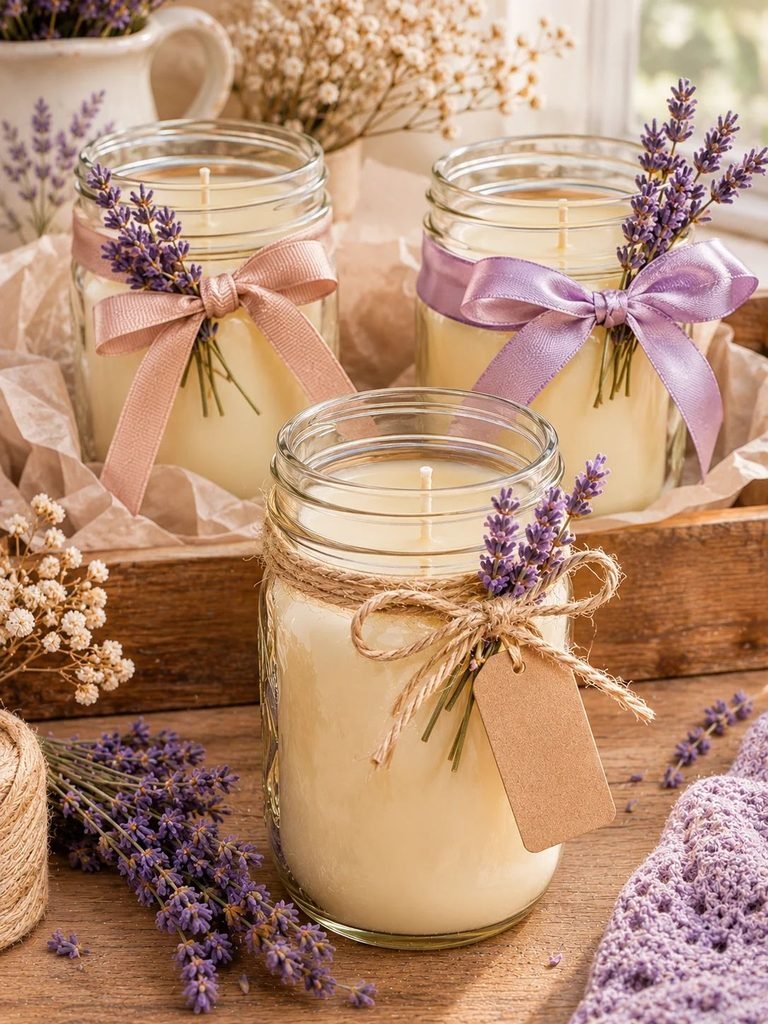
One of the nicest things about homemade candles is that you can decorate them to suit your personal style.
Here are a few simple ideas to make your finished project look even more special.
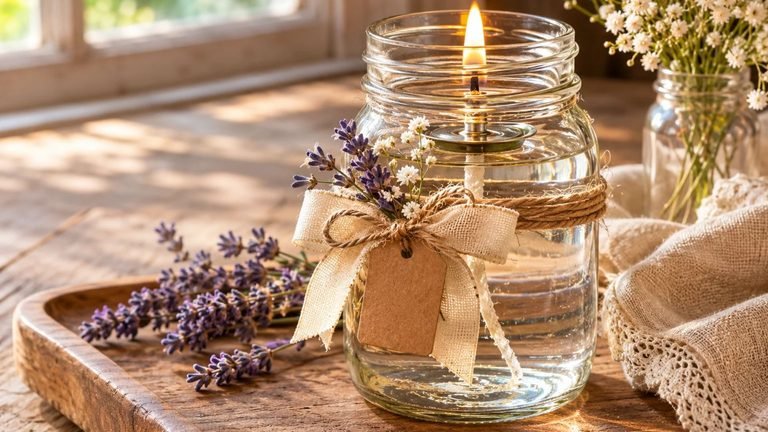
1. Add a Rustic Twine Bow
A little natural twine around the neck of your mason jar instantly creates a farmhouse-inspired look.
Tie it into a simple bow and tuck a small decorative gift tag underneath.
You can also add a tiny artificial lavender sprig to the outside of the jar, keeping it well away from any heat or flame.
2. Use Soft Neutral Ribbons
If you prefer a more feminine look, choose cream, dusty pink, beige, or muted lavender ribbon.
These shades complement the purple tones of lavender beautifully and make the finished candle feel elegant.
3. Add a Handmade Gift Tag
A small kraft paper tag can make your candle look like something from a boutique gift shop.
You could write:
- Handmade with love
- Lavender Dreams
- A Little Moment of Calm
- Made Just for You
4. Choose Beautiful Mason Jars
Clear mason jars are a classic choice, but you can also experiment with suitable candle containers in frosted or tinted glass.
A soft purple or pale amber container can look particularly pretty with lavender-inspired decorations.
Always make sure any container used for a burning candle is specifically suitable for that purpose.
5. Create a Matching Gift Set
If you’re making several candles, arrange them together in a small gift box with tissue paper, a handmade tag, and a matching lavender sachet.
Just remember to keep loose dried lavender and other decorative materials separate from the burning candle.
Tips for Getting the Best Results
Even though this is a relatively simple project, a few little details can make a big difference to your finished candles.
Here are some tips I recommend keeping in mind.
Use the correct wick size. A wick that is too small may tunnel, while one that is too large can produce excessive heat, a large flame, or soot. Choose a wick recommended for your wax and jar diameter, then conduct proper burn testing.
Don’t rush the cooling process. Allow the candle to cool naturally. Rapid temperature changes can contribute to cracking or an uneven surface.
Measure your fragrance carefully. Follow the fragrance load recommended by your wax supplier rather than relying on a fixed number of drops.
Keep your jars clean and dry. Dust and moisture can affect the appearance of your finished candle.
Allow enough curing time. Some waxes need several days or longer before they reach their best fragrance performance.
Test before gifting. Always test your finished candle in its intended container to check that the wick, wax, fragrance, and container work safely together.
Common Problems When Making Mason Jar Candles
If this is your first time making candles, you might encounter a few small problems. Don’t worry! Many common candle-making issues can be prevented with a little preparation.
Why Does My Candle Have a Hole Around the Wick?
Sometimes wax contracts as it cools, leaving a small hole or dip around the wick.
This can happen with container waxes, especially soy wax.
To help prevent this, follow the manufacturer’s recommended pouring and cooling temperatures. If a hole appears, use the recommended correction method for your wax.
Why Is My Candle Surface Uneven?
An uneven or rough surface can happen when wax cools too quickly or when the temperature changes during the setting process.
Try allowing your candles to cool in a room with a consistent temperature, away from open windows, fans, and direct sunlight.
Why Doesn’t My Lavender Candle Smell Strong Enough?
A weak fragrance can have several causes.
You may have used an unsuitable fragrance, added it at the wrong temperature, exceeded the wax’s recommended fragrance compatibility, or allowed insufficient curing time.
Make sure your fragrance is designed for candle-making and follow the supplier’s instructions carefully.
Why Is My Candle Burning Unevenly?
Uneven burning can be caused by an incorrectly sized wick, an off-center wick, or an unsuitable container.
Check that your wick is centered and properly matched to your wax and jar diameter.
Always conduct burn testing before using or gifting your finished candles.
How to Use and Care for Your Homemade Lavender Candles
Once your candle is finished and has passed appropriate burn testing, there are a few simple habits that will help you enjoy it safely.
- Always place burning candles on a stable, heat-resistant surface.
- Keep candles away from curtains, paper, dried flowers, and other flammable materials.
- Never leave a burning candle unattended.
- Keep candles away from children and pets.
- Avoid placing candles near open windows or strong drafts.
- Follow the candle manufacturer’s recommended burn time and care instructions.
- Stop using the candle when the remaining wax reaches the container manufacturer’s recommended minimum level.
- Never move a candle while the wax is hot.
Before lighting the candle, trim the wick to the recommended length and check that the wax surface is free from debris.
For the decorative double-wall lavender version, use a battery-operated LED candle rather than lighting a flame near the dried flowers.
Are Lavender Mason Jar Candles Good Gifts?
Absolutely! I think these make such lovely handmade gifts because they are simple, pretty, and easy to personalize.
You could make a small collection for friends, family members, teachers, or anyone who enjoys handmade home decorations.
Here are a few occasions when they would be especially lovely:
- Mother’s Day: Add a soft pink ribbon and a sweet handwritten message.
- Bridal showers: Make several matching candles with personalized gift tags.
- Christmas: Use cream ribbon, natural twine, and festive gift packaging.
- Birthdays: Pair a candle with a handmade lavender sachet.
- Housewarming gifts: Create a neutral farmhouse-inspired candle set for a new home.
If you’re giving a candle as a gift, include a small care card with basic candle safety instructions. Make sure the candle has been properly tested before gifting it.
Frequently Asked Questions
1. Can I Put Dried Lavender Inside a Mason Jar Candle?
You should never put dried lavender directly into candle wax or near the flame. Dried flowers and herbs are combustible and can catch fire while the candle is burning.
For a beautiful lavender appearance, use dried lavender as decoration in a separate display or use it between two jars with a battery-operated LED candle.
2. Can I Use Fresh Lavender Instead of Dried Lavender?
Fresh lavender is not recommended for candle decoration because it contains moisture and can deteriorate over time.
For decorative projects, dried lavender is a better option. However, keep it away from the flame and hot surfaces.
3. What Is the Best Wax for Homemade Lavender Candles?
Container soy wax is a popular beginner-friendly choice because it produces a creamy finish and works well in suitable glass candle containers.
However, the best option depends on the fragrance, wick, and container you choose.
4. Can I Use Lavender Essential Oil Instead of Fragrance Oil?
Some essential oils can be used in candle-making, but not all are suitable or perform well in every wax.
Check that your essential oil supplier and wax manufacturer confirm compatibility and follow the recommended usage rate. A candle-safe lavender fragrance oil is often a more predictable option for beginners.
5. How Long Do Homemade Mason Jar Candles Last?
The burning time depends on the candle’s wax quantity, wick size, jar diameter, and formulation.
Rather than relying on a general estimate, conduct controlled burn tests to determine how your finished candle performs.
6. Can I Reuse Mason Jars for Candle-Making?
You can reuse suitable glass candle containers if they are in excellent condition and specifically designed to withstand candle heat.
However, ordinary decorative mason jars are not automatically safe candle containers. Always check the manufacturer’s guidance before using a jar for a burning candle.
Final Thoughts
Making your own mason jar candles with lavender is such a lovely way to bring a little handmade charm into your home. I especially love how the simple combination of glass, soft lavender details, and a beautiful floral fragrance can create something that looks so thoughtful and pretty.
Whether you make a traditional lavender-scented candle or a decorative double-wall version with dried lavender, this project gives you plenty of room to add your own personal touch.
You can experiment with different jars, ribbons, gift tags, and fragrances until you create a style you absolutely love.
And if you’re making these for someone special, don’t forget that little handmade details often make the most memorable gifts. Happy crafting!