Evergreen Pressed Rosemary Candles: How to Make Beautiful Herbal Candles at Home
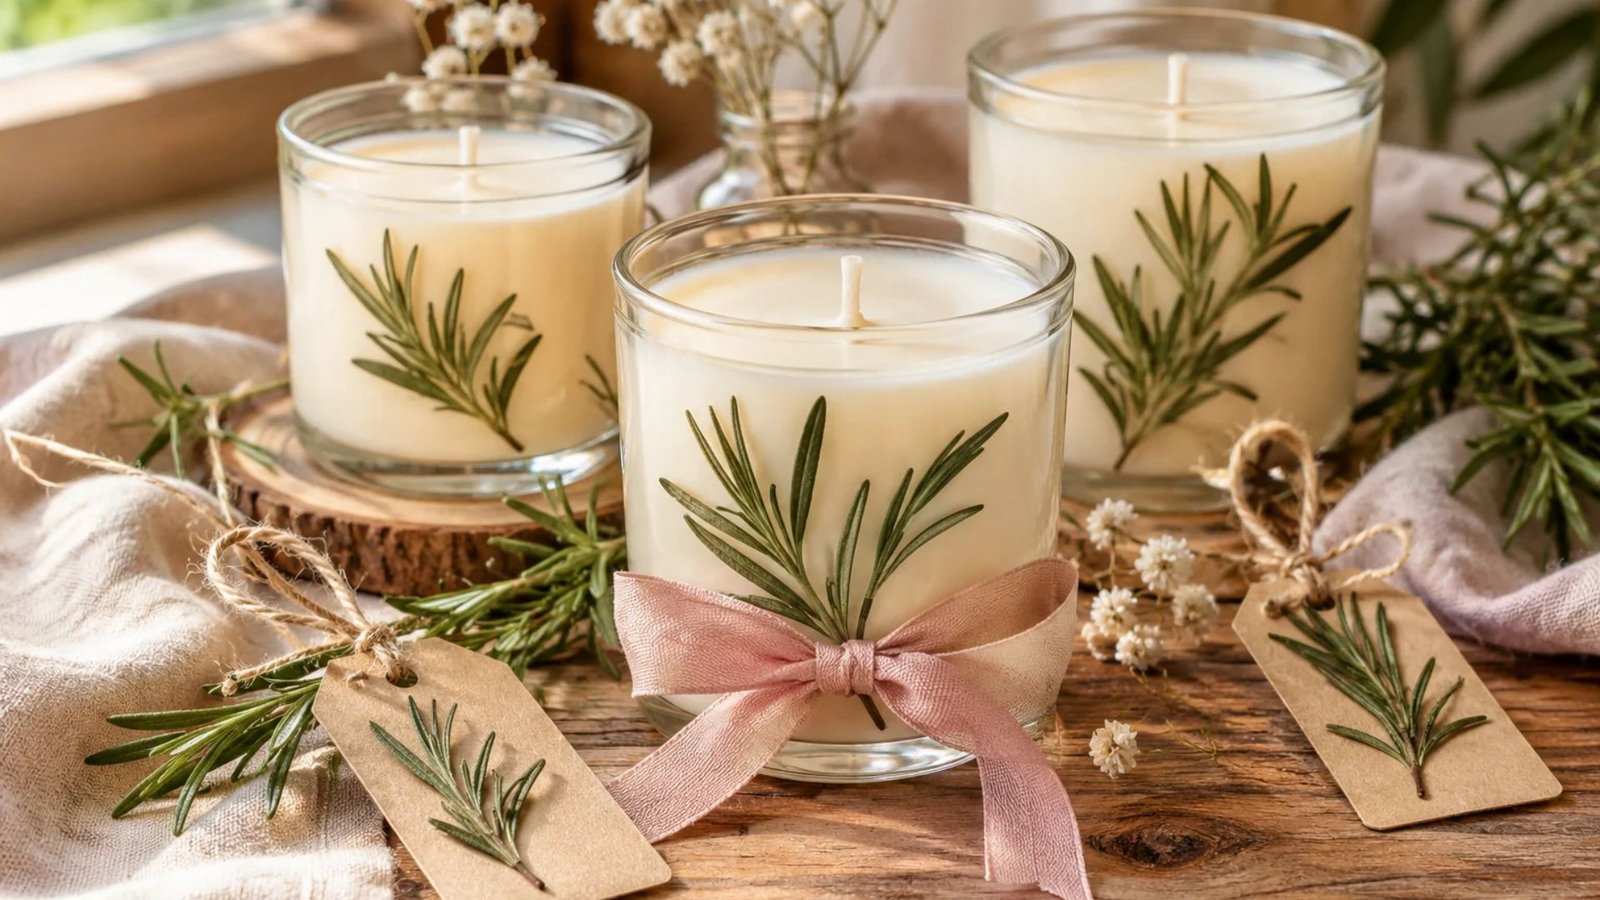
I have always loved little handmade touches that make a home feel warm, welcoming, and a little more special.
One of my favourite things about candle making is how something as simple as wax, a glass jar, and a few natural details can become such a beautiful creation.
These pressed rosemary candles are especially lovely because they bring a little botanical charm into your home.
With their soft herbal fragrance and elegant, garden-inspired appearance, they make wonderful seasonal decorations and thoughtful handmade gifts. Today, I’m sharing how to make your own rosemary-inspired candles, even if you’re completely new to candle making.
What Are Pressed Rosemary Candles?
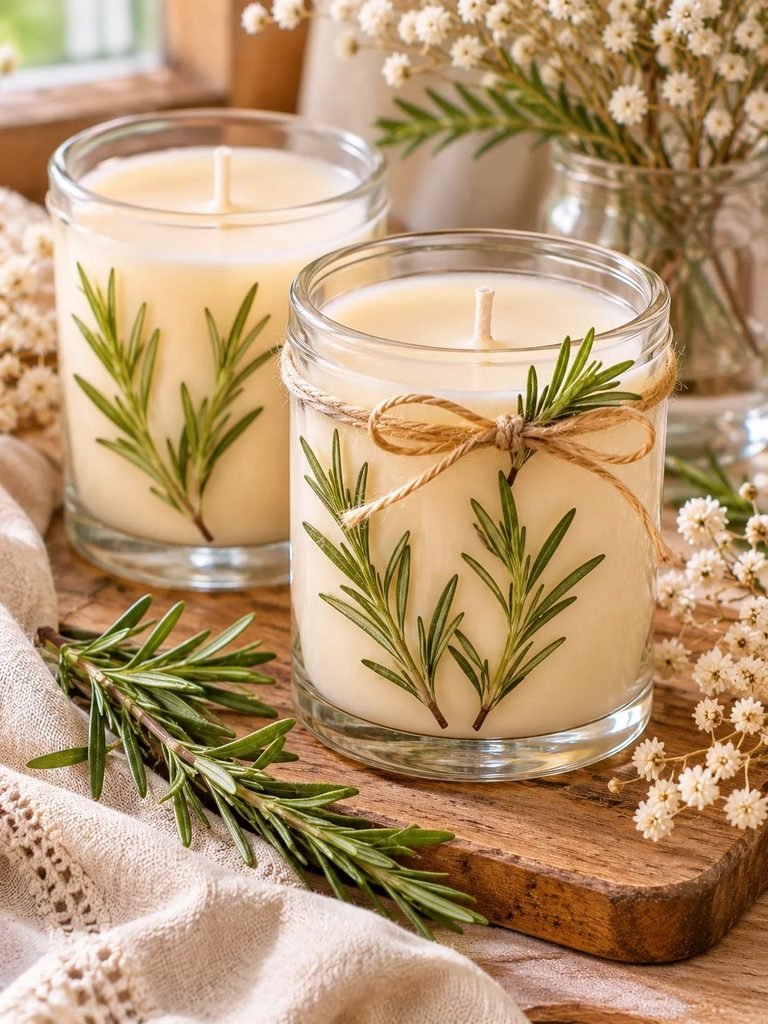
Pressed rosemary candles are botanical-inspired homemade candles that combine the beauty of natural herbs with the warmth and fragrance of candle wax.
Rosemary is particularly lovely for this project because its slender leaves create an elegant, evergreen appearance. Its natural green colour also looks beautiful alongside creamy white, ivory, and pale honey-coloured wax.
Traditional pressed-herb candle designs often feature flattened rosemary sprigs displayed against the inside of a clear glass jar. However, there is an important safety consideration when making candles with dried botanicals.
Dried rosemary, lavender, flowers, and other plant materials are flammable. If they become exposed to the candle’s melted wax pool or flame, they can ignite. For this tutorial, I’ll show you how to create the same beautiful pressed-rosemary aesthetic using removable decorations outside the candle, keeping the actual burning wax free of herbs.
The result is a beautiful handmade herbal-inspired candle that looks lovely on a bedside table, coffee table, bathroom shelf, or gift display.
Why You’ll Love Making Rosemary Candles
There are so many reasons to try this little DIY project.
- Beautiful natural appearance: Rosemary gives your candles a delicate botanical look that works beautifully with farmhouse, cottagecore, and minimalist decorating styles.
- Lovely herbal fragrance: A suitable candle fragrance can give your homemade candles a fresh, woody, garden-inspired scent.
- Thoughtful handmade gifts: These candles are wonderful for birthdays, Christmas, housewarmings, and other special occasions.
- Beginner-friendly: The basic candle-making process is straightforward once you have your supplies ready.
- Customisable: You can experiment with different wax colours, fragrances, glass jars, and decorative gift tags.
Supplies You’ll Need to Make Rosemary Candles
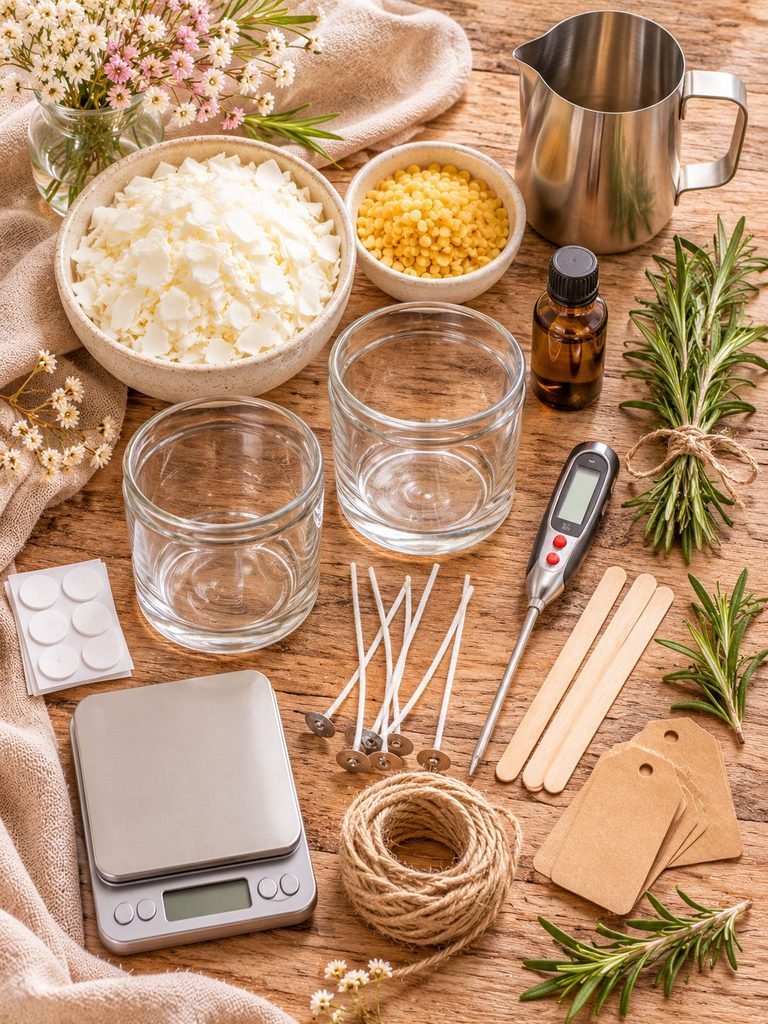
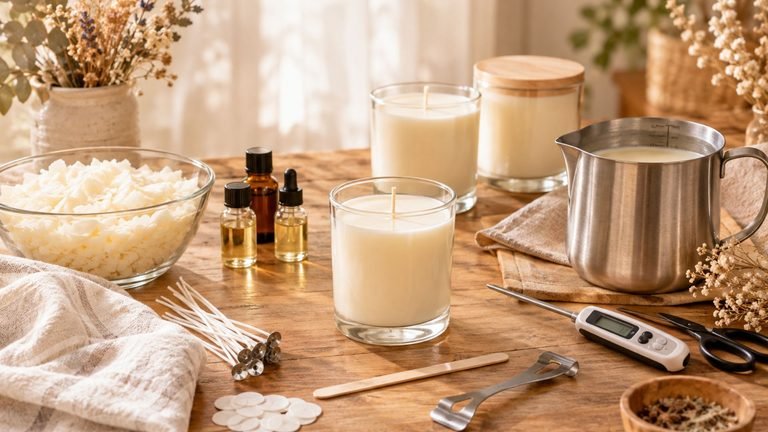
This recipe makes approximately two small container candles. The exact amount of wax you need will depend on the size and shape of your jars.
Materials
- ½ pound soy candle wax
- ½ pound beeswax
- Two suitable heat-resistant candle jars
- Two properly sized candle wicks with metal tabs
- Wick stickers or adhesive suitable for candle making
- Candle-safe fragrance oil (optional)
- Fresh rosemary sprigs for the decorative display
- Small kraft gift tags
- Natural jute twine or ribbon
- Clear glassine or removable decorative packaging for displaying the pressed rosemary separately
Tools
- Double boiler or candle-melting pitcher
- Saucepan
- Digital kitchen scale
- Candle thermometer
- Heat-resistant pouring pitcher
- Wooden stirring stick
- Wick-centering clips
- Scissors
- Small paintbrush for cleaning and arranging decorations
A quick note about the wax: Soy wax and beeswax are a lovely combination for this project. Soy wax gives a smooth, creamy appearance, while beeswax adds firmness and a natural warm tone. Choose waxes intended for container candles and follow the manufacturer’s recommended blending and pouring temperatures.
How to Prepare Rosemary for Your Candle Decorations
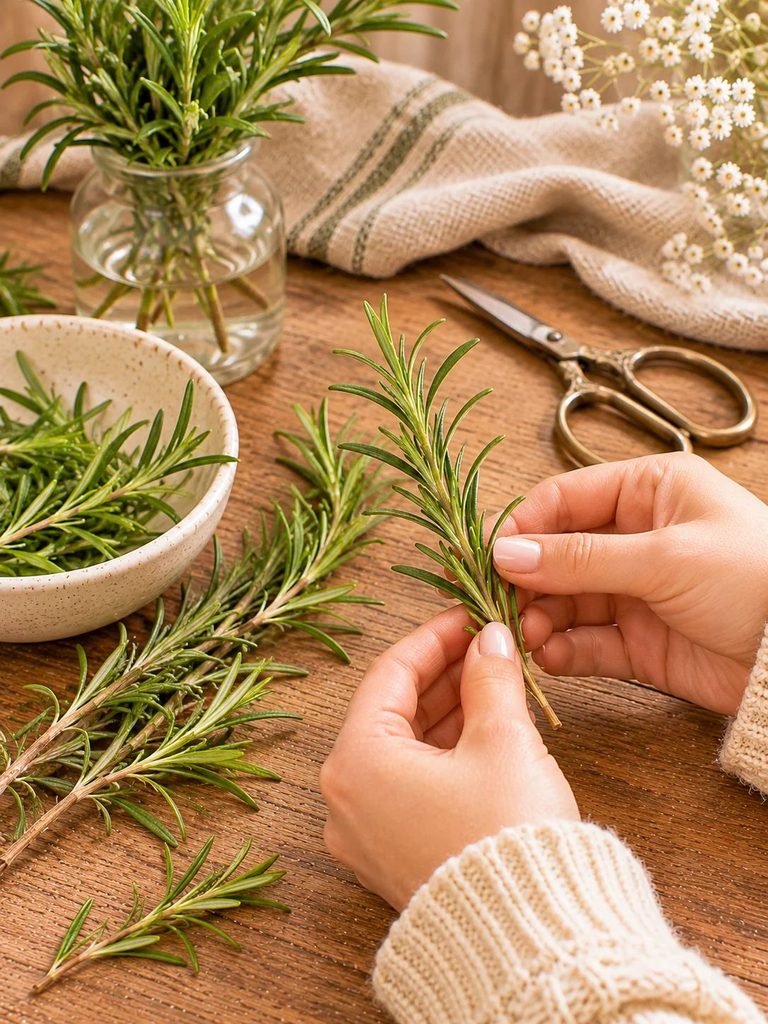
Before melting your wax, prepare your rosemary.
Fresh rosemary is beautiful, but it contains moisture, which means it needs to be dried properly before being used for decorative purposes.
Step 1: Choose Your Rosemary Sprigs
Start by selecting a few attractive rosemary sprigs.
Look for young, slender stems with healthy green leaves. Smaller branches are generally easier to press and arrange than thick, woody stems.
Avoid rosemary with brown, damaged, or discoloured leaves.
If you don’t have rosemary growing in your garden, you can purchase fresh rosemary from a grocery store or local garden centre.
Step 2: Press the Rosemary
Place your rosemary sprigs between two sheets of absorbent paper.
Arrange the leaves neatly so they are spread out rather than overlapping too much.
Place the paper between the pages of a heavy book, then add a few more books on top to provide gentle pressure.
Leave the rosemary undisturbed for approximately one week or until it is completely dry and flattened.
You can also use a flower press if you have one.
Step 3: Store Your Pressed Rosemary
Once your rosemary is completely dry, carefully remove it from the paper.
Store the pressed sprigs in a dry container until you’re ready to use them.
Handle them gently because dried rosemary leaves can become brittle.
Important: Use the pressed rosemary for removable jar decorations, gift tags, or styling around your finished candles. Do not put the dried sprigs into the candle wax or attach them where they could come into contact with the flame.
How to Make Evergreen Pressed Rosemary Candles
Now comes the fun part!
Once your rosemary is prepared and your supplies are organised, you can begin making your candles.
Step 1: Prepare Your Candle Jars

Start by cleaning your candle jars thoroughly.
Make sure they are completely dry and free from dust, moisture, and leftover adhesive.
Place the jars on a flat, heat-resistant work surface.
Check that your containers are specifically designed for candle making and can withstand the heat generated during use.
Next, weigh your containers to calculate how much wax you’ll need.
The easiest way to do this is to fill each jar with water to your desired wax-fill level, weigh the water, and use approximately 90% of that weight as a starting estimate for the wax. Always confirm the final quantity using the specifications of your chosen wax.
Step 2: Attach the Candle Wicks

Choose wicks recommended for your wax blend and the inside diameter of your jars.
Wick size is important because a wick that is too large can create an excessively large flame, while one that is too small may struggle to melt the wax evenly.
Attach a wick sticker to the bottom of each metal wick tab.
Carefully position the wick in the centre of each jar and press it firmly into place.
Use wick-centering clips or two wooden sticks to hold the wick upright.
Make sure the wick remains straight and centred while you prepare the wax.
Step 3: Melt the Soy Wax and Beeswax
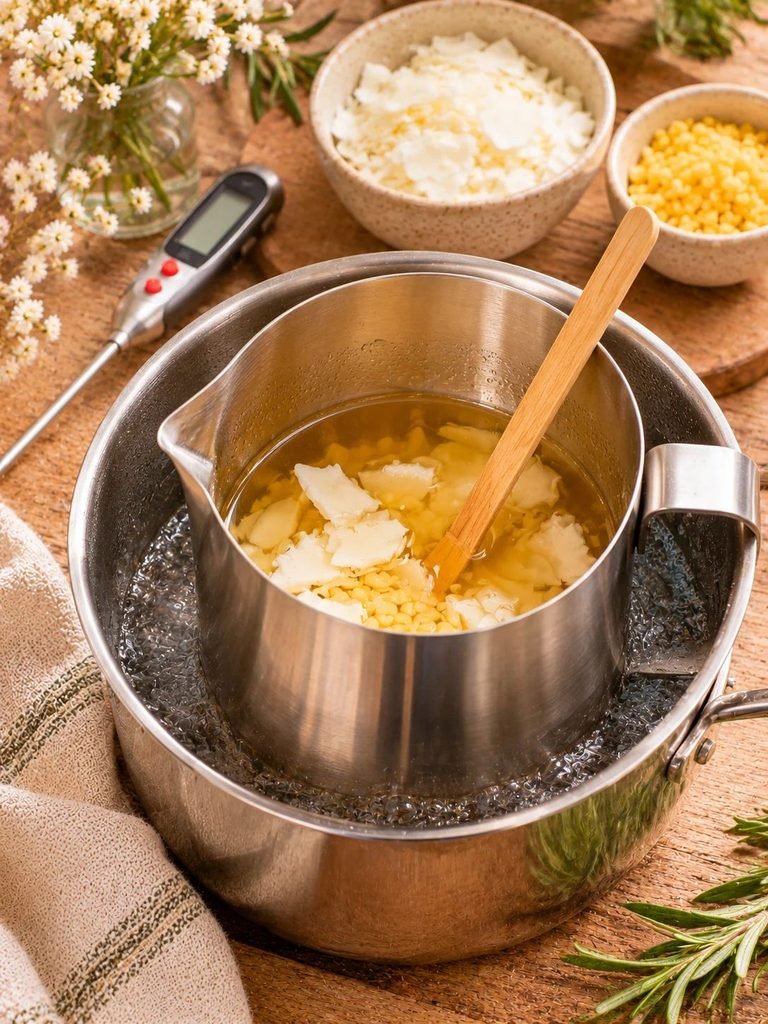
Measure your soy wax and beeswax using a digital scale.
For this recipe, use equal weights of each wax.
Place the wax into a suitable melting pitcher.
Create a double boiler by adding a little water to a saucepan and placing the melting pitcher inside. The water should not enter the wax.
Heat gently until the wax has completely melted.
Stir occasionally using a wooden stirring stick to help the two waxes combine.
Avoid heating the wax directly over an open flame.
Use a thermometer and follow the temperature instructions supplied with your particular wax blend.
Read How to Make Candles for Beginners: Easy Step-by-Step Guide
Step 4: Add Your Fragrance

If you’d like scented rosemary-inspired candles, this is the stage where you can add your fragrance.
For an evergreen-inspired scent, consider a candle-safe fragrance oil with notes of:
- Fir needle
- Cedarwood
- Rosemary
- Juniper
- Bergamot
These fragrances work beautifully together to create a fresh, woody, herbal aroma.
You can also choose a ready-made evergreen or rosemary candle fragrance if you prefer something simpler.
Always use fragrance products specifically approved for candle making. Essential oils are not automatically suitable for candles, and their performance and safety vary.
Follow the fragrance manufacturer’s recommended usage rate for your wax. Measure the fragrance by weight rather than guessing with drops.
Allow the wax to reach the temperature recommended by the wax and fragrance manufacturers before adding the fragrance. Stir gently for the recommended amount of time.
Step 5: Pour the Melted Wax Into Your Jars
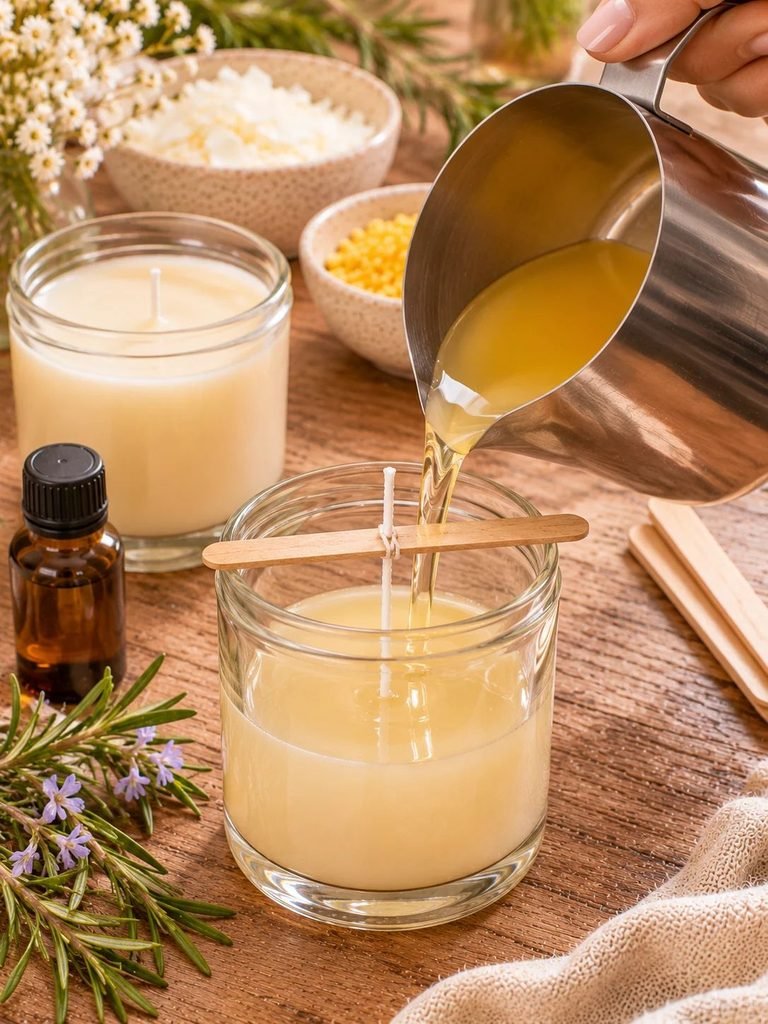
Once your wax and fragrance are properly combined, carefully pour the mixture into your prepared jars.
Pour slowly to minimise air bubbles and prevent splashing.
Leave a little space at the top of each jar rather than filling it completely.
Check that the wick remains centred while pouring.
If necessary, gently reposition your wick-centering clips before leaving the candles to cool.
Step 6: Allow the Candles to Cool

Place your candles on a level surface where they won’t be disturbed.
Allow them to cool naturally at room temperature.
Avoid placing them in the refrigerator or freezer because rapid temperature changes can contribute to cracking, poor adhesion, and uneven surfaces.
Different wax blends have different cooling and curing requirements, so follow the instructions supplied with your wax.
Once the candles have completely hardened, inspect their surfaces.
If you notice a small sinkhole around the wick, follow your wax manufacturer’s instructions for a suitable second pour.
Step 7: Prepare the Pressed Rosemary Decorations

While your candles cool, prepare the pretty botanical details.
Take your completely dried rosemary sprigs and arrange them on small kraft gift tags.
You can place a single sprig along the edge of a tag or create a delicate little arrangement with two or three pieces.
Secure the rosemary using a suitable decorative method on the tag, keeping the dried material separate from the candle flame and hot glass.
Another lovely idea is to create a removable botanical display sleeve that sits around the outside of the jar. It should be taken off completely before the candle is lit.
You can also tie a simple jute ribbon around the jar and attach a rosemary-decorated gift tag.
These little finishing touches give your candles a beautiful handmade appearance without putting dried herbs inside the burning candle.
Step 8: Trim the Wick and Allow the Candle to Cure
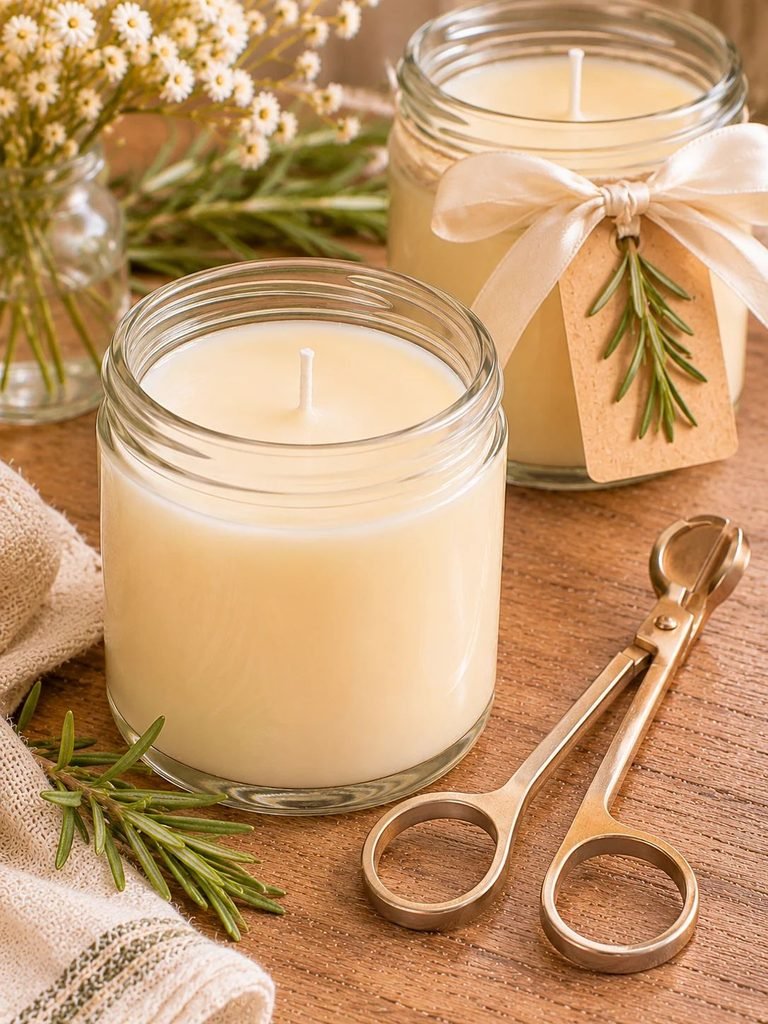
Once the wax has fully hardened, remove the wick-centering clips.
Trim the wick to approximately ¼ inch above the wax surface.
Allow your candles to cure according to the wax manufacturer’s recommendations. Many soy-based container waxes benefit from several days of curing, although the ideal time varies by formulation.
Once cured, your rosemary-inspired candles are ready for their final inspection and presentation.
Before gifting or burning any homemade candle, make sure it has been properly tested with the chosen wick, wax, fragrance, and container combination.
Beautiful Fragrance Combinations for Herbal Candles
One of the nicest things about making your own candles is choosing a fragrance that suits your home and the season.
Here are some lovely combinations to consider. Use candle-approved fragrance blends and follow the supplier’s usage recommendations.
1. Rosemary and Cedarwood
This combination has a warm, woody character with a fresh herbal finish.
It is particularly lovely for autumn and winter candles.
2. Rosemary and Lavender
Lavender adds a soft floral note that complements rosemary beautifully.
This combination works well for bedroom-inspired décor and thoughtful handmade gifts.
3. Rosemary and Bergamot
Bergamot has a bright citrus character that balances rosemary’s earthy, green fragrance.
It is a lovely choice for spring and summer.
4. Rosemary and Fir Needle
For something that feels especially seasonal, combine rosemary with an evergreen fragrance.
The result is a fresh, woodsy scent that works beautifully for Christmas gifts and winter decorating.
5. Rosemary and Mint
Mint gives an herbal fragrance blend a fresh, crisp finish.
This is a lovely option if you prefer lighter scents for everyday home fragrance.
Tips for Getting Beautiful Homemade Candles
If this is your first time making container candles, a few small details can make a noticeable difference.
Choose the right wick. Don’t assume one wick size works for every candle. The wax type, container diameter, fragrance, and other ingredients all affect wick performance.
Use completely dry rosemary. Moisture can cause problems with decorative botanicals. Make sure your rosemary is thoroughly dried before using it for gift tags or displays.
Measure everything accurately. A digital scale makes it much easier to achieve consistent results, especially when measuring wax and fragrance.
Avoid overheating your wax. Excessive heat can affect the wax and fragrance. Follow the manufacturer’s temperature recommendations.
Keep your work surface level. Uneven surfaces can cause candles to cool with slanted tops or uneven wax levels.
Don’t rush the curing process. Allow enough time for your particular wax blend to settle and develop its fragrance.
Keep the candle wax free of decorative materials. Dried herbs, flowers, ribbons, and other flammable decorations should never be allowed to enter the burning area.
Common Problems When Making Rosemary Candles
Even simple candle projects can sometimes have little imperfections. Here are a few problems you might encounter and how to approach them.
Why Is My Candle Surface Uneven?
Uneven surfaces can happen when wax cools too quickly or when the container temperature differs significantly from the wax temperature.
Allow your candles to cool gradually in a room without strong drafts.
Follow the wax manufacturer’s recommendations for pouring and cooling temperatures.
Why Is My Candle Pulling Away From the Glass?
This can happen with certain waxes, particularly soy wax, as the wax contracts during cooling.
Try working with clean, dry containers and following the recommended pouring temperature.
Some wax formulations naturally develop a little separation from the sides of their containers, so a small amount may be unavoidable.
Why Is My Candle Tunnelling?
Tunnelling occurs when a candle burns down through the centre while leaving a thick layer of unmelted wax around the sides.
This can be caused by an incorrectly sized wick, an unsuitable container, or poor burning performance.
The best solution is to choose the correct wick for your specific wax and container combination and conduct proper burn testing.
Why Does My Candle Have a Weak Fragrance?
A weak fragrance can result from using an unsuitable fragrance product, incorrect fragrance loading, poor blending, or insufficient curing.
Check that your fragrance is designed for candles and that you’re following the manufacturer’s recommended fragrance percentage.
Adding more fragrance than recommended is not a good solution and can negatively affect candle performance and safety.
How to Style and Gift Your Rosemary Candles
Once your candles are finished, you can have so much fun with the presentation.
For a simple cottagecore look, use clear glass jars with creamy wax and neutral kraft labels.
Tie a piece of natural jute twine around each jar and attach a small gift tag decorated with pressed rosemary.
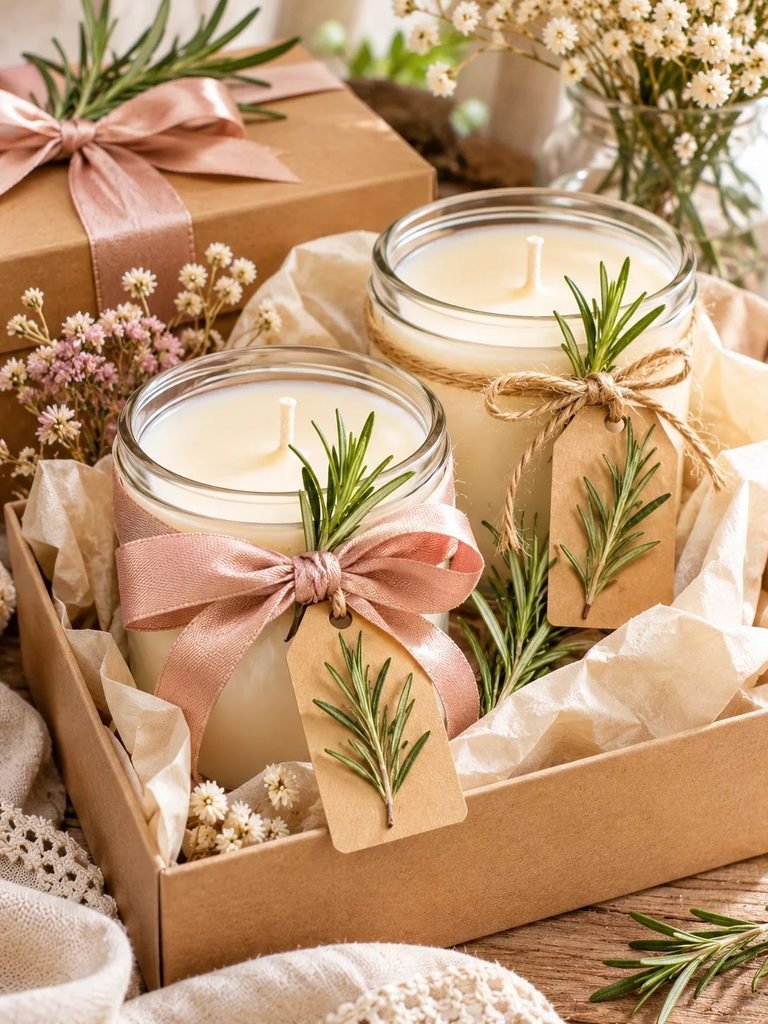
For a more feminine finish, use a dusty blush ribbon or soft cream satin bow.
You could also arrange the candles in a small kraft gift box with tissue paper and a handwritten note.
These candles make thoughtful gifts for:
- Christmas and holiday celebrations
- Birthdays
- Housewarming parties
- Mother’s Day
- Thank-you gifts
- Handmade gift baskets
If you’re preparing candles as gifts, keep all dried rosemary decorations separate from the candle itself and include clear candle-use instructions.
How to Store Your Homemade Rosemary Candles
Proper storage helps your finished candles maintain their appearance and fragrance.
Keep them in a cool, dry place away from direct sunlight and excessive heat.
Store candles upright with their lids on, if available.
Avoid leaving them near radiators, sunny windows, or other heat sources because excessive warmth can soften the wax and affect the fragrance.
Keep the pressed rosemary decorations dry and separate from the candle until you’re ready to assemble your gift presentation.
Important Candle Safety Tips
Candle making is enjoyable, but working with hot wax and open flames requires care.
Before lighting your finished candles, remember these essential precautions:
- Never leave a burning candle unattended.
- Keep candles away from children, pets, curtains, paper, and other flammable materials.
- Always place candles on stable, heat-resistant surfaces.
- Trim the wick to approximately ¼ inch before lighting.
- Keep the wax pool free from debris, dried herbs, and other foreign materials.
- Never move a candle while its wax is hot or liquid.
- Stop using the candle when the remaining wax reaches the container manufacturer’s recommended minimum level.
- Discontinue use if the container becomes damaged or the candle burns abnormally.
Most importantly, never burn a candle containing loose rosemary or other dried botanicals in its melt pool. These materials can ignite and create a serious fire hazard.
Final Thoughts
Making evergreen pressed rosemary candles is such a lovely way to bring a little botanical beauty into your home. I especially love the combination of creamy candle wax, fresh evergreen-inspired fragrance, and delicate pressed rosemary details. The finished candles have a simple, natural charm that feels right at home with cosy cottagecore decorating.
Whether you’re making a pair for your own home or preparing thoughtful handmade gifts for friends and family, this project is a beautiful way to explore candle making. Take your time, enjoy choosing your favourite fragrances, and have fun adding those pretty finishing touches. With a little patience and careful preparation, you can create something truly special.
Frequently Asked Questions
Can I use fresh rosemary in homemade candles?
Fresh rosemary contains moisture, so it isn’t suitable for embedding in candle wax. Dry your rosemary thoroughly before using it for removable decorative details.
Can I use dried lavender instead of rosemary?
Yes! Dried lavender is a lovely alternative for botanical gift tags and removable decorations. Keep it separate from the candle’s burning wax and flame.
What wax is best for homemade herbal candles?
Soy wax, beeswax, and suitable blends of the two are popular choices. For container candles, choose a formulation specifically designed for jars and follow its manufacturer’s instructions.
How long should homemade rosemary candles cure?
Curing times vary depending on the wax and fragrance. Some soy waxes benefit from several days or longer, so always check the supplier’s recommendations.
Can I make rosemary candles without fragrance oil?
Absolutely! You can leave the wax unscented and enjoy the natural botanical-inspired appearance. Remember that adding fresh or dried rosemary does not safely scent the burning wax.
Are rosemary candles good handmade gifts?
Yes! Their natural appearance and beautiful presentation make them lovely handmade gifts. Use a decorative rosemary gift tag or removable botanical sleeve, and include appropriate candle safety instructions.