16 Elegant Clay Candle Holder Ideas for a Handmade Luxury Look
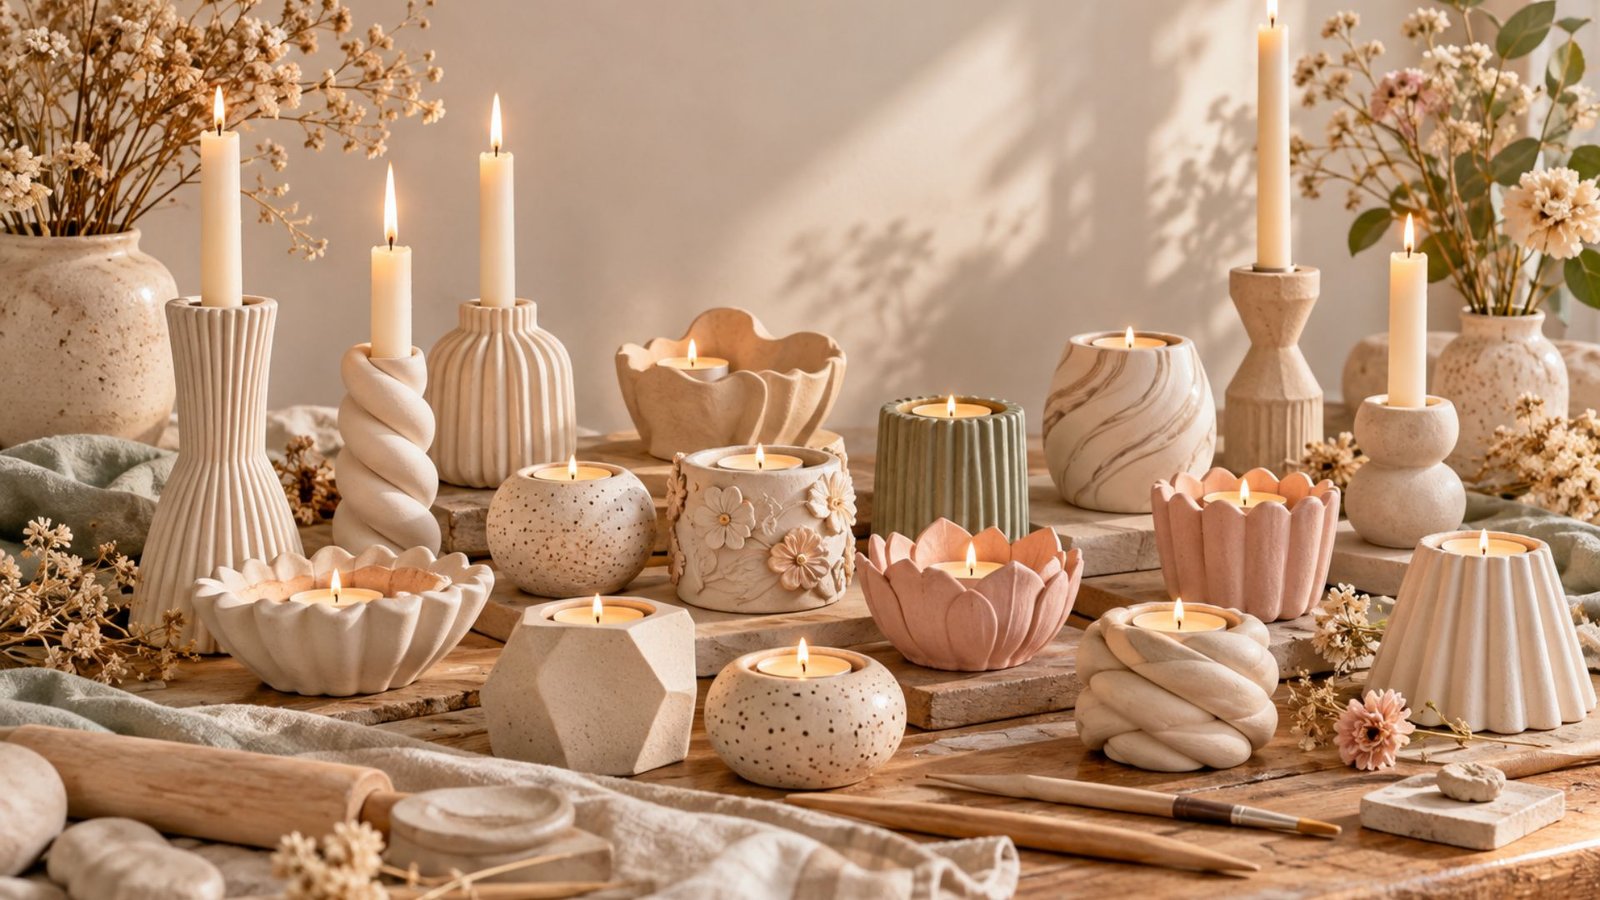
I have always loved how the smallest handmade details can make a home feel warmer, softer, and more inviting.
One of my favorite ways to bring that feeling into a room is with beautiful candle holders, especially when they have that lovely handmade charm.
Clay candle holders are such a wonderful DIY project because they can look elegant and expensive without requiring complicated tools or a big budget.
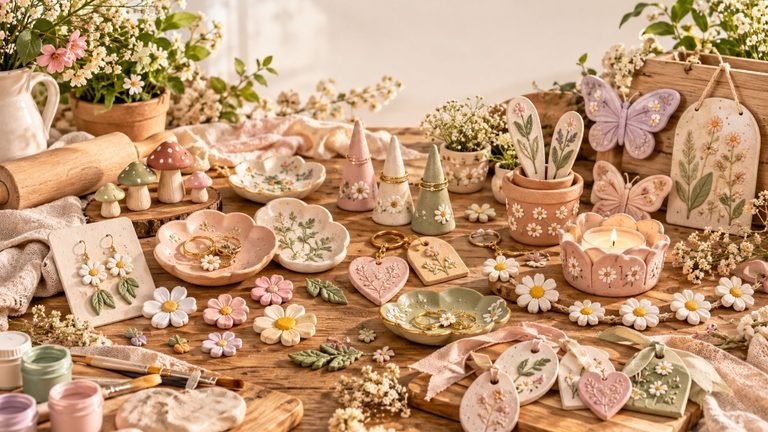
From delicate floral designs to sculptural minimalist pieces, there are so many creative possibilities to explore. Today, I’m sharing 16 elegant clay candle holder ideas to inspire your next cozy crafting afternoon.
Why Make Your Own Clay Candle Holders?
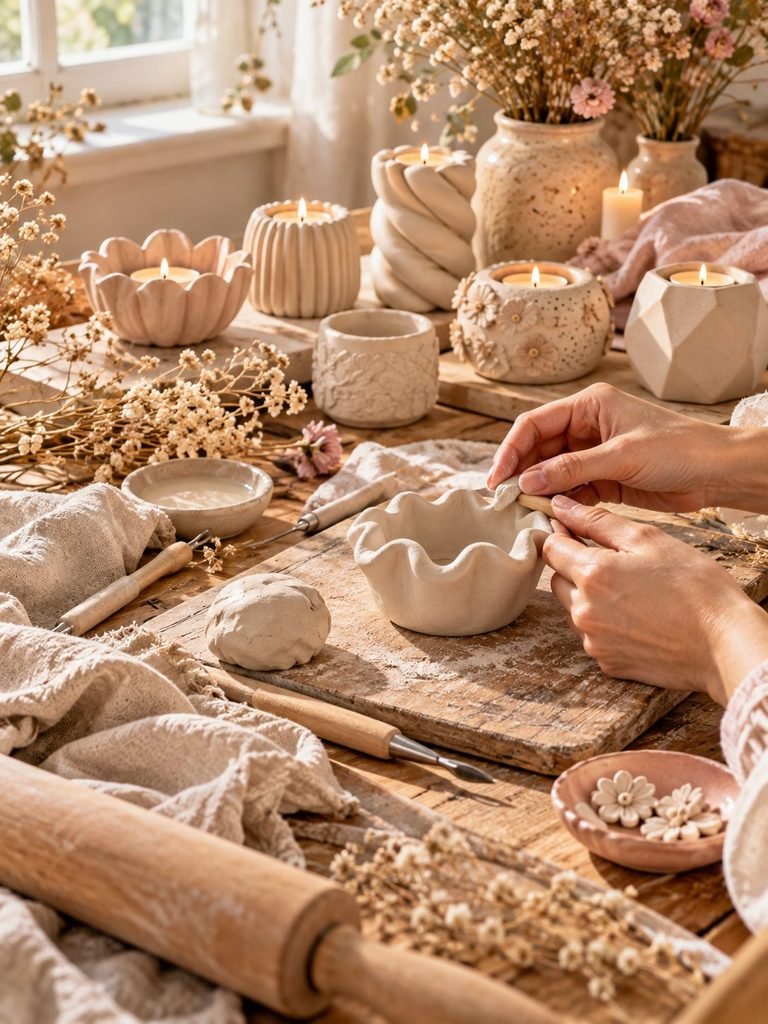
Clay candle holders are a beautiful way to combine creativity with home decor. Whether you prefer a modern neutral aesthetic, romantic cottagecore details, or a luxurious sculptural look, clay gives you plenty of room to experiment.
Making your own also allows you to customize the shape, color, texture, and finish to suit your home. You can create matching candle holders for a dining table, make a thoughtful handmade gift, or design a statement piece for a mantel or bedside table.
Another lovely benefit is that you do not need to be an experienced artist to get started. Many designs use simple techniques such as rolling, pinching, shaping, joining, and painting.
What Type of Clay Should You Use?
Before choosing a design, it is important to understand the main clay options.
- Air-dry clay: Easy to work with at home and does not require a kiln. It is ideal for decorative candle holders and projects that will be used with LED candles.
- Polymer clay: Cures in a household oven according to the manufacturer’s instructions. It is suitable for decorative projects when the finished design and materials are appropriate for the intended use.
- Ceramic clay: Requires appropriate kiln firing and is a good choice for durable, professionally finished candle holders when designed and fired correctly.
Important safety note: Homemade air-dry clay and polymer clay holders should not automatically be considered safe for burning candles. Clay can crack, finishes can be heat-sensitive, and an incorrectly sized holder can allow a candle to tip.
For real flames, choose a purpose-made, heat-resistant candle holder or a properly designed and fired ceramic piece with a suitable candle insert. Use handmade decorative clay designs with LED candles unless the finished holder has been specifically designed and verified for safe use with a real flame.
Shop my amazon essentials
- Air-Dry Clay
- Clay Sculpting Tools Set
- Acrylic Clay Rolling Pin
- Clay Texture Tools
- Acrylic Paint Set
- Fine Detail Paintbrushes
- Fine-Grit Sanding Sponges
- Clear Craft Sealer
- Silicone Craft Mat
- LED Tealight Candles
1. Minimalist Sculptural Clay Candle Holders
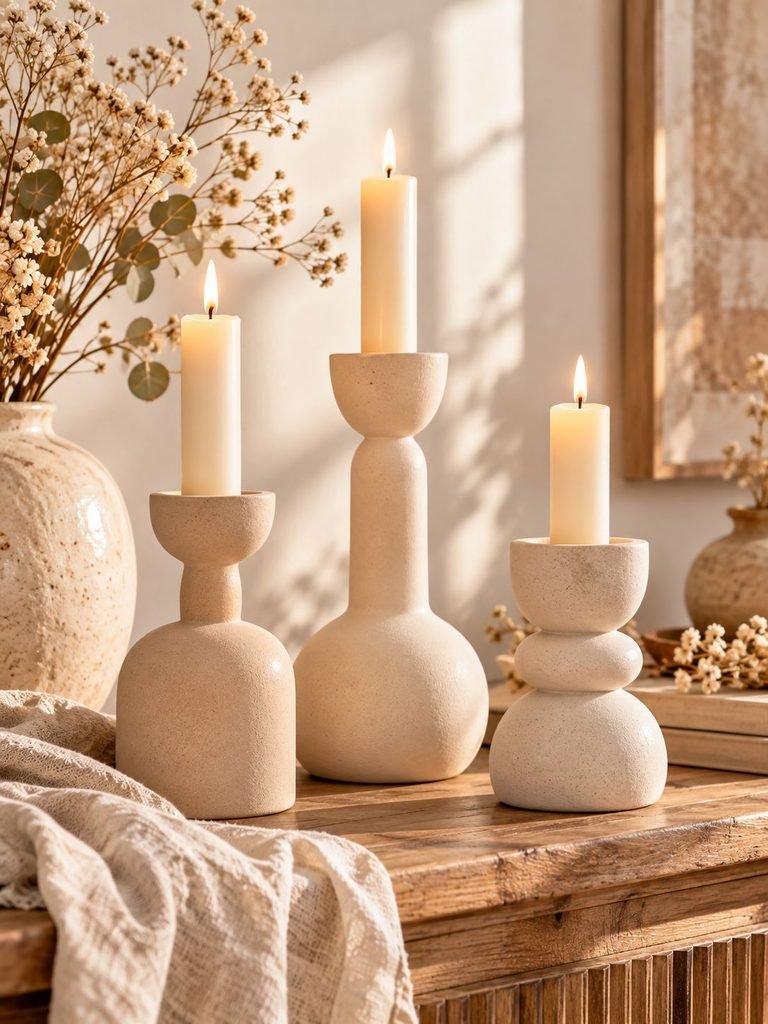
Minimalist clay candle holders are perfect if you love simple, elegant decor that feels timeless rather than trendy.
Create a design using a rounded base, a smooth cylindrical stem, and a small cup-like top for a decorative LED candle. You can experiment with different heights to create a beautiful set that looks intentional when displayed together.
Keep the shapes clean and the surface mostly smooth. Small imperfections can add handmade character without making the finished piece look unfinished.
Materials you’ll need:
- Air-dry clay for a decorative LED candle holder
- Rolling pin or clay roller
- Craft knife or shaping tool
- Sandpaper suitable for the clay
- Acrylic paint in cream, white, or beige
How to make it: Shape the base first, then form the stem and top separately. Join the components using the clay manufacturer’s recommended method, supporting the structure while it dries. Once completely dry, smooth rough areas and apply a compatible decorative finish.
Styling tip: Display two or three holders of different heights on a wooden tray with a small vase of dried flowers.
2. Elegant Ribbed Clay Candle Holders
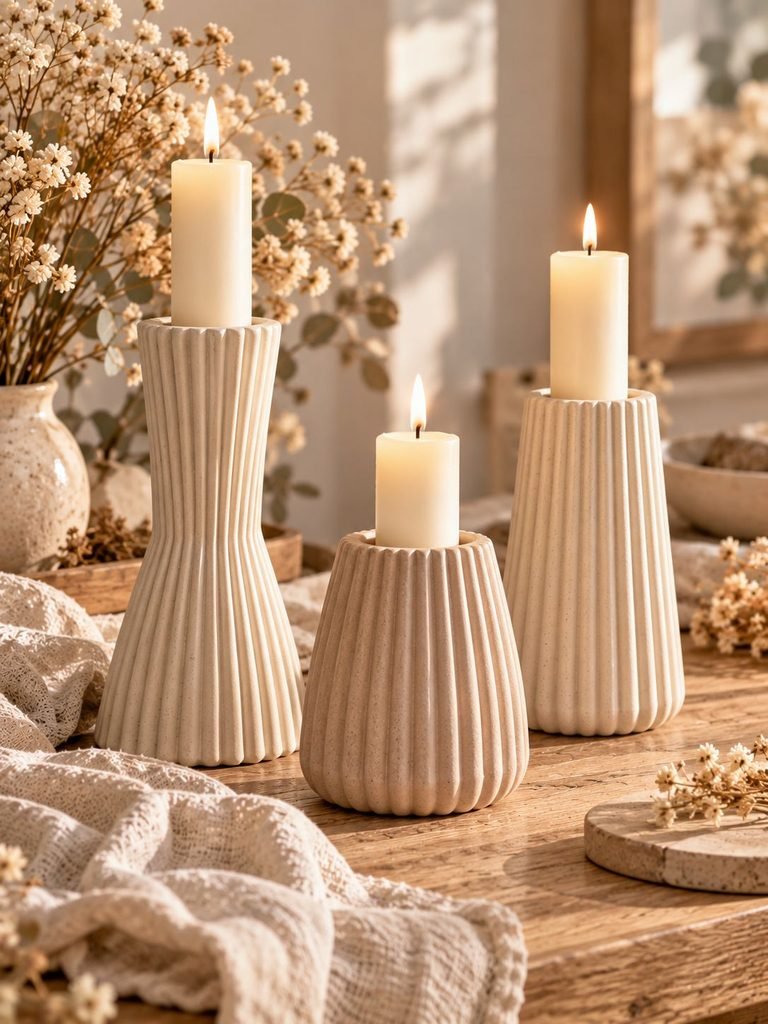
Ribbed designs have a lovely architectural quality. Their vertical lines create subtle shadows that make even a simple neutral candle holder look more sophisticated.
Start with a cylindrical or gently tapered form. While the clay is still workable, use a rounded sculpting tool to press evenly spaced grooves around the surface.
Try narrow ribs for a delicate, refined appearance or wider grooves for a more contemporary statement.
Materials you’ll need:
- Air-dry clay or suitable ceramic clay
- Rounded sculpting tool
- Small sponge
- Fine sandpaper, where appropriate
How to make it: Form a stable base and a hollow decorative body, then create the grooves using gentle, even pressure. Avoid making the walls excessively thin. Allow the holder to dry fully before sanding or painting.
Styling tip: Finish with warm ivory or soft greige paint for a boutique-inspired look.
3. Twisted Rope Clay Candle Holders
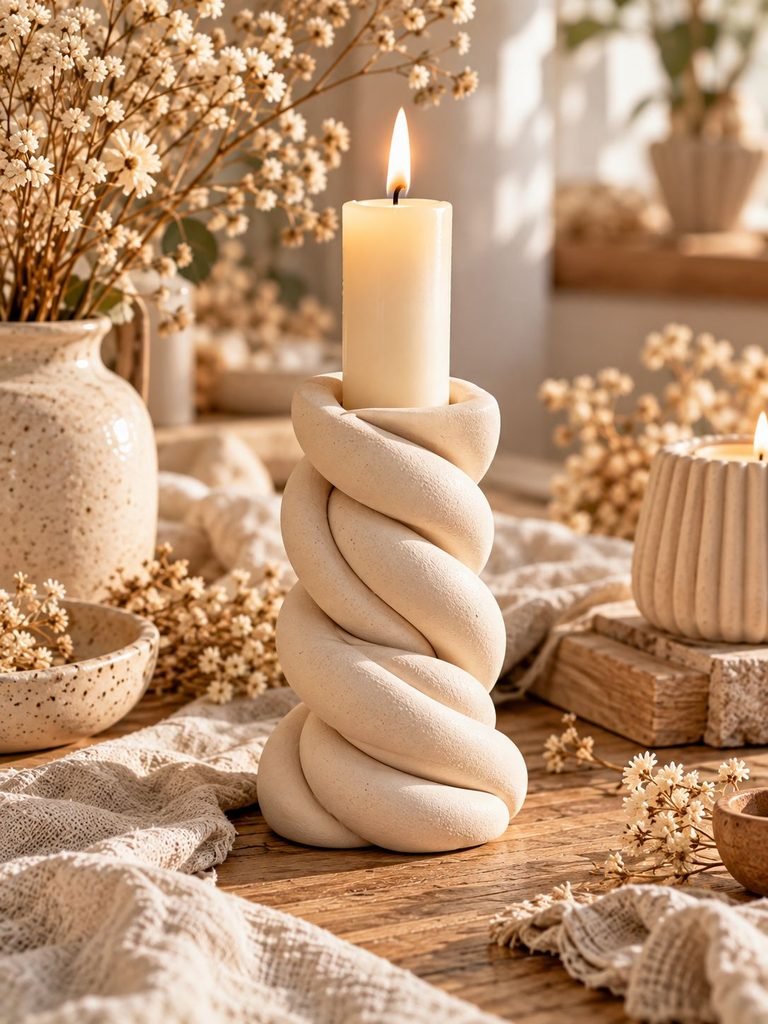
Twisted rope designs add movement and texture to a handmade candle holder. They look especially beautiful in relaxed, coastal, Mediterranean, and cottage-inspired interiors.
To create the effect, roll two or three long strands of clay and twist them together. Wrap the twisted strands around a sturdy decorative form, or shape them into a stable base and support.
Press the joins gently so the strands stay together without losing their texture.
Materials you’ll need:
- Air-dry clay
- Clay roller or clean work surface
- Craft knife
- Small amount of water, if recommended for your clay
How to make it: Roll the strands to a consistent thickness, twist them gently, and shape the design. Smooth the joins and allow the piece to dry according to the manufacturer’s directions.
Styling tip: A matte white or sandy beige finish highlights the rope texture beautifully.
4. Organic Wavy Clay Candle Holders
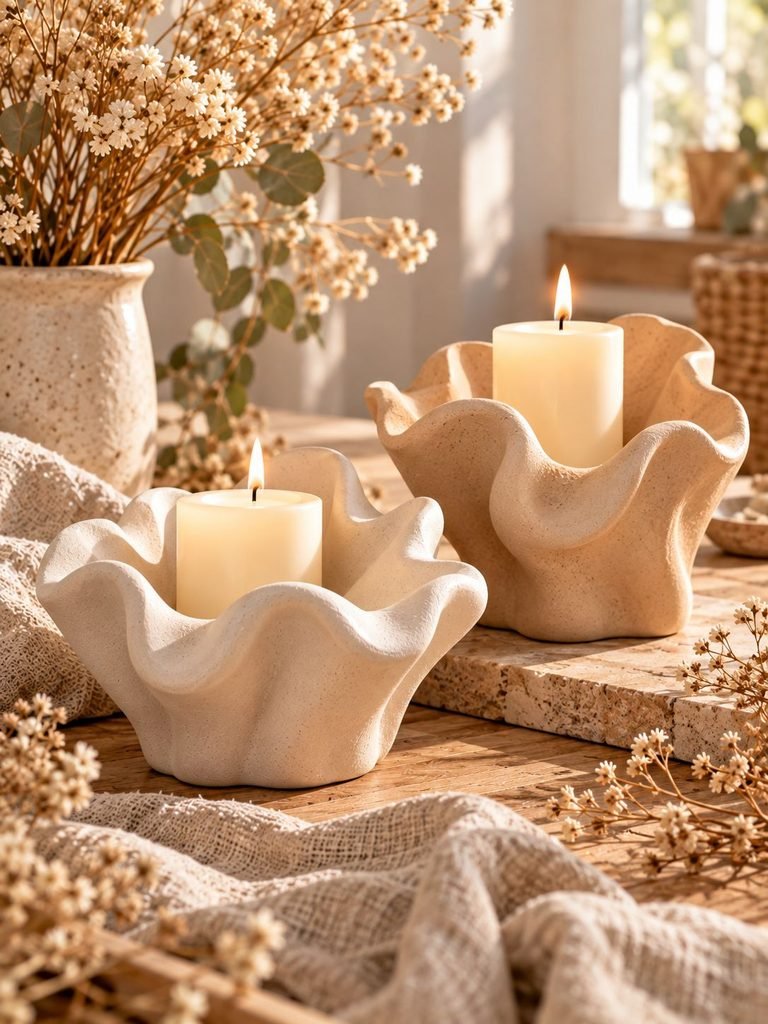
If you love soft, sculptural home decor, wavy clay candle holders are a wonderful project to try. Their flowing edges make them feel artistic and modern without being overly complicated.
Shape the base into an organic oval or rounded form. Then create a gently undulating rim around a decorative LED candle recess.
The key is to avoid making every curve identical. Slight variations give the finished piece a more natural, handmade appearance.
Materials you’ll need:
- Air-dry clay
- Rolling pin
- Small shaping tools
- A smooth surface for drying
How to make it: Roll the clay evenly, cut out the basic shape, and gently lift sections of the rim to create waves. Check that the base sits flat and remains stable before leaving it to dry.
Styling tip: Choose a creamy white finish and pair it with linen, light wood, and understated ceramic accessories.
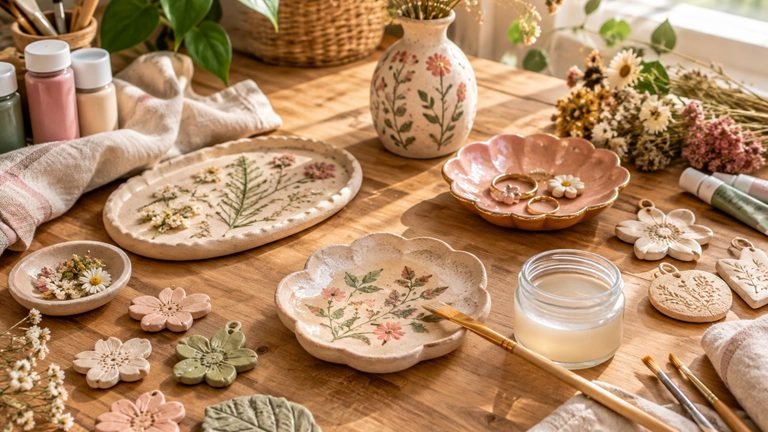
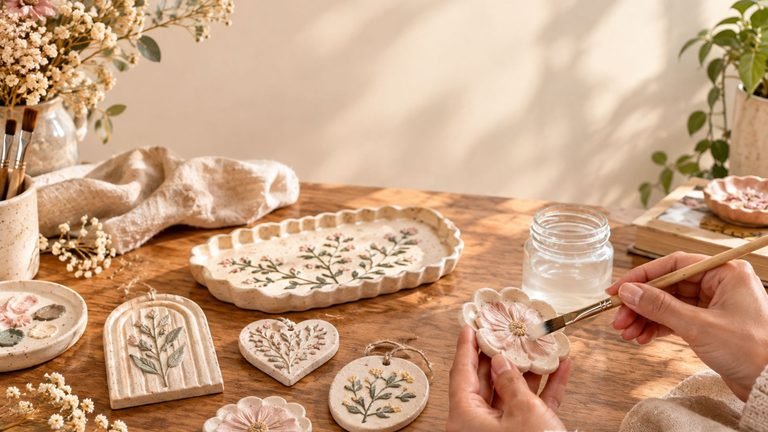
5. Flower-Inspired Clay Candle Holders
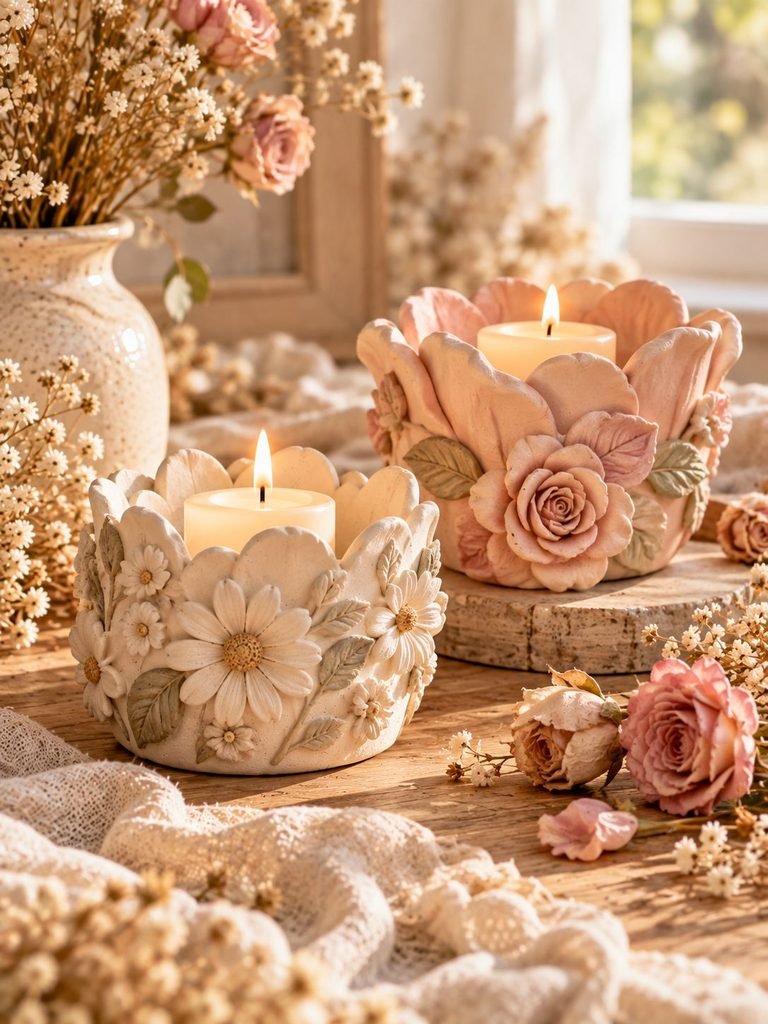
Floral clay candle holders bring a romantic, feminine touch to shelves, dressing tables, and seasonal displays.
You can make tiny daisies, roses, or simple five-petal flowers and attach them to the outside of a decorative candle holder. Alternatively, sculpt a flower-shaped base with rounded petals.
For a softer look, use ivory, dusty pink, pale peach, or muted sage green.
Materials you’ll need:
- Air-dry clay
- Small sculpting tools
- A little water or clay-compatible joining material
- Acrylic paints
- Fine paintbrushes
How to make it: Form the main holder first. Create the petals separately, then attach them carefully while the clay is still workable. Blend the joins and support delicate petals as the piece dries.
Styling tip: Use small floral accents rather than covering every inch of the holder. This keeps the finished design elegant rather than overly busy.
6. Marble-Effect Clay Candle Holders
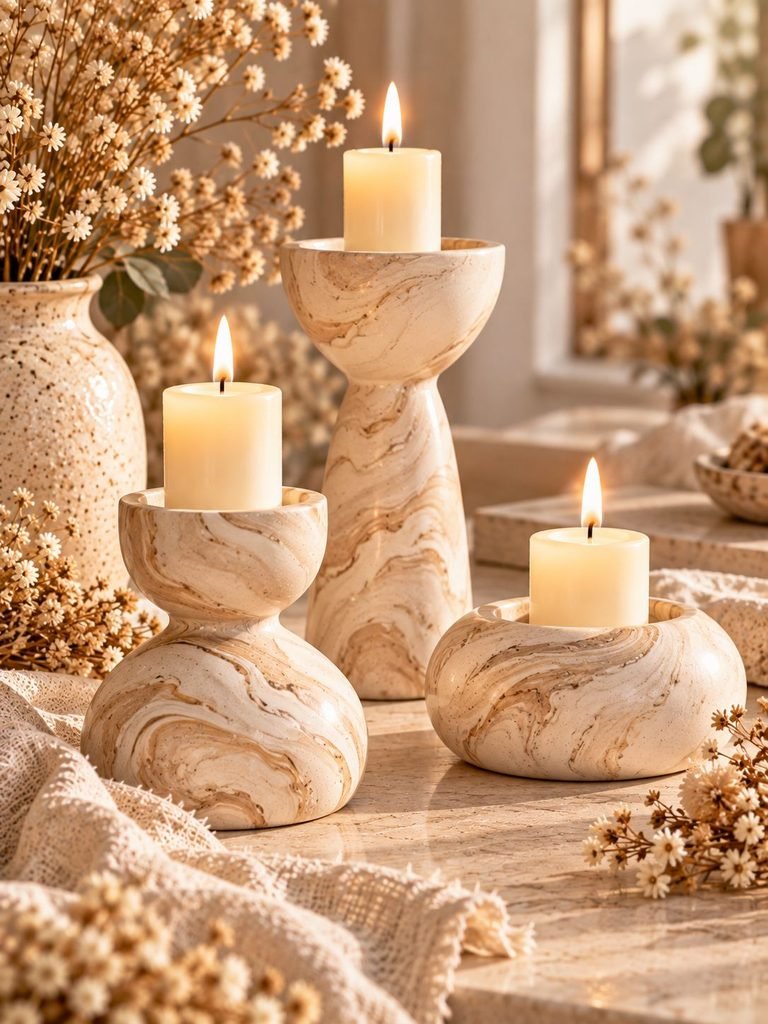
Marble-effect clay holders offer a luxurious appearance without requiring complicated sculpting techniques.
The design combines two or three complementary colors to create soft, flowing patterns. Cream and beige work beautifully together, while white and pale gray create a classic marble-inspired finish.
Materials you’ll need:
- Two or three colors of compatible clay
- Rolling pin
- Craft knife
- Basic shaping tools
How to make it: Roll small strands of contrasting clay, twist them together loosely, and fold the material once or twice. Flatten gently and shape it into your chosen form. Avoid excessive mixing, as this can turn the marble effect into a uniform color.
For air-dry clay, create the pattern with compatible clay colors or apply a decorative faux-marble painting technique after drying.
Styling tip: Use the marble finish on one or two statement pieces and keep the surrounding decor simple.
7. Rustic Textured Clay Candle Holders
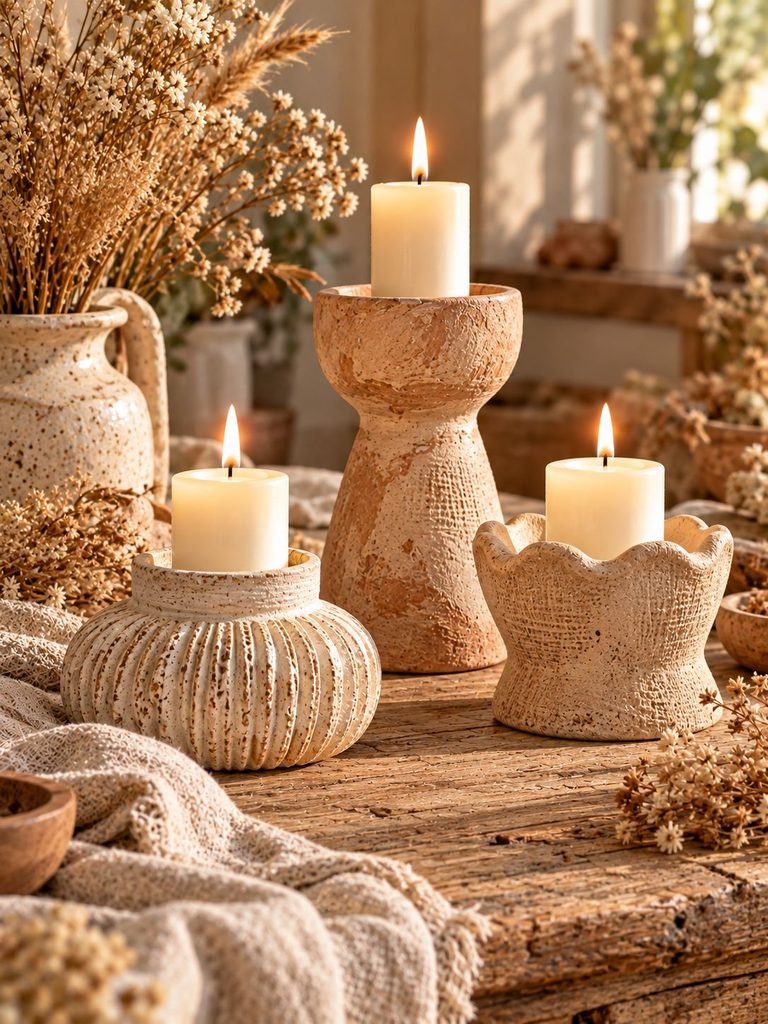
Rustic candle holders celebrate natural texture rather than a perfectly polished surface. They work beautifully in farmhouse, cottagecore, and earthy minimalist spaces.
Try pressing linen, lace, leaves, or textured fabric against the clay to create subtle impressions. You can also use a sponge or sculpting tool to create a lightly weathered surface.
Materials you’ll need:
- Air-dry clay
- Textured fabric or a suitable texture tool
- Rolling pin
- Soft brush
- Neutral paint
How to make it: Roll the clay to an even thickness and press your chosen texture into the surface. Form the holder, ensuring it has a flat and stable base. Let it dry completely before applying any decorative finish.
Styling tip: Use sand, stone, taupe, or warm brown shades for an earthy handmade look.
8. Gold-Accented Clay Candle Holders
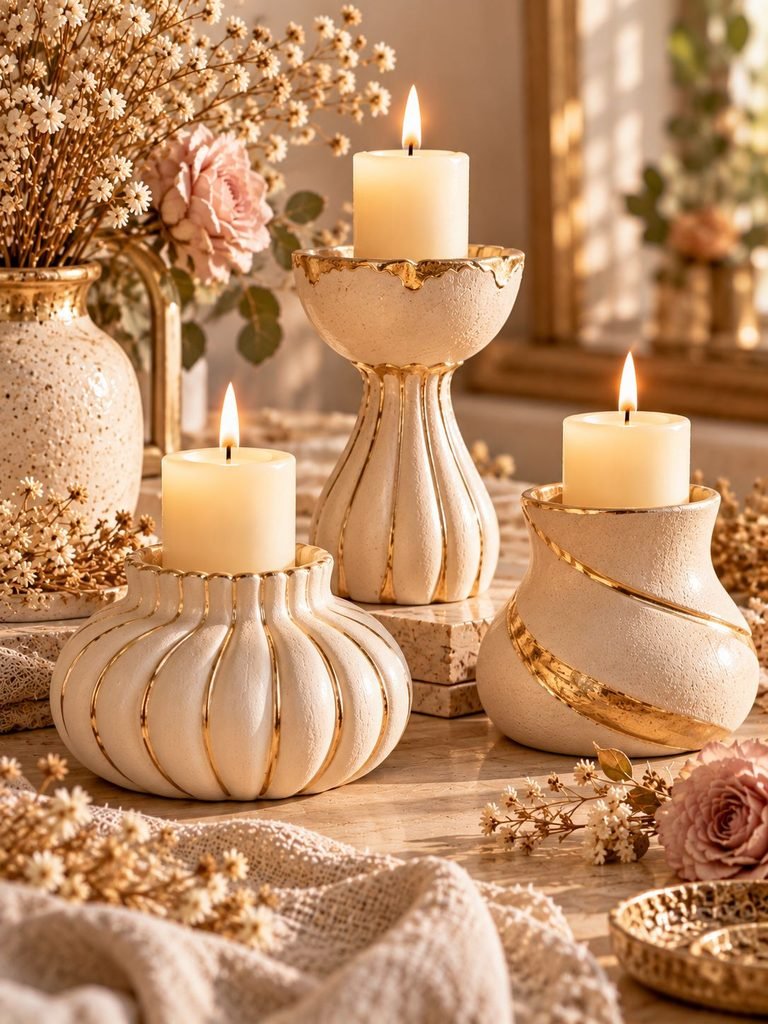
A little gold can transform a simple clay design into something that feels special enough for a dinner party or an elegant gift.
Create a plain holder first, then add gold accents around the base, rim, or raised decorative details. Metallic gold leaf or a compatible metallic craft paint can work well for decorative finishes.
Materials you’ll need:
- Air-dry clay
- Cream or white acrylic paint
- Gold craft paint or decorative gold leaf
- Small paintbrush
- Compatible adhesive, if needed
How to make it: Shape and dry the holder thoroughly. Apply the base color and allow it to cure. Add small gold details with a fine brush or according to the gold leaf product instructions.
Styling tip: Keep the metallic accents delicate. A thin gold band or a few carefully highlighted details often look more sophisticated than a completely gold-painted piece.
Safety reminder: Metallic paint, adhesives, and decorative leaf should not be exposed to candle heat or direct flame. Use these finishes on decorative holders intended for LED candles.
9. Geometric Clay Candle Holders
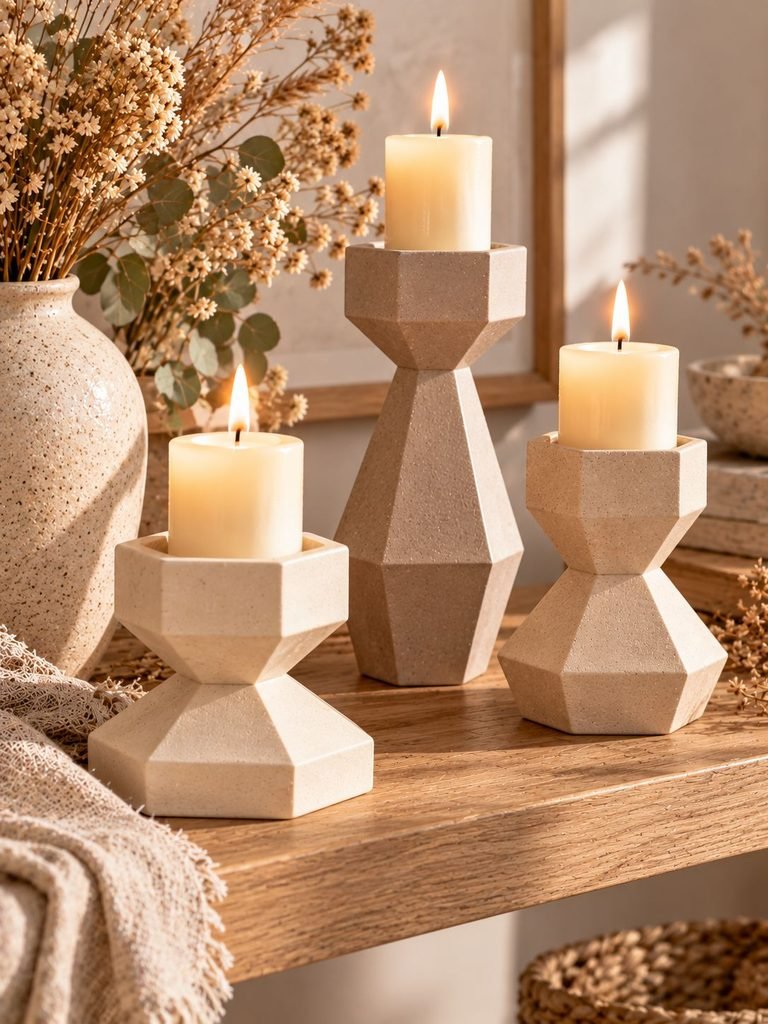
Geometric candle holders are ideal for modern interiors. Think clean lines, faceted shapes, tapered sides, and sculptural silhouettes.
You can create a simple hexagonal base, a triangular decorative profile, or a series of stacked geometric forms.
Materials you’ll need:
- Air-dry clay
- Ruler
- Craft knife
- Flat shaping tool
- Sandpaper suitable for the clay
How to make it: Roll out the clay and cut the required panels or shapes. Join them carefully, smooth the seams, and check that the base is level. If the design is hollow, ensure the structure is adequately supported while drying.
Styling tip: Choose matte black, warm white, or stone gray for a contemporary appearance.
10. Scalloped Clay Candle Holders
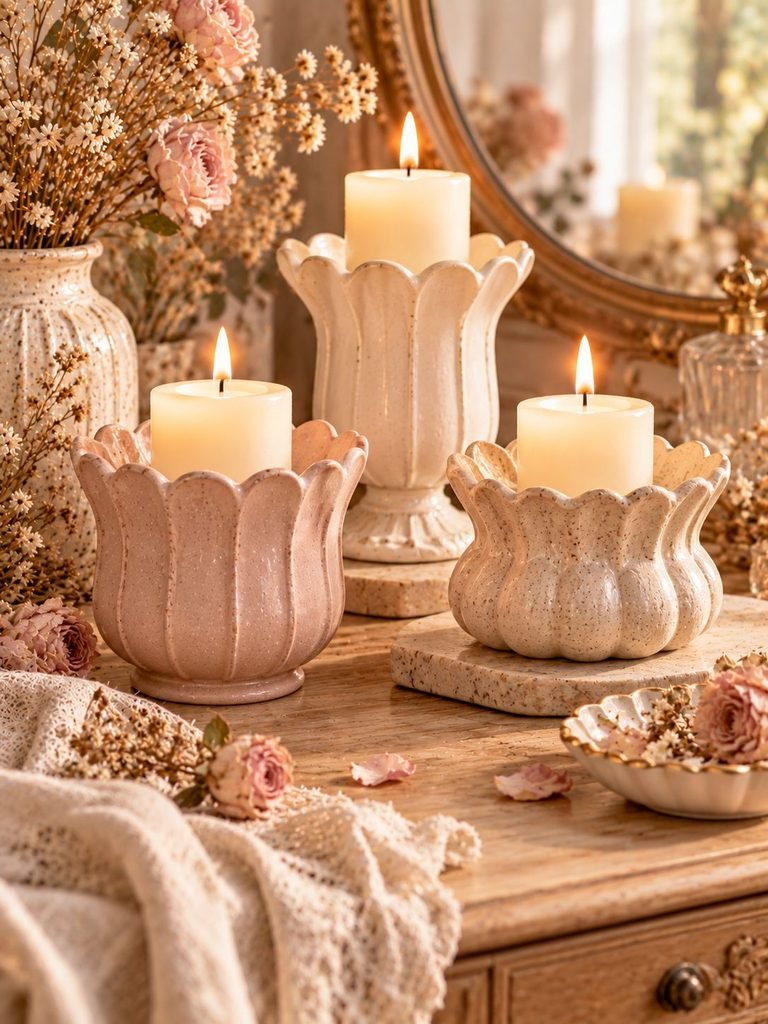
Scalloped edges give clay candle holders a delicate, vintage-inspired look. They are especially pretty for romantic bedroom decor, spring tablescapes, and handmade gifts.
Begin with a simple cylindrical body or shallow decorative base. Shape a series of rounded curves along the outer rim using a small modeling tool or your fingertips.
Materials you’ll need:
- Air-dry clay
- Small sculpting tool
- Rolling pin
- Fine paintbrush
- Pale pink, cream, or white paint
How to make it: Form the main body, then create evenly spaced scallops around the edge. Smooth any sharp points and ensure the holder remains stable. Allow it to dry completely before finishing.
Styling tip: A soft blush finish paired with cream linen and delicate flowers creates a lovely feminine display.
11. Speckled Neutral Clay Candle Holders
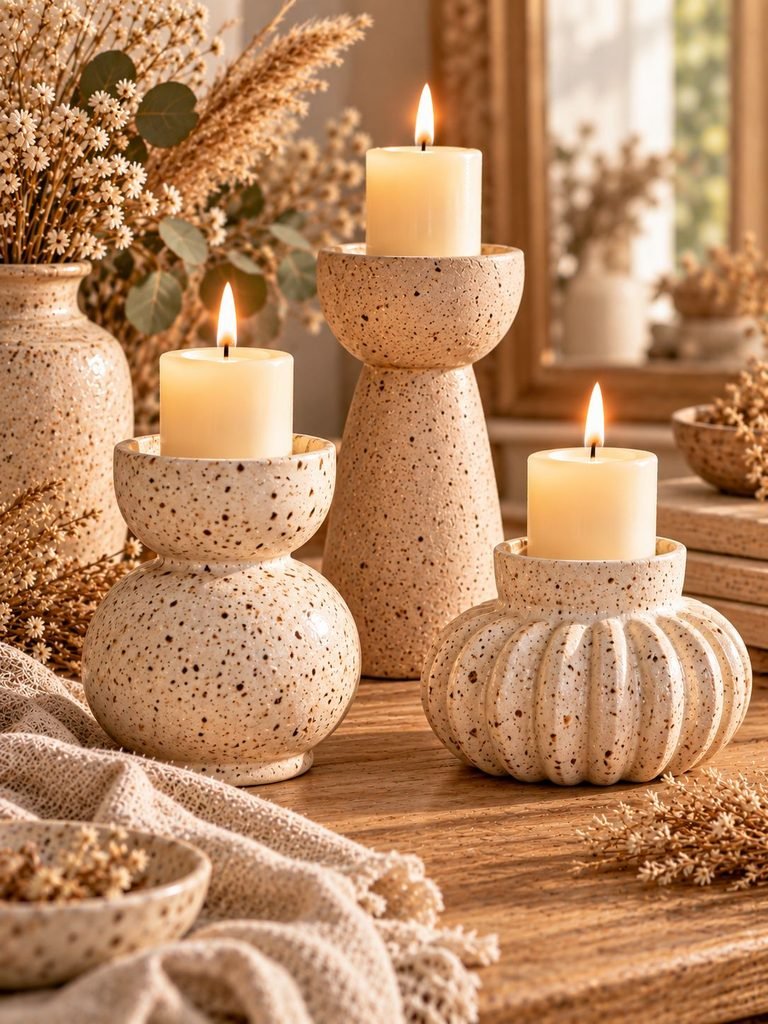
Speckled finishes are a wonderful way to create a handmade ceramic-inspired appearance. They add visual interest without needing intricate decoration.
Start with a smooth, simple shape and apply a warm neutral base color. Once dry, add small, irregular speckles using a fine brush and diluted, compatible paint.
Materials you’ll need:
- Air-dry clay
- Beige, cream, or off-white acrylic paint
- Brown or charcoal paint for speckles
- Small paintbrush
- Compatible decorative sealer
How to make it: Shape and dry the holder, then apply the base coat. Use a nearly dry brush or a fine detail brush to add tiny speckles. Vary the size and spacing so the pattern looks natural.
Styling tip: Pair speckled holders with handmade pottery, woven baskets, and natural wooden accessories.
12. Heart-Shaped Clay Candle Holders
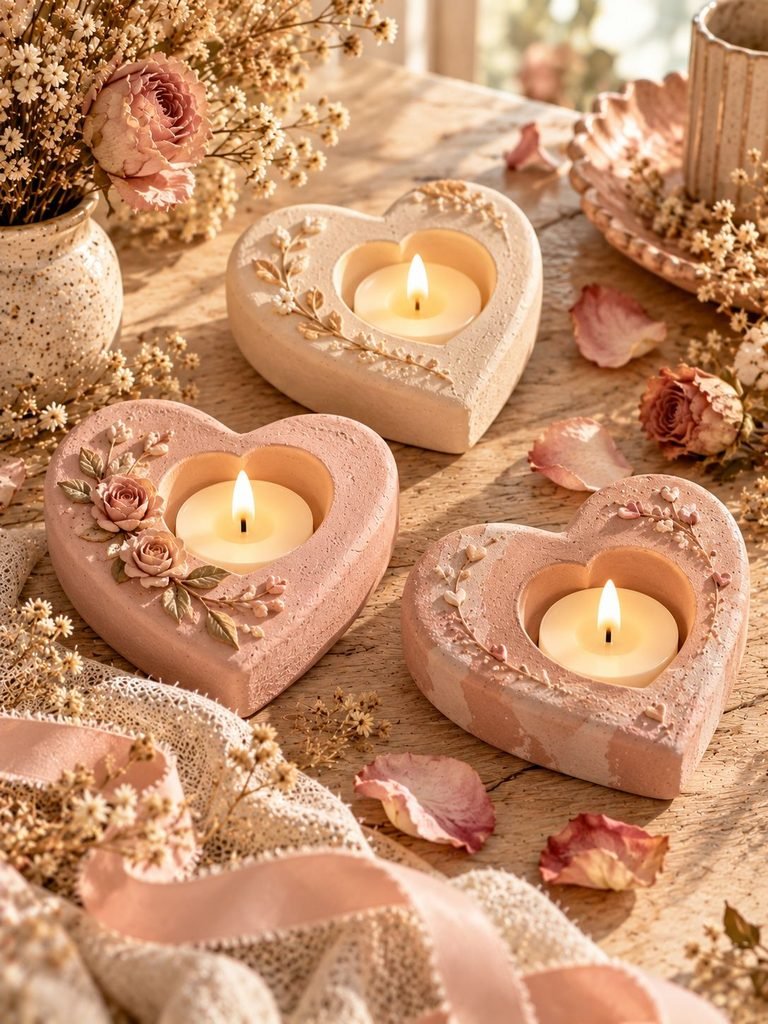
Heart-shaped candle holders are perfect for Valentine’s Day, anniversaries, bridal showers, or simply adding a little romance to your home.
Create a heart-shaped decorative base with a shallow recess designed for an LED tealight, or add small heart details to a more traditional holder.
Materials you’ll need:
- Air-dry clay
- Heart-shaped template, if desired
- Craft knife
- Shaping tools
- Blush, cream, or muted red paint
How to make it: Roll out the clay and cut the heart shape using a template. Smooth the edges, shape a suitable LED tealight recess, and check that the finished base sits flat. Allow it to dry thoroughly before painting.
Styling tip: Use dusty rose or warm ivory for a romantic look that works all year round.
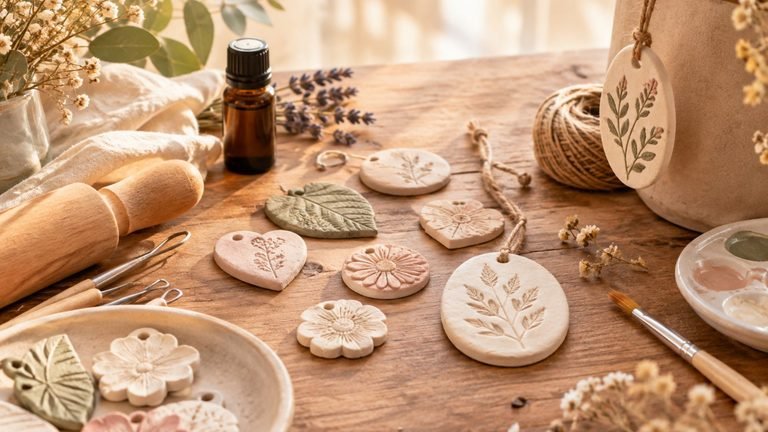
13. Botanical-Imprint Clay Candle Holders
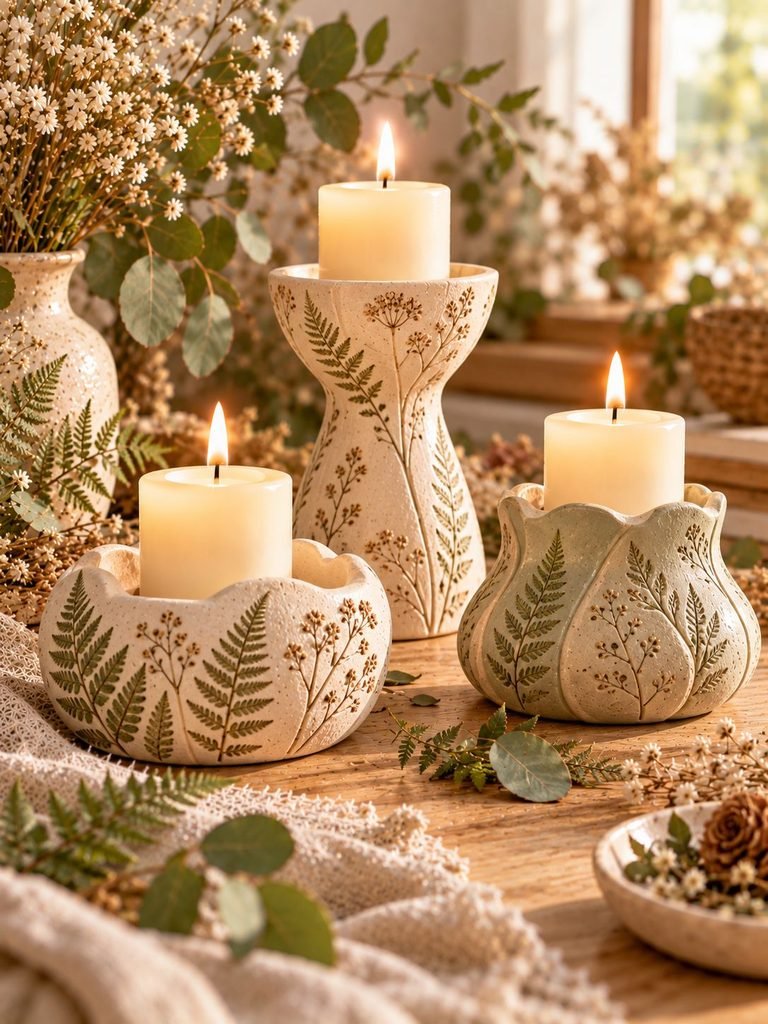
Botanical impressions are a beautiful way to bring a little nature into your craft projects. Ferns, small leaves, and delicate sprigs create subtle patterns that look especially lovely on neutral clay.
Materials you’ll need:
- Air-dry clay
- Clean leaves or botanical texture tools
- Rolling pin
- Small craft knife
- Soft brush
How to make it: Press a leaf gently into rolled clay to transfer its natural veins. Remove it carefully, then shape the clay into a decorative holder. Avoid placing delicate botanical details where they might weaken the structure.
For a more durable design, use a botanical pattern as a decorative panel on the outside of a simple holder.
Styling tip: Pair a pale cream base with sage-green accents for a soft botanical aesthetic.
14. Stacked Pebble Clay Candle Holders
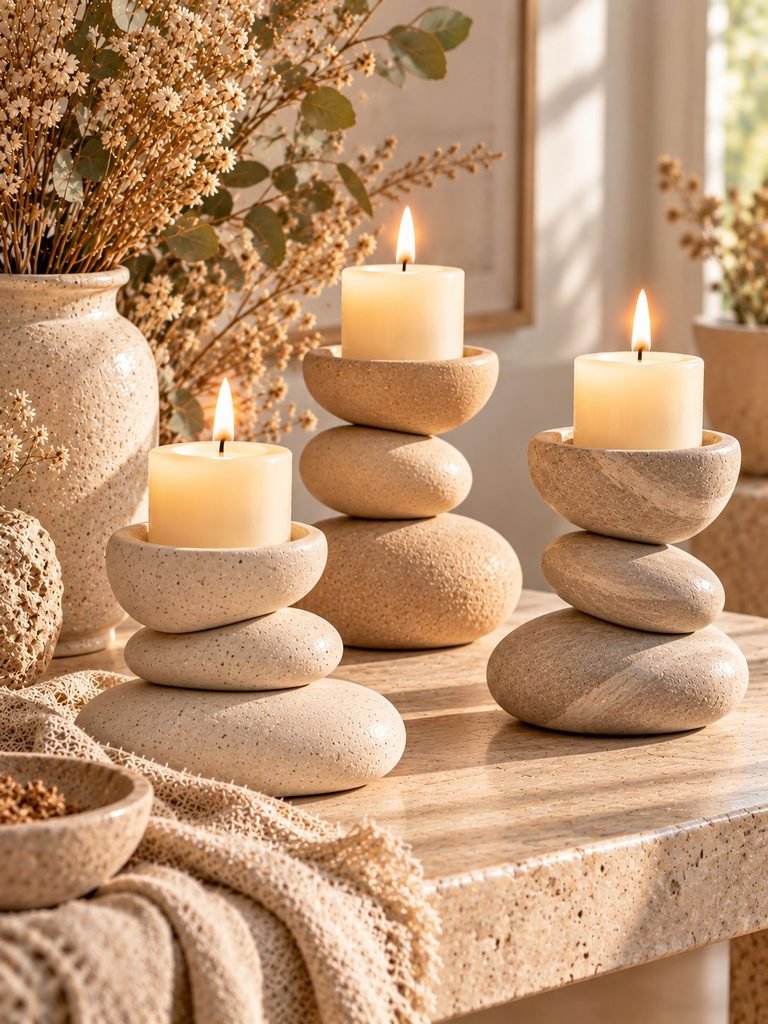
Inspired by smooth river stones, stacked pebble designs feel organic, calm, and sculptural. They are perfect for spa-inspired bathrooms, neutral living rooms, and nature-inspired decor.
Use several rounded clay forms of different sizes to create a stacked appearance. For an air-dry clay project, these can be attached permanently to form a decorative sculpture for an LED candle display.
Materials you’ll need:
- Air-dry clay
- Sculpting tools
- Sandpaper suitable for the clay
- Neutral acrylic paint
How to make it: Shape rounded pebble forms and allow them to become firm enough to handle. Join the pieces securely, keeping the overall center of gravity low. Check that the base is flat and stable, then dry the complete piece thoroughly.
Styling tip: A monochromatic stone-colored finish creates a calm, high-end look.
15. Vintage-Inspired Ornamental Clay Candle Holders
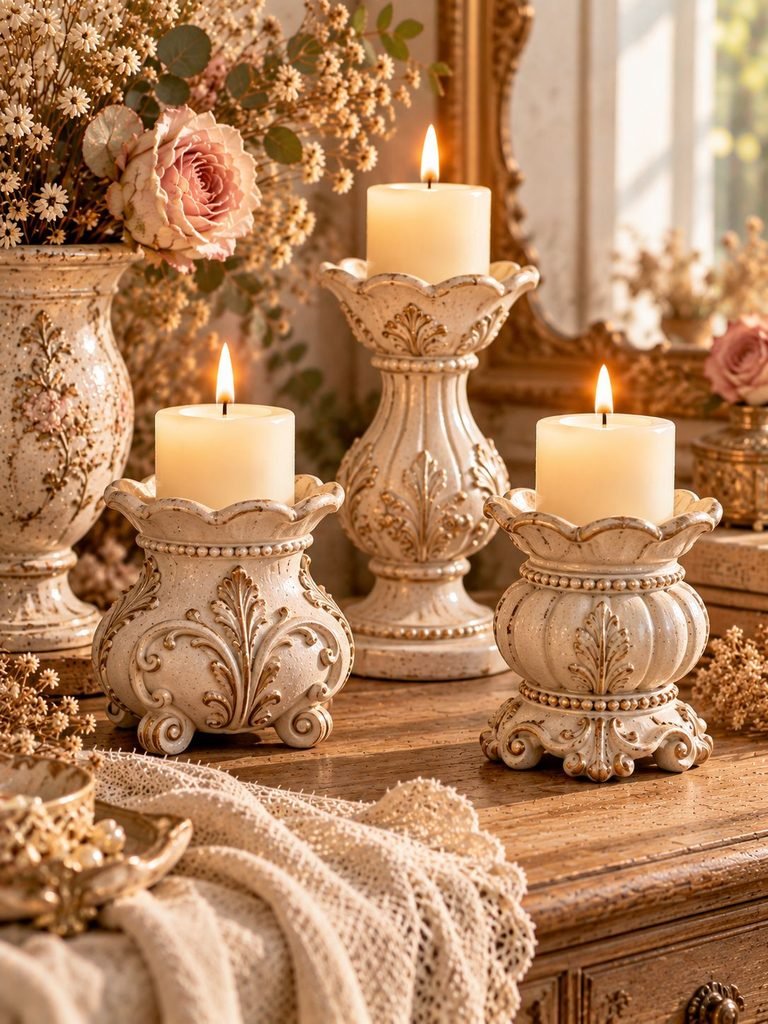
If you love antique-inspired decor, try making a candle holder with decorative curls, tiny beads, raised borders, and elegant curves.
This style looks beautiful in warm white, aged cream, muted gold, and soft taupe. You can create the ornamental details from small clay coils and beads rather than purchasing decorative components.
Materials you’ll need:
- Air-dry clay
- Fine sculpting tools
- Small brush
- Cream paint
- Gold decorative paint, if desired
How to make it: Form a sturdy base and body before adding decorative details. Attach the curls and beads carefully, blending the joins where possible. Avoid making the structure too top-heavy, and allow all details to dry completely.
Styling tip: Place one ornate holder beside a simple vase or a small framed print so the design remains the focal point.
16. Handmade Clay Candle Holder Gift Sets
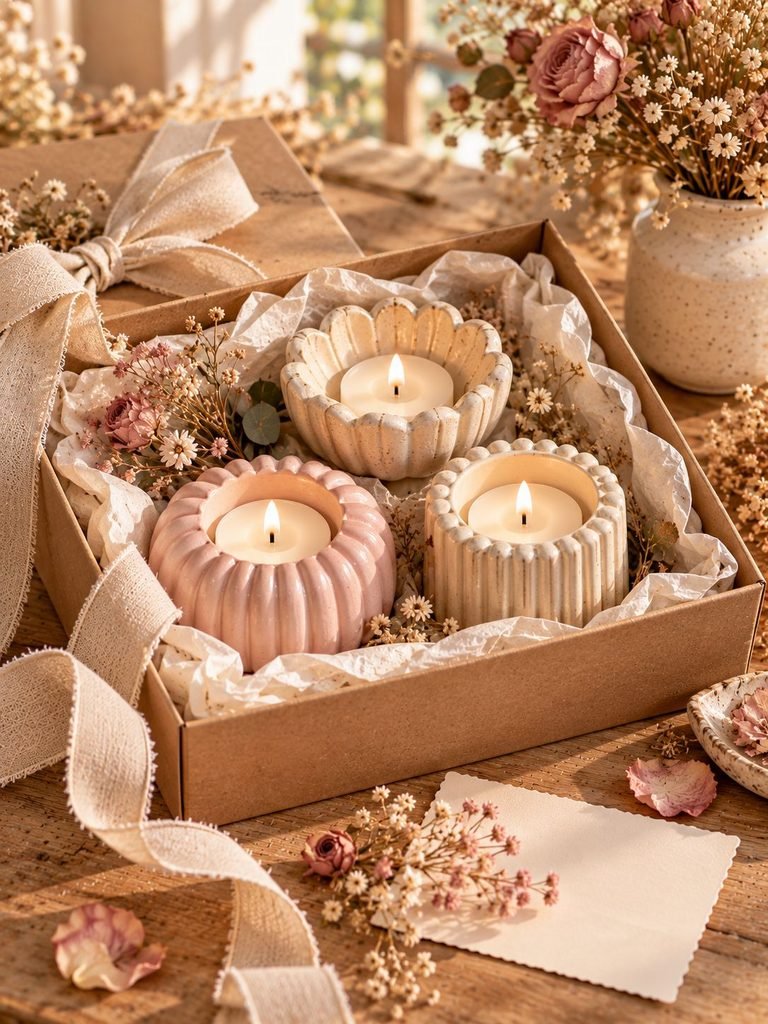
A coordinated gift set is one of the most thoughtful ways to use these ideas. Instead of making just one piece, create two or three complementary decorative holders in different heights or shapes.
For example, combine a ribbed holder, a smooth sculptural holder, and a scalloped design in matching cream and blush tones.
Materials you’ll need:
- Air-dry clay
- Shaping tools
- Coordinating paints
- Decorative gift box
- Tissue paper and ribbon
How to make it: Choose a consistent color palette before beginning. Make the holders in one crafting session so you can coordinate their shapes and finishes. Let every piece dry fully, then sand, paint, and finish according to the product instructions.
Wrap each item in protective packaging and include a small card explaining that the decorative pieces are intended for LED candles unless specifically designed and verified for real-flame use.
Styling tip: Add a small handmade trinket dish or a dried botanical bundle to create a thoughtful, coordinated gift.
Practical Tips for Making Clay Candle Holders Look More Expensive
The secret to an elegant handmade finish is often in the details. You do not need elaborate designs or expensive supplies to create something beautiful.
1. Choose a Coordinated Color Palette
Limit yourself to two or three colors. Cream, warm beige, ivory, taupe, and muted blush work beautifully together and make it easier to create a coordinated collection.
2. Keep the Proportions Balanced
A beautiful candle holder should look intentional. Check that the base is wide enough to support the overall design and that tall decorative structures do not become top-heavy.
3. Work Slowly and Smooth the Surface
Small cracks, rough joins, and uneven edges can make a project look unfinished. Smooth the clay while it is workable and follow the manufacturer’s instructions for repairing minor imperfections.
4. Allow Enough Drying Time
Air-dry clay may feel dry on the outside while remaining damp inside. Drying time depends on the thickness of the piece, humidity, and the manufacturer’s recommendations. Avoid rushing the process with excessive heat, which can contribute to cracking.
5. Use Compatible Finishes
Paint and sealer can enhance the appearance of your project, but they should be compatible with the clay and used according to their labels. A glossy finish creates a polished look, while matte finishes give a soft, modern appearance.
Remember that a decorative sealer does not automatically make a clay holder heat-resistant, waterproof, or safe for an open flame.
6. Pay Attention to Stability
Always check that the base rests flat on the table. For decorative LED candle holders, size the recess to fit the LED candle securely without forcing it into place.
Never assume that a deep recess, thicker clay, or a coat of varnish makes a homemade holder suitable for real candles.
How to Style Clay Candle Holders in Your Home
Once your pieces are finished, the fun part is deciding where to display them.
- Living room: Arrange a few holders on a decorative tray with a small vase and a favorite book.
- Dining table: Create a simple centerpiece using coordinated holders, linen napkins, and fresh or dried flowers. Use LED candles for handmade decorative pieces.
- Bedroom: Choose scalloped, floral, or minimalist designs for a soft bedside display.
- Bathroom: Use neutral pebble-inspired holders alongside folded towels and simple accessories.
- Entryway: Place a sculptural holder on a console table with a small bowl for keys.
- Home office: A small geometric holder with an LED candle can add warmth to a desk or bookshelf.
For the most polished result, vary the heights of your decorative pieces while keeping the colors and materials consistent.
Common Mistakes to Avoid
Making the base too narrow: A narrow base can make the finished holder unstable. Create a broad, level foundation and test the stability of the decorative piece before displaying it.
Adding too much water: Excess moisture can weaken some air-dry clay projects or make the surface difficult to work with. Use only the amount recommended for your clay.
Making decorative details too thin: Delicate petals, curls, and raised edges may break during drying. Give fragile elements enough thickness and support.
Painting before the clay is fully dry: Trapped moisture can affect the finish. Follow the clay manufacturer’s drying instructions before painting or sealing.
Using the wrong candle: An LED tealight is not interchangeable with a real flame, and a decorative clay holder is not automatically safe for either type unless its dimensions and construction suit the candle being used. Check the fit and stability of LED candles, and reserve real flames for appropriately designed, heat-resistant candle holders.
Skipping the finishing stage: Rough edges and visible joins can distract from an otherwise lovely design. Take time to smooth, sand where appropriate, and finish the piece neatly.
Frequently Asked Questions
Can you make candle holders with air-dry clay?
Yes. Air-dry clay is useful for creating decorative candle-holder designs, particularly those intended for LED candles. It does not need a kiln, making it convenient for home crafting. However, ordinary air-dry clay should not be assumed to withstand the heat of a real flame.
Do clay candle holders need to be sealed?
Sealing is optional for many decorative projects, depending on the desired finish and the clay manufacturer’s instructions. A compatible sealer can help protect the surface from light handling and make the piece easier to clean. It does not automatically make the holder waterproof, heat-resistant, or suitable for burning candles.
How long does air-dry clay take to dry?
Drying time varies according to the clay brand, the thickness of the piece, room temperature, and humidity. Thin pieces may dry relatively quickly, while thick or enclosed structures can take considerably longer. Follow the manufacturer’s instructions and allow the clay to dry completely before painting.
What is the best finish for an elegant clay candle holder?
Matte cream, warm white, beige, and stone-inspired finishes are excellent choices for a refined, handmade look. Subtle texture, delicate gold accents, or a faux-marble pattern can also add interest without overwhelming the design.
Can I sell handmade clay candle holders?
Yes, you can sell decorative clay candle holders, but describe their intended use accurately. If you plan to sell holders for real candles, ensure that the materials, construction, dimensions, and finished product have been appropriately evaluated for candle safety. Do not advertise ordinary air-dry clay pieces as heat-resistant or safe for open flames without suitable evidence.
Final Thoughts
Creating your own clay candle holders is a lovely way to add personality and handmade charm to your home. From ribbed minimalist designs to delicate floral details and sculptural pebble shapes, these 16 ideas offer plenty of inspiration for your next DIY project.
My favorite approach is to begin with a simple shape, choose a soft neutral palette, and add just one special detail that makes the design feel unique. You can experiment with texture, color, and proportions until you find a style that feels right for your space.
Most importantly, enjoy the process. Handmade decor does not need to be perfectly symmetrical to be beautiful. With a little patience and creativity, you can make decorative pieces that look thoughtful, elegant, and wonderfully personal. For everyday safety, use LED candles with decorative clay holders unless the finished holder has been specifically designed and verified for real-flame use.