Simple Ways to Make Air Dry Clay Waterproof
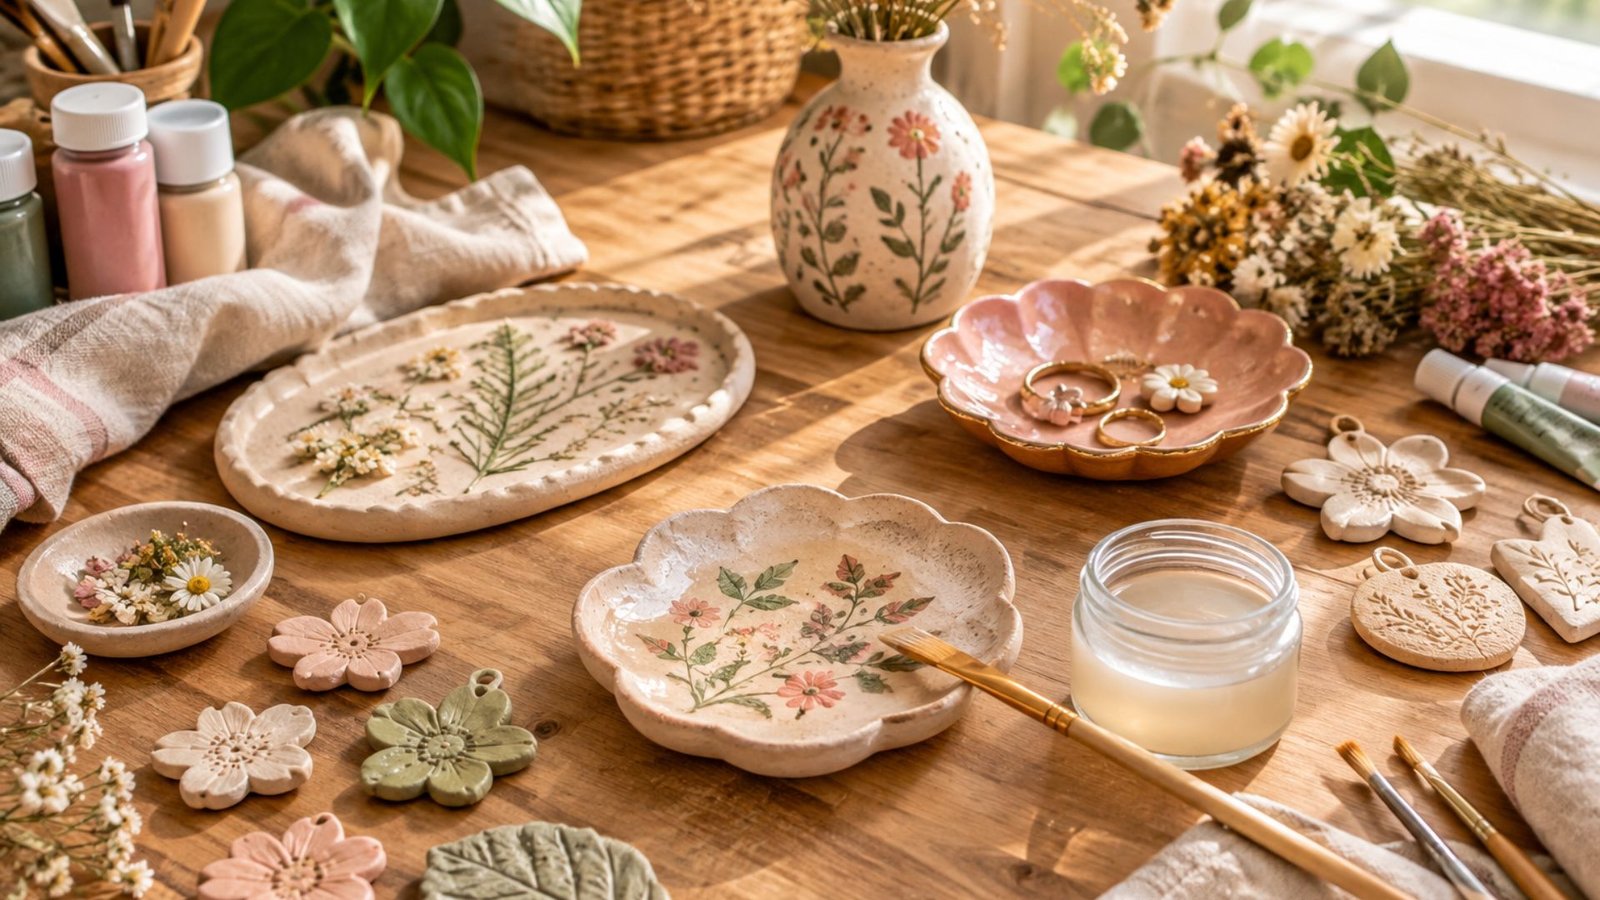
Making something beautiful with air-dry clay is one of my favorite kinds of DIY projects.
#You can shape little trays, ornaments, jewelry dishes, plant-inspired decorations, and so many other pretty pieces without needing a kiln.
But once your project is finished, one question usually comes up: how do I keep water from ruining it? The good news is that you can give your clay a protective finish that helps it handle moisture much better.
The key is choosing the right sealer and applying it properly so your handmade piece stays beautiful for longer.
Can You Make Air-Dry Clay Waterproof?
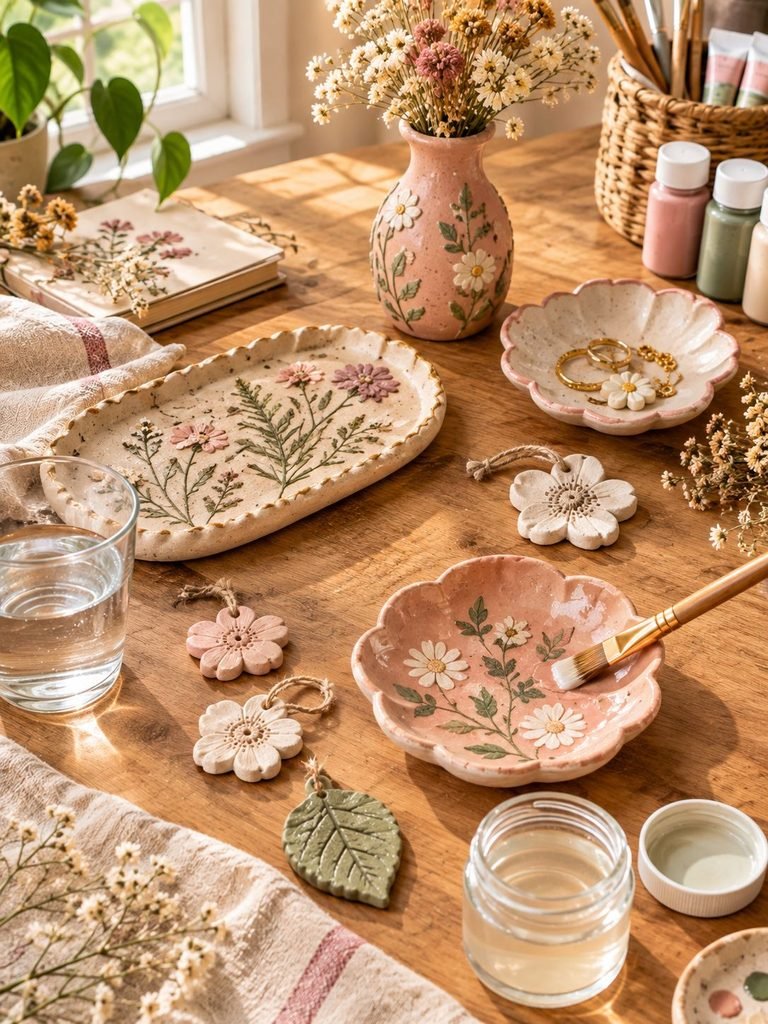
Yes, but there is an important little detail to understand first.
Sealed air-dry clay is not automatically completely waterproof. Most common sealers make the surface water-resistant, which means your finished piece can handle occasional splashes, drops, or light moisture much better than unsealed clay.
However, prolonged soaking, standing water, or using an air-dry clay piece as a container for liquids can still cause problems.
For projects that genuinely need a highly protective, waterproof coating, a properly applied epoxy resin can create a much stronger barrier around the clay. Even then, the finished piece may not be suitable for food or drink unless every material and the entire finished construction are specifically appropriate for that use.
So before reaching for a sealer, think about how your project will actually be used.
A decorative clay ornament sitting on a shelf doesn’t need the same level of protection as a coaster that may encounter condensation.
Why Does Air-Dry Clay Get Soft When It Gets Wet?
Air-dry clay hardens as moisture leaves the clay while it dries. Unlike traditional pottery clay, it isn’t kiln-fired into a permanently water-resistant ceramic material.
That is why moisture can become a problem after your project has dried. If water reaches the clay underneath the protective coating, the clay can absorb moisture and become soft or damaged.
A sealer works by creating a protective layer over the surface, helping prevent water from reaching the clay itself. But that protective layer needs to be complete. Tiny cracks, scratches, exposed edges, or an unsealed underside can provide an opening for moisture.
This is also why simply painting your clay isn’t always enough.
5 Simple Ways to Protect Air-Dry Clay From Water
The best method depends on the finish you want and how much moisture your project is likely to encounter.
Here are five popular options:
- Acrylic varnish
- Acrylic spray sealer
- Polyurethane varnish
- Craft glue or Mod Podge
- Epoxy resin
Let’s look at each one.
1. Use Acrylic Varnish
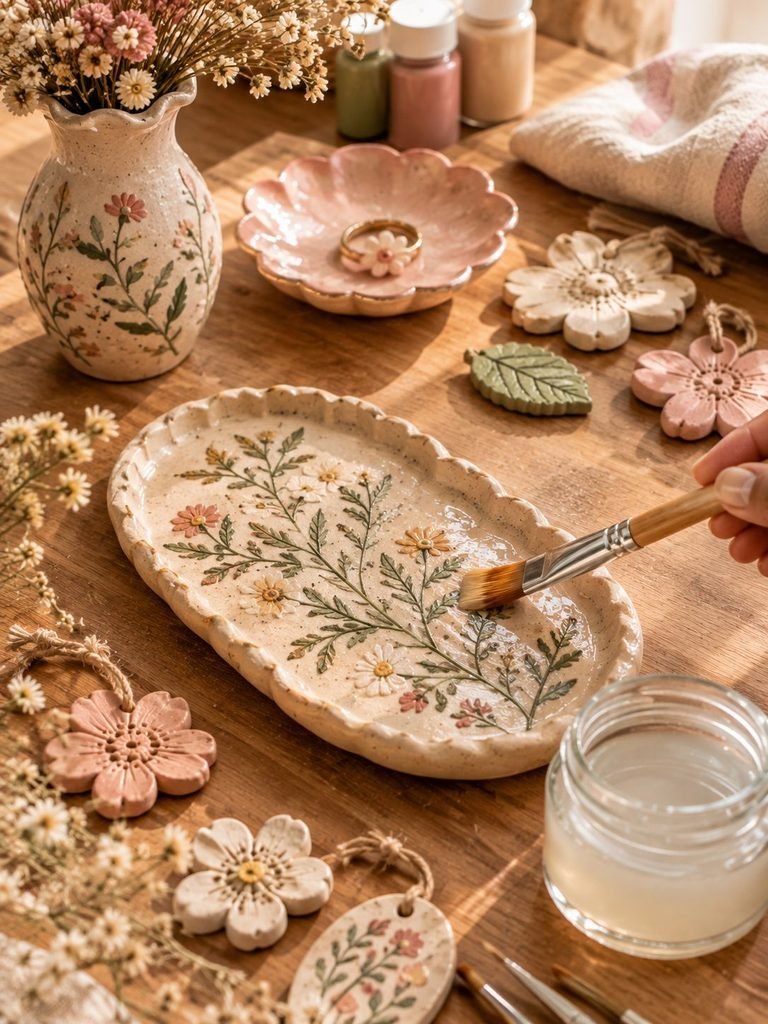
Acrylic varnish is one of the easiest choices for beginners.
It’s especially lovely when you’ve spent time painting your clay and want to protect the colors without completely changing the look of your project.
You can find acrylic varnishes in different finishes, including:
- Matte
- Satin
- Gloss
Acrylic varnish can help protect decorative air-dry clay from light moisture and everyday handling. It doesn’t turn the clay into traditional waterproof pottery, but several properly dried coats can provide a useful protective barrier.
How to Apply Acrylic Varnish
Step 1: Make sure your clay is completely dry.
This is probably the most important step.
Don’t rush to seal a piece simply because the outside feels dry. Drying time can vary depending on the thickness and size of the project. Some manufacturers recommend waiting around 72 hours for their particular air-dry clay before sealing, so always check the instructions for the clay you’re using.
Step 2: Remove dust.
Use a soft, dry brush to gently remove dust and loose particles.
Step 3: Apply a thin coat.
Use a soft brush and spread the varnish evenly. Avoid putting on one extremely thick layer.
Step 4: Let it dry completely.
Follow the drying instructions on your particular product.
Step 5: Add another coat.
Two or three thin coats can provide more consistent coverage than one heavy coat.
Don’t forget the edges and underside of your project!
2. Try an Acrylic Spray Sealer
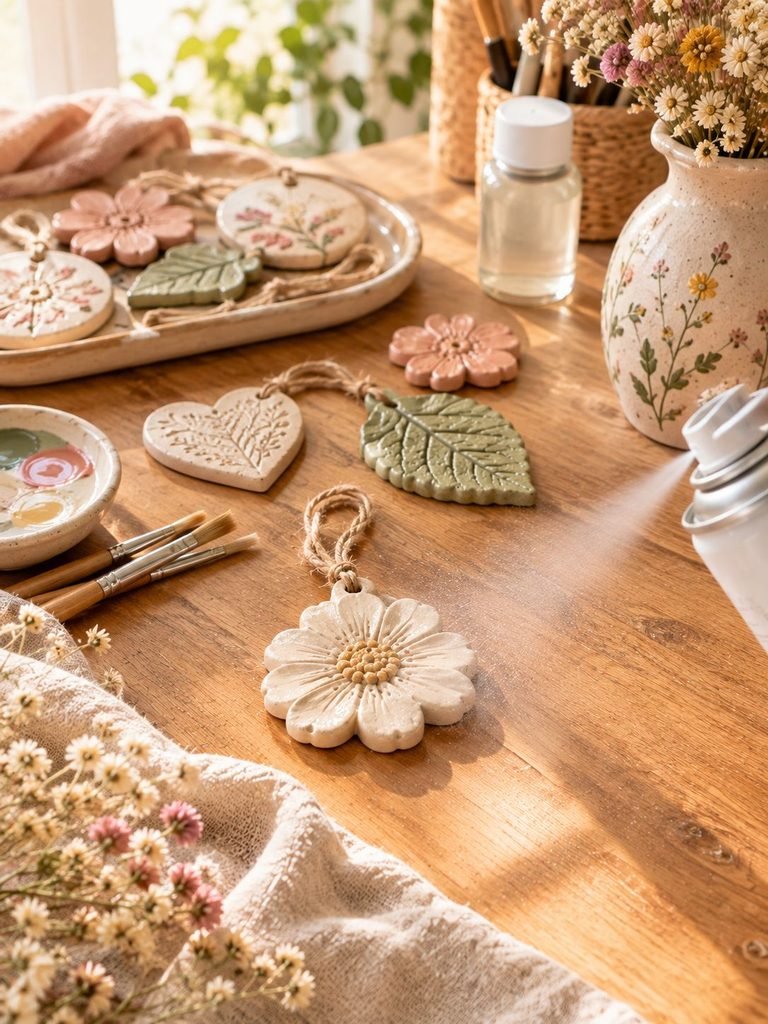
If you have a detailed clay piece with lots of tiny grooves, flowers, textures, or awkward corners, spray sealer can be wonderfully convenient.
Instead of trying to push a brush into every little space, you can apply light coats over the entire piece.
Acrylic spray sealers are commonly used to add a protective layer to finished craft projects and can improve resistance to light moisture.
How to Use Spray Sealer
Place your completely dry clay piece somewhere well ventilated.
Hold the can according to the manufacturer’s directions and apply a light, even coat rather than soaking the surface.
Allow it to dry before applying another coat.
Several light applications are generally preferable to one heavy application because heavy coats can create drips, uneven areas, or an overly thick finish.
A Little Tip I Love
If you’re nervous about spraying your favorite finished piece for the first time, test the product on a small leftover piece of clay first.
This lets you check:
- How the sealer looks
- Whether it changes the color
- Whether it creates the finish you want
- How your paint reacts to it
And honestly, that little test can save you from ruining an entire afternoon of crafting!
3. Use Polyurethane Varnish
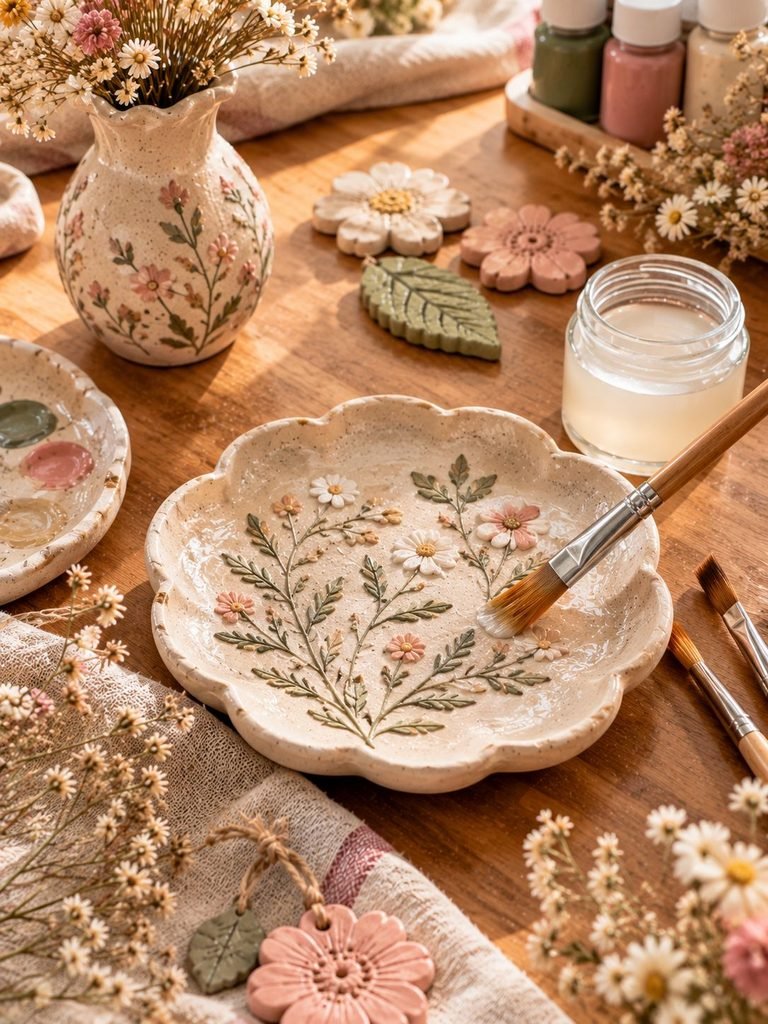
Polyurethane varnish is another option when you want a tougher protective coating.
It can provide stronger water resistance than some simple craft glues and is available in different finishes. Some crafters prefer water-based polyurethane because it generally has less odor and is easier to clean up than many solvent-based alternatives.
It’s particularly worth considering for decorative pieces that may experience more handling or occasional moisture.
How to Apply It
Start with a completely dry and dust-free piece.
Apply a thin, even coat with a suitable brush.
Let it dry according to the manufacturer’s instructions before adding another coat.
As always, follow the specific product directions because drying times and application requirements vary between formulas.
And if you’re working indoors, make sure your workspace has appropriate ventilation, especially when using products with strong fumes.
4. Seal Your Clay With Mod Podge or Craft Glue
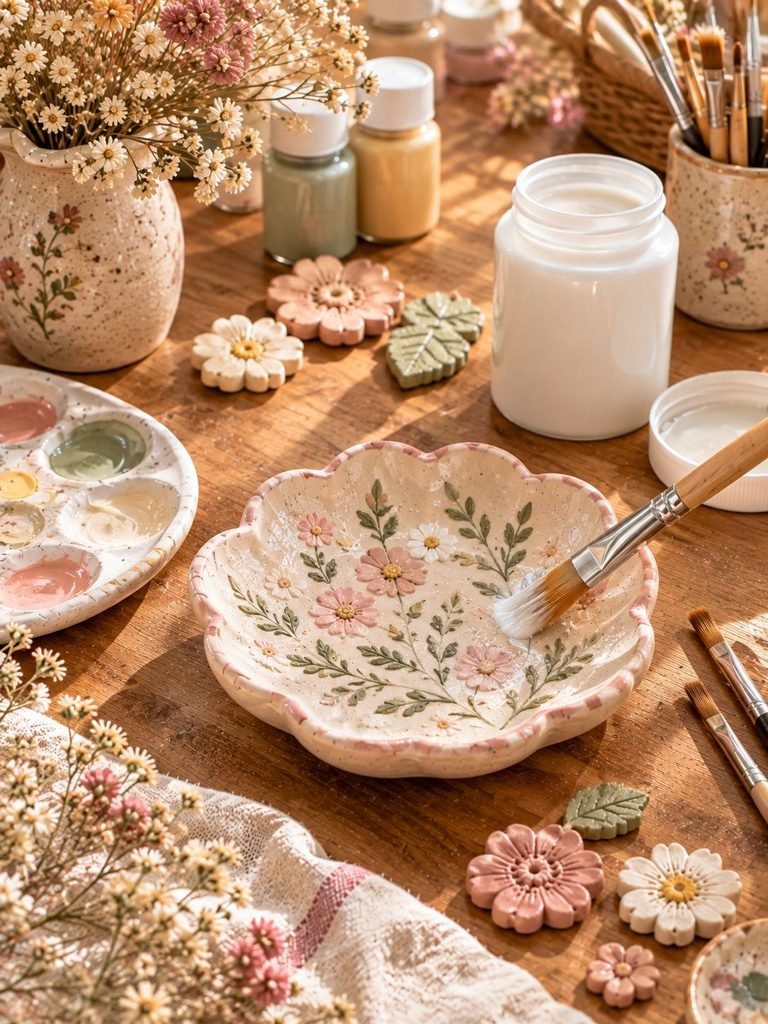
If you’re making a cute decorative project and don’t need serious waterproof protection, craft glue or Mod Podge can be a simple and inexpensive choice.
It can create a clear protective layer without hiding the pretty colors underneath.
Mod Podge is available in finishes such as matte and gloss, so you can choose the look that suits your project. However, it’s important not to confuse water-resistant with waterproof. Standard craft glue-based finishes aren’t the choice I would rely on for an item that will be regularly soaked or submerged.
How to Seal Air-Dry Clay With Mod Podge
- Make sure the clay is completely dry.
- Remove any dust from the surface.
- Use a soft brush to apply a thin layer.
- Cover the entire surface evenly.
- Let the first coat dry.
- Apply another thin coat if needed.
- Allow the final layer to cure completely before using or handling the piece.
This method is especially nice for:
- Clay ornaments
- Wall decorations
- Decorative trays
- Small sculptures
- Jewelry displays
- Clay flowers
- Seasonal decorations
For pieces that will regularly come into contact with water, choose a more durable protective system instead.
5. Use Epoxy Resin for the Strongest Water Protection
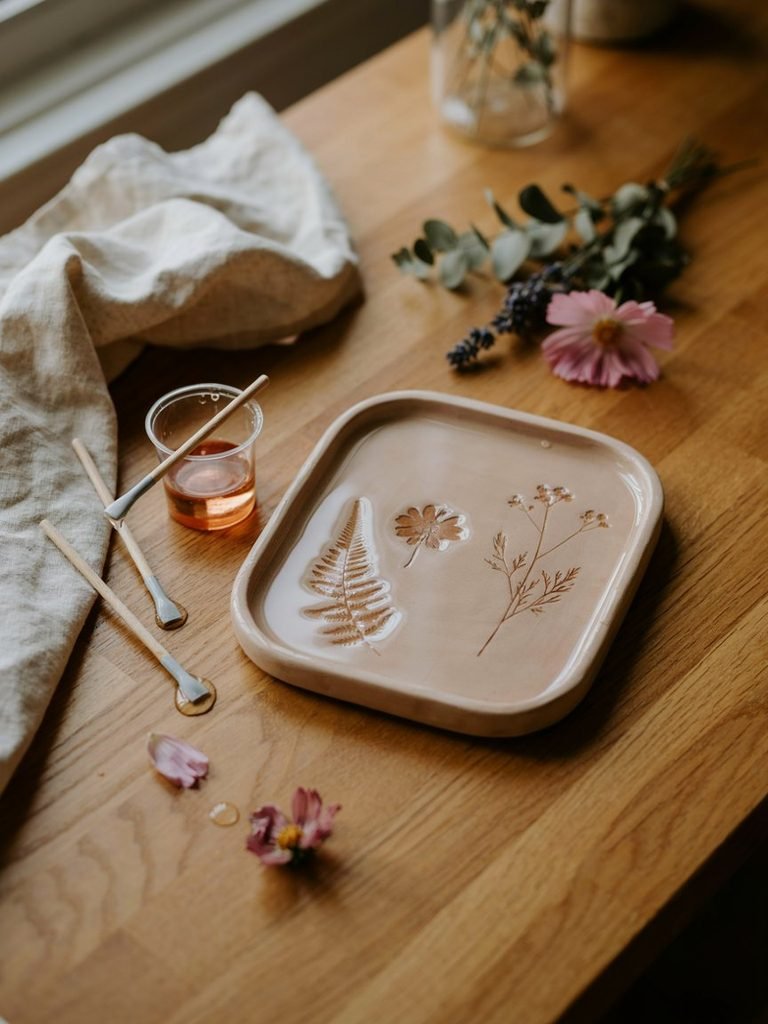
If you’re specifically looking for a finish that creates a much stronger waterproof barrier, epoxy resin is the option that deserves the most attention.
Unlike a simple coat of paint, resin cures into a solid protective layer around the surface of the clay.
CraftKnights identifies liquid epoxy resin as its method for achieving true waterproofing, while also noting that air-dry clay itself may not be durable enough for demanding pottery applications.
Keep This in Mind Before Using Resin
Epoxy resin is not quite as beginner-friendly as brushing on varnish.
You’ll need to:
- Measure the components correctly
- Mix them according to the manufacturer’s instructions
- Work in an appropriate ventilated area
- Protect your work surface
- Follow the product’s safety instructions
- Allow the resin to cure completely
And there’s one very important point:
Don’t assume that a resin-coated air-dry clay dish automatically becomes food-safe.
If you’re making anything that will touch food or drinks, the entire material system needs to be specifically suitable for that purpose. A decorative clay bowl isn’t automatically safe for serving food just because it has resin on top.
For most beginner clay crafts, I would keep epoxy resin for projects where its extra level of protection is genuinely needed.
Which Sealer Should You Choose?
Here’s a simple way to decide.
| Project | Sealer to Consider |
|---|---|
| Decorative ornaments | Acrylic varnish |
| Painted clay decorations | Acrylic varnish |
| Small sculptures | Acrylic sealer |
| Detailed clay pieces | Spray sealer |
| Pieces needing more durability | Polyurethane |
| Simple decorative crafts | Mod Podge/craft glue |
| Projects requiring maximum water protection | Epoxy resin |
Remember, this isn’t about finding one magical sealer that works for every project.
Your intended use matters most.
For example, I wouldn’t use the same approach for a pretty clay ornament hanging on a Christmas tree as I would for something sitting beside a bathroom sink.
How to Waterproof Air-Dry Clay Step by Step
If you simply want a reliable routine to follow, here’s the process I’d recommend.
Step 1: Let Your Clay Dry Completely
Don’t seal damp clay.
Give your project enough time to dry according to the clay manufacturer’s instructions. Thicker pieces generally take longer than thin decorations.
Step 2: Inspect the Surface
Look carefully for:
- Cracks
- Rough areas
- Dust
- Uneven edges
- Tiny holes
- Unfinished sections
Fix imperfections before sealing whenever possible.
Step 3: Paint Your Piece
If you want a colorful design, paint the completely dry clay with acrylic paint.
Allow the paint to dry fully before applying your final protective coating.
Step 4: Choose Your Sealer
Choose based on the project’s purpose.
For a decorative piece, acrylic varnish or spray sealer may be plenty.
For stronger protection, consider polyurethane.
For a highly protective waterproof coating, epoxy resin may be appropriate.
Step 5: Apply Thin Coats
This is where patience really pays off.
Thin, even layers usually create a much nicer finish than one thick layer.
Make sure you’re covering the sides, edges, corners, and underside.
Step 6: Allow Every Coat to Dry
Don’t touch the surface too soon just because it looks dry.
Follow the product’s recommended drying or curing time.
Step 7: Check the Finished Piece
Once fully cured, inspect your clay project.
Look for areas where the coating may be thin or missing.
If necessary, add another coat.
Common Mistakes to Avoid
Even the prettiest clay project can run into trouble if it’s sealed incorrectly.
Sealing Clay Before It’s Fully Dry
This is one of the biggest mistakes.
If moisture is trapped inside the clay, sealing it too early can interfere with the drying process.
Always give your project enough drying time.
Applying One Very Thick Coat
More product doesn’t necessarily mean more protection.
A thick coat can drip, remain tacky, create an uneven finish, or take much longer to dry.
Thin coats are your friend.
Forgetting the Bottom
This happens so easily!
You carefully seal the top and sides, then place your clay piece on a damp surface and discover that the underside wasn’t protected.
Turn your piece over once the upper surface is safe to handle and make sure the underside receives appropriate coverage.
Assuming Paint Makes Clay Waterproof
Acrylic paint can add a degree of protection, but paint alone shouldn’t be treated as a waterproof barrier.
If water resistance matters, use a suitable clear sealer over the finished paint.
Using Air-Dry Clay for Water-Holding Containers
This is where I’d be especially careful.
A sealed air-dry clay vase might look gorgeous, but that doesn’t mean it’s suitable for holding water.
If you want to use your clay creation with fresh flowers, consider placing a separate waterproof container inside it rather than relying on the clay itself to hold water.
How to Make Air-Dry Clay Last Longer
Water isn’t the only thing that can affect your clay creations.
To keep them looking beautiful:
Keep them away from prolonged moisture.
Even a sealed piece benefits from being kept dry whenever possible.
Handle them gently.
Air-dry clay doesn’t have the same strength as kiln-fired ceramic.
Avoid soaking them.
A quick splash is very different from leaving a piece sitting in water.
Store seasonal decorations carefully.
Wrap delicate pieces individually and keep them somewhere dry.
Check for cracks occasionally.
If your protective coating becomes damaged, moisture may be able to reach the clay underneath.
Can You Use Air-Dry Clay Outdoors?
I’d be cautious.
Even when sealed, air-dry clay isn’t naturally designed to withstand constant exposure to rain, humidity, temperature changes, and outdoor conditions. Crayola, for example, specifically advises that sealed air-dry clay can still be negatively affected by water and outdoor elements and recommends indoor display for its air-dry clay.
If you want to decorate an outdoor space, choose a material specifically intended for outdoor use whenever possible.
If you do experiment with an outdoor clay project, think of the sealer as extra protection, not a guarantee that your clay will remain permanently waterproof.
My Favorite Approach for Beginner Clay Projects
For most pretty DIY projects around the home, I wouldn’t immediately reach for epoxy resin.
If I’m making something decorative, I’d start with a good acrylic varnish or acrylic sealer.
It’s simple, accessible, and gives you the chance to choose between a soft matte finish, a subtle satin look, or a glossy finish.
If the piece needs more resistance to moisture and handling, I’d consider a suitable polyurethane varnish.
And if the project truly needs a much stronger waterproof barrier, that’s when I’d look into epoxy resin.
The most important thing is to match the sealer to the job, rather than assuming the strongest product is always the best choice.
Final Thoughts
Air-dry clay is such a lovely material for experimenting with handmade home decor, and sealing your finished creations can make them much easier to care for. The trick is understanding what your sealer can actually do.
For everyday decorative projects, acrylic varnish, acrylic spray sealer, polyurethane, or craft glue can provide useful protection from light moisture. For projects that need a much stronger waterproof barrier, epoxy resin is an option—but it requires more care and doesn’t automatically make a piece suitable for food or drink.
Most importantly, don’t skip the drying stage. Let your clay dry completely, apply your protective coating in thin, even layers, and make sure every exposed area is covered.
With a little patience, you can keep those pretty handmade clay pieces looking beautiful for much longer. ♡