Free DIY Basket Pattern You Can Knit Up in a Flash
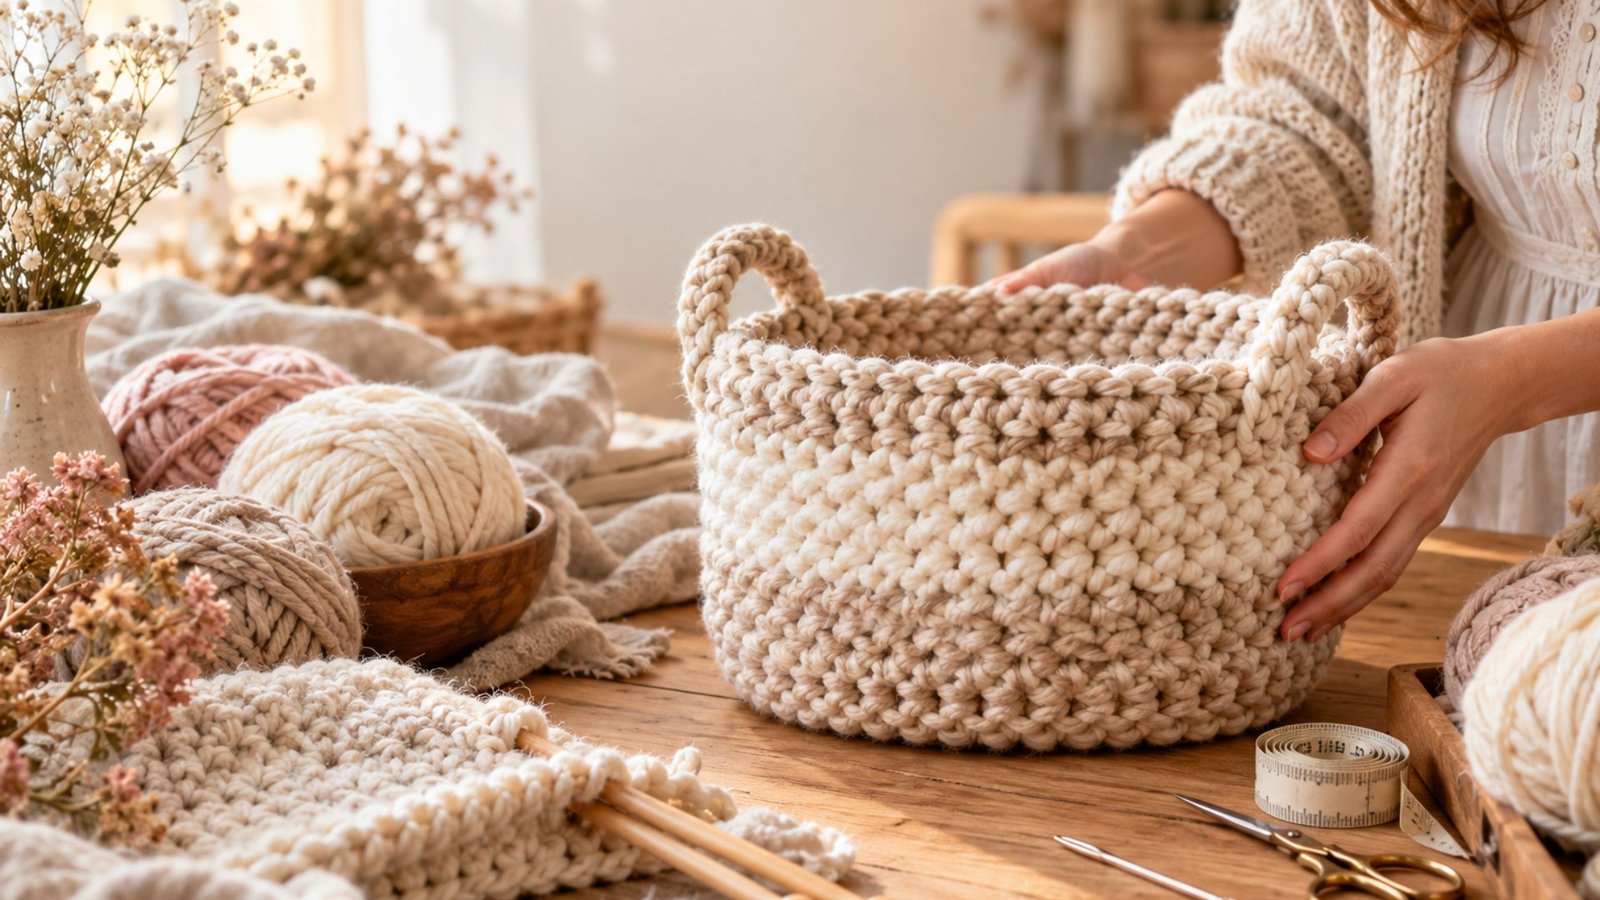
I’ve always had a soft spot for little handmade baskets. They make a room feel warmer and more personal, and I love that they can be both pretty and practical.
One afternoon, I wanted a small basket for my knitting supplies but didn’t want to spend days working on a complicated pattern. So I picked up some chunky yarn and started experimenting.
The result was this quick and cozy knitted basket. It came together surprisingly fast, and I knew I had to share the pattern. If you love useful handmade projects as much as I do, this one is such a lovely little weekend make.
Why You’ll Love This Quick Knitted Basket

Some knitting projects are beautiful but require so much time and concentration that you need to set aside several evenings to finish them.
This basket is completely different.
It’s designed to be quick, simple, practical, and beginner-friendly. The chunky yarn helps the basket grow quickly, while the simple stitch pattern creates a lovely textured fabric without requiring complicated techniques.
I especially love this project because you can make one while watching your favorite show, listening to a podcast, or enjoying a quiet afternoon with a cup of coffee.
Once you make your first basket, you may find yourself making several more.
They’re perfect for:
- Yarn and knitting supplies
- Crochet hooks
- Hair accessories
- Small toys
- Craft supplies
- Blankets
- Books and magazines
- Bathroom essentials
- Plant pots
- Keys and everyday items
- Gift baskets
- Bedroom organization
You can also change the yarn color, size, and handles to create a basket that fits your home perfectly.
What Makes This Basket So Fast to Knit?

The secret is choosing the right yarn.
For a quick project like this, I recommend using chunky or super bulky yarn. Thicker yarn means fewer stitches and rows are needed to create a substantial basket.
A chunky yarn also gives the finished basket a beautiful handmade texture.
If you use very thin yarn, you can still make the basket, but it will take considerably longer and may not have enough structure to stand nicely on its own.
For my basket, I prefer a soft neutral shade such as cream, oatmeal, beige, taupe, or warm gray. These colors give the finished basket that cozy handmade look that works beautifully with almost any décor.
However, don’t be afraid to have fun with color.
A dusty pink basket would look lovely in a bedroom, while sage green would be beautiful in a craft room or nursery.
Materials You’ll Need

Before getting started, gather everything you need.
Yarn
Choose a chunky or super bulky yarn.
You’ll need approximately:
- 100–150 yards for a small basket
- 150–200 yards for a medium basket
- More if you want to make a larger basket
The exact amount will depend on your yarn thickness and basket size.
Knitting Needles
Use knitting needles appropriate for your yarn.
For chunky yarn, I recommend approximately US 10–13 knitting needles, depending on how tightly or loosely you naturally knit.
Circular needles are especially convenient because they allow you to comfortably hold a larger number of stitches.
Other Supplies
You’ll also need:
- Tapestry needle
- Scissors
- Stitch marker
- Measuring tape
- Optional leather or fabric handles
- Optional cardboard or wooden base insert
You don’t need anything fancy to make this project.
That’s one of the things I love most about it.
Choosing the Right Yarn

The yarn you choose will make a big difference in how your finished basket looks and behaves.
For a soft decorative basket, look for a yarn that has plenty of body.
Wool blends, acrylic chunky yarn, cotton blends, and tube-style yarns can all work.
If you want your basket to hold heavier items, choose something sturdy rather than an extremely soft yarn.
For a softer basket
Choose:
- Chunky wool
- Wool blends
- Chenille yarn
- Soft acrylic yarn
These create a cozy basket that works beautifully for blankets, toys, and bedroom storage.
For a firmer basket
Choose:
- Cotton
- Cotton blends
- Cord yarn
- Sturdy recycled yarn
- T-shirt yarn
These options tend to create more structure.
One important thing to remember is that a very soft yarn can make a basket that slouches more than you expect.
That isn’t necessarily a problem.
A relaxed, slightly floppy basket can look incredibly cozy.
Basic Skills You’ll Need
This pattern is intentionally simple.
You should be comfortable with:
- Casting on
- Knit stitch
- Purl stitch
- Increasing
- Decreasing
- Binding off
- Weaving in ends
If you’re still learning, don’t worry.
The basket is actually a wonderful project for practicing these techniques because you’ll use them repeatedly.
If you can knit a basic rectangle, you can already handle a large portion of this project.
Free Quick-Knit Basket Pattern
Here’s the simple pattern.
The finished basket can be adjusted depending on how many stitches you cast on.
For a medium-sized basket, start with approximately 40 stitches using chunky yarn and suitable needles.
Step 1: Cast On
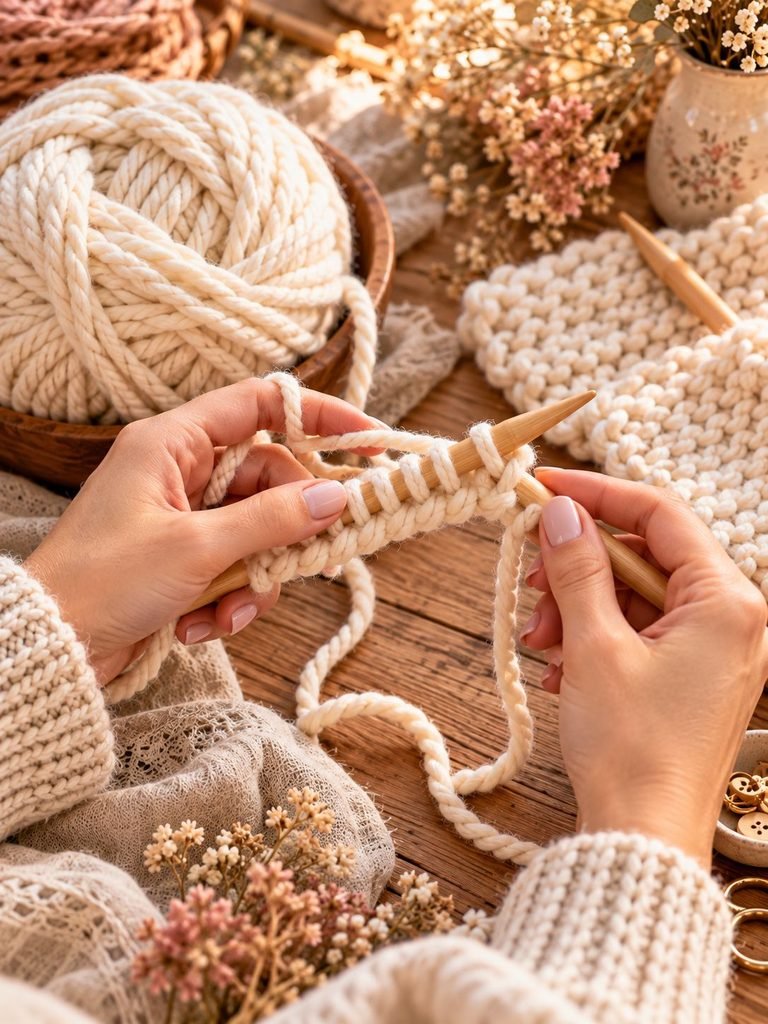
Cast on 40 stitches.
Try not to cast on too tightly.
A very tight cast-on edge can make it difficult for the basket to sit naturally.
If you naturally cast on tightly, consider using a slightly larger needle for the cast-on row.
Step 2: Knit the Base

The base is the most important part of the basket because it determines how wide the bottom will be.
For the simplest version, work in garter stitch by knitting every row.
Continue knitting until your piece measures approximately 8–10 inches long, depending on how large you want the basket.
The piece will look like a simple knitted rectangle.
Don’t worry if it doesn’t look like a basket yet.
At this stage, you’re simply creating the foundation.
Step 3: Shape the Basket

Once your base is the desired size, you’ll begin working around the edges.
For a simple basket, continue knitting while gradually building upward from the base.
If you’re working the basket flat and seaming it afterward, continue knitting rows until the side section reaches approximately 5–7 inches high.
For a deeper basket, simply add more rows.
For a shallow storage basket, stop sooner.
This is one of the easiest parts of the pattern to customize.
Step 4: Create a Simple Textured Stitch
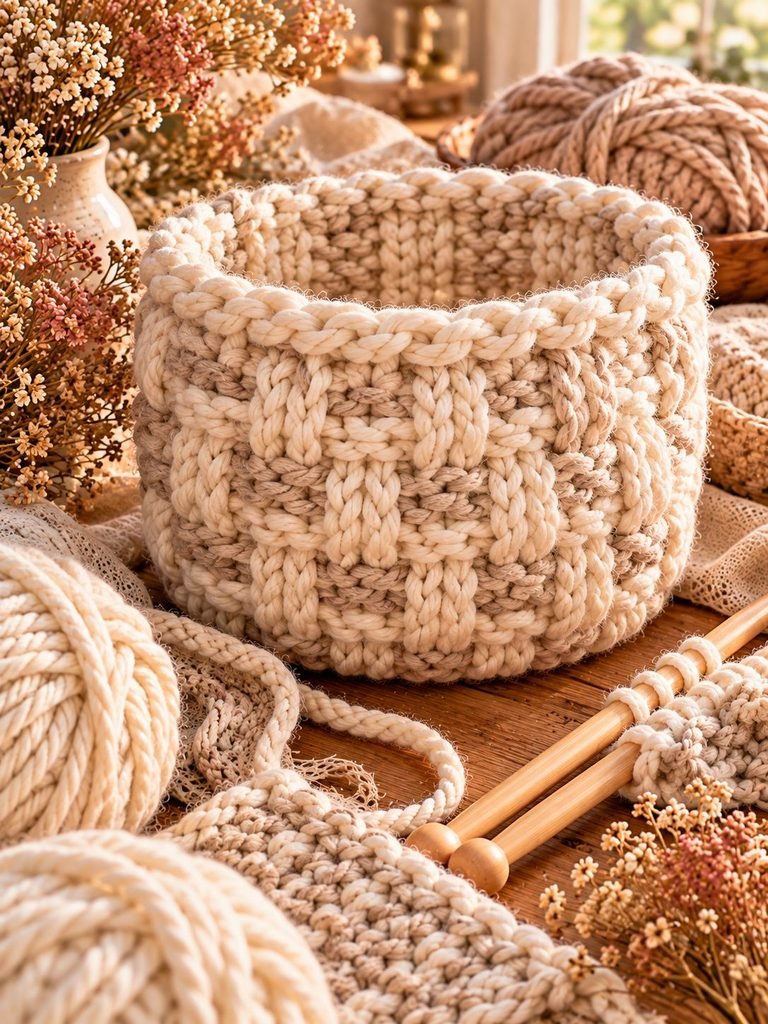
If you want a little more texture, alternate knit and purl rows.
For example:
Row 1: Knit across.
Row 2: Purl across.
Repeat these two rows.
This creates a simple stockinette texture.
For an even easier option, continue knitting every row for garter stitch.
Garter stitch is particularly nice for baskets because it creates a thick, textured fabric.
Step 5: Shape the Top Edge

When your basket has reached the height you want, it’s time to finish the upper edge.
Work several rows of garter stitch to create a sturdy-looking rim.
I recommend approximately 4–6 rows.
This small detail makes a surprisingly big difference.
It gives the basket a more finished appearance and helps the opening hold its shape.
Step 6: Bind Off
Bind off loosely.
Again, avoid pulling the yarn too tightly.
The basket opening needs to have enough flexibility to maintain its shape.
Cut the yarn, leaving a tail of approximately 8–10 inches.
Use your tapestry needle to weave the end securely into the knitted fabric.
Step 7: Sew the Basket Together

Now comes the fun part.
Fold your knitted piece so the sides line up.
Use your tapestry needle and yarn tail to sew the side seam.
Work carefully along the edge, keeping your stitches neat and secure.
Once the side seam is finished, attach the bottom section.
Take your time with this part.
A neat seam will make your finished basket look much more polished.
When you’ve finished sewing, turn the basket right side out.
You should now start seeing your basket take shape.
Adding Simple Handles
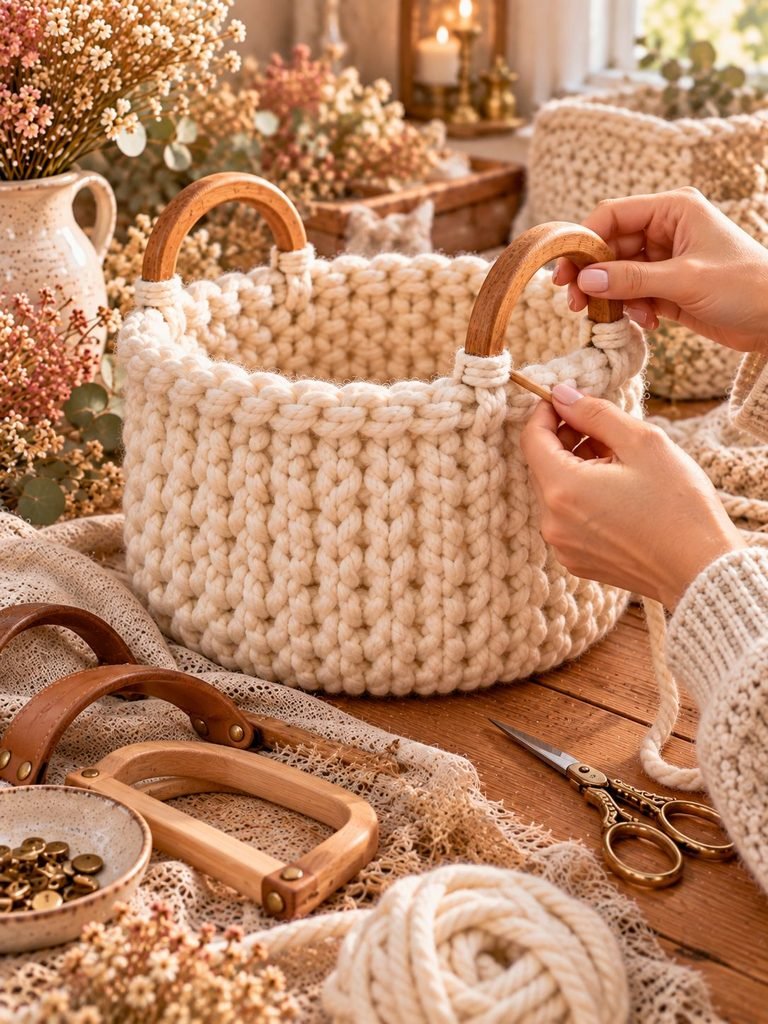
Handles are completely optional, but I absolutely love adding them.
They make the basket easier to carry and give it a slightly more finished look.
There are several ways to add handles.
Knitted Handles
You can knit two small strips using the same yarn.
Cast on approximately 6–8 stitches and knit several rows until each strip reaches your preferred handle length.
Sew each end securely to opposite sides of the basket.
Fabric Handles
For a softer look, use cotton fabric strips.
Cream, beige, linen, and floral fabrics all look beautiful with a knitted basket.
Simply sew the handles firmly to the inside of the basket.
Leather Handles
Leather handles create a beautiful contrast with chunky knitted fabric.
You can use small leather tabs and secure them with strong thread or suitable hardware.
This gives the basket a more structured, boutique-style appearance.
How to Make Your Basket Stand Up Better
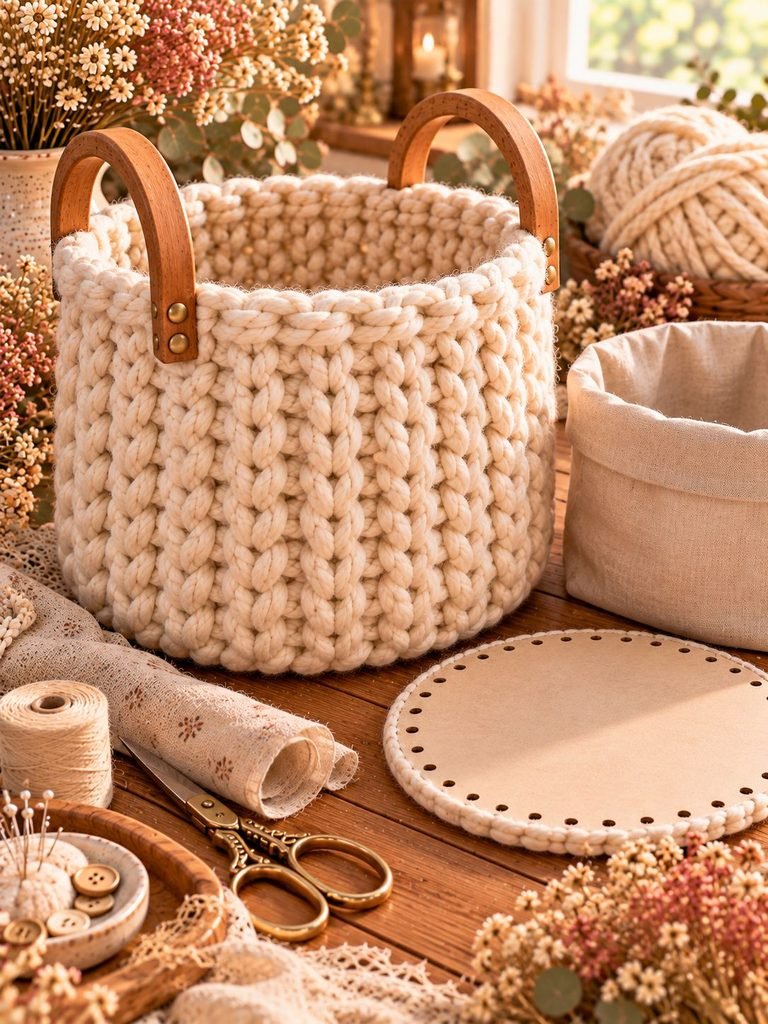
One of the most common questions with knitted baskets is how to give them more structure.
Because knitted fabric naturally has some flexibility, your basket may be slightly floppy.
Luckily, there are several easy solutions.
Use a Firmer Yarn
Cotton and sturdy yarns generally provide more structure than very soft yarns.
Knit Tightly
A tighter fabric will usually hold its shape better.
Just be careful not to knit so tightly that your hands become uncomfortable.
Add a Base
You can cut a circle or rectangle from sturdy cardboard or plastic and place it inside the bottom.
Cover the insert with fabric if you want a prettier finish.
Add a Fabric Lining
A simple fabric lining can make your basket significantly more structured.
It also gives the basket a lovely finished interior.
How to Add a Fabric Lining
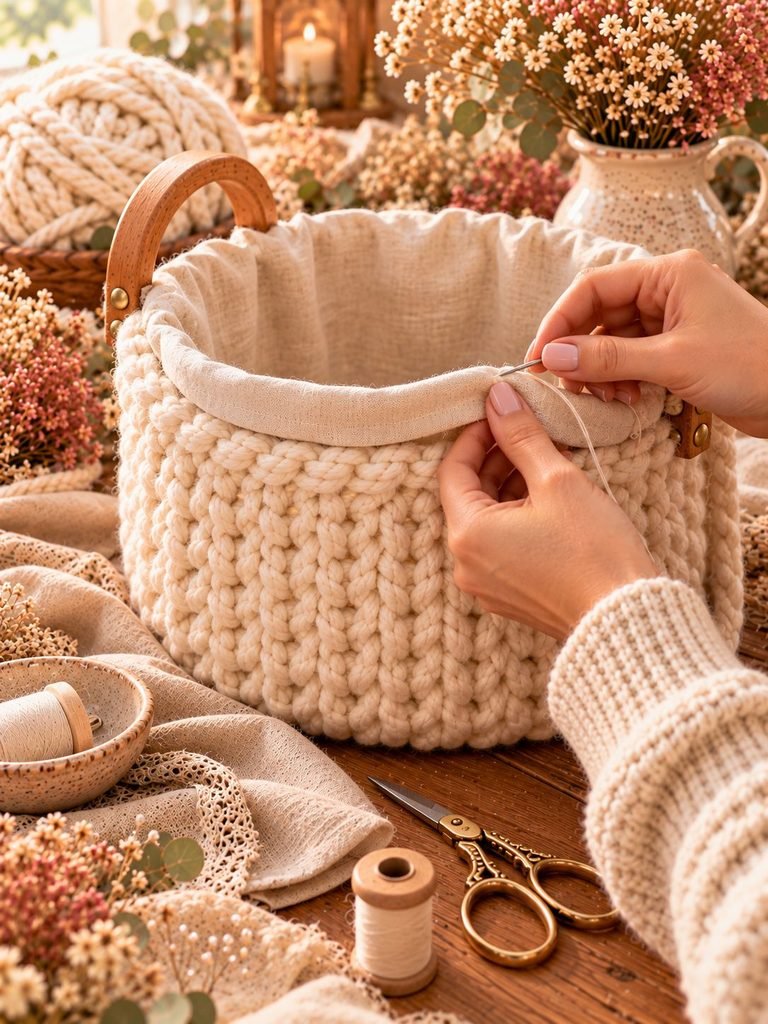
If you’d like your basket to look more polished, a lining is a wonderful addition.
Measure the inside circumference of the basket and its depth.
Cut a piece of fabric according to those measurements, allowing extra fabric for seams.
Sew the fabric into a simple basket shape.
Then place the lining inside the knitted basket.
Fold the top edge of the lining inward and hand-stitch it around the inside of the knitted rim.
You don’t need to be an expert sewer.
Small, neat stitches are perfectly fine because they won’t be very noticeable.
Easy Ways to Customize Your Knitted Basket

One of my favorite things about this pattern is how easy it is to make it your own.
Make It Smaller
Cast on fewer stitches and create a shorter base.
Small baskets are perfect for:
- Jewelry
- Hair clips
- Makeup
- Crochet hooks
- Small craft supplies
Make It Larger
For a larger basket, simply increase the number of stitches and make the base wider.
You can also make the sides taller.
Large baskets are wonderful for:
- Blankets
- Pillows
- Toys
- Laundry
- Larger craft supplies
Add Stripes
Stripes are an easy way to make the basket more interesting.
Try alternating two neutral colors.
For example:
- Cream and beige
- Oatmeal and brown
- White and sage
- Blush and cream
- Gray and ivory
You can change colors every few rows for a simple striped effect.
Try a Two-Tone Basket

If you want something a little more decorative, use one color for the base and another for the sides.
For example, you could knit a warm cream base and use dusty pink for the basket walls.
This is especially pretty for bedrooms and nurseries.
Another lovely combination is natural beige with a soft sage green.
Common Problems and How to Fix Them
Even simple knitting projects can have little surprises.
Here are a few common problems you might encounter.
My Basket Is Too Floppy
This usually happens when the yarn is very soft or the knitting is loose.
Try using a sturdier yarn or smaller needles.
You can also add a base insert or fabric lining.
My Basket Isn’t Sitting Flat
The base may have uneven tension.
Don’t panic.
Place the basket on a flat surface and gently reshape it with your hands.
If necessary, lightly block the knitted piece before assembling it.
My Sides Are Curling
If you’re using stockinette stitch, curling is normal.
Switch to garter stitch around the edges or add a border.
A few rows of garter stitch can help create a more stable edge.
My Basket Looks Too Small
Remember that knitted fabric can stretch.
Before deciding that your basket is too small, gently shape it with your hands.
If you still need more room, you can make the next version slightly larger.
My Seams Look Messy
Don’t worry if your first seam isn’t perfect.
Use a tapestry needle and work slowly.
Try to match the stitches on both sides of the seam so the join becomes less noticeable.
Tips for Getting a Beautiful Finished Basket
A few small details can make a handmade basket look much more polished.
Keep Your Tension Consistent
Try to maintain the same tension throughout the project.
Uneven tension can make the basket look wavy.
Don’t Rush the Seams
The sewing stage might seem like the least exciting part, but it matters.
Take your time.
Hide Your Yarn Ends
Always weave your ends securely into the fabric.
Avoid simply cutting them short.
Shape the Basket Before Judging It
A knitted basket often looks slightly strange when it’s freshly assembled.
Use your hands to gently shape the sides and base.
You’ll be surprised by how much better it looks after a little reshaping.
What Can You Use Your Finished Basket For?
Once you’ve made one, you’ll probably find dozens of uses for it.
I love using small knitted baskets to keep my craft supplies organized.
You could also place one beside your sofa and fill it with knitting projects.
A larger version would be beautiful beside a chair with a cozy blanket tucked inside.
In the bedroom, use one for scarves or accessories.
In the bathroom, it can hold rolled-up washcloths.
In a nursery, it can hold small toys.
You could even make several matching baskets in different sizes and use them together as a little organization system.
Turn It Into a Handmade Gift
A knitted basket makes a thoughtful handmade gift because it’s both beautiful and useful.
Fill a small basket with:
- Handmade candles
- Tea
- Chocolates
- Cozy socks
- Hand cream
- Bath products
- Small handmade ornaments
- Yarn and knitting accessories
You can match the yarn color to the recipient’s favorite colors.
For a special touch, add a simple fabric ribbon around the basket.
The basket itself becomes part of the gift rather than disposable packaging.
My Favorite Way to Style a Knitted Basket
I personally love the look of a chunky cream basket sitting on a warm wooden shelf.
Add a folded linen blanket, a small dried flower arrangement, or a few balls of neutral-colored yarn inside.
The result feels cozy without looking cluttered.
For a more rustic cottage-style look, choose natural beige yarn and pair it with wooden handles.
For something softer and more feminine, try cream yarn with blush or dusty pink accents.
You really don’t need much.
The knitted texture does most of the decorating for you.
Final Thoughts
If you’ve been looking for a quick knitting project that doesn’t require complicated stitches or days of work, I think this little basket is such a lovely place to start.
It’s simple enough for a beginner, but there are plenty of ways to customize it if you’ve been knitting for years.
Change the size, experiment with colors, add handles, sew in a lining, or keep it beautifully simple with natural chunky yarn.
And don’t worry if your first basket isn’t perfectly shaped.
That’s part of the charm of handmade projects.
Every little stitch carries a bit of your time and creativity.
Once you’ve finished your first one, you may find yourself looking around your home wondering where you can add another.
So grab your favorite chunky yarn, your needles, and a cozy spot to sit, and give this quick knitted basket a try.
Happy knitting! ♡