The All-Purpose Waffle Stitch Crochet Dishcloth Pattern
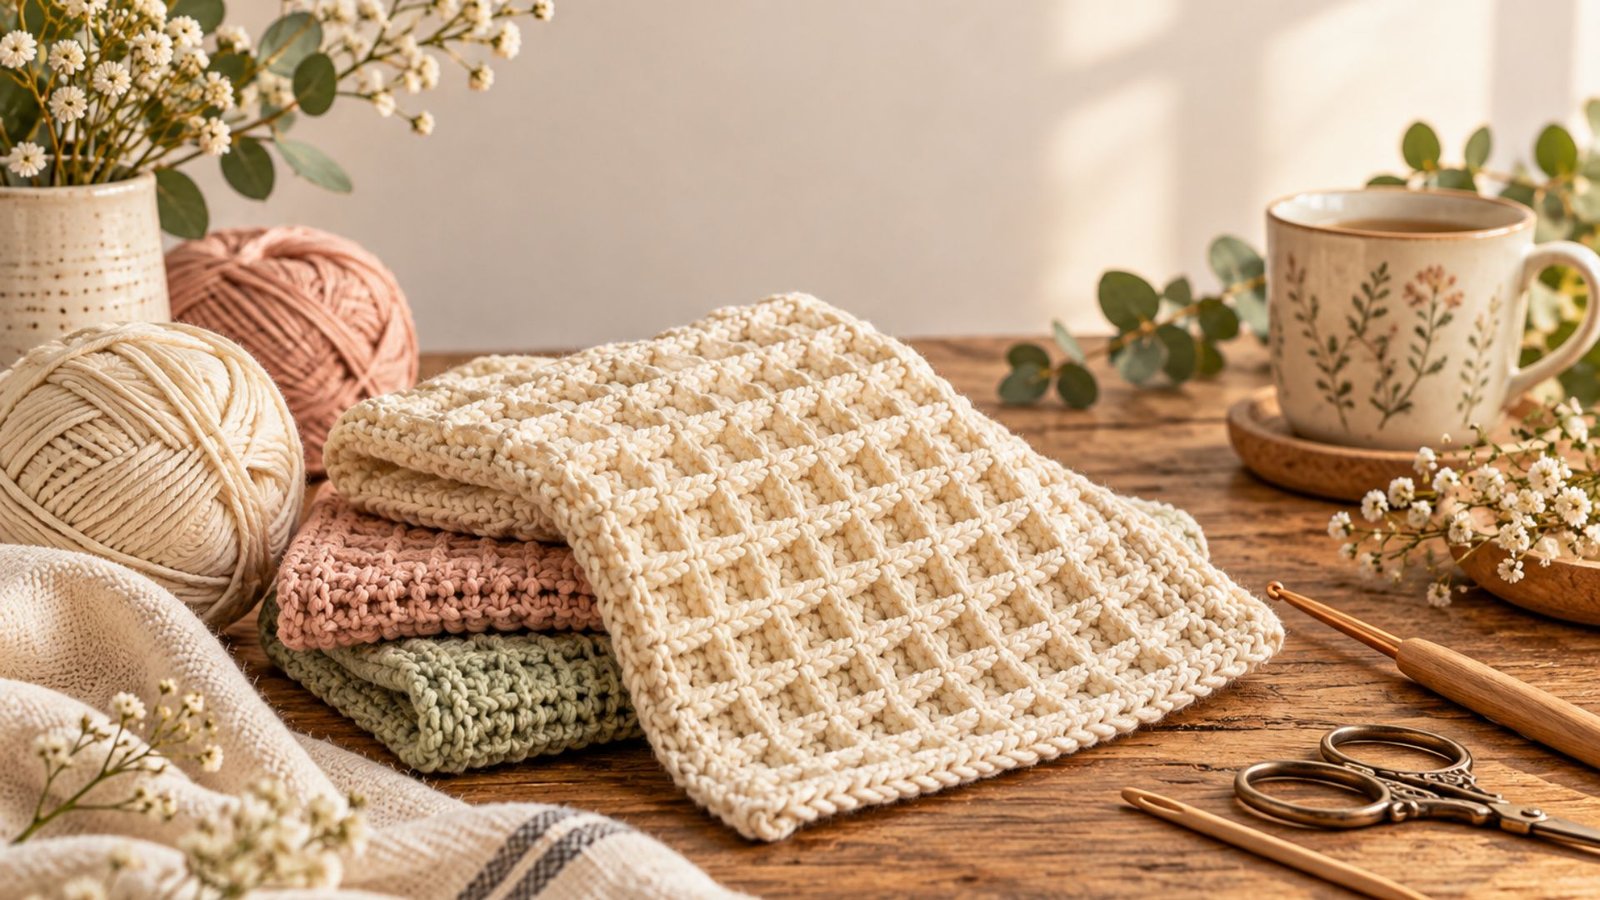
I have always loved crochet projects that are both beautiful and genuinely useful, and this waffle stitch dishcloth is one of those little projects I keep coming back to. It has that lovely textured look that makes a simple handmade piece feel extra special, but it is also practical enough to use every day in the kitchen.
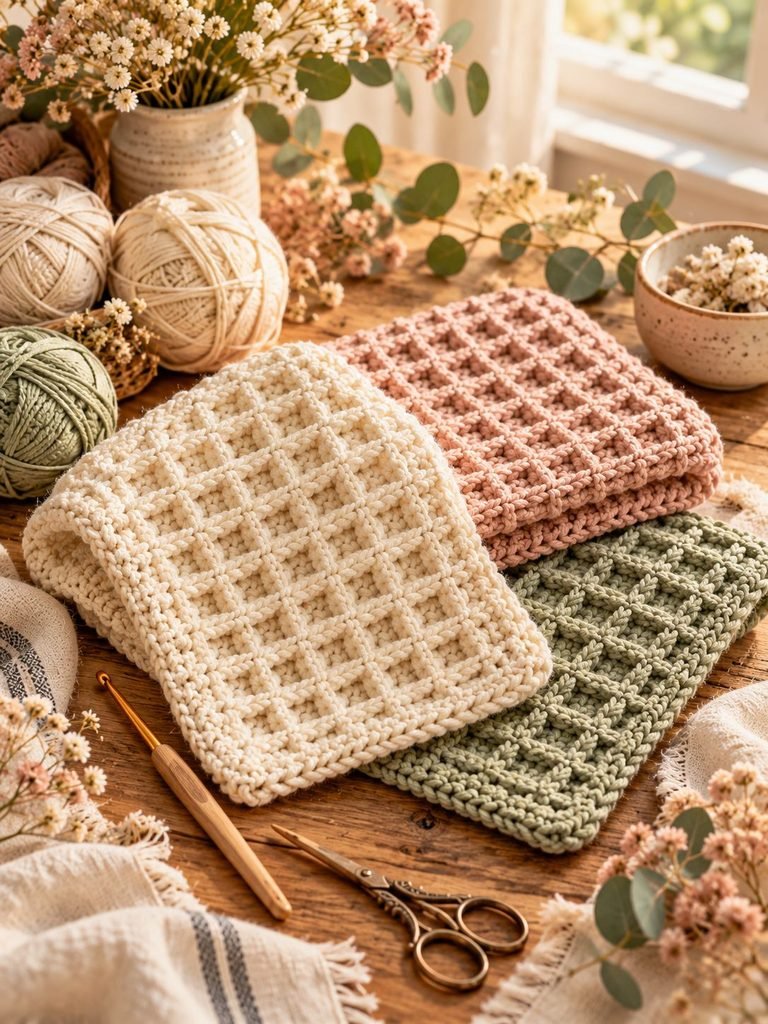
The first time I made a waffle stitch dishcloth, I was surprised by how quickly the texture came together. The raised stitches create little squares that look almost like a classic waffle, giving the finished cloth a soft, cozy appearance while adding plenty of texture. It is also one of those projects that feels satisfying to work on while watching a movie, listening to a podcast, or enjoying a quiet cup of coffee.
If you are looking for an easy crochet project that doesn’t require a huge amount of yarn or complicated techniques, this pattern is a wonderful place to start. It is suitable for beginners who are comfortable with basic crochet stitches, and experienced crocheters can easily customize the size, color, and yarn.
In this guide, I’ll walk you through everything you need to know to make your own all-purpose waffle stitch crochet dishcloth, from choosing your yarn and hook to understanding the waffle stitch, following the pattern, finishing your edges, and caring for your finished cloth.
Why You’ll Love This Crochet Dishcloth
A handmade dishcloth may be a small project, but it can be surprisingly useful. I especially love projects like this because they combine practicality with the simple pleasure of making something with your own hands.
Here are a few reasons this pattern is worth adding to your crochet list:
- Beginner-friendly: You only need a few basic crochet skills.
- Quick to make: A single dishcloth can usually be completed in a short amount of time.
- Budget-friendly: Dishcloths require only a small amount of yarn.
- Practical: Use it for dishes, countertops, tables, or general kitchen cleaning.
- Great for gifts: Handmade dishcloths make lovely additions to housewarming or kitchen gift baskets.
- Easy to customize: Change the color, size, or yarn to create your own version.
- Beautiful texture: The waffle stitch gives the cloth a thick, dimensional appearance.
I also think these make a wonderful handmade gift when paired with a wooden spoon, a pretty mug, homemade soap, or a small candle.
Materials You’ll Need
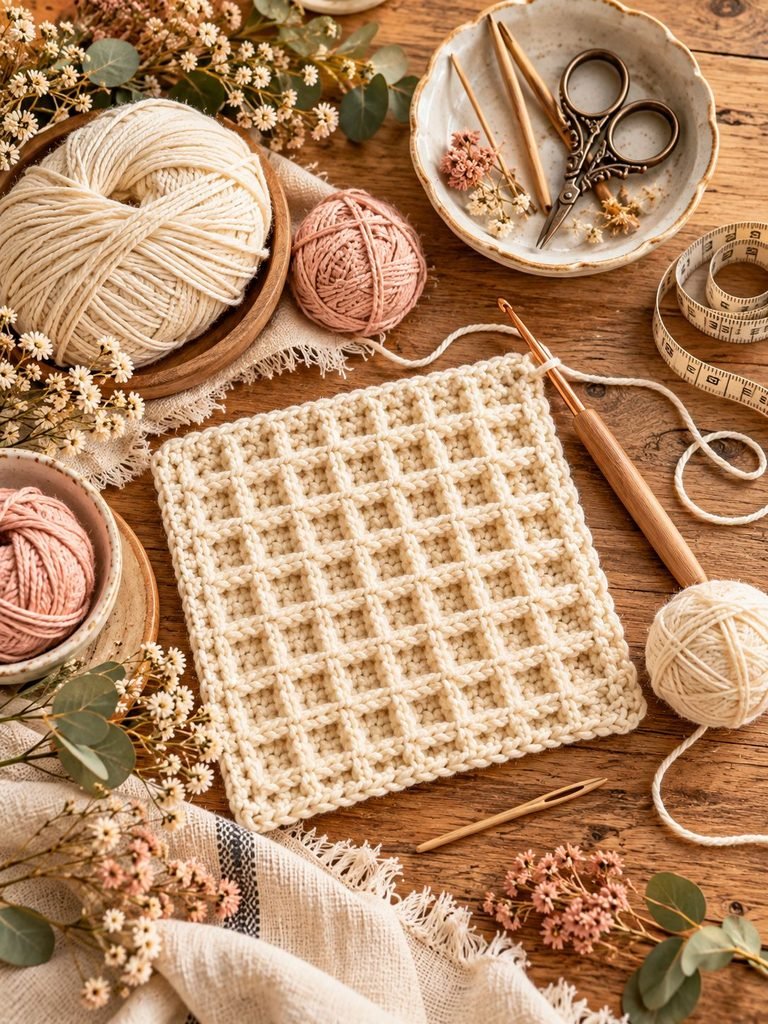
One of the best things about this project is that you don’t need a long list of supplies.
Yarn
For a dishcloth, I recommend using 100% cotton yarn.
Cotton is absorbent, durable, washable, and practical for kitchen projects. It also tends to hold its shape well after washing.
Choose a medium-weight cotton yarn, such as a worsted-weight or category 4 cotton yarn.
You will need approximately:
- 60–100 yards of cotton yarn for a standard dishcloth
- More if you decide to make a larger cloth
You can use one color or create a striped design by changing colors.
Crochet Hook
A 4.0 mm to 5.0 mm crochet hook works well with most medium-weight cotton yarn.
The exact hook size can depend on your yarn and how tightly you crochet.
If your stitches are very tight, try going up a hook size. If your fabric feels too loose, try going down slightly.
Other Supplies
You’ll also want:
- Yarn needle
- Scissors
- Measuring tape
- Stitch markers, if desired
That’s really all you need.
Crochet Skills You’ll Need
Before starting, make sure you are comfortable with these basic stitches:
- Chain stitch (ch)
- Single crochet (sc)
- Double crochet (dc)
- Front post double crochet (FPdc)
- Slip stitch (sl st)
The waffle texture is created primarily by working front post double crochet stitches around selected double crochet stitches from the previous row.
If you have never worked a front post stitch before, don’t worry. Once you understand where your hook goes, the technique becomes much easier.
What Is the Waffle Stitch?
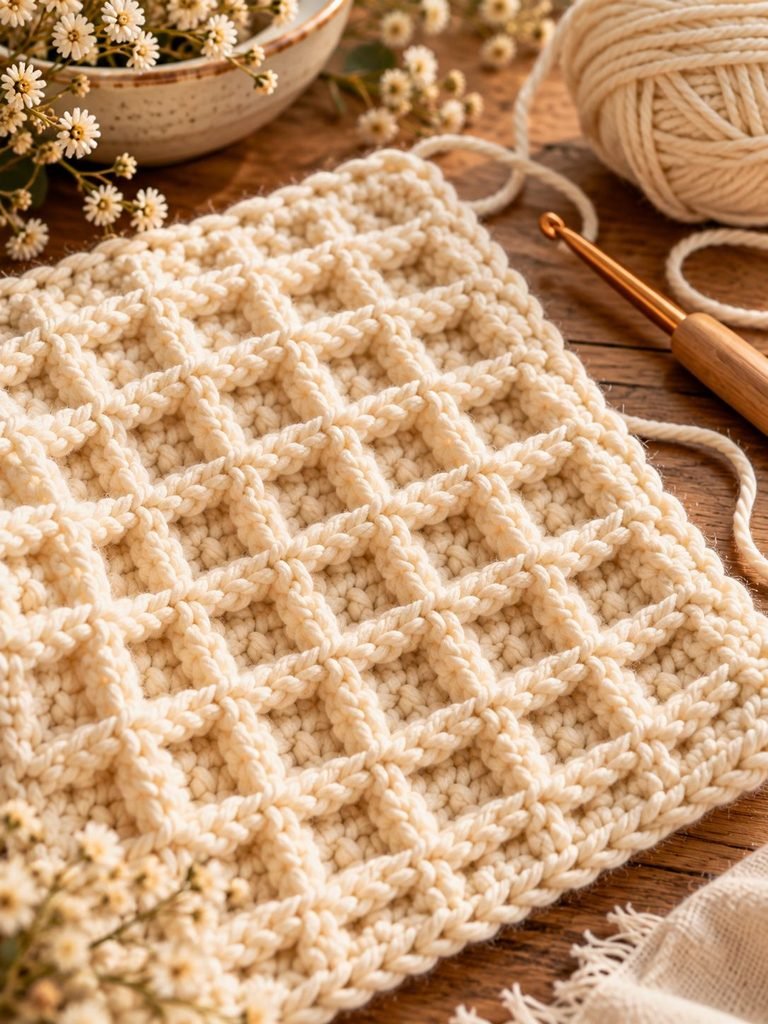
The waffle stitch is a textured crochet stitch created by alternating regular double crochet stitches with front post double crochet stitches.
The front post stitches sit toward the front of the fabric, creating raised sections. When the pattern is repeated over several rows, those raised stitches form the little square-like pattern that gives the stitch its waffle appearance.
The finished fabric is thicker and more textured than a basic single crochet or double crochet dishcloth.
That texture is one of the reasons I love using the waffle stitch for kitchen projects.
How to Work a Front Post Double Crochet
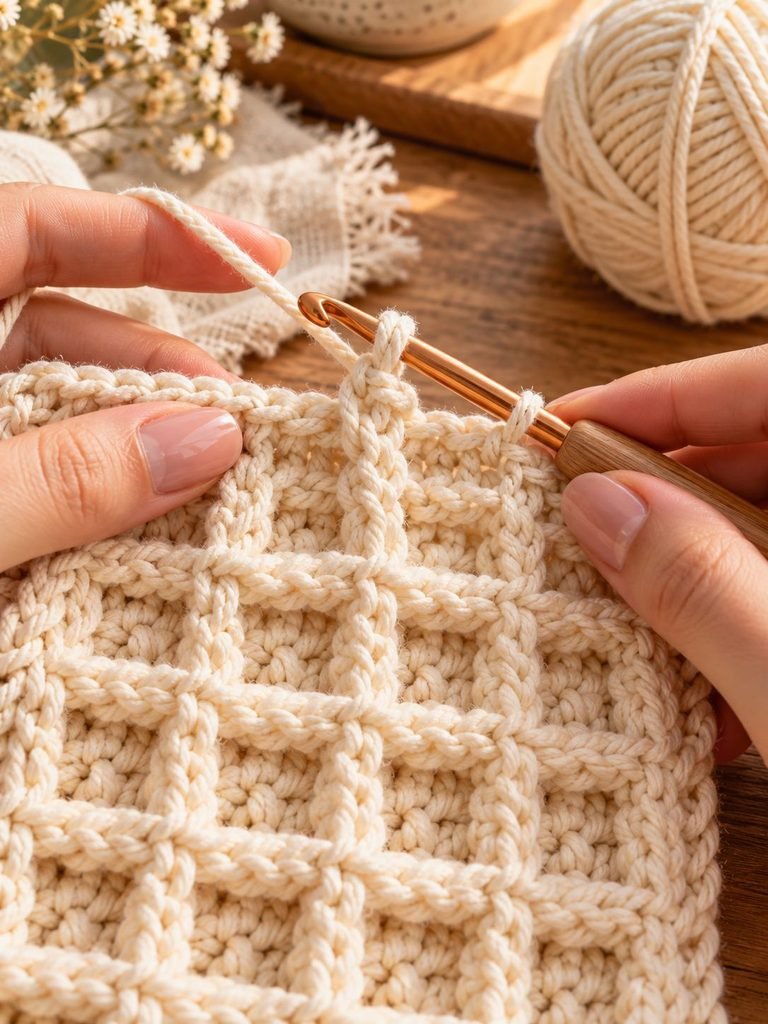
If you’ve never made a front post double crochet, here’s the simple version.
- Yarn over your hook.
- Instead of inserting your hook through the top loops of the stitch, insert it from front to back around the post of the designated stitch.
- Bring the hook back toward the front of the work.
- Yarn over and pull up a loop.
- You should now have three loops on your hook.
- Yarn over and pull through two loops.
- Yarn over again and pull through the remaining two loops.
You have now made one front post double crochet.
The important part is remembering that you are working around the post of the stitch, rather than through the top loops.
Choosing the Right Size
For a standard dishcloth, I recommend making your finished cloth approximately:
8 x 8 inches
However, this doesn’t need to be exact.
You can easily make your dishcloth smaller or larger by adjusting your starting chain.
Because the waffle stitch uses a repeating pattern, you’ll want your starting chain to work with the stitch repeat.
For this pattern, we’ll use a multiple of 3 stitches plus 2.
That makes it easy to customize the size later.
The All-Purpose Waffle Stitch Crochet Dishcloth Pattern
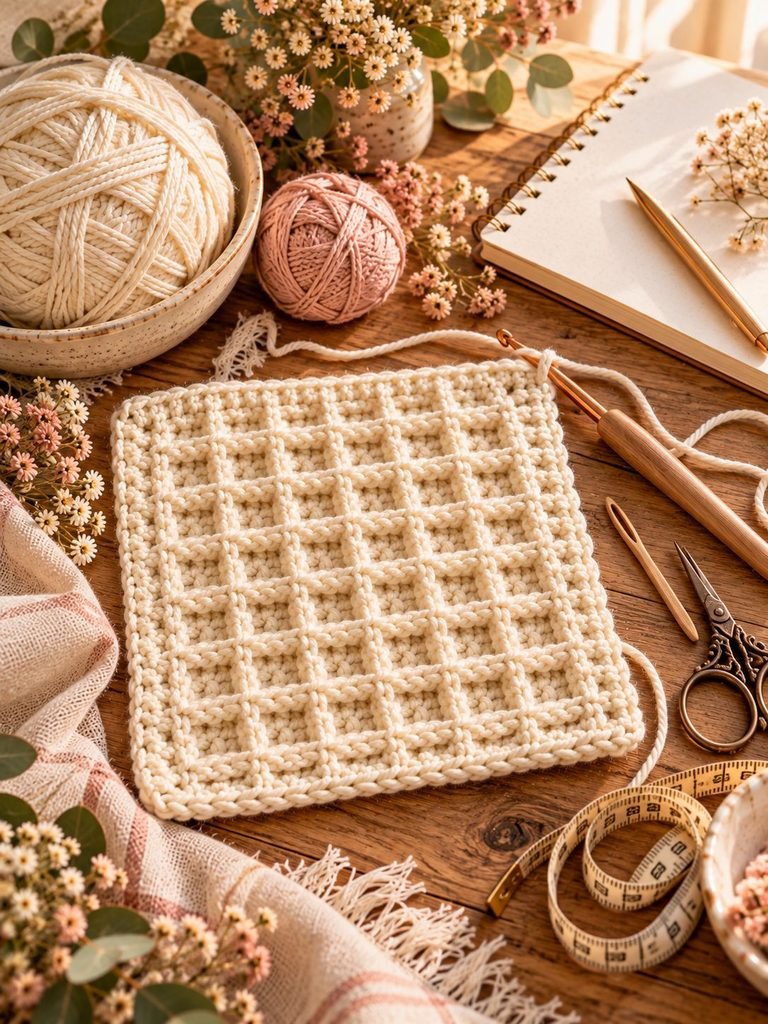
Pattern Information
Skill level: Beginner to intermediate
Finished size: Approximately 8 x 8 inches
Yarn: Medium-weight 100% cotton
Hook: 4.5 mm crochet hook
Stitch pattern: Waffle stitch
Abbreviations: US crochet terms
Abbreviations
- ch – chain
- sc – single crochet
- dc – double crochet
- FPdc – front post double crochet
- sl st – slip stitch
- st – stitch
- sts – stitches
- rep – repeat
Step 1: Make Your Foundation Chain
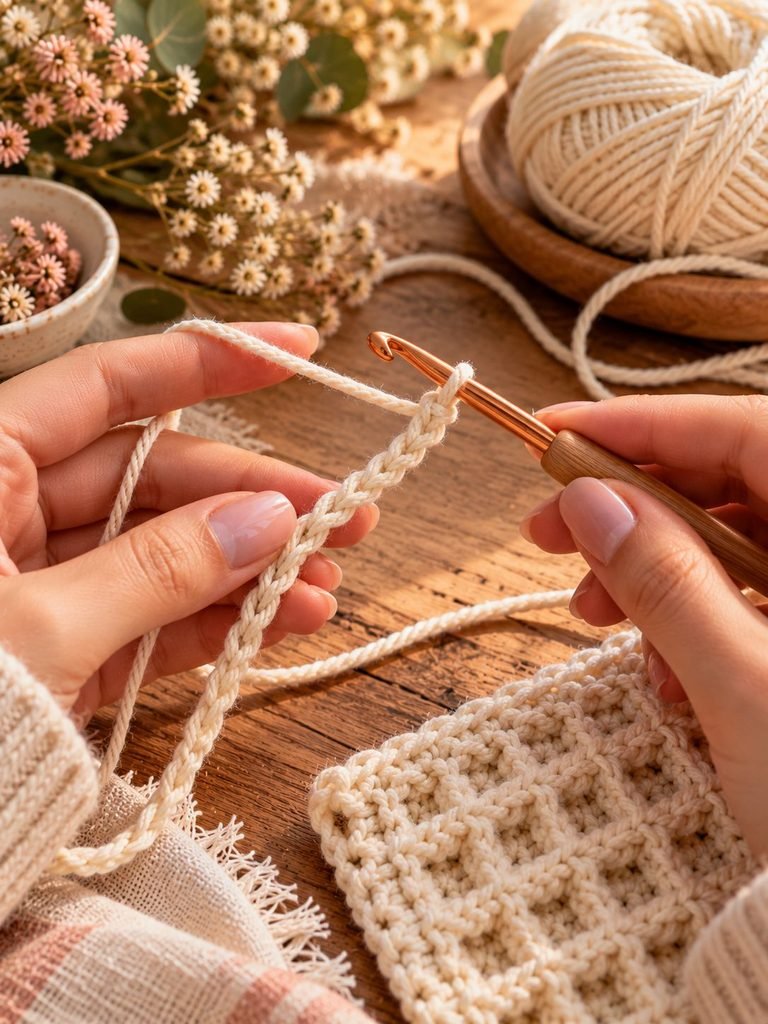
Start by chaining 29 stitches.
This will give you a dishcloth that is roughly square, depending on your yarn and tension.
If you want to make your dishcloth larger, simply use a starting chain that follows the same stitch repeat.
Remember:
Multiple of 3 + 2
For example:
- 29 chains
- 32 chains
- 35 chains
- 38 chains
You can use this formula to make different sizes.
Step 2: Work the First Row
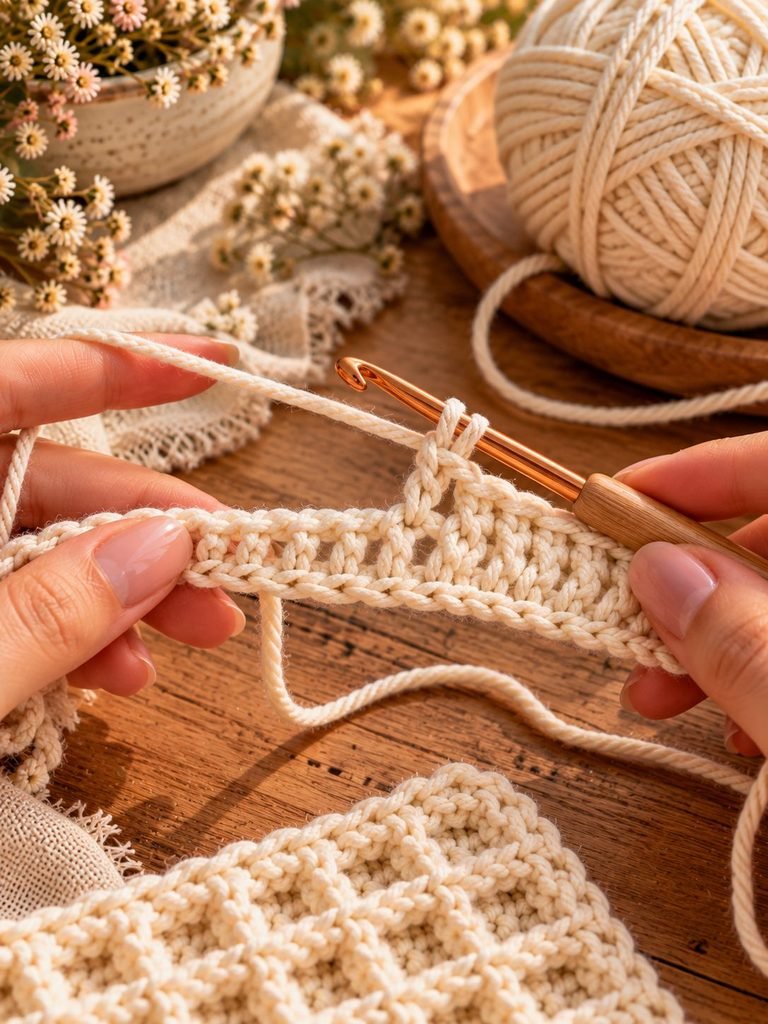
Once you’ve made your foundation chain, begin with the first row.
Row 1:
Skip the first 2 chains.
Work 1 double crochet into the third chain from your hook.
Continue working 1 double crochet into each chain across.
At the end of the row, chain 2 and turn.
You should have 27 double crochet stitches.
The chain-2 turning chain does not count as a stitch for this pattern.
Step 3: Begin the Waffle Texture
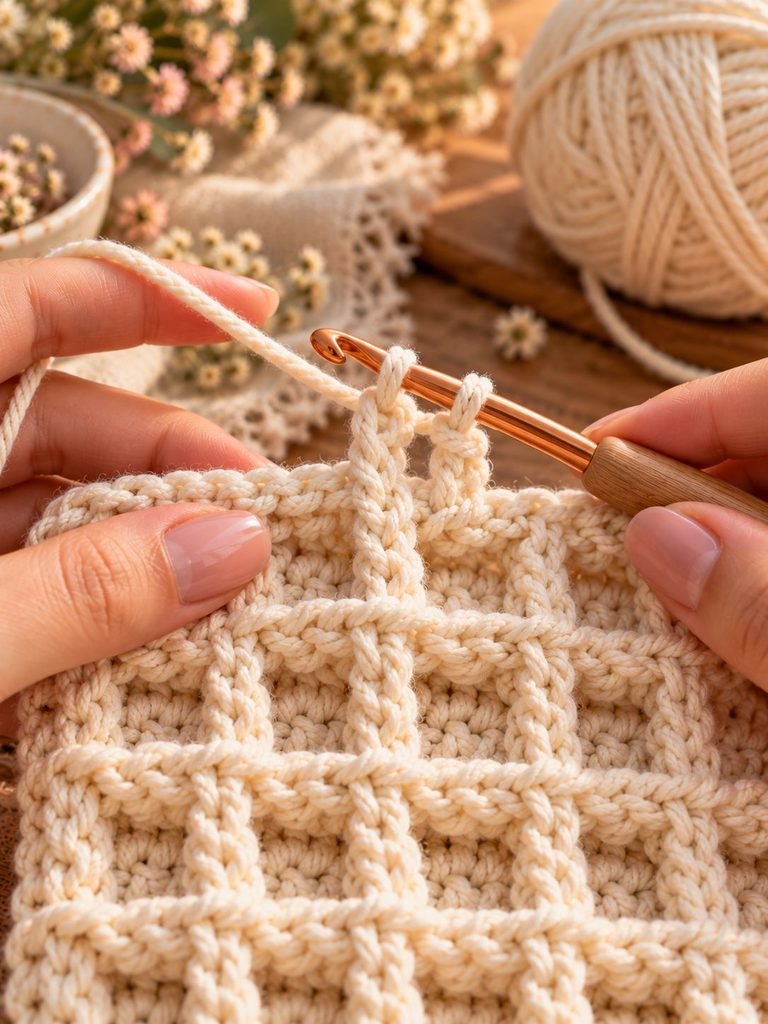
Now we’ll start creating the raised waffle texture.
Row 2:
Work 1 double crochet into the first stitch.
Work 1 front post double crochet around the next stitch.
Work 1 double crochet into the next stitch.
Repeat this sequence across the row.
At the end of the row, chain 2 and turn.
The important thing to remember is that the front post double crochet stitches create the raised sections.
Take your time on this row. If you’re new to post stitches, it may feel slightly slower than a regular double crochet row.
That’s completely normal.
Step 4: Continue the Pattern
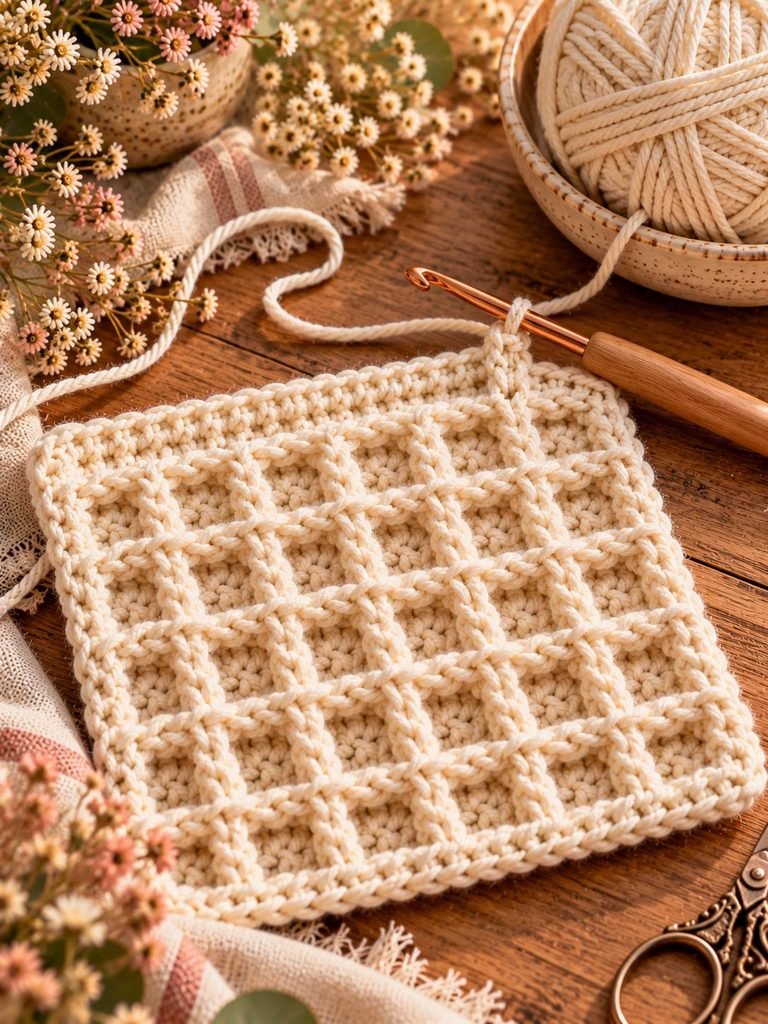
For the next row, you’ll work the stitches so that the raised sections continue to build.
Row 3:
Work 1 double crochet into the first stitch.
Work 1 front post double crochet around the next stitch.
Repeat across the row.
Chain 2 and turn.
Continue repeating the waffle stitch pattern until your dishcloth reaches approximately 8 inches long.
As you work, you’ll notice the texture becoming more obvious after several rows.
Don’t worry if the waffle pattern doesn’t look very defined during the first few rows. The texture becomes much more noticeable as the project grows.
A Simple Way to Remember the Pattern
If you’re following along while watching television or listening to something, I find it helpful to think of the pattern as:
Regular stitch + raised stitch + regular stitch + raised stitch
Once your hands get used to the movement, the waffle stitch becomes quite rhythmic.
Checking Your Tension
Tension matters because it determines the final size and thickness of your dishcloth.
For this project, you don’t need to worry about achieving an exact gauge unless you want your cloth to be a specific size.
Instead, look at the fabric itself.
You want it to feel:
- Firm but flexible
- Textured but not stiff
- Dense enough to be useful
- Loose enough to absorb water
If your fabric feels extremely stiff, try using a slightly larger hook.
If it feels very loose and floppy, try a smaller hook.
How to Keep Your Edges Straight
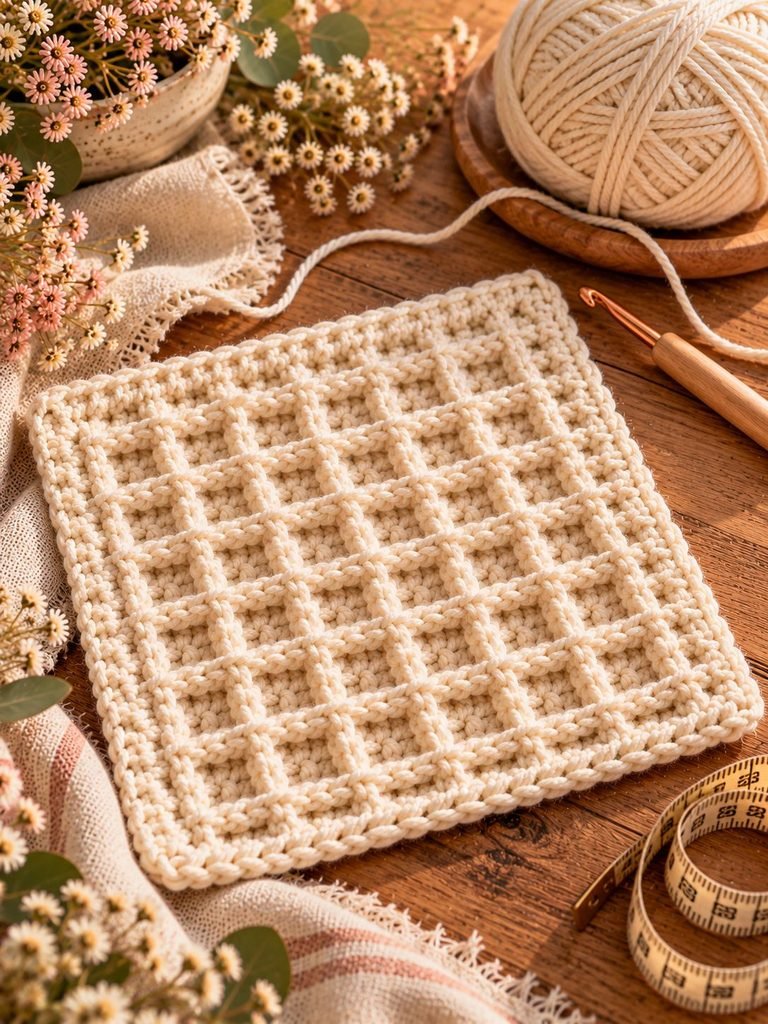
One of the trickiest parts of textured crochet patterns can be keeping the edges neat.
I recommend counting your stitches at the end of every row, especially during your first few rows.
A common problem is accidentally adding or losing a stitch near the beginning or end of the row.
If your edges start leaning inward or outward, stop and count your stitches.
It is much easier to correct a mistake after one row than after ten.
Finishing the Dishcloth
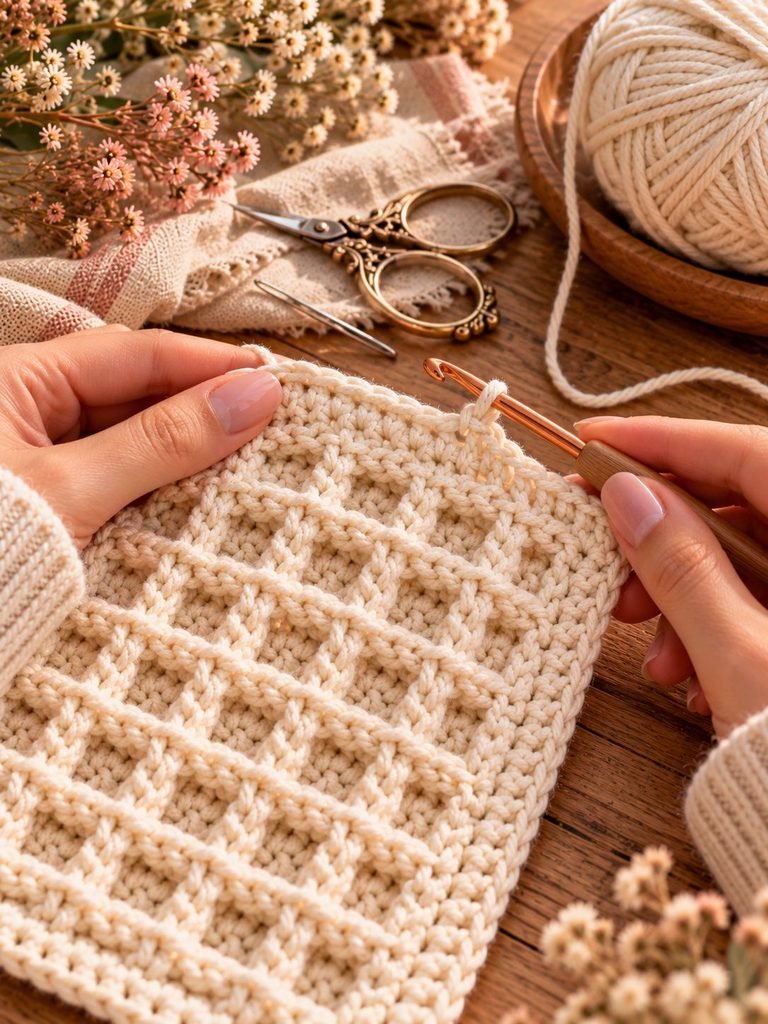
Once your dishcloth has reached your desired length, finish with a neat edge.
You can simply work one round of single crochet around the entire dishcloth.
When you reach each corner, work 3 single crochet stitches into the corner stitch.
This helps create a clean corner without pulling the fabric too tightly.
Continue around the entire dishcloth.
When you reach the beginning, slip stitch into the first single crochet.
Fasten off and leave a yarn tail.
Weaving in the Ends
Use your yarn needle to weave the loose yarn ends into the back of the dishcloth.
I like to weave the yarn through several stitches in different directions to make sure it stays secure.
Trim the excess yarn once you’ve finished weaving it in.
Don’t skip this step. A beautifully crocheted dishcloth can quickly become messy if loose ends aren’t secured properly.
Blocking Your Crochet Dishcloth
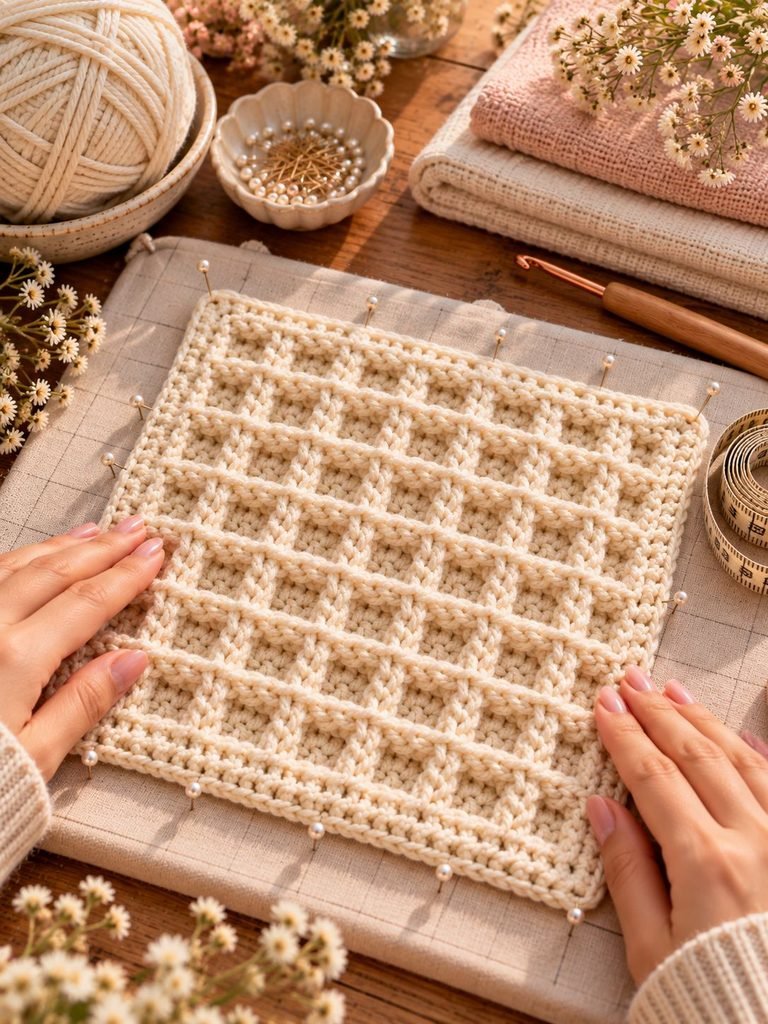
Blocking isn’t absolutely necessary for a dishcloth, but I personally recommend it if you want a polished, professional-looking finish.
To wet block your dishcloth:
- Soak the finished cloth in lukewarm water.
- Gently squeeze out excess water.
- Place it flat on a clean towel or blocking mat.
- Shape the corners and edges.
- Allow it to dry completely.
Avoid twisting or aggressively wringing the cotton because this can distort the stitches.
Once dry, your waffle texture should look beautifully defined.
Easy Color Ideas
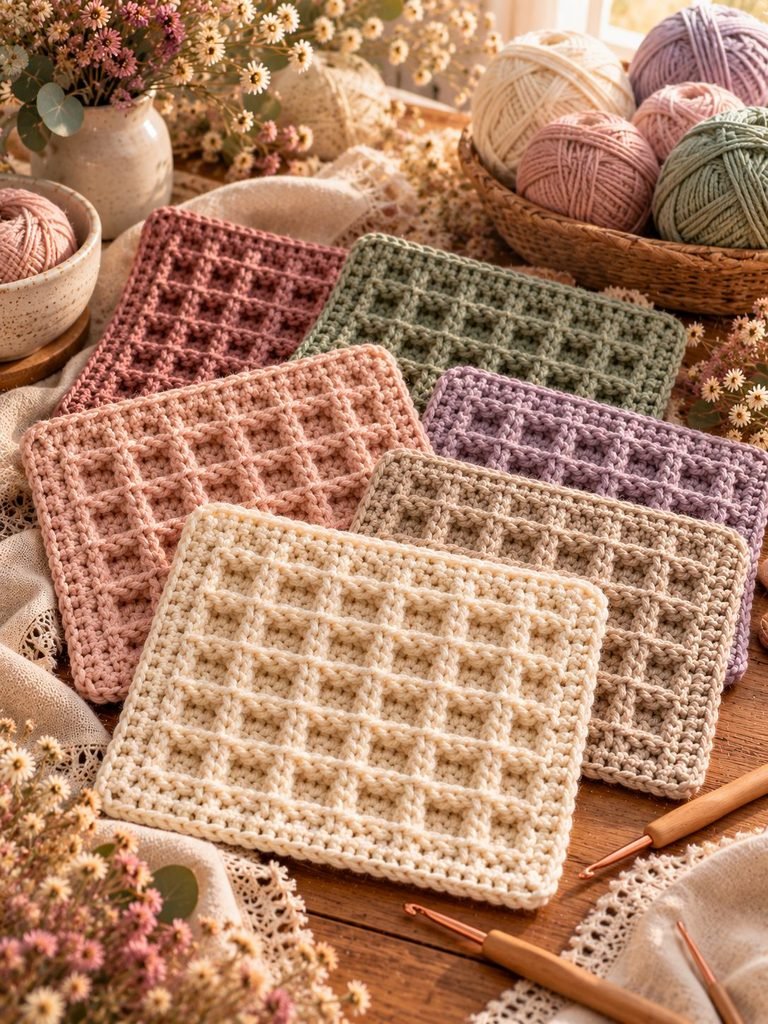
One of my favorite things about this pattern is how different it looks in different colors.
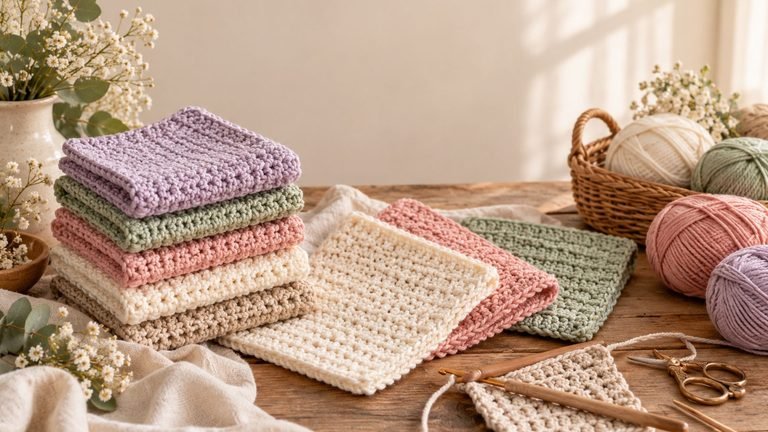
For a soft feminine kitchen, try:
- Cream
- Blush pink
- Dusty rose
- Sage green
- Warm beige
- Soft lavender
- Oatmeal
For a more traditional kitchen, try:
- Navy
- Forest green
- Mustard
- Terracotta
- Charcoal
- Natural cotton
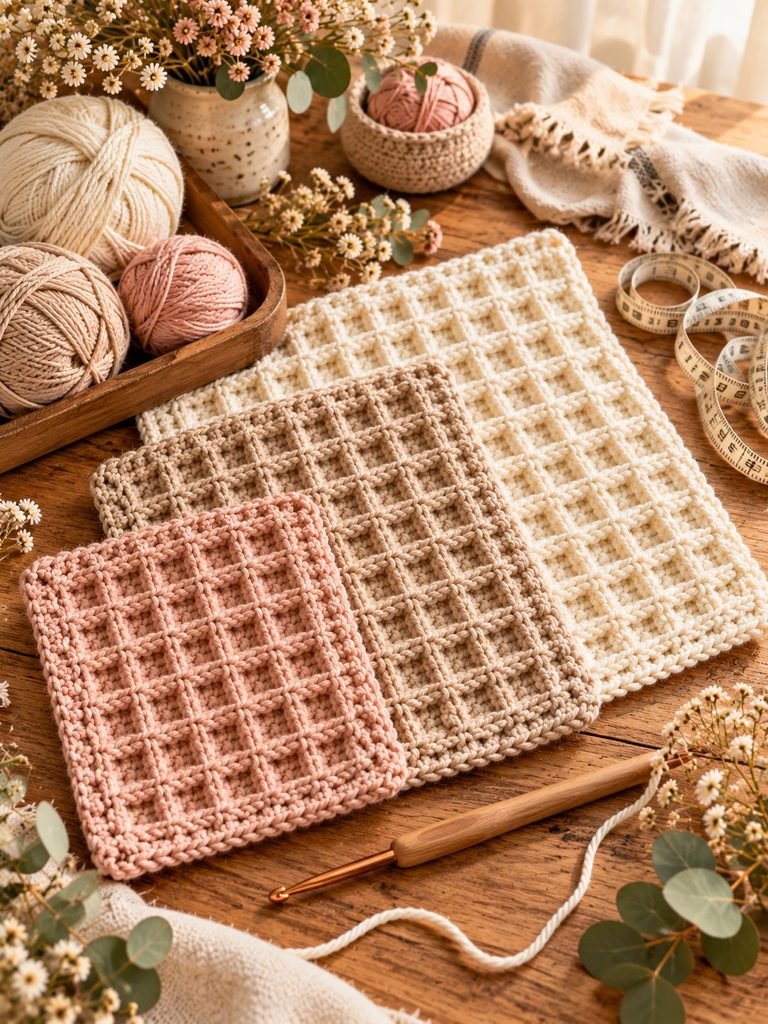
You can also make a set of three or four dishcloths using coordinating colors.
A neutral collection with cream, beige, sage, and blush would look especially pretty tied together with a simple piece of twine.
Making a Larger Dishcloth
Want to turn this into a larger cleaning cloth?
Simply increase your foundation chain using the multiple of 3 + 2 formula.
For example, you could start with:
- 35 chains for a slightly larger cloth
- 41 chains for a larger cleaning cloth
- 47 chains for an extra-large version
Keep working the same waffle stitch pattern until the piece reaches your desired length.
This makes the pattern very versatile.
Making Matching Kitchen Sets
If you’re making these as gifts, I highly recommend making a small coordinated set.
You could create:
- Two waffle stitch dishcloths
- One larger cleaning cloth
- A crocheted pot holder
- A wooden spoon
- A handmade candle
- A pretty kitchen towel
Wrap everything in kraft paper or place it in a small basket.
It creates a thoughtful handmade gift without requiring weeks of crochet work.
Common Problems and How to Fix Them
My Dishcloth Is Curling
A little curling during the early rows can be normal, especially with textured stitches.
However, if the fabric continues curling significantly, your tension may be too tight.
Try using a slightly larger hook.
Blocking can also help straighten the finished piece.
My Edges Aren’t Straight
This usually means stitches have accidentally been added or skipped.
Count your stitches at the end of each row.
Also make sure you’re consistently working into the first and final stitch.
My Waffle Texture Isn’t Very Defined
The waffle texture becomes more visible after several rows.
Make sure your front post double crochet stitches are actually being worked around the post rather than through the top of the stitch.
Your tension can also affect how prominent the texture looks.
My Dishcloth Feels Too Thick
The waffle stitch naturally creates a thick fabric.
If your cloth feels too dense, try using a slightly larger hook or a lighter-weight cotton yarn.
My Dishcloth Looks Uneven
Don’t worry too much while you’re still crocheting.
Textured crochet can look slightly uneven before blocking.
Once the finished piece is washed and shaped, the stitches often settle beautifully.
How to Wash Your Crochet Dishcloth
Because this is a kitchen item, you’ll want to wash it regularly.
Cotton crochet dishcloths are wonderfully easy to care for.
Wash them with warm water and mild detergent according to your yarn’s care instructions.
Avoid using excessive fabric softener because it can reduce the absorbency of cotton.
After washing, reshape the dishcloth and allow it to air dry or tumble dry according to the yarn’s instructions.
If the cloth becomes stained, treat the stain as soon as possible rather than allowing it to sit for a long time.
How Long Will a Crochet Dishcloth Last?
With proper care, a cotton crochet dishcloth can last for a surprisingly long time.
The waffle stitch creates a sturdy, textured fabric, making it well suited to everyday use.
Of course, the lifespan depends on how frequently the cloth is used, how often it is washed, the type of yarn you choose, and how it is cared for.
The nice thing is that once one eventually wears out, you can crochet another one fairly quickly.
Can Beginners Make This Pattern?
Absolutely.
If you already know how to chain and make a double crochet, you’re well on your way.
The only stitch that may be new to some beginners is the front post double crochet.
I recommend practicing the FPdc on a small scrap piece of yarn before beginning the actual dishcloth.
Once you’ve made a few, the movement becomes much more natural.
Don’t worry about making your first one perfect.
Crochet is one of those crafts where your tension and confidence improve with every project.
Final Thoughts
I think the simplest crochet projects can sometimes become the most useful ones, and this waffle stitch dishcloth is a perfect example.
It doesn’t require a huge investment in yarn or time, but the finished texture makes it feel much more special than an ordinary kitchen cloth. I love that you can make one for your own kitchen, create a matching set as a gift, or experiment with different colors to suit your home.
If you’re new to the waffle stitch, give yourself a little patience during the first few rows. Once the rhythm of the front post stitches starts to feel familiar, you’ll probably find yourself crocheting this pattern almost automatically.
And that’s one of my favorite things about crochet: taking a simple strand of yarn and turning it into something useful, beautiful, and completely handmade.
So grab your favorite cotton yarn, your crochet hook, and a cozy spot to sit, and give this all-purpose waffle stitch dishcloth a try. I have a feeling you’ll want to make more than one!