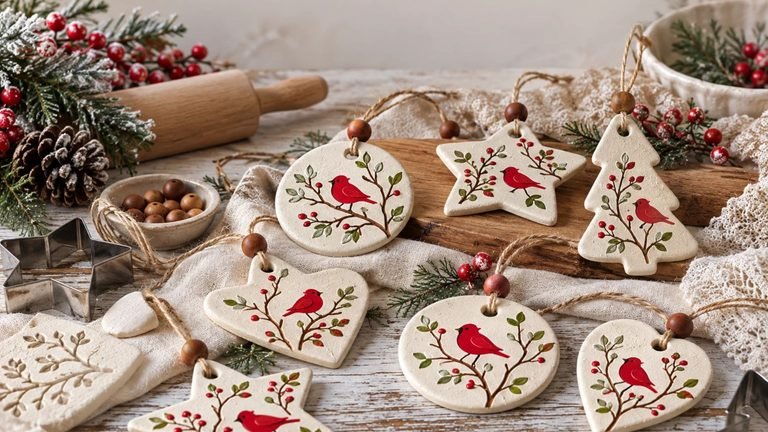
12 Unique Clay Sculpture Ideas to Elevate Your Home Decor
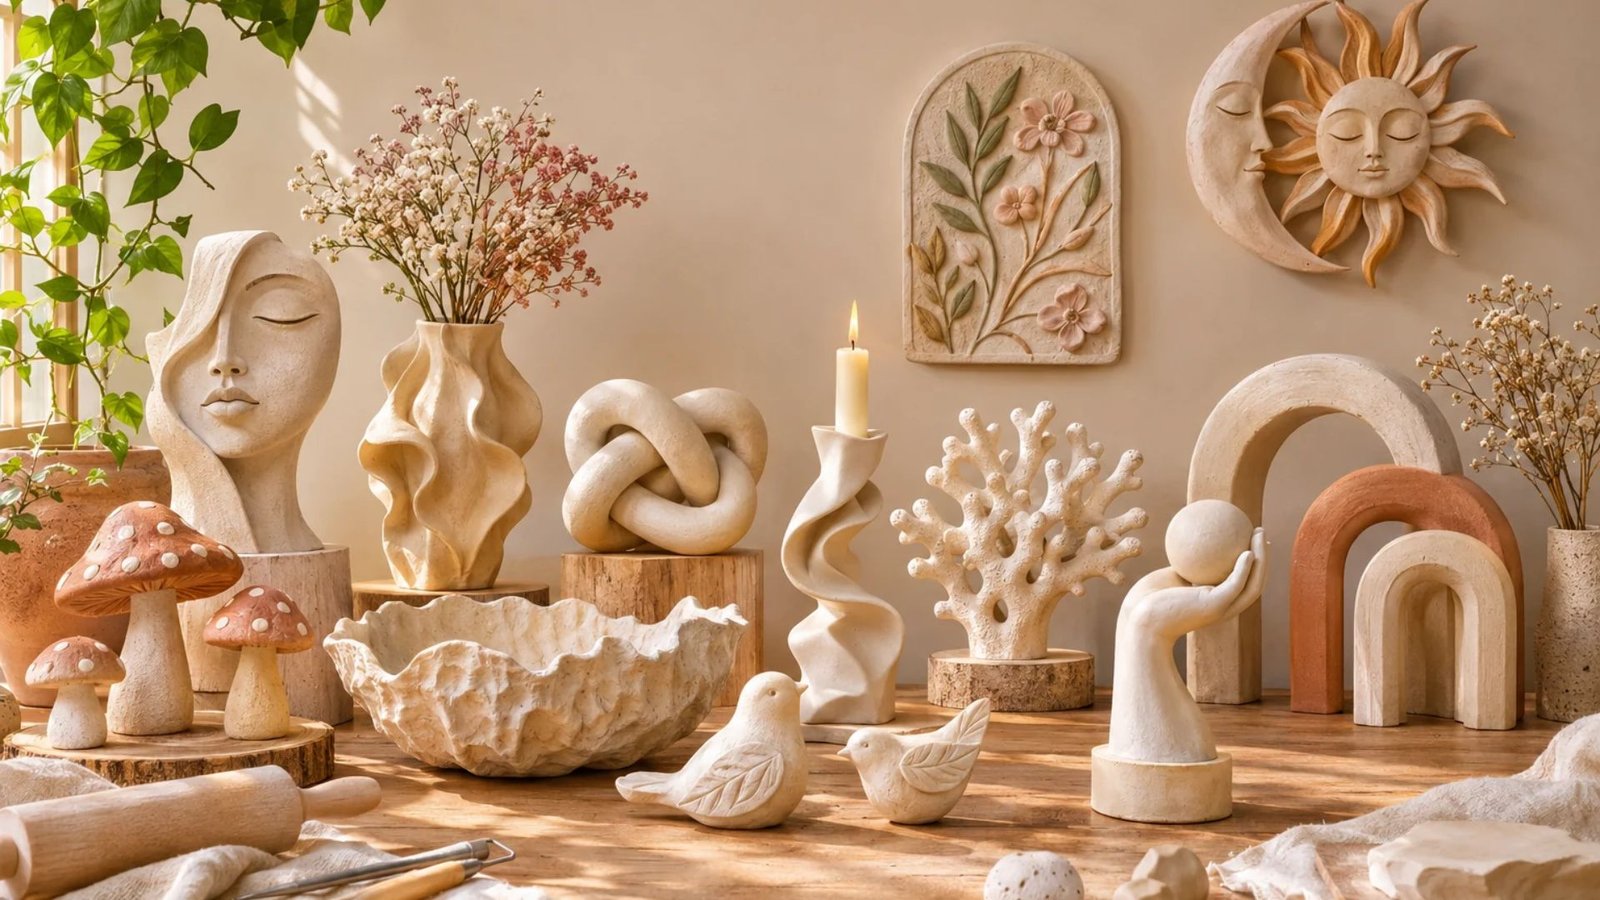
I have always loved how a few handmade details can make a home feel warmer, more personal, and full of character. One of my favourite ways to bring that feeling into a space is through clay sculpting.
What I find especially lovely about working with clay is how easily a simple piece of material can become something beautiful and meaningful.
Whether you are decorating a cosy living room, refreshing a bedroom shelf, or adding personality to a coffee table, clay sculptures offer endless possibilities.
Today, I am sharing 12 unique clay sculpture ideas that are creative, stylish, and surprisingly enjoyable to make at home.
Why Clay Sculptures Are Perfect for Home Decor

Clay sculptures are a wonderful way to introduce handmade beauty into your home. Unlike mass-produced decorations, handmade clay pieces have their own personality. Small imperfections, natural textures, and individual shapes make every sculpture feel special.
Another reason I love clay decor is its versatility. You can create minimalist ornaments, botanical-inspired decorations, abstract sculptures, and even functional pieces that double as beautiful home accessories.
Here are a few reasons to consider making your own clay sculptures:
- Affordable decorating: You can create beautiful decorative pieces without spending a fortune on expensive home accessories.
- Customisable designs: Choose colours, shapes, textures, and finishes that complement your existing decor.
- Beginner-friendly: Many projects can be made with air-dry clay and a few basic tools.
- Beautiful handmade gifts: Sculptures make thoughtful gifts for housewarmings, birthdays, and special occasions.
- Creative expression: You can experiment with different shapes and techniques to create decorations that reflect your personal style.
Essential Supplies for Making Clay Sculptures
Before getting started, it helps to gather a few basic supplies. You do not need an expensive studio or professional sculpting equipment to make beautiful clay decorations.
Here is what I recommend having nearby:
| Supply | What it is used for |
|---|---|
| Air-dry clay | A convenient option for decorative sculptures |
| Polymer clay | Ideal for smaller, detailed sculptures that are oven-cured |
| Rolling pin | Rolling clay into even sheets |
| Sculpting tools | Shaping, carving, and adding details |
| Craft knife | Cutting and refining shapes |
| Acrylic paints | Adding colour after drying or curing |
| Paintbrushes | Applying paint and decorative details |
| Sandpaper | Smoothing dried clay surfaces |
| Clear sealer | Protecting suitable finished decorative pieces |
| Water and sponge | Smoothing edges and joining clay sections |
A little tip: If you are new to sculpting, start with air-dry clay. It is easy to work with, does not require a kiln, and is perfect for many decorative projects. Remember that air-dry clay is generally not waterproof, so keep finished pieces away from moisture unless you use an appropriate protective system.
12 Unique Clay Sculpture Ideas to Elevate Your Home Decor
1. Abstract Clay Face Sculptures
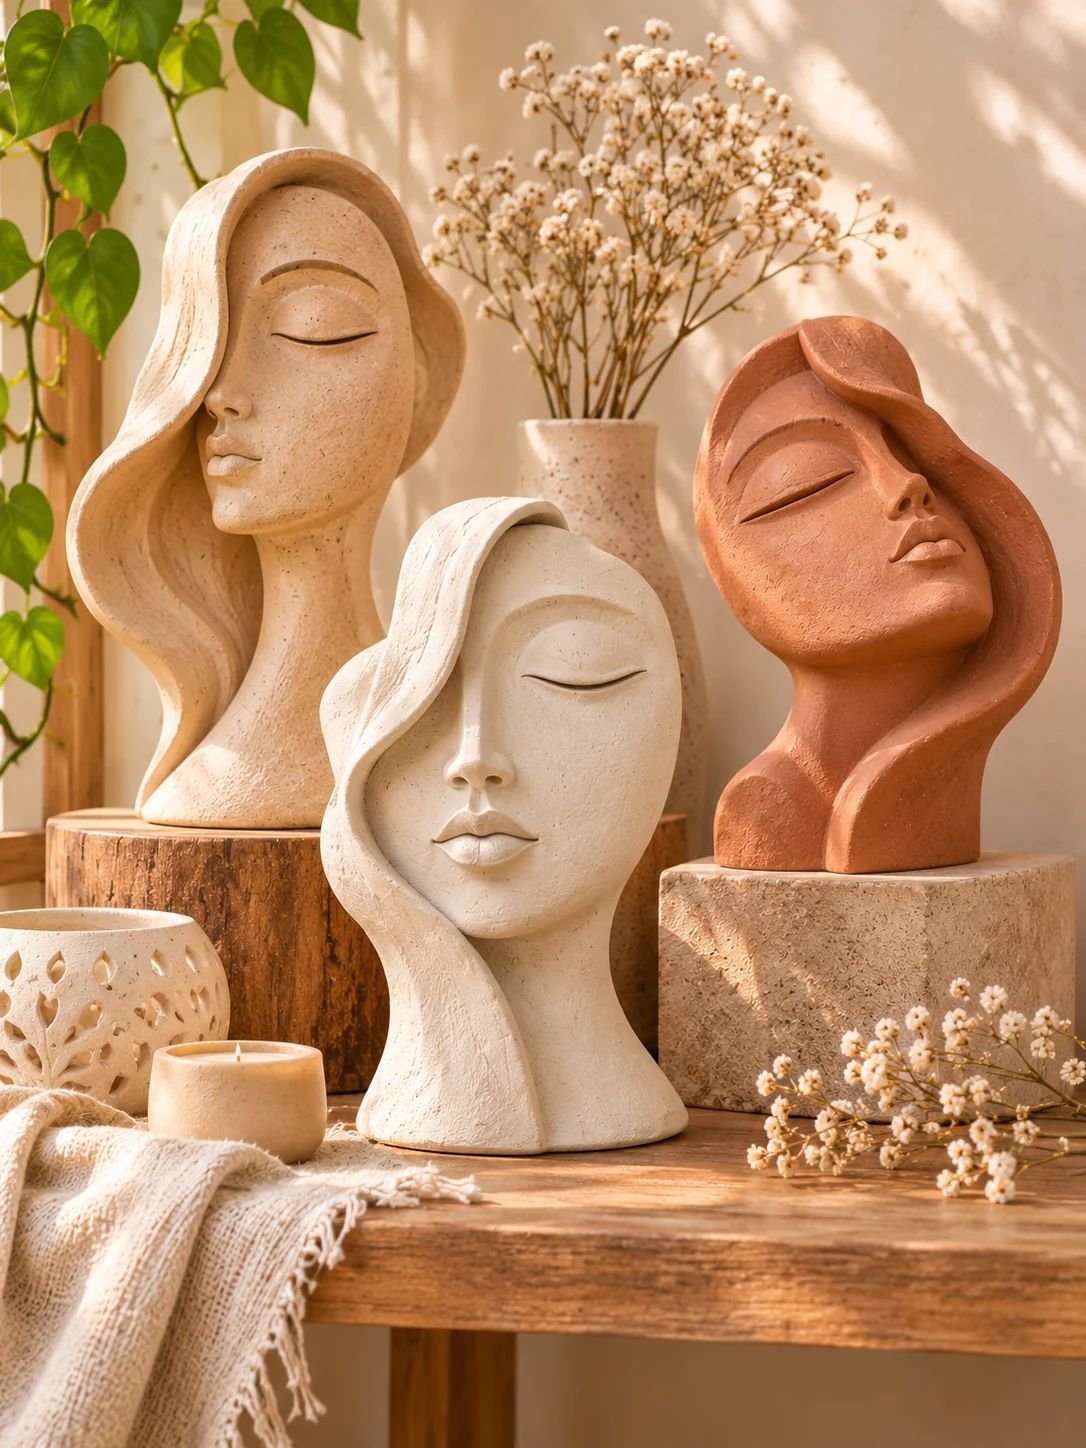
Abstract face sculptures are one of my favourite ways to introduce artistic personality into a room. They have a modern, creative appearance and can make even a simple shelf feel thoughtfully decorated.
These sculptures usually feature simplified facial details, such as closed eyes, a curved nose, full lips, or an interesting profile. You do not need to create a perfectly realistic face. In fact, the beauty of abstract designs is that their unusual shapes and proportions give them character.
What you will need:
- Air-dry clay
- Sculpting tools
- Small amount of water
- Rolling pin
- Acrylic paint
- Clear protective sealer
How to make it:
- Begin by sketching a simple face design on paper.
- Shape a basic head form using clay.
- Carefully build the nose, lips, and other facial features using smaller pieces of clay.
- Blend the edges gently with your fingers and a little water.
- Use sculpting tools to define the eyes and other details.
- Allow the sculpture to dry completely before sanding and painting.
Decorating tip: Paint your finished sculpture in warm ivory, beige, terracotta, or soft white. Display it on a coffee table, bookshelf, or bedside cabinet.
2. Sculptural Clay Flower Vases
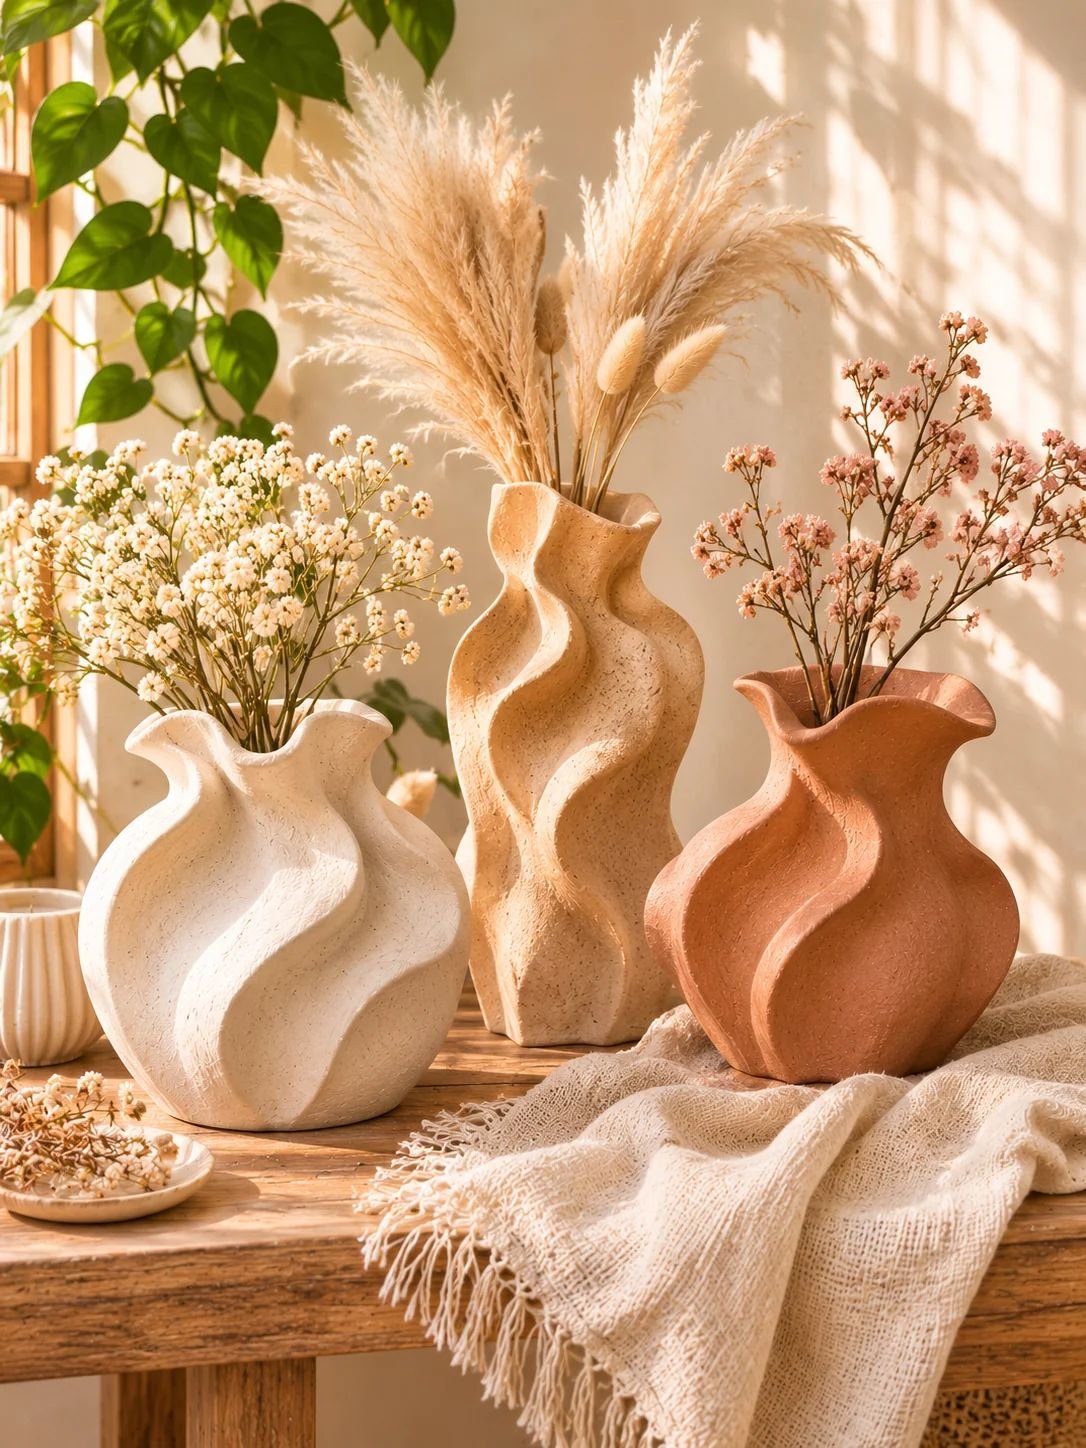
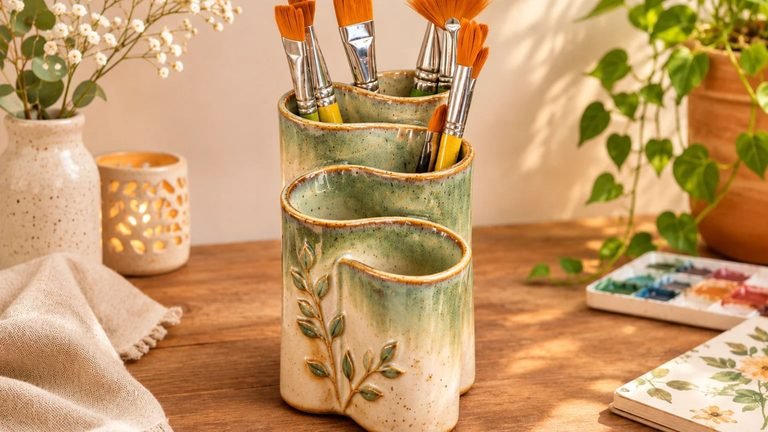
If you love decorating with flowers, a sculptural clay vase is a beautiful project to try. Rather than creating an ordinary cylindrical vase, experiment with curved openings, wavy edges, asymmetrical shapes, and interesting textured surfaces.
These decorative vases look especially lovely with dried flowers, pampas grass, or delicate artificial stems.
What you will need:
- Air-dry clay
- Rolling pin
- Small bowl or vase for shaping
- Sculpting tools
- Sandpaper
- Acrylic paint
How to make it:
- Roll your clay into an even sheet.
- Cut a rectangular or curved piece to form the body.
- Wrap it around a suitable mould and join the edges carefully.
- Create a base and attach it securely.
- Shape the opening into a wavy or organic design.
- Smooth the surface and allow it to dry completely.
- Sand and paint your finished vase.
Decorating tip: Use a matte cream finish for a minimalist look or a warm terracotta colour for a more rustic appearance.
Important: Air-dry clay vases are best used as decorative holders for dried flowers. Use a separate waterproof glass insert if you want to display fresh flowers with water.
3. Minimalist Clay Knot Sculptures
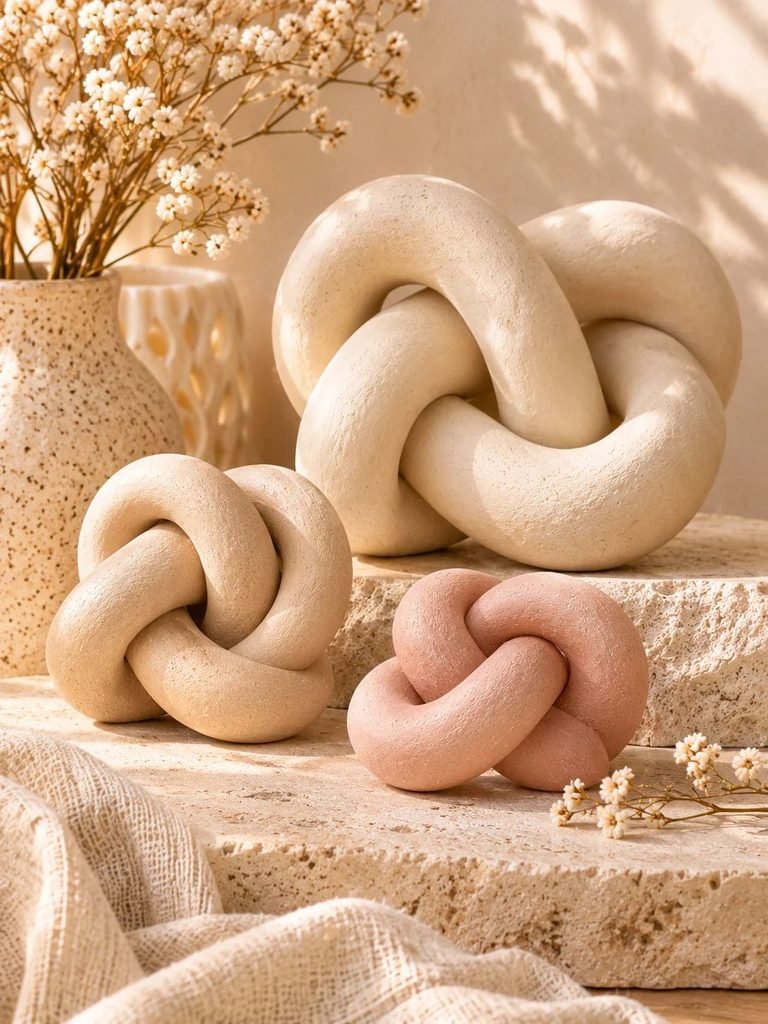
Clay knot sculptures are simple, elegant, and surprisingly eye-catching. Their intertwined shapes create an interesting visual effect without requiring complicated sculpting techniques.
I particularly love this idea because it works beautifully with neutral home decor. A single knot sculpture can add texture and interest to an otherwise simple coffee table or bookshelf.
What you will need:
- Air-dry clay
- Rolling pin
- Craft knife
- Sculpting tools
- Sandpaper
- Acrylic paint
How to make it:
- Roll your clay into a long, even rope.
- Gently bend the rope into a loop.
- Cross the ends over one another to create an intertwined knot.
- Adjust the shape until it looks balanced.
- Smooth the joining areas carefully.
- Leave the sculpture to dry completely.
- Sand any rough edges and apply your preferred finish.
Decorating tip: Make two or three knot sculptures in different sizes and arrange them together on a decorative tray.
Read DIY Clay Paintbrush Holder: How to Make a Beautiful Handmade Ceramic-Style Brush Organizer
4. Botanical Clay Wall Sculptures
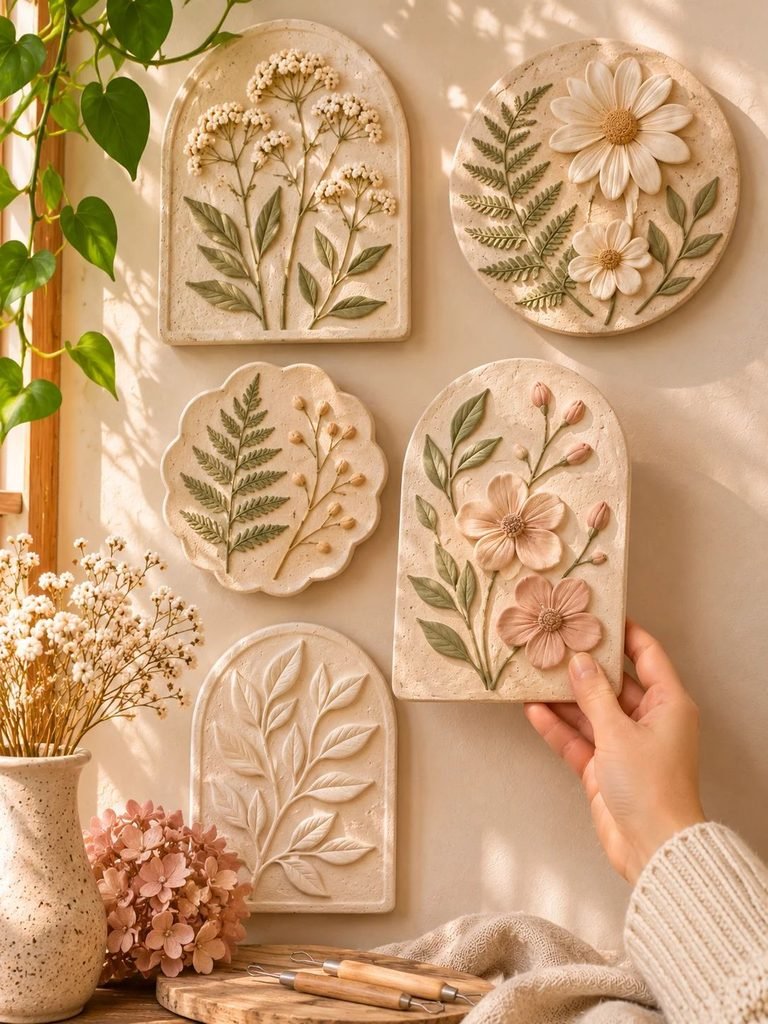
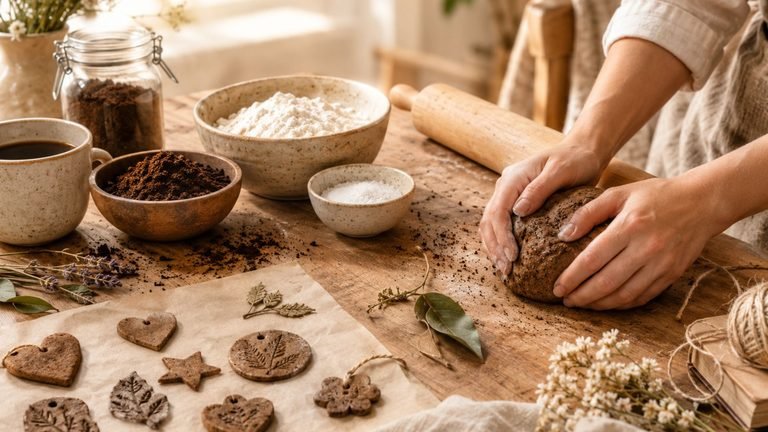
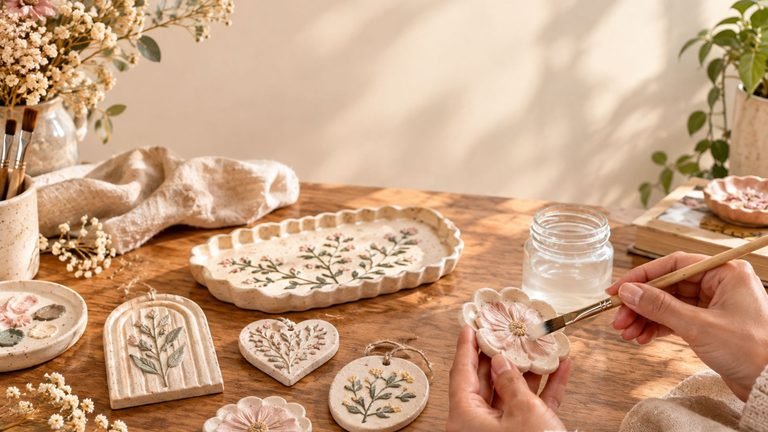
Bring a little nature indoors with botanical clay wall sculptures. These decorative pieces feature sculpted leaves, flowers, branches, and other natural shapes.
They are particularly lovely for bedrooms, hallways, and living rooms where you want to create a calm and welcoming atmosphere.
What you will need:
- Air-dry clay
- Rolling pin
- Real leaves for impressions
- Sculpting tools
- Wooden board or cardboard template
- Acrylic paint
How to make it:
- Roll out a flat piece of clay to your preferred thickness.
- Arrange real leaves or flowers over the surface.
- Gently press them into the clay to transfer their natural patterns.
- Carefully remove the leaves.
- Use sculpting tools to refine the details.
- Cut the clay into a circle, arch, or organic shape.
- Create a hanging hole if needed.
- Allow it to dry before painting and sealing.
Decorating tip: Leave the sculpture in its natural clay colour for a soft organic appearance, or add subtle sage green and ivory details.
5. Abstract Clay Arch Sculptures

Arch sculptures are perfect if you love contemporary and minimalist interiors. Their smooth curves and simple geometric forms create a sophisticated decorative accent.
You can make a single arch or experiment with multiple arches of different sizes to create a layered sculpture.
What you will need:
- Air-dry clay
- Rolling pin
- Craft knife
- Sculpting tools
- Sandpaper
- Acrylic paint
How to make it:
- Draw an arch shape on paper to use as a template.
- Roll out your clay evenly.
- Place the template over the clay and cut around it.
- Carefully remove the centre section to create the arch.
- Smooth the edges with a damp sponge.
- Create a sturdy base if your sculpture needs to stand upright.
- Leave it to dry completely before sanding and painting.
Decorating tip: Try combining ivory, sand, and muted terracotta arches to create a beautiful sculptural display.
6. Handmade Clay Mushroom Sculptures
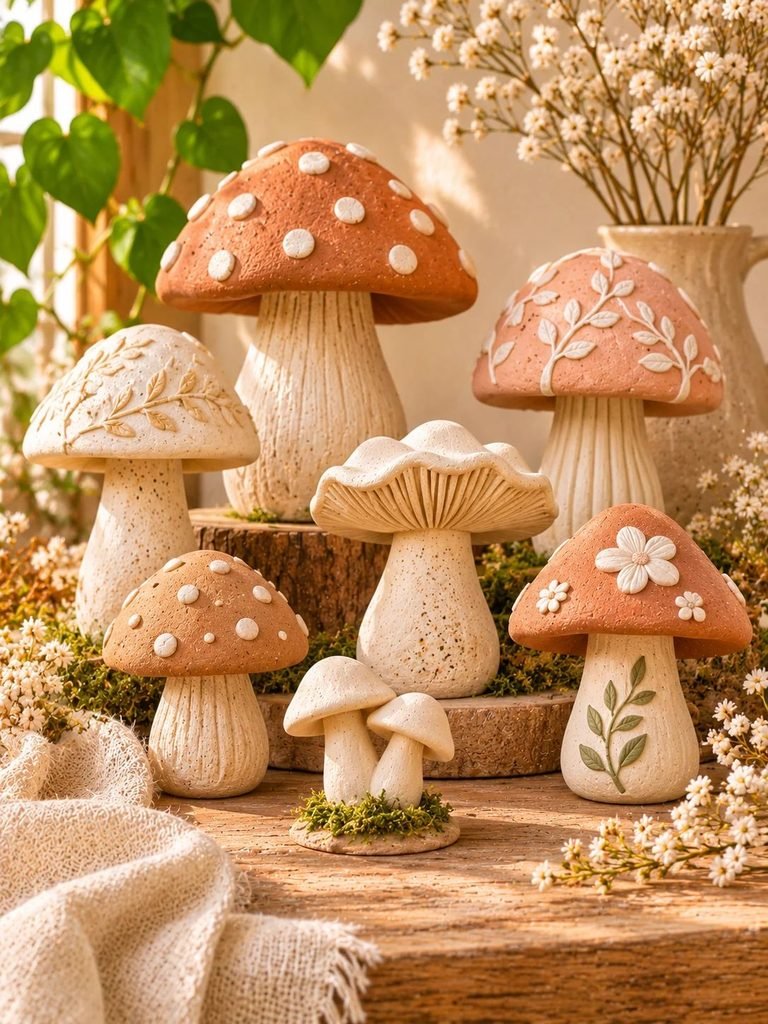
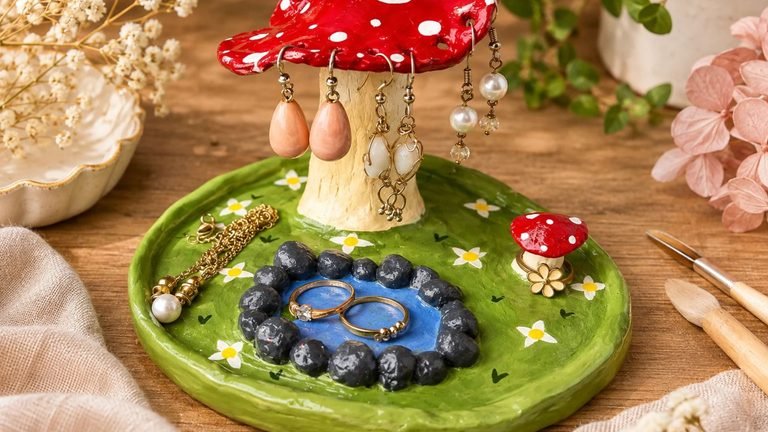
For something a little more playful, clay mushroom sculptures are such a lovely option. They bring a whimsical cottagecore feeling into your home and look particularly beautiful when arranged in small groups.
You can create tiny mushrooms, oversized decorative mushrooms, or a collection of different shapes and colours.
What you will need:
- Air-dry clay
- Sculpting tools
- Small paintbrushes
- Acrylic paint
- Sandpaper
- Clear sealer
How to make it:
- Roll a small amount of clay into a rounded shape for the mushroom cap.
- Shape another piece into a thick stem.
- Attach the cap to the stem using a little water and scoring.
- Smooth the connection carefully.
- Add small dots, lines, or textured details.
- Allow the mushroom to dry completely.
- Paint the cap in terracotta, dusty pink, or warm brown.
Decorating tip: Arrange several mushrooms beside small potted plants or on a wooden shelf for a cosy woodland-inspired display.
7. Textured Clay Bowl Sculptures

A decorative clay bowl is a wonderful project because it combines artistic design with everyday functionality. Instead of making a traditional smooth bowl, experiment with irregular edges, carved patterns, and textured surfaces.
These bowls can hold jewellery, keys, potpourri, or other small decorative items.
What you will need:
- Air-dry clay
- Rolling pin
- Bowl for shaping
- Craft knife
- Texturing tools
- Sandpaper
How to make it:
- Roll your clay into a flat, even circle.
- Place it gently inside a small bowl to create the shape.
- Adjust the edges to create a natural, uneven appearance.
- Add texture using a wooden tool, sponge, or textured fabric.
- Smooth any sharp edges.
- Allow the clay to dry completely before removing it from the mould.
- Sand and paint as desired.
Decorating tip: A soft ivory finish with slightly irregular edges gives the bowl a beautiful handmade ceramic appearance.
Keep air-dry clay bowls decorative rather than using them for food or liquids.
8. Clay Bird Sculptures
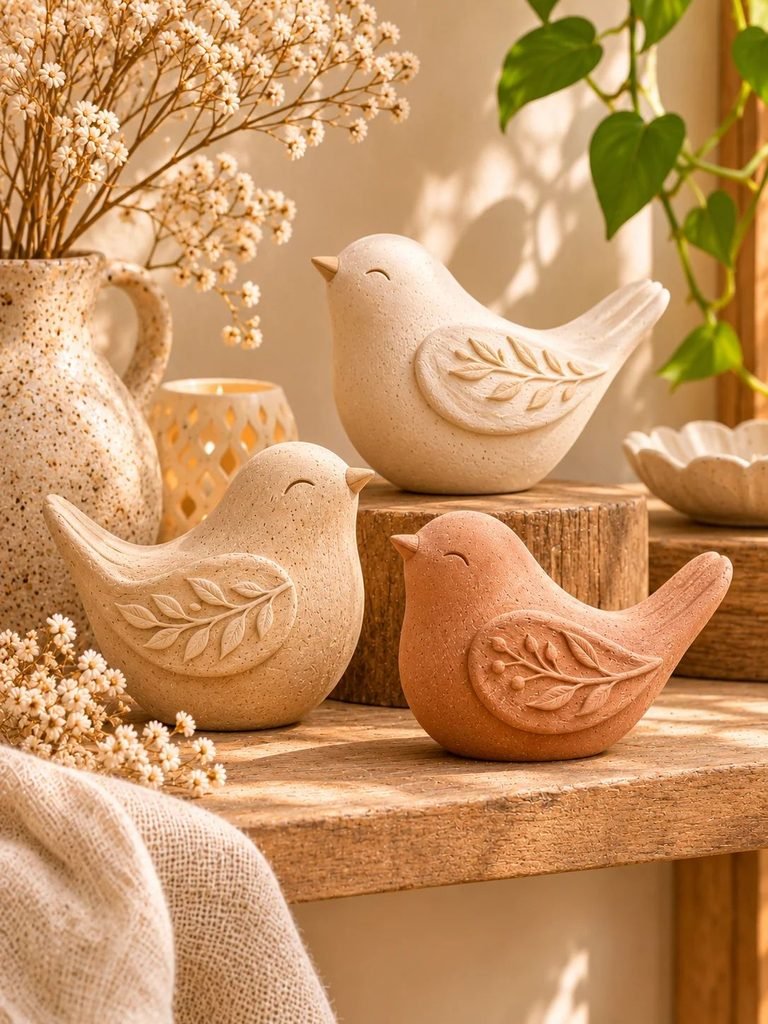
Bird sculptures are a beautiful way to introduce a gentle natural element into your decorating style. Their simple silhouettes can look elegant, especially when finished in neutral colours.
You can make a single standing bird or create a pair of birds for a more interesting display.
What you will need:
- Air-dry clay
- Sculpting tools
- Wooden skewer
- Acrylic paint
- Small paintbrush
How to make it:
- Shape a small oval piece of clay to create the bird’s body.
- Form a rounded head and blend it into the body.
- Create a small pointed beak.
- Add wings using thin, flattened pieces of clay.
- Use a wooden skewer to create feather details.
- Shape a stable base or feet.
- Allow the sculpture to dry thoroughly.
- Paint and seal once completely dry.
Decorating tip: Display your finished bird on a bedside table, mantelpiece, or bookshelf alongside dried flowers.
9. Organic Clay Candle Holder Sculptures
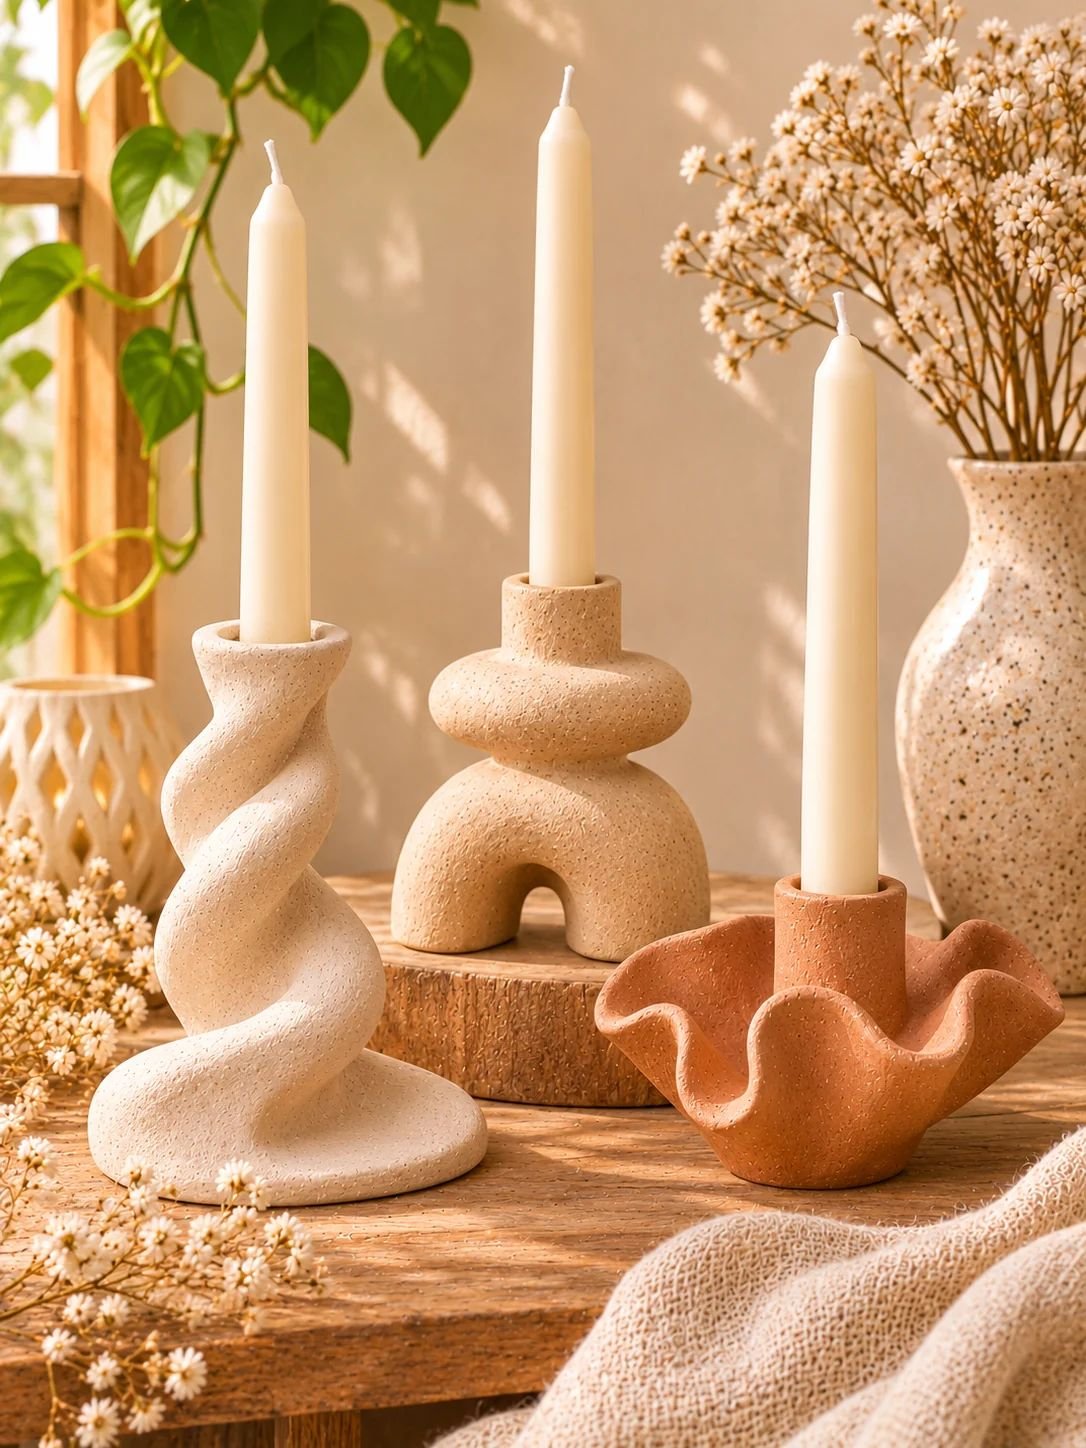
If you enjoy decorating with candles, why not make a sculptural candle holder? These pieces combine interesting shapes with a practical purpose and can become beautiful centrepieces.
You can experiment with twisted forms, rounded bases, wavy edges, or minimalist geometric designs.
What you will need:
- Suitable clay for your chosen project
- Sculpting tools
- Ruler
- Candle to check dimensions
- Sandpaper
- Acrylic paint
How to make it:
- Shape a thick, stable base for your candle holder.
- Create a central opening that fits your chosen candle securely.
- Add decorative curves or sculptural details around the base.
- Check that the candle sits straight and securely.
- Smooth the surface and allow the clay to dry or cure according to its instructions.
- Finish with paint if desired.
Decorating tip: A simple cream candle holder with an organic sculptural base looks beautiful on a dining table or decorative shelf.
Safety note: Air-dry clay and ordinary polymer clay should not automatically be considered heatproof or fireproof. For candle holders used with lit candles, choose materials specifically rated for the intended heat exposure and follow the manufacturer’s safety guidance. Otherwise, use them with unlit decorative candles.
10. Clay Coral-Inspired Sculptures
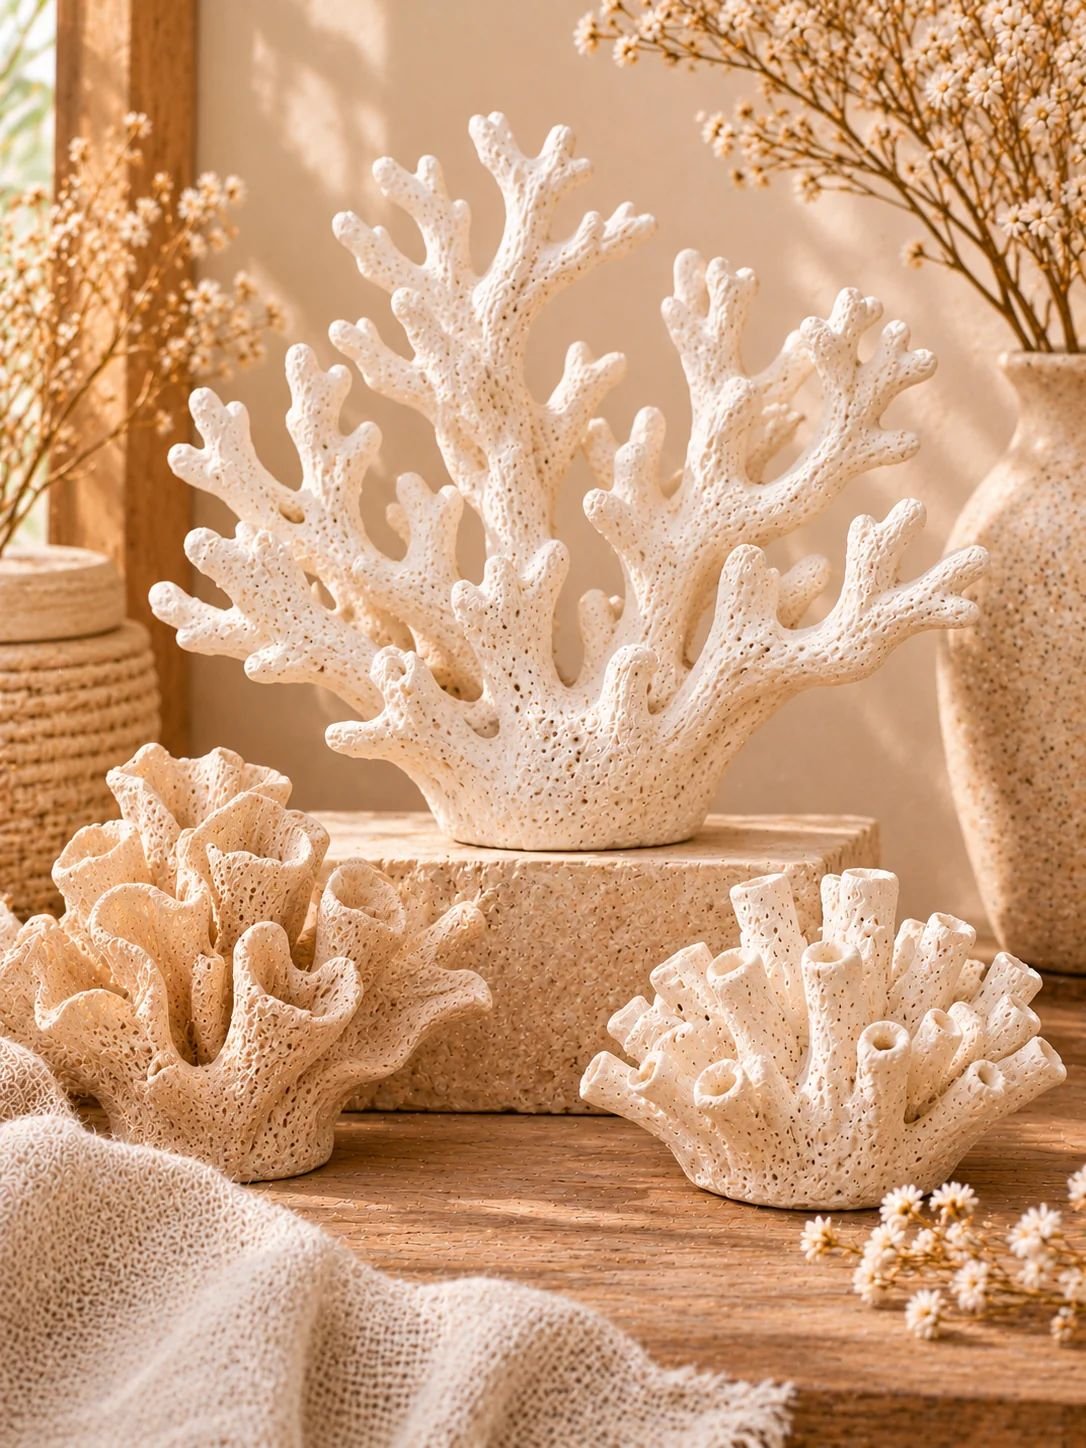
Coral-inspired sculptures are perfect for anyone who loves coastal-inspired or organic home decor. Their branching shapes and natural textures make them look like little pieces of art.
Although they may look complicated, you can create beautiful versions using simple clay-building techniques.
What you will need:
- Air-dry clay
- Sculpting tools
- Wooden skewers
- Small modelling tools
- Sandpaper
- White or ivory acrylic paint
How to make it:
- Start by shaping a thick central clay branch.
- Roll several smaller clay pieces into narrow branches.
- Attach the branches at different angles.
- Blend the joints carefully to make the structure look natural.
- Add tiny holes and textured details for a coral-like appearance.
- Place the sculpture on a stable base.
- Leave it to dry completely before painting.
Decorating tip: Paint your coral sculpture matte white and display it on a wooden console table or open shelf.
11. Clay Hands Decorative Sculptures
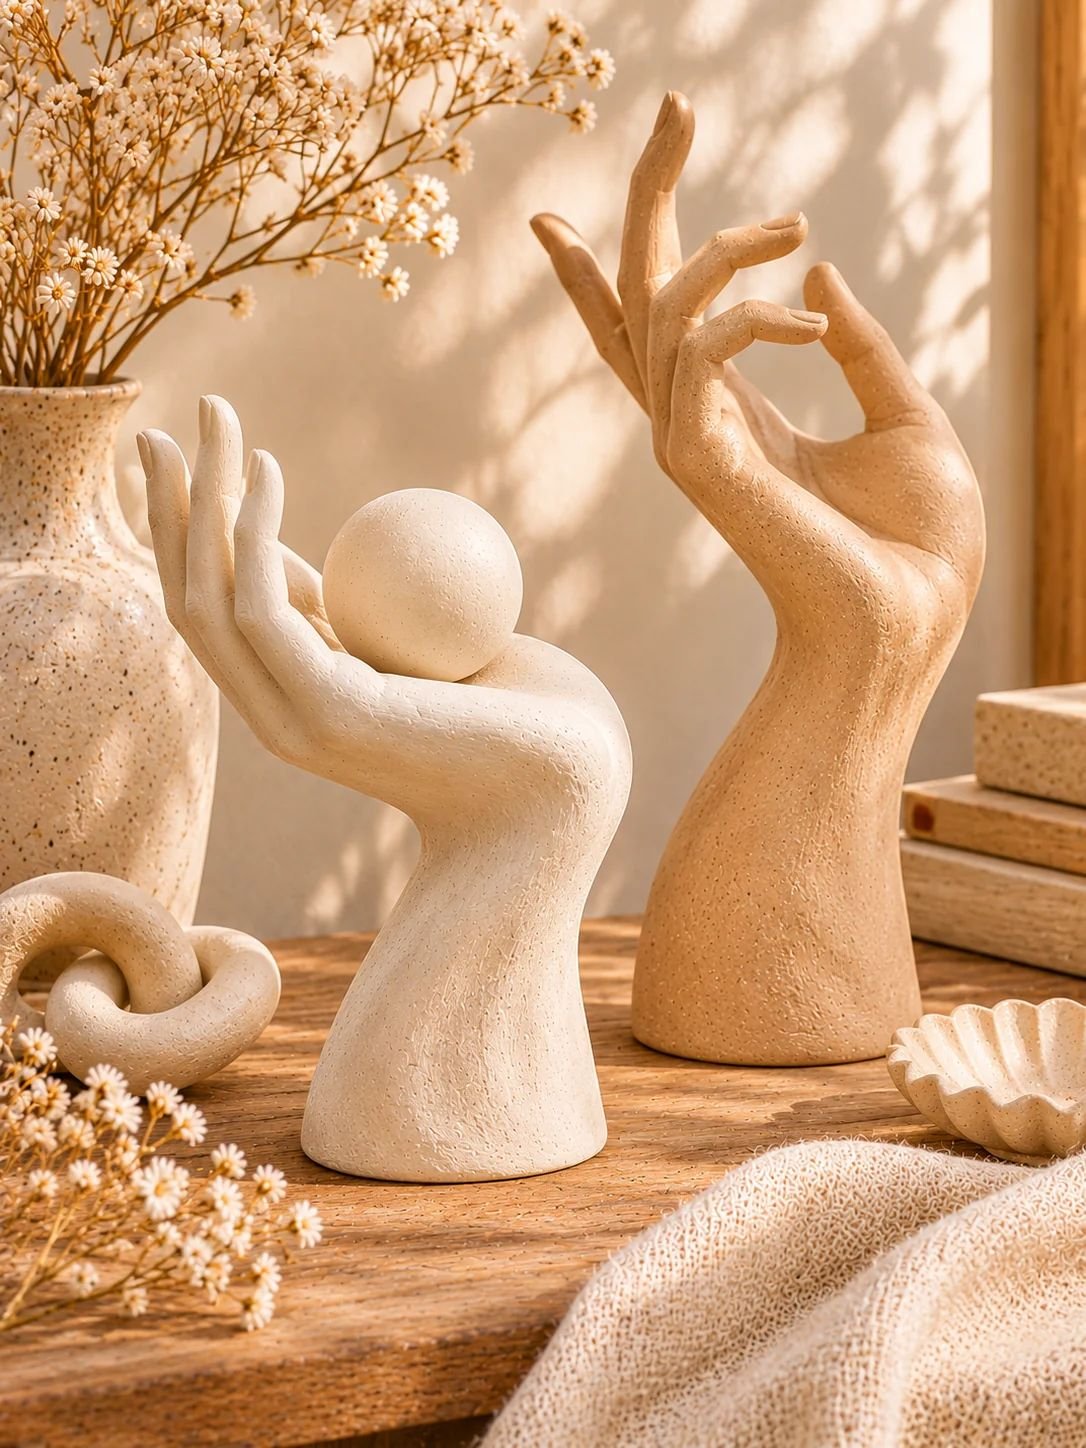
Hand-shaped sculptures have a beautiful artistic quality and can bring a little personality into your home. You can create a hand holding a small sphere, a hand forming a gentle gesture, or a simple abstract hand resting on a decorative base.
This is a lovely project if you enjoy experimenting with sculpting details.
What you will need:
- Air-dry clay
- Sculpting tools
- Wooden skewers
- Small amount of water
- Acrylic paint
- Sandpaper
How to make it:
- Begin by sketching the hand pose you want to create.
- Shape the palm using a compact piece of clay.
- Roll smaller pieces to form the fingers and thumb.
- Attach each finger carefully, blending the joints.
- Refine the curves and add subtle lines to represent the knuckles.
- Create a stable base if needed.
- Allow the sculpture to dry fully before sanding and painting.
Decorating tip: Use a warm white or pale beige finish to give your sculpture a sophisticated gallery-inspired appearance.
12. Layered Clay Sun and Moon Sculptures

For a final idea, I love the thought of creating a celestial-inspired clay sculpture featuring the sun, moon, and stars. These designs have a lovely decorative quality and work beautifully in bedrooms, creative spaces, and cosy reading corners.
You can make a layered wall decoration or a small freestanding sculpture.
What you will need:
- Air-dry clay
- Rolling pin
- Sun and moon templates
- Sculpting tools
- Acrylic paint
- Sandpaper
How to make it:
- Roll your clay into an even sheet.
- Cut out a large sun shape and a crescent moon.
- Create smaller stars and decorative details.
- Layer the shapes carefully, attaching them with a little water and scoring.
- Add small carved lines to create sun rays and moon details.
- Smooth the edges and leave the sculpture to dry completely.
- Paint in warm ivory, dusty pink, terracotta, or muted gold.
Decorating tip: Display your finished sculpture above a bedside table or incorporate it into a gallery wall for a soft celestial-inspired look.
Helpful Tips for Making Beautiful Clay Sculptures
Creating clay sculptures is enjoyable, but a few simple techniques can make a big difference in the quality of your finished pieces.
1. Start with a Simple Design
It is tempting to begin with a complicated sculpture, especially when you see beautiful handmade pieces online. However, starting with simpler designs helps you understand how clay behaves and how different shapes fit together.
Try making small bowls, knots, or abstract shapes before moving on to more detailed projects.
2. Keep Your Clay at an Even Thickness
Uneven clay thickness can lead to weak areas and uneven drying. Whenever possible, roll your clay to a consistent thickness.
For air-dry clay, avoid making large solid sculptures unnecessarily thick because the centre can take much longer to dry.
3. Join Clay Pieces Properly
When attaching two pieces of clay, lightly score both surfaces and apply a small amount of water or the manufacturer’s recommended joining method.
Press the pieces together gently and smooth the joint to help prevent separation as the sculpture dries.
4. Allow Enough Drying Time
One of the biggest mistakes beginners make is rushing the drying process.
Air-dry clay needs sufficient time to dry throughout, not just on the surface. Drying time depends on the thickness of the project, the clay brand, and the surrounding conditions.
Follow the manufacturer’s instructions and avoid painting your sculpture before it is completely dry.
5. Sand and Finish Carefully
Once your sculpture is fully dry, gently sand rough edges and uneven areas. Start with a finer sandpaper and work carefully to avoid damaging delicate details.
You can then apply acrylic paint and a compatible clear sealer if the project requires additional protection.
6. Experiment with Textures
Texture is one of the easiest ways to make a simple clay sculpture look more interesting.
Try using:
- Linen fabric for soft woven impressions.
- Real leaves for botanical patterns.
- A sponge for a natural textured finish.
- Wooden tools for carved lines.
- Small stamps for decorative patterns.
Even a simple shape can become a beautiful decorative piece with the right texture.
How to Style Clay Sculptures Around Your Home
Once your sculptures are finished, the next step is deciding where to display them. The right placement can make handmade decorations feel like intentional parts of your interior design.
Here are a few simple styling ideas:
Living room: Place an abstract face sculpture or clay knot on your coffee table. Pair it with a decorative book and a small vase for a balanced arrangement.
Bedroom: Choose delicate botanical sculptures or a celestial-inspired piece for a calming atmosphere.
Bookshelves: Mix small clay mushrooms, bird sculptures, and abstract shapes between your favourite books.
Entryway: Place a sculptural vase or decorative bowl on your console table to create a welcoming first impression.
Dining area: Use larger sculptural pieces as centrepieces, making sure they do not interfere with the practical use of the table.
One thing I always recommend is avoiding overcrowding. Give each sculpture enough breathing room so its shape and texture can stand out.
Frequently Asked Questions
1. What is the best clay for making decorative sculptures?
Air-dry clay is an excellent choice for beginners because it is affordable, easy to shape, and does not require a kiln. Polymer clay is another option, especially for smaller sculptures that need fine details. Traditional ceramic clay is suitable for more advanced projects when you have access to the appropriate kiln and equipment.
2. Can beginners make clay sculptures at home?
Absolutely! Many clay sculptures are surprisingly beginner-friendly. Start with simple projects such as clay knots, mushroom figures, small bowls, and abstract arches. As you become more comfortable shaping and joining clay, you can experiment with more detailed designs.
3. How long does air-dry clay take to dry?
Drying time varies depending on the clay brand, project thickness, humidity, and room temperature. Small, thin pieces may dry relatively quickly, while larger sculptures can take several days or longer. Always follow the manufacturer’s instructions.
4. How do I make my clay sculptures look professional?
Focus on smooth edges, balanced proportions, consistent thickness, and thoughtful finishing. Sanding, adding texture, and choosing a beautiful paint colour can also make a big difference. Neutral colours such as ivory, beige, and terracotta are particularly lovely for modern home decor.
5. Can I paint air-dry clay sculptures?
Yes! Once your sculpture has dried completely, you can use acrylic paints to add colour and decorative details. Finish with a compatible clear sealer if desired.
6. Are clay sculptures suitable for outdoor decoration?
Air-dry clay is generally not suitable for outdoor exposure because moisture can weaken or damage it. If you want outdoor sculptures, choose a material specifically designed for exterior use and suitable weather conditions.
Final Thoughts
Making your own clay sculptures is such a lovely way to bring creativity and personality into your home. What I love most about these projects is that you do not need to be an experienced artist or have expensive equipment to create something beautiful.
From elegant abstract face sculptures to whimsical mushrooms and botanical wall decorations, there are so many ways to experiment with clay and make pieces that reflect your personal style.
I hope these 12 clay sculpture ideas have inspired you to try something new. Start with a simple design, enjoy the creative process, and do not worry about making everything perfect. Sometimes, the little handmade imperfections are what make a piece truly special. Happy sculpting!