DIY Easy Solid Perfume with Essential Oils: A Natural, Handmade Gift Idea
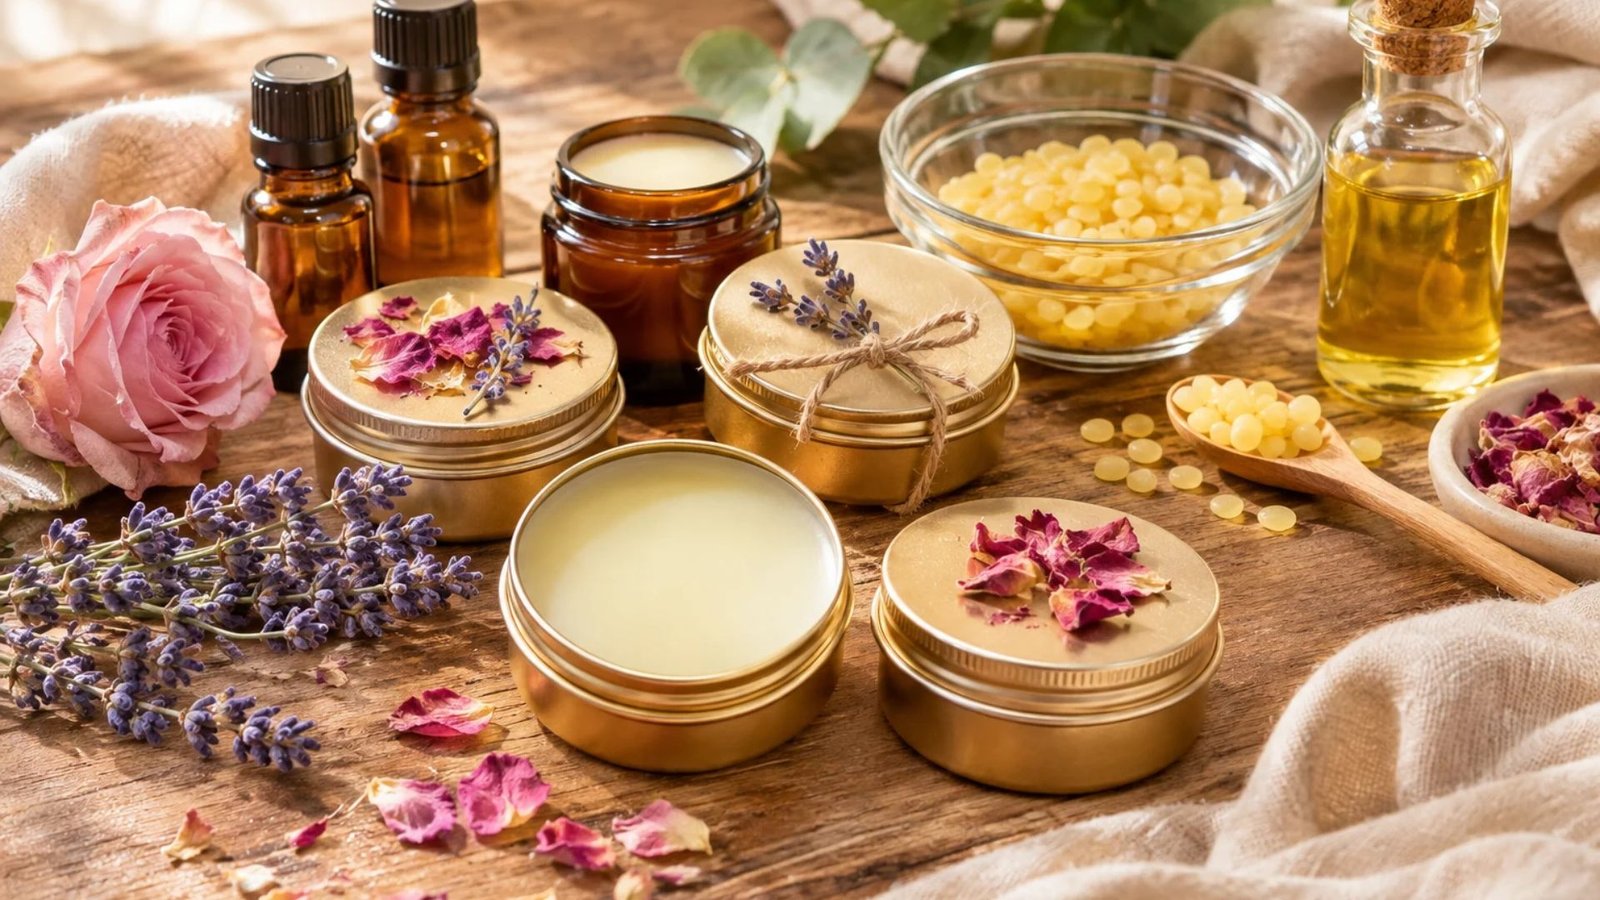
A homemade solid perfume is such a lovely little luxury to keep in your handbag or give as a thoughtful handmade gift.
I love how something so simple can feel personal, pretty, and special, especially when you can choose your favourite scents and create a fragrance that feels completely your own.
If you enjoy making natural beauty products at home, this easy solid perfume recipe is a beautiful project to try.
With a few simple ingredients, a little melting and mixing, and your favourite essential oils, you can create a gorgeous, travel-friendly perfume without needing complicated equipment.
Why You’ll Love Making Your Own Solid Perfume
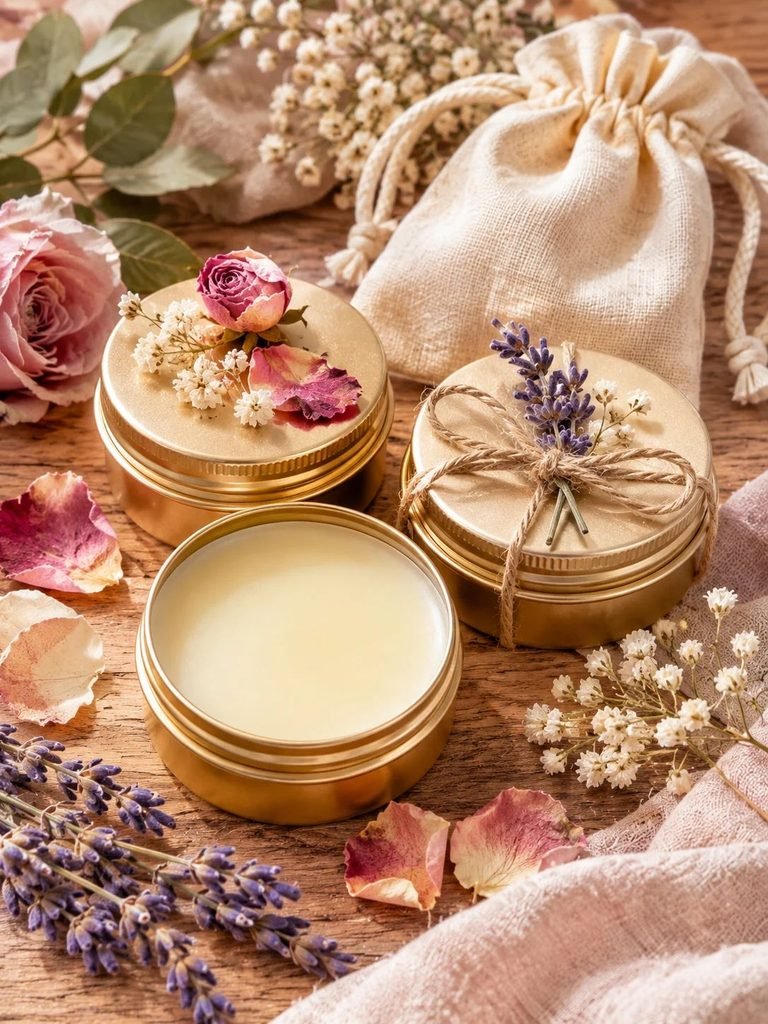
Making solid perfume at home is a wonderful way to enjoy a personalised fragrance while exploring simple DIY beauty recipes. Unlike traditional liquid perfumes, solid perfumes have a soft, balm-like texture that makes them easy to apply and carry around.
Here are a few reasons this project is worth trying:
- Easy to make: You only need a handful of ingredients and basic kitchen equipment.
- Customisable fragrances: You can experiment with floral, citrus, woody, and refreshing essential oil combinations.
- Travel-friendly: The compact containers are convenient for handbags, purses, and travel bags.
- A thoughtful handmade gift: Homemade perfume feels personal because you can choose a scent that suits the person receiving it.
- No spray bottle required: Its solid consistency makes application simple and mess-free when properly formulated.
- Beginner-friendly: You don’t need previous experience making beauty products to get started.
Another lovely thing about this recipe is that you can make several small batches with different fragrance combinations. This is perfect if you enjoy having a different scent for different occasions.
What Is Solid Perfume?
Solid perfume is a concentrated fragrance blended into a soft wax-and-oil base. Instead of being sprayed onto the skin like conventional liquid perfume, it is gently applied using your fingertip.
The wax gives the perfume its solid structure, while the carrier oil creates a smooth consistency that melts slightly when it comes into contact with your skin.
Essential oils provide the fragrance, allowing you to create a scent that suits your personal preferences.
Depending on the ingredients and proportions you use, your finished perfume can have a firm balm-like texture or a softer consistency that glides easily across your skin.
The best part is that you can customise almost everything, from the fragrance combination to the little tin or glass container you use.
Ingredients You’ll Need to Make DIY Solid Perfume

Makes approximately 2 small 15 ml perfume tins.
Before getting started, gather your ingredients and prepare a clean workspace. Each ingredient has an important purpose in creating a perfume that feels smooth, smells beautiful, and holds its shape.
1. Beeswax – 1 tablespoon
Beeswax is what gives homemade solid perfume its firm consistency. It helps turn the liquid oils into a balm that stays solid at room temperature but softens when warmed against your skin.
You can use cosmetic-grade beeswax pellets because they melt easily and are simple to measure.
Beeswax also helps create a protective, conditioning feel on the skin.
2. Jojoba Oil – 1 tablespoon
Jojoba oil is an excellent carrier oil for homemade perfume. It has a lightweight texture and blends beautifully with beeswax.
Although commonly called an oil, jojoba is technically a liquid wax. It is popular in skincare because it feels relatively light and leaves the skin feeling soft.
You can substitute sweet almond oil or fractionated coconut oil if you prefer, provided you are comfortable using those ingredients on your skin.
3. Essential Oils – 6 Drops Total
Essential oils provide the fragrance for your homemade perfume.
You can choose one essential oil or combine a few to create a more personalised scent. For this beginner-friendly recipe, start with just six drops in total.
Some lovely options include:
- Lavender for a soft, floral fragrance.
- Sweet orange for a cheerful citrus scent.
- Frankincense for a warm, resinous aroma.
- Geranium for a fresh floral fragrance.
- Cedarwood for a gentle, woody scent.
- Ylang-ylang for a rich, sweet floral aroma.
Choose skin-appropriate essential oils and follow their individual dermal safety limits. Avoid assuming that natural ingredients are automatically safe for every skin type.
4. Vitamin E Oil – 2 Drops (Optional)
Vitamin E oil can be added as an optional conditioning ingredient. It is also an antioxidant that can help slow the oxidation of the carrier oils.
However, it is not a preservative and will not prevent microbial contamination.
5. Small Perfume Containers
You will need two clean, dry containers for storing your finished perfume.
Small aluminium tins, glass cosmetic jars, or dedicated solid perfume containers all work beautifully.
Choose containers with secure lids to prevent dust and dirt from getting into your product.
Tools and Equipment
You don’t need an elaborate collection of equipment to make solid perfume. A few simple tools will make the process much easier.
Gather the following:
- Small heat-safe glass measuring cup or bowl.
- Small saucepan for a double boiler.
- Measuring spoons or a small digital scale.
- Stainless steel spoon or glass stirring rod.
- Small silicone spatula.
- Essential oil dropper bottles.
- Clean, dry perfume tins or jars.
- Paper towels for cleaning your workspace.
Make sure all your containers and utensils are completely clean and dry before beginning.
How to Make DIY Easy Solid Perfume with Essential Oils
Now comes the fun part! Making your own perfume is surprisingly simple, and you will love watching the liquid ingredients transform into a beautiful little fragrance balm.
Follow these steps carefully for the best results.
Step 1: Prepare Your Containers
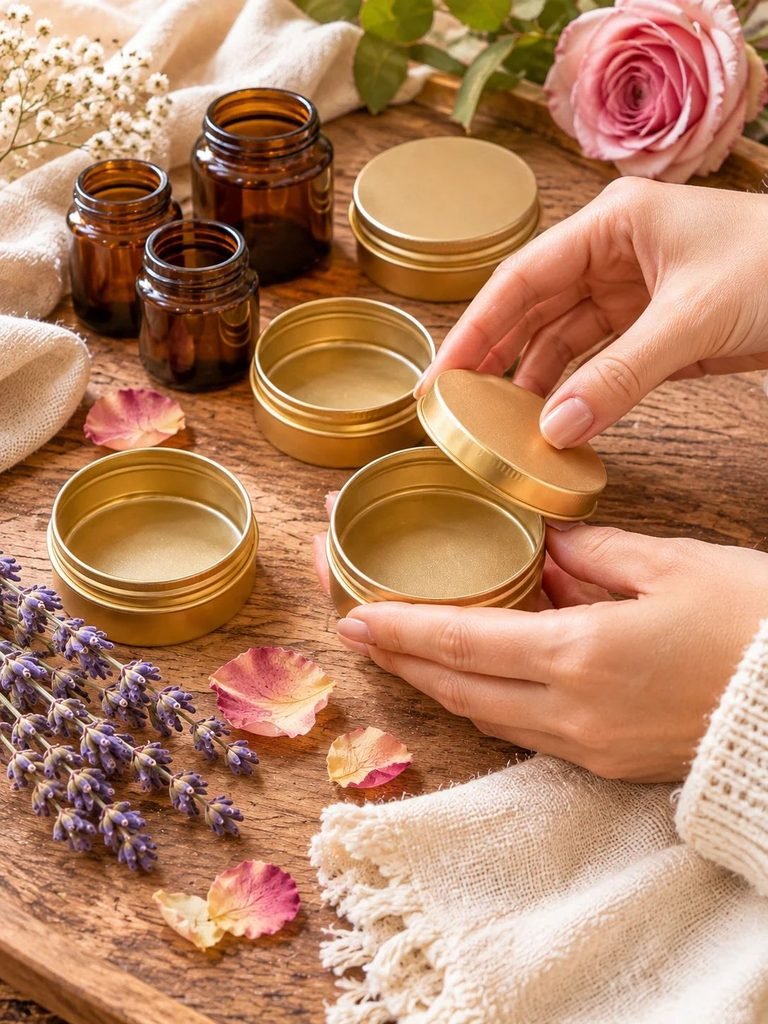
Start by cleaning your perfume tins or small glass jars. Make sure they are completely dry before using them.
Arrange your containers on a flat, heat-resistant surface so they are ready for the melted mixture.
I recommend keeping everything within reach because the mixture can begin to harden quite quickly once it is removed from the heat.
Step 2: Measure Your Beeswax and Jojoba Oil
Measure one tablespoon of beeswax pellets and one tablespoon of jojoba oil.
Place both ingredients into a small heat-safe glass bowl or measuring cup.
Try to measure accurately so that your perfume has a lovely consistency. Too much beeswax can make the finished product difficult to apply, while too much carrier oil can leave it overly soft.
Step 3: Melt the Ingredients Using a Double Boiler
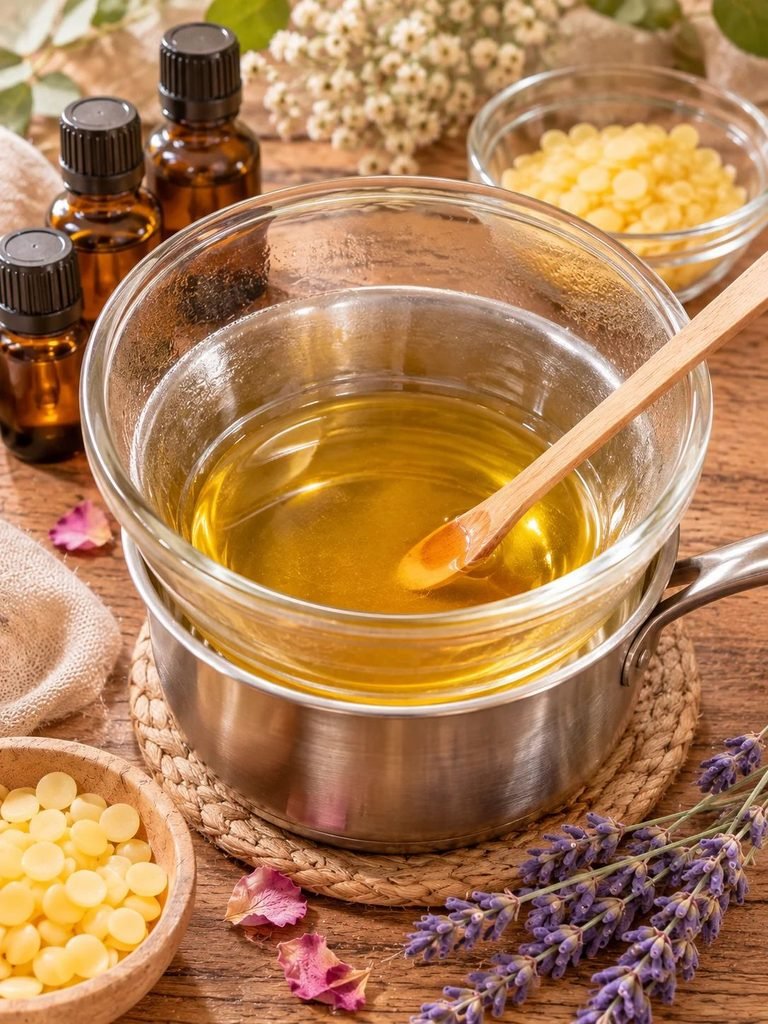
Fill a small saucepan with a little water and bring it to a gentle simmer.
Place your heat-safe glass bowl over the saucepan, making sure the bottom of the bowl does not touch the water.
Allow the beeswax and jojoba oil to melt slowly, stirring occasionally.
Once everything has melted into a smooth liquid, carefully remove the bowl from the heat.
Avoid overheating the mixture. Gentle heat is all you need.
Step 4: Allow the Mixture to Cool Slightly
Give the melted mixture a minute or two to cool while remaining completely liquid.
This is important because adding essential oils to an extremely hot mixture can cause some of their delicate aromatic compounds to evaporate.
You want the mixture warm enough to pour but not excessively hot.
Step 5: Add Your Essential Oils
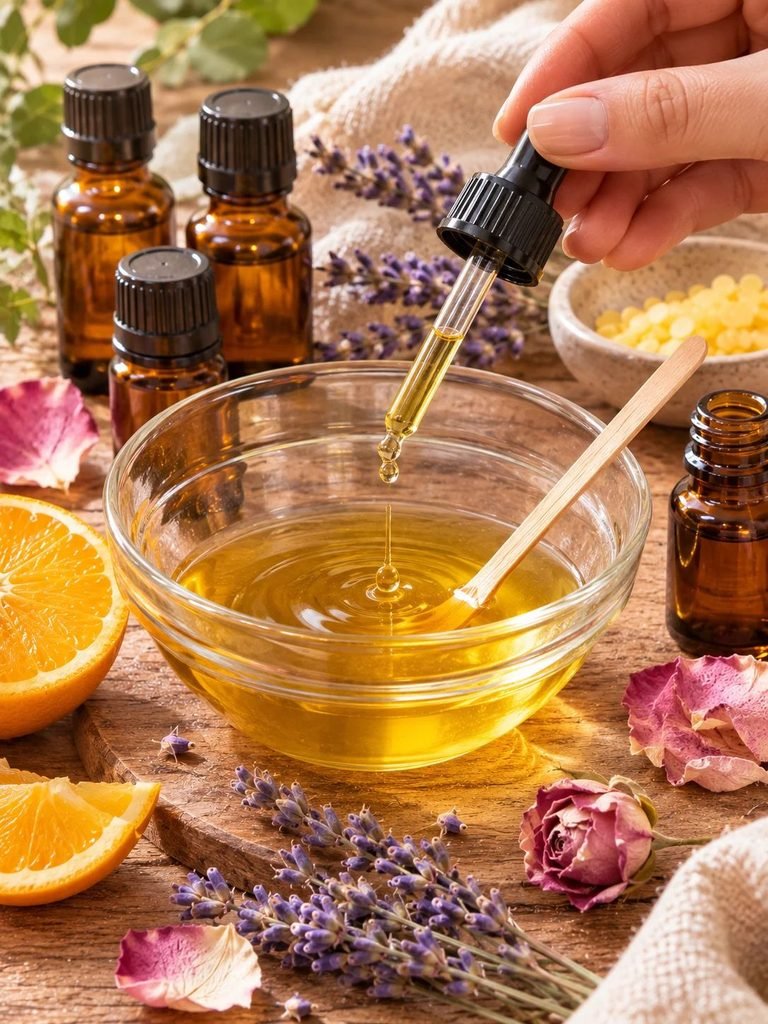
Now it is time to give your homemade perfume its beautiful fragrance!
For this beginner recipe, use six drops of essential oil in total, not six drops of each oil.
You can choose a single essential oil or combine a few different scents.
For example, you could use:
- 3 drops lavender essential oil.
- 2 drops sweet orange essential oil.
- 1 drop frankincense essential oil.
Stir gently until the fragrance is evenly distributed throughout the mixture.
Remember that essential oils are highly concentrated. The six-drop quantity is a conservative starting point, not a universal safety guarantee. Check the dermal limits for every oil you choose.
Step 6: Pour the Mixture into Your Containers

Carefully pour the warm perfume mixture into your prepared tins or glass jars.
Fill each container evenly, leaving a little space at the top.
If the mixture begins to harden before you finish pouring, gently warm it again using the double boiler.
Be careful when handling the hot glass bowl and melted wax.
Step 7: Allow Your Perfume to Set
Leave your perfume containers undisturbed on a flat surface until the mixture has completely cooled and hardened.
This usually takes around one to two hours, depending on the size of your containers and the temperature of your room.
Avoid putting the lids on while the perfume is still warm, as condensation can form inside the containers.
Once completely cool, secure the lids.
Your homemade solid perfume is ready!
5 Beautiful Essential Oil Combinations to Try
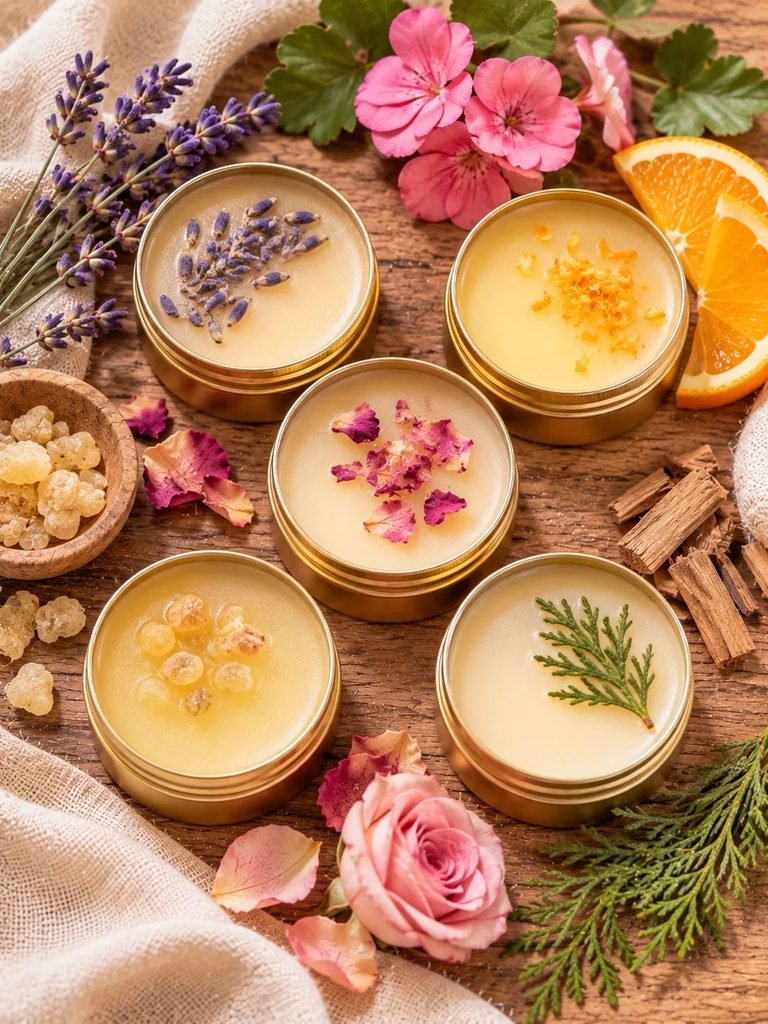
One of my favourite things about making solid perfume is experimenting with different fragrance combinations.
You can create something soft and romantic, fresh and uplifting, or warm and cosy depending on the oils you choose.
Here are five lovely fragrance ideas to inspire your next batch. The drop counts below are illustrative blends, not verified safe-use formulas; check each oil’s individual skin-use restrictions before making them.
1. Soft Lavender Floral
- 3 drops lavender
- 2 drops geranium
- 1 drop frankincense
A gentle floral and woody combination for anyone who enjoys soft, delicate fragrances.
2. Fresh Citrus Blend
- 3 drops sweet orange
- 2 drops lavender
- 1 drop cedarwood
A bright, fresh-smelling combination with a warm woody finish. Use only skin-appropriate citrus oils.
3. Romantic Rose Garden
- 3 drops geranium
- 2 drops lavender
- 1 drop ylang-ylang
A beautiful floral-inspired blend with a sweet and feminine character.
4. Warm Woodland
- 3 drops cedarwood
- 2 drops frankincense
- 1 drop lavender
A cosy, earthy fragrance with gentle woody notes.
5. Light Floral Citrus
- 3 drops lavender
- 2 drops sweet orange
- 1 drop geranium
A cheerful combination that balances fresh citrus with delicate floral notes.
A little fragrance tip: Perfume blending is often easier when you think about top, middle, and base notes. Top notes provide the first impression, middle notes give the fragrance its character, and base notes add warmth and depth. You can experiment with these categories to create more interesting blends.
How to Apply Homemade Solid Perfume
Using your homemade perfume is just as easy as making it.
You only need a small amount to enjoy its fragrance.
- Make sure your skin is clean and dry.
- Gently rub a clean fingertip over the surface of the perfume.
- Apply a small amount to your wrists or another suitable area of skin.
- Allow the fragrance to settle naturally.
- Reapply sparingly when you want to refresh the scent.
Avoid applying perfume near your eyes, inside your nose, or to broken or irritated skin.
You can also apply a little to your clothing, but check that the oils will not leave stains before doing so.
How to Choose the Right Essential Oils for Your Perfume
Choosing essential oils is one of the most enjoyable parts of this DIY project, but it helps to understand that different oils have different fragrance characteristics.
Here are a few popular choices.
| Essential oil | Fragrance character |
|---|---|
| Lavender | Soft and floral |
| Sweet orange | Sweet and citrusy |
| Geranium | Fresh and rosy |
| Cedarwood | Warm and woody |
| Frankincense | Rich and resinous |
| Ylang-ylang | Sweet and floral |
| Patchouli | Earthy and deep |
When choosing essential oils, look for reputable suppliers that provide botanical names, ingredient information, and appropriate safety documentation.
Also, be aware that some citrus oils can cause phototoxic reactions when applied to skin exposed to sunlight. Cold-pressed bergamot, for example, requires particular care. Choose a suitable non-phototoxic alternative or a specifically identified FCF bergamot oil, and still check its safety limits.
Helpful Tips for Making the Best Solid Perfume
Even though this is a simple project, a few little tricks can make a big difference to your finished perfume.
1. Don’t Overheat Your Ingredients
Beeswax needs gentle heat to melt properly. Excessive heating can affect the quality of your ingredients and make the process unnecessarily difficult.
Use a double boiler rather than placing the ingredients directly over a flame.
2. Start with a Small Fragrance Blend
It can be tempting to add lots of essential oils because you want your perfume to smell strong.
However, more fragrance does not automatically mean a better perfume.
Start with a conservative amount, check the safety limits of your chosen oils, and adjust the formula only when you have the appropriate information.
3. Use Good-Quality Carrier Oils
Your carrier oil affects the texture and overall feel of your perfume.
Jojoba is a lovely choice because it is relatively lightweight and has good oxidative stability.
Make sure your carrier oils are fresh and suitable for cosmetic use.
4. Pour the Mixture While It Is Still Liquid
Beeswax begins to harden as it cools.
Prepare your containers before melting your ingredients so you can pour the mixture without rushing.
5. Keep Everything Clean and Dry
Water and dirt can affect the quality of your homemade beauty products.
Always use clean utensils and completely dry containers.
6. Let Your Perfume Rest Before Judging the Fragrance
Although your perfume will be ready once it hardens, allowing it to rest for 24 hours can help you assess how the fragrance develops.
The scent may seem slightly different after the ingredients have settled together.
How to Make Your Solid Perfume Vegan
If you prefer vegan beauty products, you can easily adapt this recipe by replacing beeswax with a plant-based wax.
Candelilla wax is a popular alternative because it provides a firm consistency and works well in solid cosmetic products.
However, candelilla wax is generally harder than beeswax, so you may need to use a smaller quantity and adjust the carrier oil until you achieve a smooth, spreadable texture.
I recommend making a small test batch before preparing several containers.
You can also experiment with other plant-based waxes, but remember that each wax behaves differently, so the measurements may need adjusting.
How to Store Homemade Solid Perfume
Proper storage helps your homemade perfume maintain its quality for as long as possible.
Here are some simple storage tips:
- Keep your perfume in a tightly sealed container.
- Store it somewhere cool and dry.
- Avoid leaving it in direct sunlight.
- Keep it away from radiators and other heat sources.
- Always use clean fingers when applying it.
- Avoid introducing water or moisture into the container.
Jojoba oil has good oxidative stability, but your finished product can still deteriorate over time, especially if exposed to heat, light, or contamination.
For a homemade batch without laboratory stability testing, I recommend making small quantities, labelling the preparation date, and using it within a few months. Discard it if you notice an unusual smell, colour change, or other signs of deterioration.
Remember that vitamin E is an antioxidant, not a preservative. It does not make a contaminated product safe.
How to Turn Your Homemade Solid Perfume into a Beautiful Gift
Homemade solid perfume makes such a lovely gift, especially for birthdays, Mother’s Day, Christmas, bridal showers, or little thank-you presents.
I love the idea of preparing several small perfume tins, each containing a different fragrance.
Here are a few simple ways to make your finished perfume look extra special.
Choose pretty containers: Small gold tins, amber glass jars, or vintage-inspired perfume containers give your homemade fragrance a beautiful appearance.
Add personalised labels: Write the fragrance name, ingredients, and preparation date on a small label. You could call your blends Lavender Dreams, Citrus Bloom, or Woodland Bliss.
Wrap with ribbon: A simple blush pink or cream ribbon can make even the smallest perfume tin look thoughtful and elegant.
Create a little gift set: Pair your solid perfume with handmade soap, a small bath soak, or a pretty cotton pouch.
Include a handwritten note: Add a little card explaining that the perfume was handmade and how to apply it.
One important detail: If you are gifting homemade cosmetics, include a complete ingredient list and appropriate safety information. Make sure the recipient knows what essential oils are included, particularly if they have allergies or sensitivities.
Common Problems When Making Solid Perfume and How to Fix Them
Sometimes your first batch might not turn out exactly as expected. Don’t worry! Most solid perfume problems are relatively easy to troubleshoot.
| Problem | Possible solution |
|---|---|
| Perfume is too hard | Reduce the wax slightly and increase the carrier oil in your next test batch. |
| Perfume is too soft | Increase the wax slightly or reduce the carrier oil. |
| Fragrance seems weak | Check the quality of your essential oils and allow the blend to settle before evaluating it. |
| Perfume has uneven texture | Melt the wax and oil together completely before pouring. |
| Perfume develops a grainy texture | Avoid overheating and cooling it unevenly; remelt gently if the ingredients remain suitable. |
| Mixture hardens before pouring | Gently warm it again using a double boiler. |
My biggest advice is to experiment with small batches rather than changing several ingredients at once. This makes it easier to understand what works and achieve the texture you love.
Important Essential Oil Safety Tips
Because this perfume is designed to be applied to the skin, safety should always come first.
Essential oils are highly concentrated plant extracts, and natural does not automatically mean harmless.
Keep these precautions in mind:
- Never apply undiluted essential oils directly to your skin. Always blend them into an appropriate carrier base.
- Check the recommended dermal maximum for every essential oil you use. Some oils have much lower limits than others.
- Perform a small-area skin compatibility test before using a new formulation. A patch test cannot guarantee that an allergic reaction will not occur later.
- Avoid using oils that are unsuitable for your circumstances, particularly during pregnancy or breastfeeding, unless you have received appropriate professional advice.
- Keep essential oils away from children and pets.
- Avoid applying the perfume to broken, irritated, or sensitive skin.
- Do not ingest your homemade perfume.
- If irritation develops, stop using the product.
For more detailed guidance, the Tisserand Institute provides helpful information about essential oil dilution and topical safety. Tisserand Institute+2
Frequently Asked Questions
1. How long does homemade solid perfume last?
A homemade solid perfume can remain usable for several months when prepared with fresh ingredients and stored correctly. However, its actual shelf life depends on the quality of the carrier oils, the ingredients used, storage conditions, and cleanliness during preparation.
For the best results, make small batches and keep track of when you made them.
2. Can I make solid perfume without beeswax?
Yes! You can replace beeswax with a plant-based wax such as candelilla wax.
Keep in mind that different waxes have different melting points and firmness, so you will need to adjust your measurements to achieve the desired consistency.
3. Can I use coconut oil instead of jojoba oil?
Yes, you can use fractionated coconut oil as an alternative to jojoba oil.
Fractionated coconut oil remains liquid at typical room temperatures and creates a lightweight perfume base.
Regular coconut oil is also an option, but it has different properties and can change the firmness of your finished perfume.
4. Why doesn’t my solid perfume smell very strong?
There are several possible reasons.
Your essential oil blend may be naturally subtle, the fragrance may have been affected by excessive heat, or your chosen oils may have lighter aromatic characteristics.
Try experimenting with complementary fragrance notes rather than simply adding more essential oils. Always stay within the appropriate skin-use limits.
5. Can I use fragrance oils instead of essential oils?
Some fragrance oils are specifically formulated for cosmetic use and can be used in solid perfume.
However, not every fragrance oil is suitable for skin application. Always check the manufacturer’s documentation and maximum recommended usage rate for leave-on products.
6. Can I use this perfume every day?
A properly formulated solid perfume can be used as a personal fragrance, provided all ingredients are suitable for your skin and the essential oil concentrations remain within their recommended limits.
Start with a small amount and discontinue use if irritation occurs.
7. Can I make solid perfume for children?
Children have different essential oil safety requirements from adults. I would not recommend using this adult recipe for children. Their age, the specific essential oils, and appropriate dilution requirements must be considered carefully.
8. Can I make different fragrances in one afternoon?
Absolutely! You can prepare several small batches using the same beeswax and carrier oil base.
Simply divide the melted base into separate heat-safe containers before adding your different fragrance blends. Use separate, clearly labelled utensils and containers to avoid mixing the scents.
Final Thoughts
Making your own solid perfume with essential oils is such a lovely way to explore homemade beauty products while creating something useful and personal.
With just a few simple ingredients, you can make a beautiful fragrance balm that fits easily into your handbag or becomes a thoughtful handmade gift for someone special.
I especially love how easy it is to experiment with different fragrance combinations and pretty little containers.
Once you have tried this simple recipe, you might find yourself making several versions for different occasions. Have fun choosing your favourite scents and creating a little handmade luxury to enjoy!