Air Dry Clay: 10 Great Tips to Know Before You Start a Project
DIY Crafts | Air Dry Clay Guide | Beginner-Friendly Tutorial
Air dry clay is one of those craft materials that makes me want to clear my crafting table, grab a rolling pin, and spend an afternoon making something beautiful.
I love how a simple lump of clay can become a pretty trinket dish, a delicate flower, or a charming handmade ornament. However, if you’re new to working with air dry clay, there are a few things I wish everyone knew before getting started.
From preventing cracks to getting a smooth finish, these little tips can make a big difference. So, before you begin your next clay project, here are 10 helpful things worth knowing!
What Is Air Dry Clay?

Air dry clay is a soft, moldable crafting material that hardens naturally when exposed to air. Unlike traditional pottery clay, it doesn’t require a pottery kiln or special firing equipment to become firm. This makes it a wonderful option for beginners, hobby crafters, and anyone who enjoys creating handmade decorations at home.
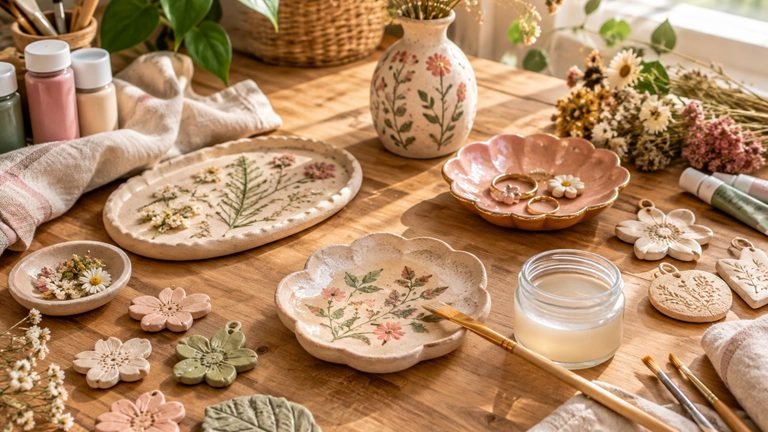
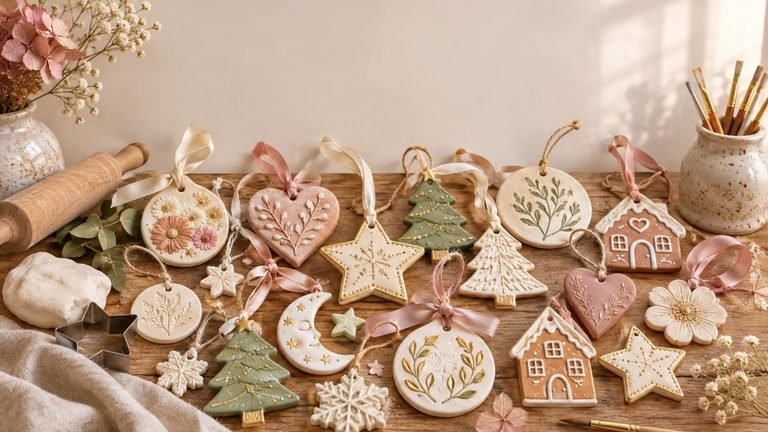
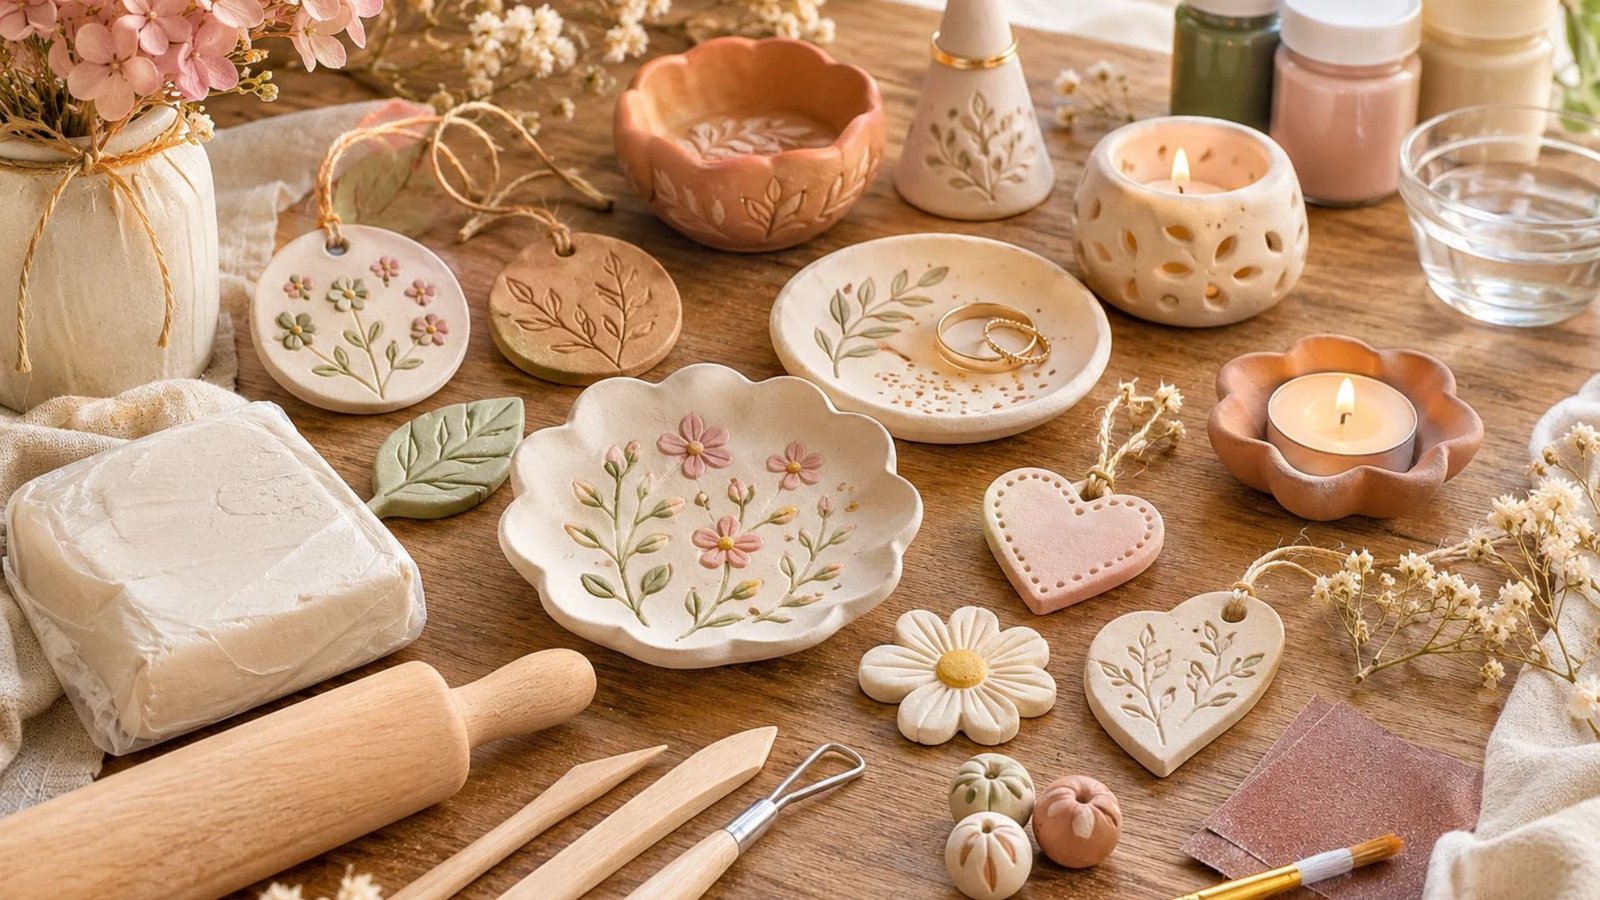
You can use air dry clay to make all kinds of beautiful things, including jewelry dishes, decorative bowls, Christmas ornaments, wall hangings, plant pots, candle holders, and personalized gifts.
Most air dry clay is available in white, grey, or terracotta shades, although you can paint it after drying to achieve almost any colour you like.
One of the best things about this material is how accessible it is. You don’t need an expensive collection of tools to get started. A rolling pin, a craft knife, a little water, and a clean work surface are often enough for your first project.
However, although air dry clay is relatively easy to work with, understanding how it behaves will help you avoid common mistakes and get much better results.
10 Great Tips to Know Before Starting an Air Dry Clay Project
1. Choose the Right Air Dry Clay for Your Project

Before you start making anything, it’s important to choose a clay that suits your project.
Not all air dry clays have exactly the same consistency, texture, or drying characteristics. Some are softer and easier to mold, while others are firmer and better suited to projects that need a little more structure.
For beginners, I recommend starting with a good-quality, general-purpose air dry clay. It is usually easy to knead, roll, shape, and smooth, making it suitable for simple decorative crafts.
Here are a few things to consider:
- White air dry clay: Great for ornaments, jewelry dishes, decorative flowers, and projects you plan to paint.
- Terracotta clay: Lovely for rustic decorations, earthy home accessories, and botanical-inspired crafts.
- Grey air dry clay: A good option for projects where you want a natural stone-like appearance.
- Lightweight air dry clay: Useful for delicate decorations and projects where you don’t want the finished piece to feel too heavy.
Always check the packaging before purchasing. Some clays are designed for detailed modeling, while others are better for larger decorative pieces.
My advice is to experiment with a small amount first. This helps you understand how the clay feels before committing to a bigger project.
2. Knead Your Clay Before You Start Working

This is one of the simplest steps, but it’s also one of the easiest to overlook.
Before rolling or shaping your clay, spend a few minutes kneading it with your hands. Kneading helps make the material more consistent and workable, making it easier to create smooth shapes.
Clay that hasn’t been properly prepared may feel stiff, uneven, or difficult to manipulate. You might also notice small lumps or rough patches appearing as you work.
To prepare your clay:
- Take a manageable amount from the package.
- Gently press and fold it between your hands.
- Continue kneading until it feels soft and consistent.
- Remove any noticeable hard pieces or debris.
- Start shaping once the clay feels comfortable to work with.
Try not to knead too aggressively, as excessive handling can warm the clay and make some formulations sticky.
If your clay feels slightly dry, you can work in a tiny amount of water, depending on the manufacturer’s instructions. Add it gradually rather than soaking the clay.
A few minutes of preparation can make the entire crafting process much easier.
3. Keep Your Clay Covered When You’re Not Using It
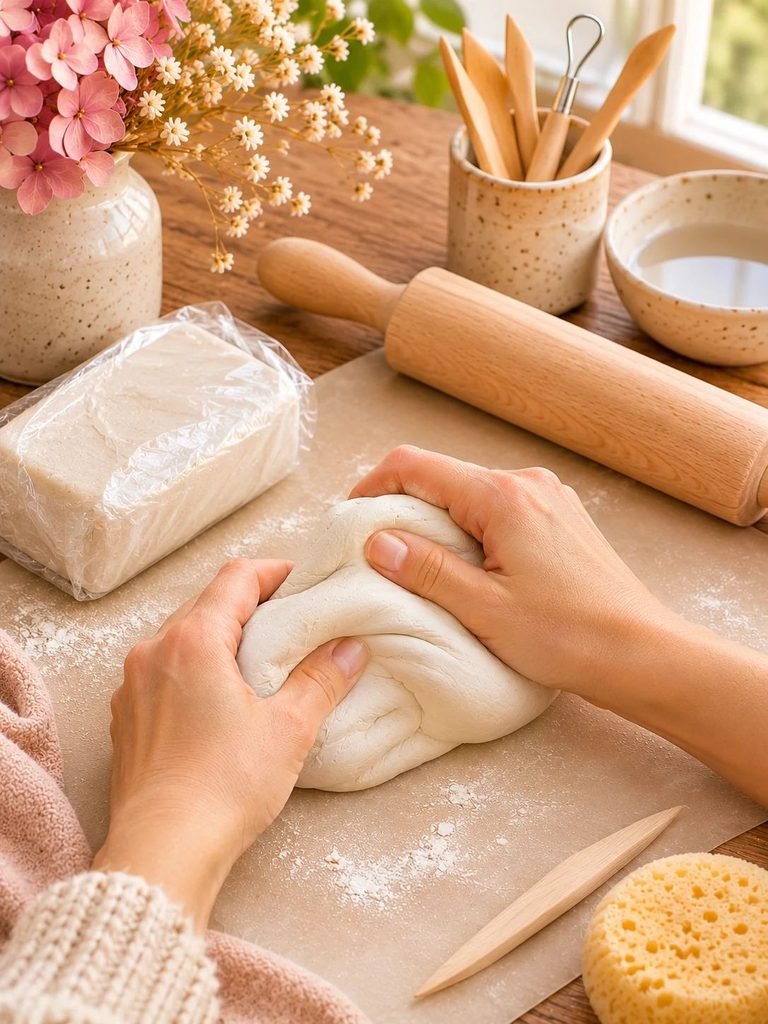
If there’s one habit I would encourage every beginner to develop, it’s keeping unused clay covered.
Air dry clay begins losing moisture when exposed to the air. This is exactly what makes it harden naturally, but it also means that clay left uncovered while you’re working can become dry and difficult to shape.
You might notice that the edges begin to harden, the surface develops a crust, or the clay becomes less flexible.
To prevent this, always cover any clay you’re not actively using.
Here are a few simple storage tips:
- Wrap unused clay tightly in plastic cling film.
- Place the wrapped clay inside an airtight container or resealable bag.
- Remove as much excess air as possible before sealing.
- Keep your clay away from direct sunlight and heat.
- Store it somewhere cool and dry.
If you’re working on a project that takes several hours, cover unfinished pieces with plastic between crafting sessions.
One important thing to remember is that clay that has already dried completely cannot simply be returned to its original workable condition by adding water. Keeping it properly stored from the beginning will save you frustration and unnecessary waste.
4. Avoid Making Your Clay Pieces Too Thick

Thickness is something you should pay attention to, especially when making bowls, ornaments, coasters, and decorative trays.
When air dry clay is too thick, it takes considerably longer to dry. The outside may become firm while the inside still contains moisture. Uneven drying can increase the chances of cracking, warping, and other imperfections.
For many small decorative projects, an even thickness of around 5–8 mm is a useful starting point. However, the ideal thickness depends on the clay brand, project design, and manufacturer’s recommendations.
Here are a few ways to achieve an even result:
- Use a rolling pin to flatten the clay.
- Place two wooden guides of equal thickness on either side.
- Roll slowly to avoid creating uneven sections.
- Check the thickness around the edges.
- Avoid making one part significantly thicker than another.
For larger decorative pieces, you may need a thicker structure, but try to keep the clay thickness consistent throughout.
If you’re making a small jewelry dish, for example, start with an evenly rolled slab before shaping the sides.
This simple technique helps your finished projects dry more consistently and look more professional.
Read How to Avoid Cracks in Air Dry Clay: Simple Tips for Smooth, Strong Results
5. Use Water Sparingly When Smoothing Your Clay

Water is a useful little helper when working with air dry clay. It can soften rough edges, smooth fingerprints, and help join certain pieces together.
However, using too much water can create problems.
Adding excessive moisture may make the clay sticky, weaken its structure, or cause the surface to become mushy. It can also increase drying time.
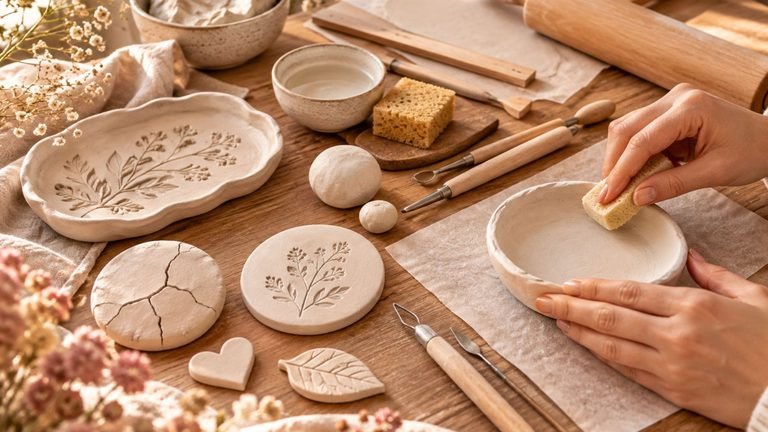
Instead of pouring water directly onto your project, use a slightly damp fingertip, soft brush, or small sponge.
For a smoother finish:
- Dip your fingertip or sponge into a little clean water.
- Remove excess moisture.
- Gently smooth the rough area using light movements.
- Repeat only when necessary.
- Allow the surface to settle before continuing.
You can also use a soft silicone modeling tool to smooth edges without adding much moisture.
I particularly like this technique for jewelry dishes and decorative ornaments because it helps create a cleaner finish before the clay dries.
Remember, the goal is to smooth the surface, not saturate it.
6. Join Clay Pieces Properly to Prevent Them From Falling Apart

If your project involves attaching different clay pieces together, such as adding flowers to a tray or attaching a decorative handle to a bowl, it’s important to join them properly.
Simply pressing two smooth pieces together may not create a strong enough connection. Once the clay dries, the attached parts can separate.
A useful technique is called scoring and slipping.
Scoring means making small scratches on the surfaces you want to join. Slip is a mixture of clay and water that creates a paste-like consistency.
Here’s how to do it:
- Lightly scratch the areas where the two pieces will meet using a modeling tool or toothpick.
- Apply a small amount of clay slip to the scratched surfaces.
- Press the pieces together gently.
- Smooth the joint using a modeling tool or slightly damp brush.
- Support the joined pieces while they dry if necessary.
For very small decorative additions, the manufacturer’s recommended joining method may be sufficient.
Avoid attaching heavy decorations to thin clay surfaces without proper support.
Taking a little extra time to secure your pieces can help prevent breakages later.
7. Allow Your Clay to Dry Slowly and Evenly

This is probably one of the most important things to understand about air dry clay.
Although it’s tempting to speed up the drying process, allowing your projects to dry naturally and evenly is usually the better approach.
Air dry clay loses moisture as it sits. If one section dries much faster than another, the difference in moisture can cause stress within the clay, increasing the possibility of cracks or warping.
To encourage even drying:
- Place your project on a flat surface.
- Keep it away from direct sunlight.
- Avoid placing it directly beside heaters or strong fans.
- Turn suitable pieces occasionally to help different surfaces dry.
- Use a breathable surface or parchment-lined board when appropriate.
- Allow enough time for thicker areas to dry completely.
Drying time varies depending on the clay brand, thickness, humidity, and room temperature. Small, thin ornaments may dry within a day or two, while thicker pieces can take several days.
Don’t assume that a piece is completely dry just because the outside feels hard.
If you’re planning to paint or seal your project, make sure it is thoroughly dry first. Sealing clay that still contains moisture can trap that moisture inside and affect the final result.
Patience really does make a difference here!
8. Sand Your Clay After It Has Dried for a Smooth Finish
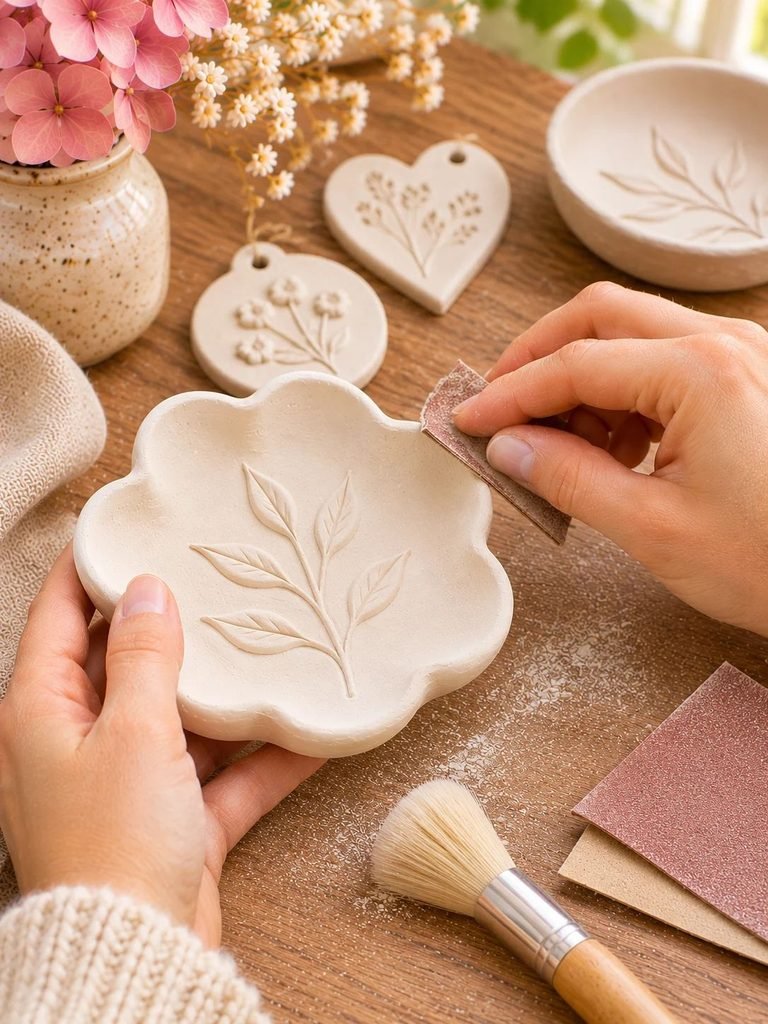
Even when you smooth your clay carefully while working, you may still notice small bumps, rough edges, or uneven areas after it dries.
This is completely normal.
One of the easiest ways to improve the appearance of your finished project is to sand it gently.
Fine-grit sandpaper can help remove small imperfections and create a smoother surface before painting or sealing.
For best results:
- Make sure your clay is completely dry.
- Choose fine-grit sandpaper, such as 180–240 grit, depending on the roughness.
- Gently sand the uneven areas.
- Pay attention to edges and corners.
- Remove the resulting dust with a soft, dry brush.
Avoid applying too much pressure, especially around delicate edges, because dry air dry clay can be fragile.
For more detailed projects, a small sanding sponge can make it easier to reach curved areas.
If you want a particularly polished appearance for your trinket dishes, decorative trays, or ornaments, this extra step is worth including.
Always work carefully to avoid breathing in clay dust. Wear a suitable dust mask and work in a well-ventilated area when sanding.
9. Paint and Seal Your Clay Only When It’s Completely Dry

One of my favourite parts of working with air dry clay is decorating the finished pieces.
Once your project has dried completely, you can add colour, patterns, and beautiful finishing details.
Acrylic paint is a popular choice because it comes in many colours, dries relatively quickly, and works well for decorative clay crafts.
You can experiment with:
- Soft pastel colours for delicate ornaments.
- Neutral beige and cream for minimalist home decorations.
- Sage green for botanical-inspired pieces.
- Metallic gold for elegant decorative details.
- Terracotta shades for rustic, earthy designs.
Before painting, make sure your clay is clean and free from sanding dust.
Apply thin coats rather than one thick layer. Allow each coat to dry before adding another.
What about sealing?
Air dry clay is naturally porous and generally isn’t waterproof. If you want to protect your finished project, applying an appropriate clear acrylic varnish or water-based sealer can help.
Choose a finish depending on the look you want:
- Matte sealer for a soft, natural appearance.
- Satin sealer for a subtle sheen.
- Gloss sealer for a shiny finish.
Follow the product instructions carefully and allow the paint to dry before applying your chosen sealer.
One important reminder: sealing air dry clay does not automatically make it fully waterproof, food-safe, or suitable for direct contact with flames. Keep decorative clay items away from prolonged water exposure and use alternative materials for functional food-contact or heat-resistant applications.
10. Start With Simple Projects Before Trying Complicated Designs

When you’re just getting started, it’s easy to become excited about all the beautiful clay creations you see online.
From intricate floral wall hangings to detailed sculpted decorations, there are so many lovely ideas to try.
However, I always recommend starting with simple projects and gradually working your way towards more complicated designs.
This gives you an opportunity to understand how the clay behaves without feeling overwhelmed.
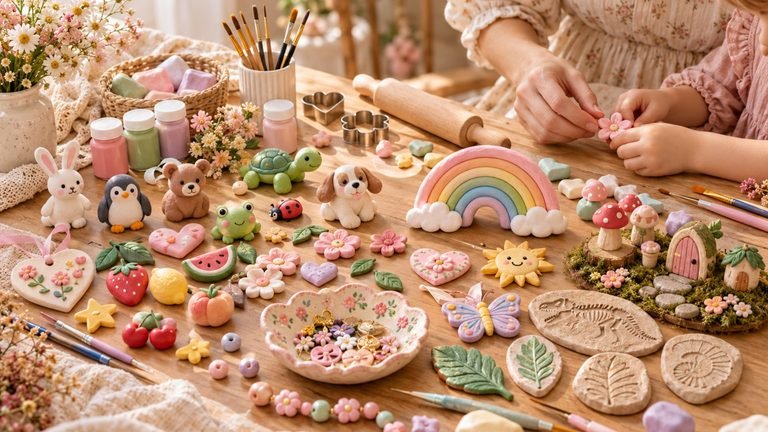
Here are a few beginner-friendly projects worth trying:
- Clay ornaments: Simple shapes such as hearts, stars, circles, and leaves are perfect for practising rolling and cutting.
- Mini trinket dishes: These help you practise shaping, smoothing, and creating curved edges.
- Clay gift tags: A lovely way to experiment with stamps, lettering, and small decorative details.
- Botanical decorations: Pressing leaves and flowers into clay is an easy way to create beautiful natural patterns.
- Simple ring holders: These are great for practising shaping and building small three-dimensional structures.
Don’t worry if your first few creations aren’t perfect. Little imperfections are part of learning, and you’ll become more confident with every project.
The most important thing is to enjoy the process and give yourself room to experiment.
Essential Tools to Have Before Starting an Air Dry Clay Project
You don’t need an expensive craft studio to work with air dry clay. A few basic supplies will help you create beautiful pieces without spending too much.
Here are some useful tools I recommend having nearby:
| Tool | What it’s used for |
|---|---|
| Air dry clay | Your main crafting material |
| Rolling pin | Flattening clay evenly |
| Craft knife | Cutting and trimming shapes |
| Cookie cutters | Creating consistent shapes |
| Modeling tools | Adding details and shaping edges |
| Small sponge | Smoothing surfaces |
| Paintbrushes | Applying paint and sealers |
| Fine-grit sandpaper | Smoothing dried clay |
| Acrylic paint | Adding colour and decoration |
| Clear varnish | Protecting finished decorative pieces |
| Cling film | Keeping unused clay moist |
You can purchase most of these supplies individually, so there’s no need to buy everything at once.
If you’re a beginner, start with the basics and add more specialized tools as you discover the types of projects you enjoy making.
Common Air Dry Clay Mistakes to Avoid
Even with the best preparation, you might make a few mistakes along the way. The good news is that most beginner mistakes are easy to avoid once you understand what causes them.
Here are some common problems to watch out for:
1. Leaving unused clay uncovered
This allows moisture to escape, making the clay dry and difficult to work with. Always wrap and store unused clay properly.
2. Adding too much water
Excessive water can make the clay sticky and weaken its structure. Use small amounts only when needed.
3. Making pieces uneven
Uneven thickness can lead to inconsistent drying and increase the risk of cracks. Use a rolling pin and thickness guides.
4. Rushing the drying process
Direct heat and strong sunlight can cause uneven drying. Allow your projects to dry naturally.
5. Painting before the clay is completely dry
Trapped moisture can affect the finish and potentially cause problems later. Give your project enough time to dry thoroughly.
6. Skipping surface preparation
Dust and rough patches can affect how paint and sealers look. Sand gently and clean the surface before decorating.
7. Assuming sealed clay is waterproof
Most ordinary air dry clay remains unsuitable for prolonged water exposure, even when sealed. Choose your projects accordingly.
Frequently Asked Questions About Air Dry Clay
1. Is air dry clay good for beginners?
Yes! Air dry clay is an excellent material for beginners because it is easy to shape, doesn’t require a kiln, and can be used to create many different decorative projects. You can start with simple ornaments, trinket dishes, and small decorations before moving on to more detailed designs.
2. How long does air dry clay take to dry?
Drying time depends on the thickness of your project, the clay brand, and the surrounding conditions. Small, thin pieces may dry within 24–48 hours, while thicker projects can take several days. Always follow the manufacturer’s drying instructions.
3. Can I add water to air dry clay?
Yes, a small amount of water can help soften workable clay and smooth rough surfaces. However, too much water can make it sticky and weaken the material. Add moisture gradually and follow the clay manufacturer’s instructions.
4. Why does my air dry clay keep cracking?
Cracks can develop for several reasons, including uneven thickness, drying too quickly, excessive moisture, or joining pieces incorrectly. To reduce cracking, prepare your clay properly, maintain even thickness, and allow it to dry slowly.
5. Can I paint air dry clay?
Absolutely! Acrylic paint is a popular choice for decorating completely dried air dry clay. You can use different colours, paint patterns, or add decorative details to personalize your finished projects.
6. Does air dry clay need to be sealed?
Sealing isn’t always necessary, especially for decorative pieces that will remain indoors and away from moisture. However, applying an appropriate sealer can help protect the surface and improve its appearance. Remember that sealing does not make ordinary air dry clay completely waterproof.
7. Can I make air dry clay waterproof?
Air dry clay is naturally porous, so it isn’t waterproof on its own. Some sealers offer better moisture resistance than others, but even sealed pieces should not be treated as completely waterproof. For items exposed to regular water, choose a more suitable material.
8. Can I reuse leftover air dry clay?
Yes, as long as the leftover clay is still soft and workable. Wrap it tightly in cling film, place it in an airtight container, and store it according to the manufacturer’s instructions. Completely hardened clay cannot usually be restored to its original workable consistency.
Final Thoughts
Working with air dry clay is such a lovely way to explore your creativity and make beautiful handmade decorations for your home. Whether you’re creating your first little trinket dish or experimenting with more detailed ornaments, understanding the basics will make the entire process much more enjoyable.
Remember to choose the right clay, keep unused portions covered, work with even thickness, and allow your creations plenty of time to dry. Don’t rush the little details, either. Sometimes, a little sanding, a fresh coat of paint, or a beautiful finishing touch can make an ordinary clay project feel extra special.
Most importantly, don’t be afraid to experiment. Your first creation doesn’t have to be perfect. Have fun, try new ideas, and enjoy making something lovely with your own hands!